This library can be used to integrate custom/unofficial RGB strips with iCUE.
- Add support of the Lighting Node PRO protocol to Arduino.
- Control LEDs with the Corsair Link or the iCUE software.
- Easy to use with FastLED
- Supported LED chipsets
- persistent settings for use without USB connection
- Use multiple devices at the same time
- Requirements
- Install the library
- Create a Lighting Node PRO
- Use the library
- How it works
- Use multiple Devices
- Debugging
The library is compatible with all boards using the MCU ATmega32U4. This includes Arduino Micro, Arduino Leonardo and Pro Micro. It is not compatible with Arduino Uno, Arduino Mega and Arduino Nano.
In the rest of the documentation the board with the ATmega32U4 is called "Arduino" regardless of the manufacturer.
As an IDE Visual Studio with the extension Visual Micro is required. Visual Micro provides the required functionality for free, but sometimes ask you to buy the full version. The Arduino IDE is not supported because it does not provide a way to configure the build options without creating your own board configuration. Advanced users can create their own boards configuration with the correct build settings and then use this boards configuration with the Arduino IDE.
You have problems with a board not listed here, please open an Issue.
Use the Library-Manager to install this library or download a release. Additionally the FastLED library must be installed.
Open the example "LightingNodePRO", you can find it in the Visual Micro Explorer or in the examples directory. The library FastLED is used to control the leds, for more information on how to wiring the leds and how to set up the leds in the code see the links. After you did the wiring or at least know which pin is the data pin, you can set this pin in the example sketch and upload it to the arduino. In Visual Studio use the "Release" configuration.
To verify the library works as expected open the Windows settings -> devices -> connected devices. Somewhere in the list of devices there should be a device called "Lighting Node PRO". (If not, please open an Issue) Open iCUE there should also be the "Lighting Node PRO".
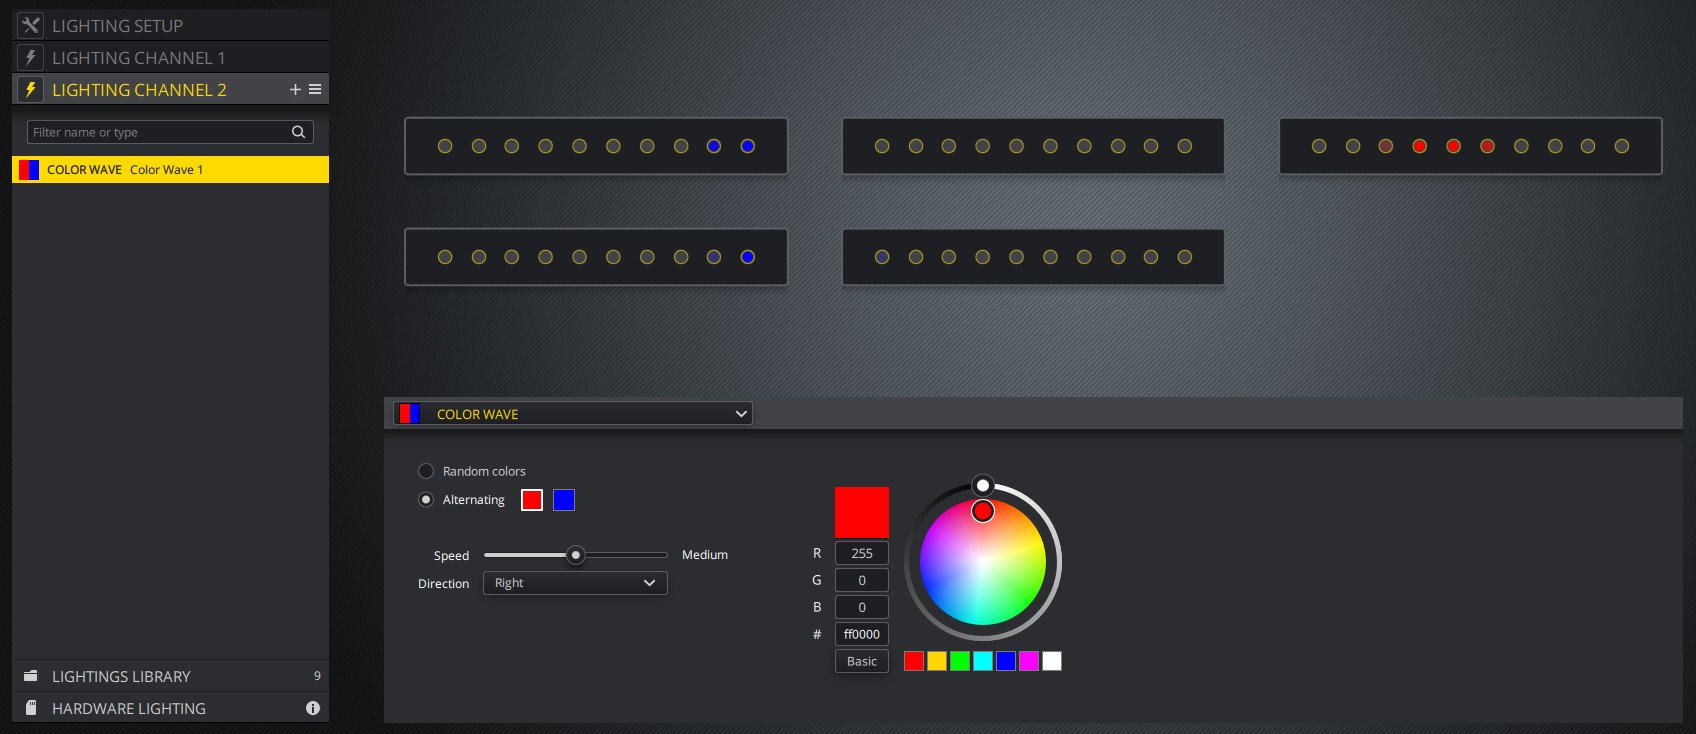
In iCUE open the "Lighting Setup" tab of the Lighting Node PRO(LNP) and set for both Lighting Channels the device to "RGB Light Strip" and the amount to a tenth of the leds you have. iCUE groups the LEDs into groups of ten. So if you have 20 LEDs, set the amount to 2. Now you can create lighting effects in the "Lighting Channel #" tabs.
The example "SingleStripLightingNodePRO" only requires one LED Stip connected to the Arduino. Because the "SingleStripLightingNodePRO" concatenate the two channels a total of 120 leds can be controlled on a single LED Strip.
If you want to use this library in your own sketch don't forget to use Visual Studio as IDE and include the board.txt in the root directory of your sketch.
This library uses the USB HID interface of the Arduino Micro or Leonardo. In the board.txt the unique VID and PID of a "Lighting Node PRO" are defined. After uploading a sketch with the library and these IDs, iCUE recognizes the Arduino as a Lighting Node PRO. In iCUE you can then select the "Lighting Node PRO" and set some lighting effects. iCUE sends these via the CorsairLightingProtocol to the Arduino. These commands are understood by the library and converted into lighting effects on the RGB strips connected to the Arduino.
Each device has two unique IDs, that is, they should be unique.
You must give each device unique ids.
There are two ids that must be changed SERIAL_NUMBER and DeviceID.
The SERIAL_NUMBER can be changed in the board.txt file.
Uncomment the line with SERIAL_NUMBER and change some characters at the end, don't change the length and only use HEX characters(0-9 and A-F).
The DeviceID can be changed with the tool
Upload the DeviceIDTool sketch and then open the Serial monitor with baudrate 115200.
The tool displays the current DeviceID, you can type in a new DeviceID that is saved on the Arduino.
After that you can upload another sketch.
For debugging don't use the integrated debugger of Visual Studio, it will most likely break the USB comunication.
Use the DEBUG macro and the Serial Monitor.
With the -DDEBUG flag you can enable debugging in the whole project.
Add this flag in the board.txt file to the build.extra_flags.
A Serial Monitor MUST be opened, otherwise the USB connection is blocked for the Corsair Lighting Protocol.
This is a DO IT YOURSELF project, use at your own risk.


