EmojiScreen 📺
This project was built to create a fun, judgement free space for those learning Git and Github to practice making pull requests, branches, adding features, and more. 💛 💙 💜 💚 💖
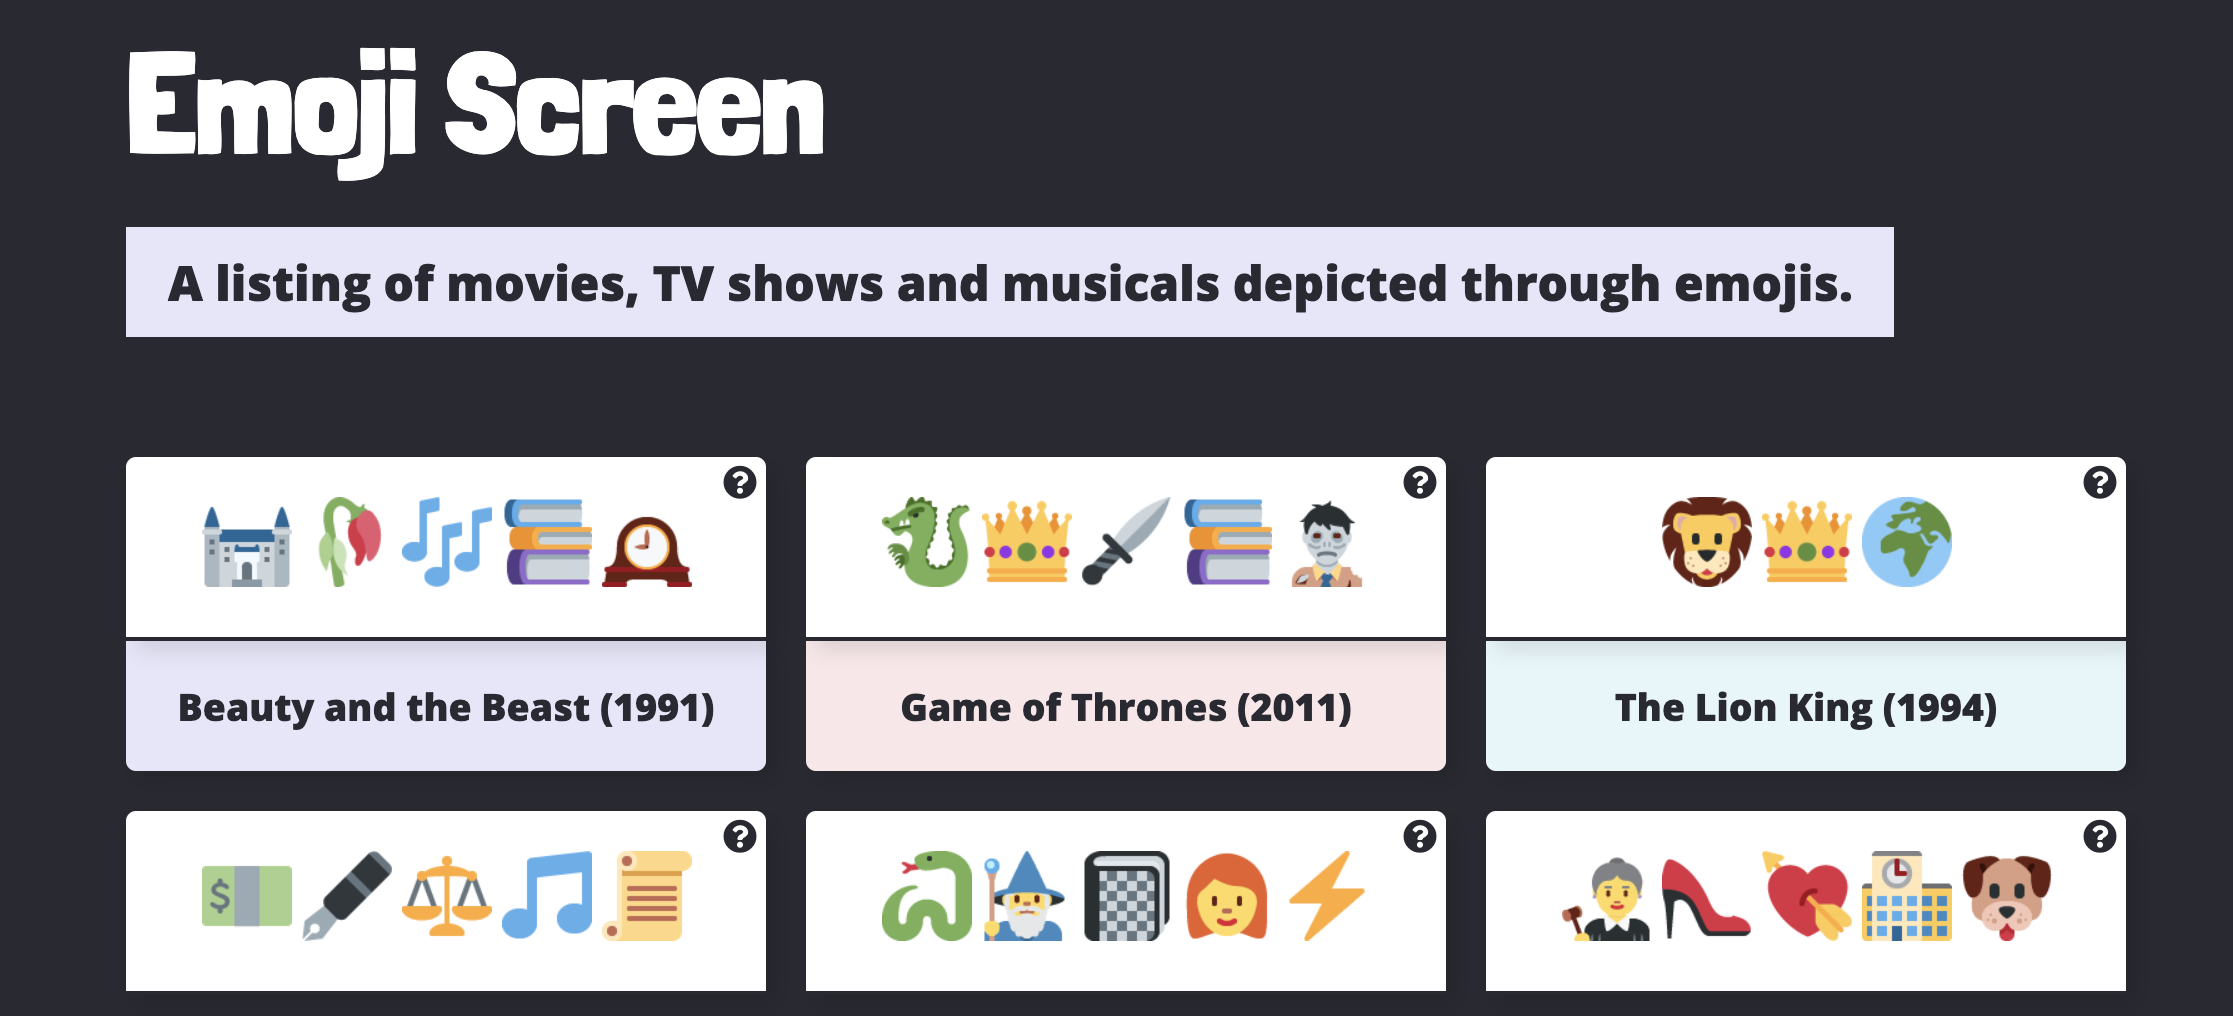
EmojiScreen is a listing of movies, TV shows and musicals depicted through emojis.
Contributing 🎁
Below are instructions for how to contribute to this project. The easiest way to make a contribution is to add a Emoji Card to the website (you can add multiple shows or movies). Each card should be added in the data.json file as an object. For more advanced ways to contribute, see the repo Issues.
Read below for a detailed overview and walkthrough on how to add an Emoji Card to this project. First time pull-requests are encouraged. If you run into trouble, feel free to create an Issue!
Note for movies or shows with multiple versions: For example, Beauty and the Beast has two movie versions (2017 and 1999) and was also a broadway musical. If someone has already added the 1999 movie, and you would like to add the 2017 movie or the musical, you can add the other version but at least one emoji should be different from whatever is already in the
data.jsonfile.
Movie, TV Show and Musical Examples
Here are some links to lists of movies, TV shows and musicals in case you're having trouble thinking of something to add!
Movies
- IMDB Top 100 drama list
- IMDB Top 100 thriller list
- IMDB Top 100 horror list
- IMDB Top 100 animated list
TV
Musicals
Card Overview 🃏
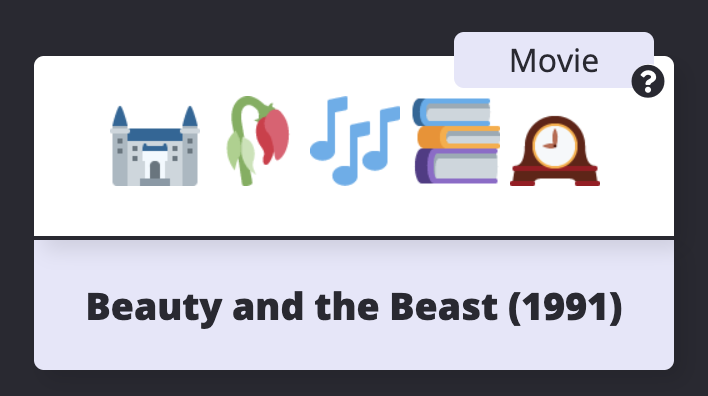
On the website, each Emoji Card displays images of the emojis, a hint icon that will show the type (musical, movie or TV show) when the user hovers and the name of the show, which appears when the user clicks on a card.
In the code, each Emoji Card consists of the following JSON:
{
  "title": "Beauty and the Beast",
  "emojiImgs": "🏰🥀🎶📚🕰️",
  "genres": [
    "animation",
    "family",
    "fantasy"
  ],
  "type": "movie",
  "year": 1991
}
To add a new card to the website, add a new JSON object in the data.json file. Make sure to separate your new object from existing objects with a comma. Below is an overview of each key in the Emoji Card object. Every key is required.
Title 👍
Each card must have a title. This should be the full title.
{
  "title": "Beauty and the Beast",
}
Emojis 😍
The emojis should be added to emojiImgs as a string.
Add five emojis maximum for each card
{
  "emojiImgs": "🏰🥀🎶📚🕰️",
}
Using JavaScript, the emojis are converted into Twemoji (Twitter's emoji version) so that all emojis will be uniform across platforms. And because they are pretty cute. 💖
Here are a few resources to find emojis to copy:
- Twitter Emojis - Shows you what each Twitter emoji looks like. Note when you copy these emojis and paste them into your text editor or Github, they will no longer look like the Twitter emojis. But don't worry, Javascript will convert them to the Twitter emojis on the EmojiScreen website.
- Get Emoji and EmojiCopy are tools to copy regular emojis easily from one page. Note: The initial homepage does not display all skin color versions of each emoji so you will need to search in Emojipedia for those.
- Emojipedia - A directory of all emojis.
Genres 🔍
The genres should be added as an array (the square [] brackets indicates an array or list). Seperate each genre with a comma and each genre should be wrapped in quotes. There is no limit to the number of genres but try not to add too many.
{
  "genres": [
    "animation",
    "family",
    "fantasy"
  ]
}
For movies and TV shows, go to the IMDB profile and find the genres listed under the title. Add these genres to the Emoji Card object. Some cards will only have one genre, that is okay! If you would like to add an additional genre (outside of the IMDB genres, note that in your Pull Request or create an Issue).
See the below screenshot for the location of the genre listing in IMDB profiles.
For musicals, include the musical genre and any other genres from the list below that you think fit:
| action | adventure | animation | biography | comedy | crime | documentary | drama |
| family | fantasy | film-noir | history | horror | music | mystery | news |
| romance | sci-fi | sport | thriller | war | western | ||
Type 🎬
Specify if the card you are adding is tv, movie or musical. Only add one type per card.
{
  "type": "movie",
}
Year 📆
Specify the year the movie or show was released or first aired. Or the first performance year for a musical. This should be a number (no quotations around the year).
{
  "year": 1994
}
Walkthrough 🚶
Follow these intstructions to add a card. You can add a card using the Github website user interface or on your local machine. If you do not already have one, create a Github account before proceeding.
If you are already comfortable using Github and Git, feel free to skip the instructions below and make a pull request using whatever method you prefer!
Github UI
- Fork this repository. This will create a copy of the repository and create a new reposititory on your account. Note: the
Forkbutton is located in the top right area of the repo. - Once the repo is forked, you will be taken to the forked repo. Note: In the top left, the name of the repo should now include your username.
- Navigate to the
data.jsonfile in your forked repo by clicking on the file name. - Edit the
data.jsonfile by clicking on the pencil icon and add a new object for your movie, TV show or musical in alphabetical order. Note: If the movie title starts with 'The' then use the next word for alphabetical order. Make sure there is a comma between your object and the object above and below. Refer to the card overview above for requirements for the different object keys.
Use the following object as a template:
{
  "title": "Black Panther",
  "emojiImgs": "😺🌍🏴💪🏿🦸🏿",
  "genres": [
    "action",
    "adventure",
    "sci-fi"
  ],
  "type": "movie",
  "year": 2018
}
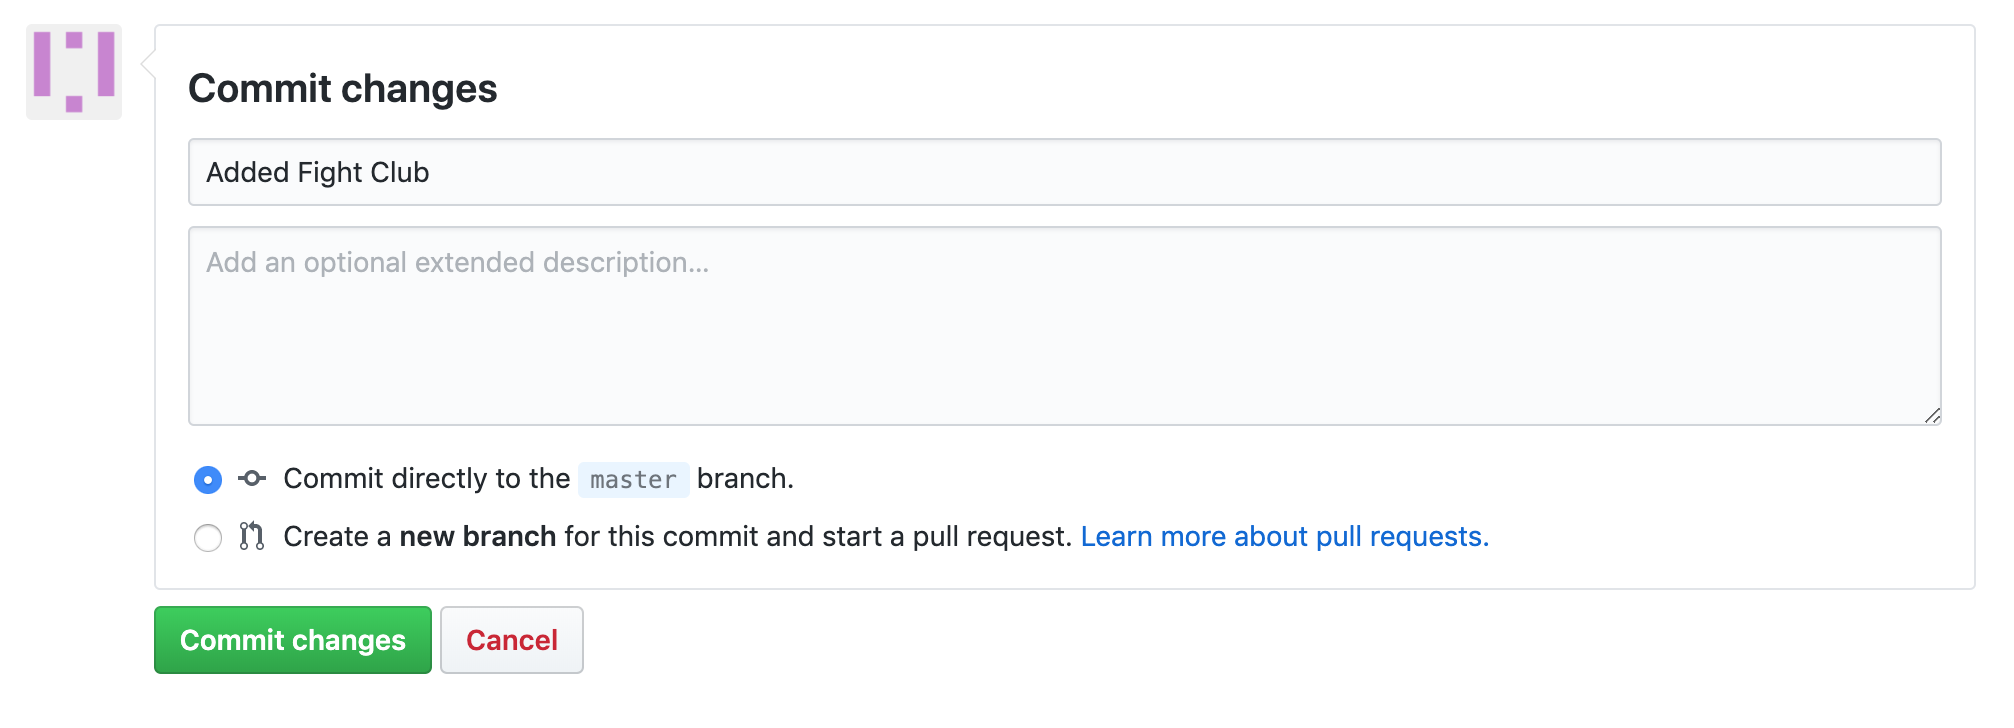
- Once you have completed updating the object for your show or movie, scroll to the bottom of the page and add a commit message. The commit message should be formatted like:
Added Fight CluborAdded Casablanca. Click theCommit Changesbutton to save your changes.
- Navigate to the
Pull Requesttab. Click on NewPull Request.
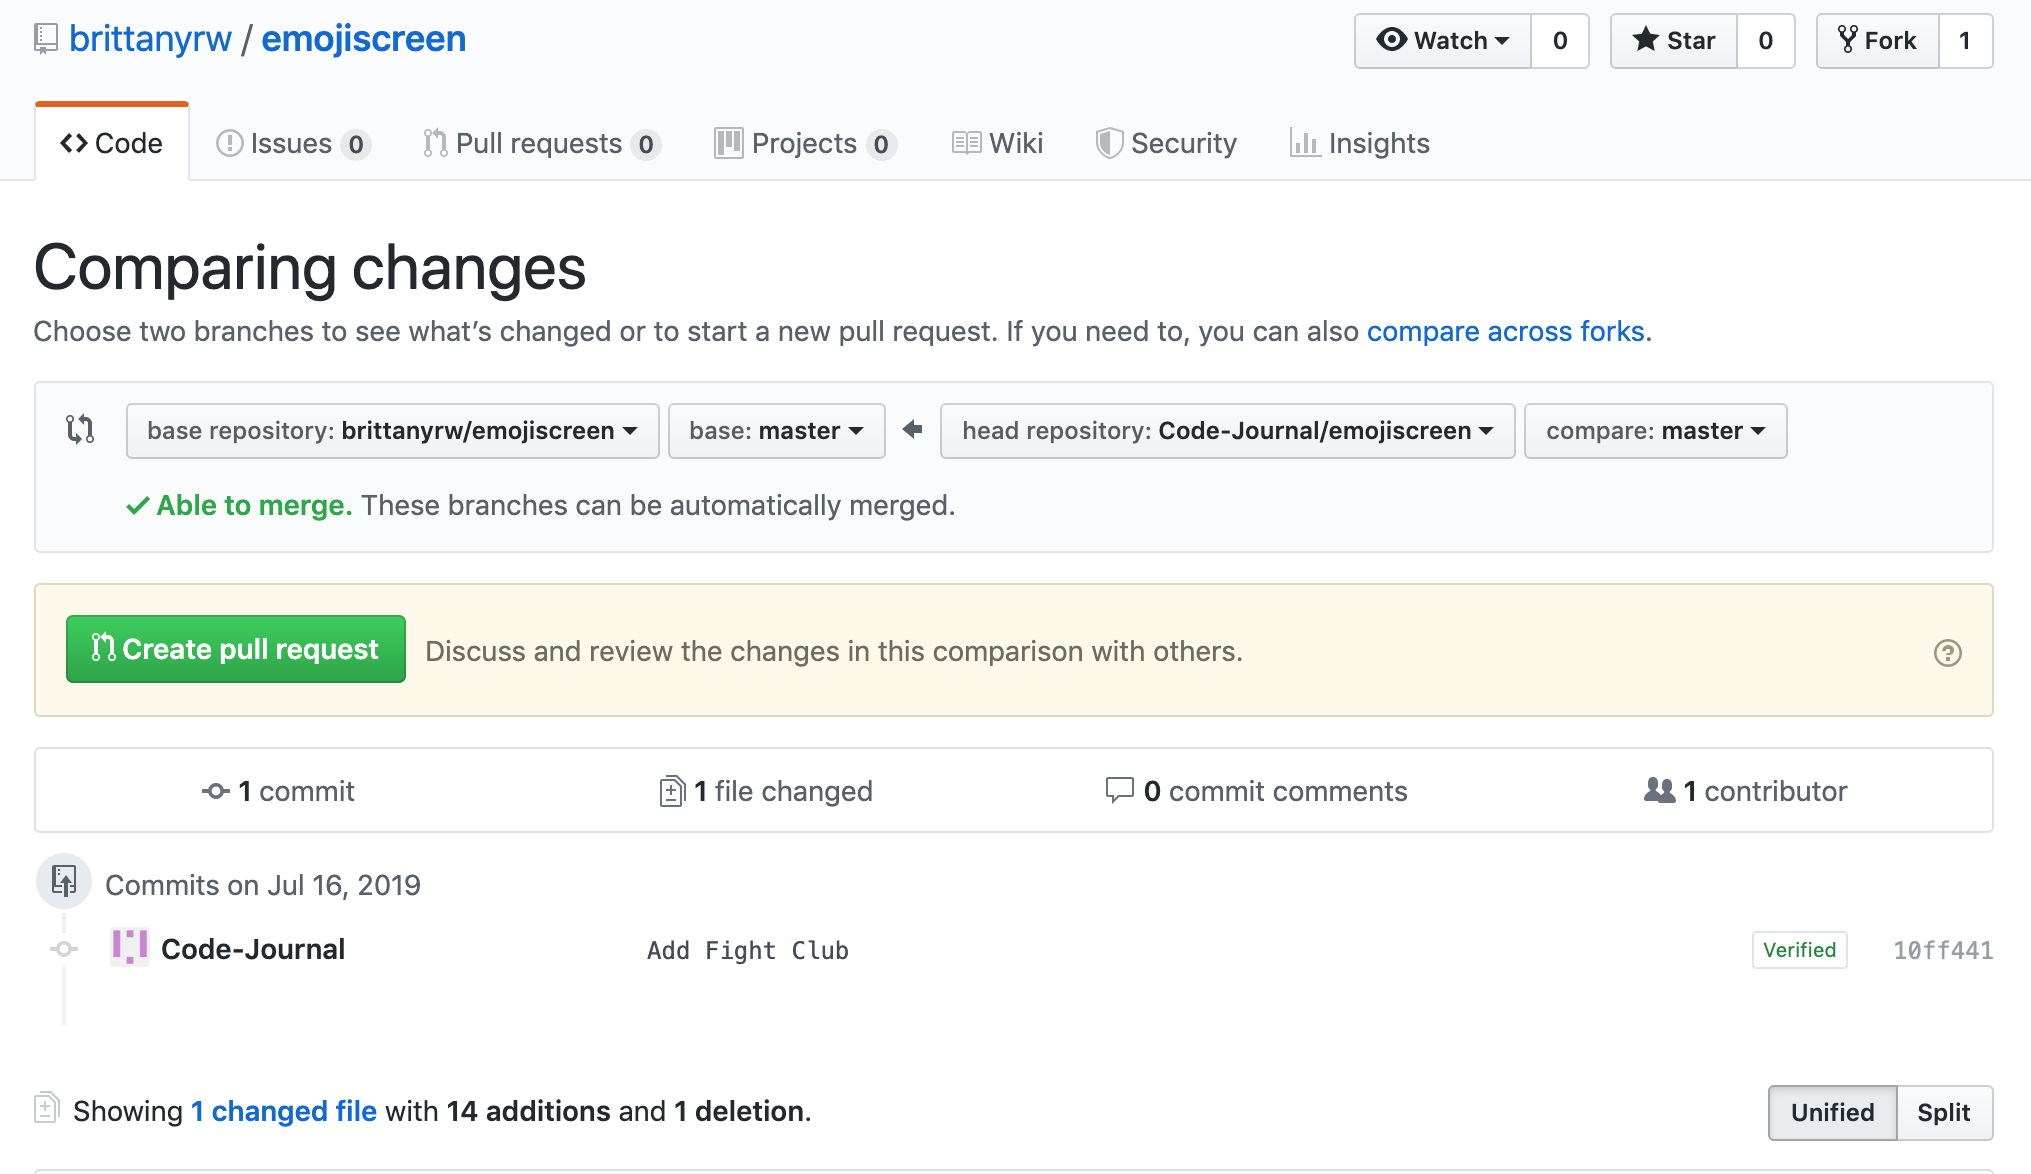
- Review your changes and then click
Create Pull Request. Add any additional comments and then click onCreate Pull Request. - Wait for feedback/review of your Pull Request. If your Pull Request is accepted, you will be able to see your card at https://emojiscreen.com!
Local Development
Required Downloads & Tools
- Terminal (Mac OS) or Command Prompt. These are installed by default on your computer. Search for the program to open it. For Windows, Git Bash is recommended.
- Git - This is a version control tool.
- A text editor such as Sublime Text, Atom, Visual Studio Code, etc.
- Python (optional). This will be used to run a web server on your local machine. To check if your computer already has Python installed, type
python --versionin your terminal. If you have Python, the terminal will print out the version number.
Local Development Instructions
- Fork this repository. This will create a copy of the repository and create a new reposititory on your account.
- Once the repo is forked, you will be taken to the forked repo.
- Download the project to your computer. Click on the
Clone or Downloadbutton. Copy the HTTPS github repo link. - In your terminal, navigate to where you would like to save the project (such as
cd Desktop). Run the following command, replacing the following link with your copied link:git clone https://github.com/your-username-will-be-here/emojiscreen.git; - In the terminal, navigate into the folder
cd emojiscreen. - OPTIONAL: If you would like to view the project locally, open the
index.htmlfile in your browser. To accessdata.json, you must run a web server. First, download Python if you do not have it already. Then open a new terminal window, navigate to your project folder (you should be inside of theemojiscreenfolder when running this command) and run the following command:python -m SimpleHTTPServer 8000. Navigate to localhost:8000 in your browser to see the project locally. - Open the
emojiscreenproject in your text editor of choice. Edit thedata.jsonfile and add a new object for your movie, TV show or musical alphabetical order. Note: If the movie title starts with 'The' then use the next word for alphabetical order.. Make sure there is a comma between your object and the object above and below. Refer to the card overview above for requirements for the different object keys.
Use the following object as a template:
{
  "title": "The Lion King",
  "emojiImgs": "🦁👑🌍",
  "genres": [
    "animation",
    "adventure",
    "drama"
  ],
  "type": "movie",
  "year": 1994
}
- Make sure to save your files after you have made changes. Once you are done, go to the terminal and type
git status. you should seedata.jsonas modified. - Run
git add -Ato add your changes. - Add a commit message. Run the following command and replace with your movie or show name:
git commit -m "Added Harry Potter the movie". - You may see a message asking for you to set your email and username. If you do not see that message (meaning you have run Git before on your machine), continue to the next step. Run the following commands, replacing "you@example.com" with your Github email and "Your name" with your github username:
git config --global user.email "you@example.com"
git config --global user.name "Your Name"
Then re-run the commit command. Remember to replace with your show or movie: git commit -m "Added Harry Potter the movie"
-
Run
git push. If you have not done this before, git push will not run until you login to your Github account. Type in your Github username and password. NOTE: When you type your password, it will not show in the terminal. Press enter after you type your password to continue. -
Go to the Github website and navigate to the
Pull Requesttab. Click on NewPull Request.
- Review your changes and then click
Create Pull Request. Add any additional comments and then click onCreate Pull Request. - Wait for feedback/review of your Pull Request. If your Pull Request is accepted, you will be able to see your card at https://emojiscreen.com!
Other Resources and Options
- Git Handbook
- Additional Git/Github Practice
- Visualizing Git Commands Tool
- Try creating a new branch for your pull request.
- Syncing your Fork
Credits
Emoji graphics are by Twitter and are licensed under CC-BY 4.0. Review the Attribution Requirements for more information.
Please note that this project is released with a Contributor Code of Conduct. By participating in this project you agree to abide by its terms.


