This project provides the necessary tools and scripts to monitor a Intergas central heating system via the IDS interface.
It connects an ESP32 NodeMCU board through optocouplers to the burner control board of the Intergas Xtreme. From there detailed statistics are published to Home Assistant for accurate monitoring of the device.
This project has only been tested with a Intergas Xtreme 36 central heater.
The connection to Home Assistant is done via ESPHome and Wifi.
Prerequisites for the physical connection:
-
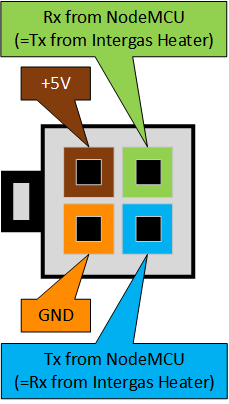
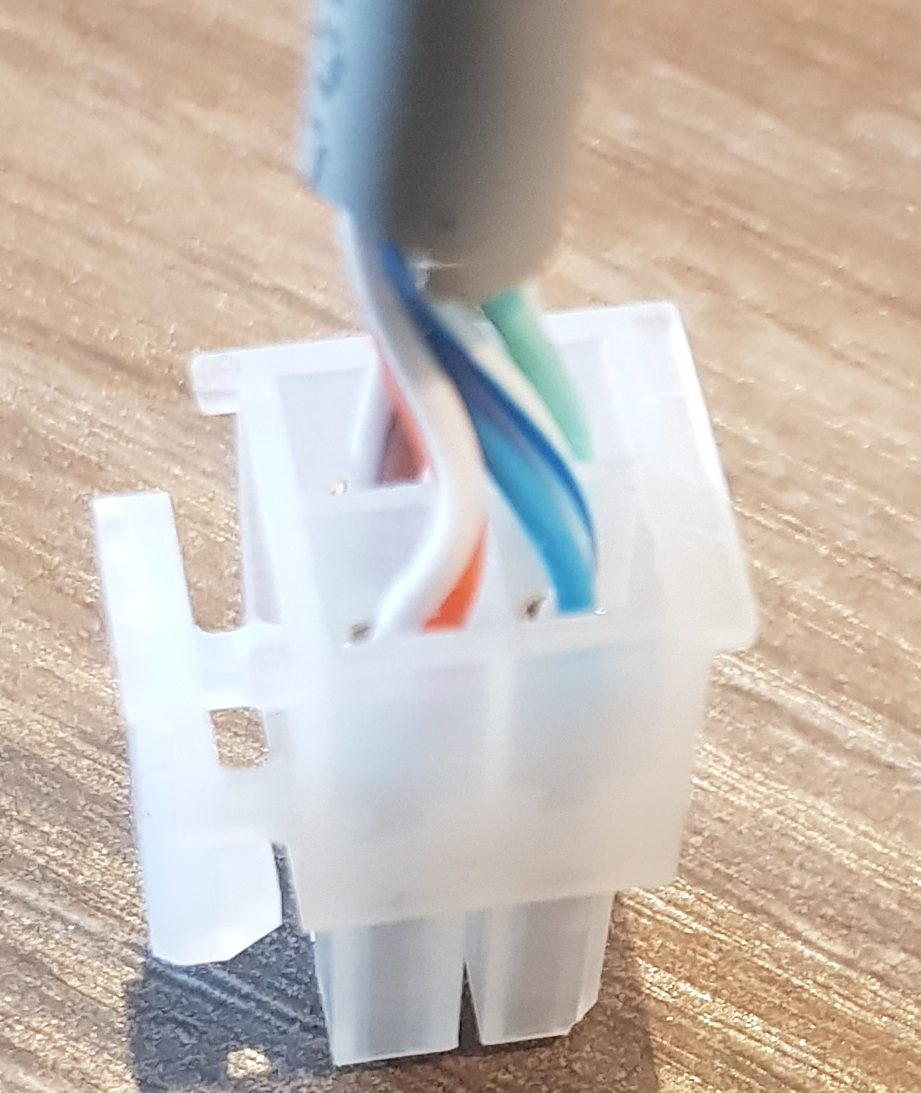
Cable required that connect to the X14 connector of the burner control board. The type of connector is a Molex Mini-Fit, Jr. connector housing with female terminals.
For reference, the connector is:
This is also the same type of connector you can find on old ATX Power Supplies.
-
As opto coupler we use the 4N25 type.
-
As controller we use:
- a NodeMCU-32s (ESP32) Development board
Schematics of the IDS adapter is designed with KiCad.

The intergas heater provides a 5V power supply via the X14 connector, but the datalines require 3,3V.
Here are the installation steps for the software in ESPHome:
-
First install the ESPHome toolset on Home Assistant via the Addon Store.
-
Open an SSH session to your Home-Assistant instance, then
$ cd config
$ git clone https://github.com/little-chef/intergas-xtreme-monitor.git esphome/intergas-xtreme
$ echo '<<: !include intergas-xtreme/esphome/intergas-xtreme-monitor.yaml' > esphome/intergas-xtreme-monitor.yaml
Next create the config/secrets.yaml file and add the following lines:
esphome_hassio_api_encryption_key: my-32-byte-base64-encryption-key
esphome_hassio_ota_pw: my-very-secure-ota-pw
esphome_wifi_network_ssid: my-wifi-access-point
esphome_wifi_network_password: my-wifi-password
esphome_wifi_ap_fallback_password: my-fallback-password
The api_encryption key is explained here: https://esphome.io/components/api.html?highlight=randomly%20generated
-
Go to the ESPHome dashboard on Home Assistant, the new device should be visible. From here you can compile the firmware for the NodeMCU, and install it to NodeMCU device.
-
Once the device is running, a new notification will pop up to register the device to your Home Assistant instance. Complete that procedure.
-
After everything is successful, the metrics will become visible on the Home Assistant Dashboard.
The code and content have been inspired by these public sources:
- https://github.com/keesma/Intergas-Central-Heating-Monitor-Homie
- https://www.circuitsonline.net/forum/view/80667/last
- https://github.com/rickvanderzwet/IntergasBoilerReader
- https://github.com/Meewis/ESP8266_MQTT_INTERGAS
- https://gathering.tweakers.net/forum/list_messages/2056344
- https://theintergasshop.co.uk/content/181-intergas-boiler-manuals -> IDS X Range Software
The monitor adds a lot of sensors to the Home-Assistant dashboard. The ESP8266 will run into memory fragmentation issues that impacts its stability. Also, the webserver cannot be enabled and OTA updates go very slow and will result in timeouts on the Wifi connection. Frequently updates need to be done via USB due to all failures. Furthermore, the amount of UARTs are limited in the ESP8266, and some port and pin swapping is required to prevent polluting the data flow towards caused by the bootlogging of the ESP8266. The more powerful ESP32 does not show these kind of issues, and is therefor preferred.
Note that nothing in this project is supported by Intergas, neither is there any guarantee that the provided materials will work in your environment. Be aware that making mistakes in setting up the project may damage your heater or void your warranty. Use of anything provided of this project is at your own risk.

