Example REST CRUD API using NestJS + TypeScript + Redis with Keycloak token validation
• NodeJS - minimum required version is 16
• Docker (optional for building & emulating Redis)
First install all required dependencies:
npm iNext, configure all required environment variables as described at .env.example and save it to a file named .env
Run locally with the following command:
npm run devTo run unit & e2e tests, run the following command:
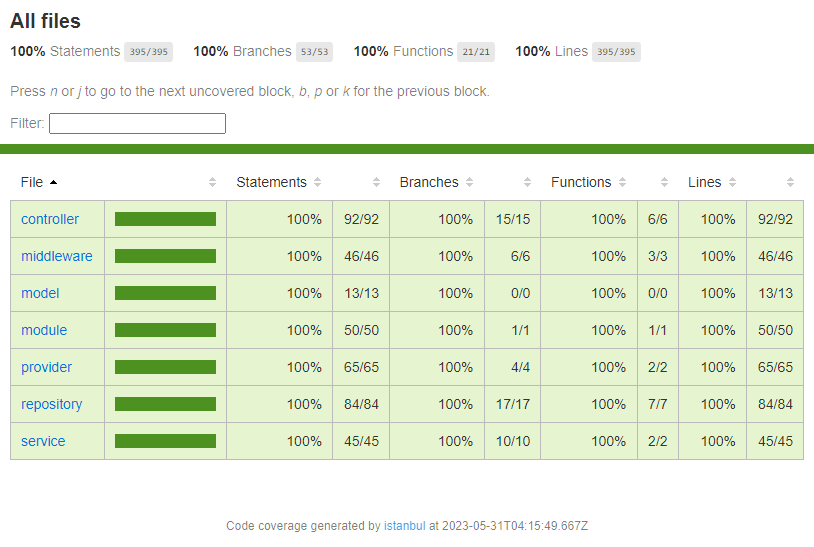
npm run testCurrently the coverage is at 100%
 Once you run the test script, you can check this report at the
 coverage folder
To transpile the project, run the following command:
npm run buildThis will trigger TypeScript's build system, all generated output is going to be at the build folder
Building a Docker production image can be done with the following command:
docker build -t customer-api:latest .And just run it with:
docker run -d -p 3000:3000 customer-api:latestIf you kept a copy of .env previously configured into the project's folder, the file will be loaded inside the Docker image, and no additional environment configuration is necessary
Alternatively, if you did not configure .env while building, or if you wish to override environment variables, you can start a container with the following command:
docker run -d \
    -p 3000:3000 \
    -e KEYCLOAK_ENDPOINT=<YOUR KEYCLOAK ENDPOINT> \
    -e KEYCLOAK_CLIENT_ID=<YOUR KEYCLOAK CLIENT_ID> \
    -e KEYCLOAK_REALM=<YOUR KEYCLOAK REALM NAME> \
    customer-api:latest
Note: you can override any environment variable described on .env.example with Docker's -e flag
Some additional coding notes
Adding new data models and loading it on a repository is as simple as creating 2 files, and injecting the repository into any NestJS module.
First, create your model inside the src/model, name it whatever you want, just keep in mind that it needs to be a class
// src/model/product.model.ts
export class Product {

    name!: string;

    price!: number;

}
Now, to create a repository to our model, create a file at src/repository and extend the AbstractRepository<T> class, annotate it with @Injectable(), and set the value of prefix, usually the model's name but in lowercase
// src/repository/product.repository.ts
import { Injectable } from "@nestjs/common";

import { AbstractRepository } from "./abstract.repository";
import type { Product } from "../model/product.model";

@Injectable()
export class ProductRepository extends AbstractRepository<Product> {
    protected override readonly prefix = 'product';
}
That's it! Now you can do CRUD operations on your model once you inject this repository on any NestJS module/controller
// src/module/example.module.ts
import { Module } from "@nestjs/common";

import { ProductRepository } from "../repository/product.repository";

@Module({
    providers: [ProductRepository],
})
export class ExampleModule { }
// src/controller/example.controller.ts
import { Controller, Inject } from "@nestjs/common";
import { ProductRepository } from "../repository/product.repository";
@Controller('/example')
export class ExampleController {
constructor(
@Inject(ProductRepository)
private readonly products: ProductRepository,
) { }
}