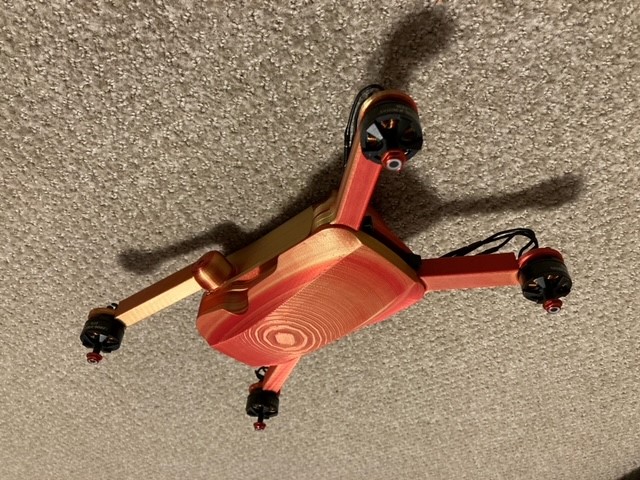
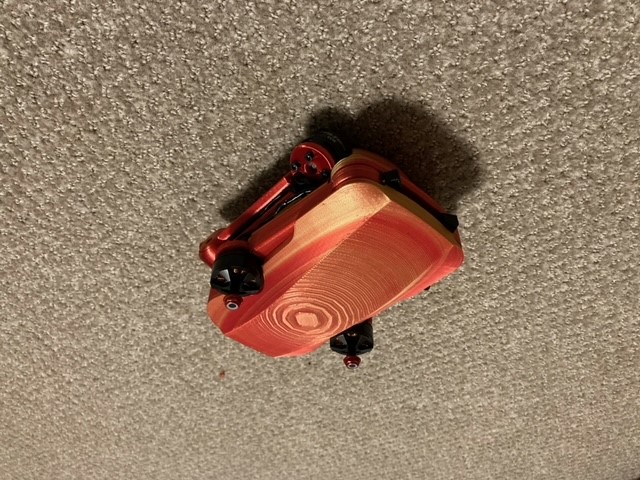
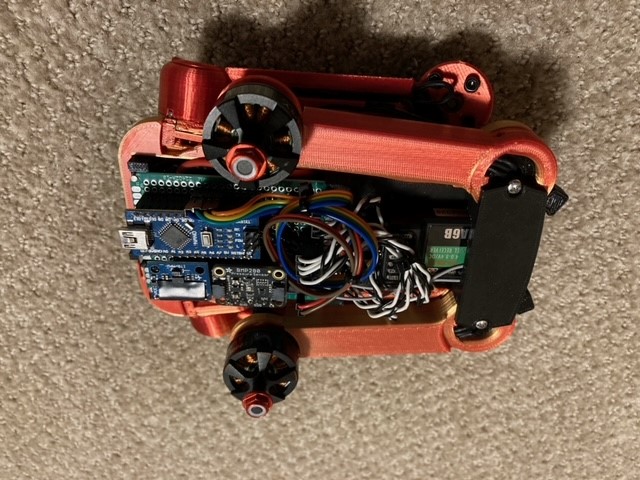
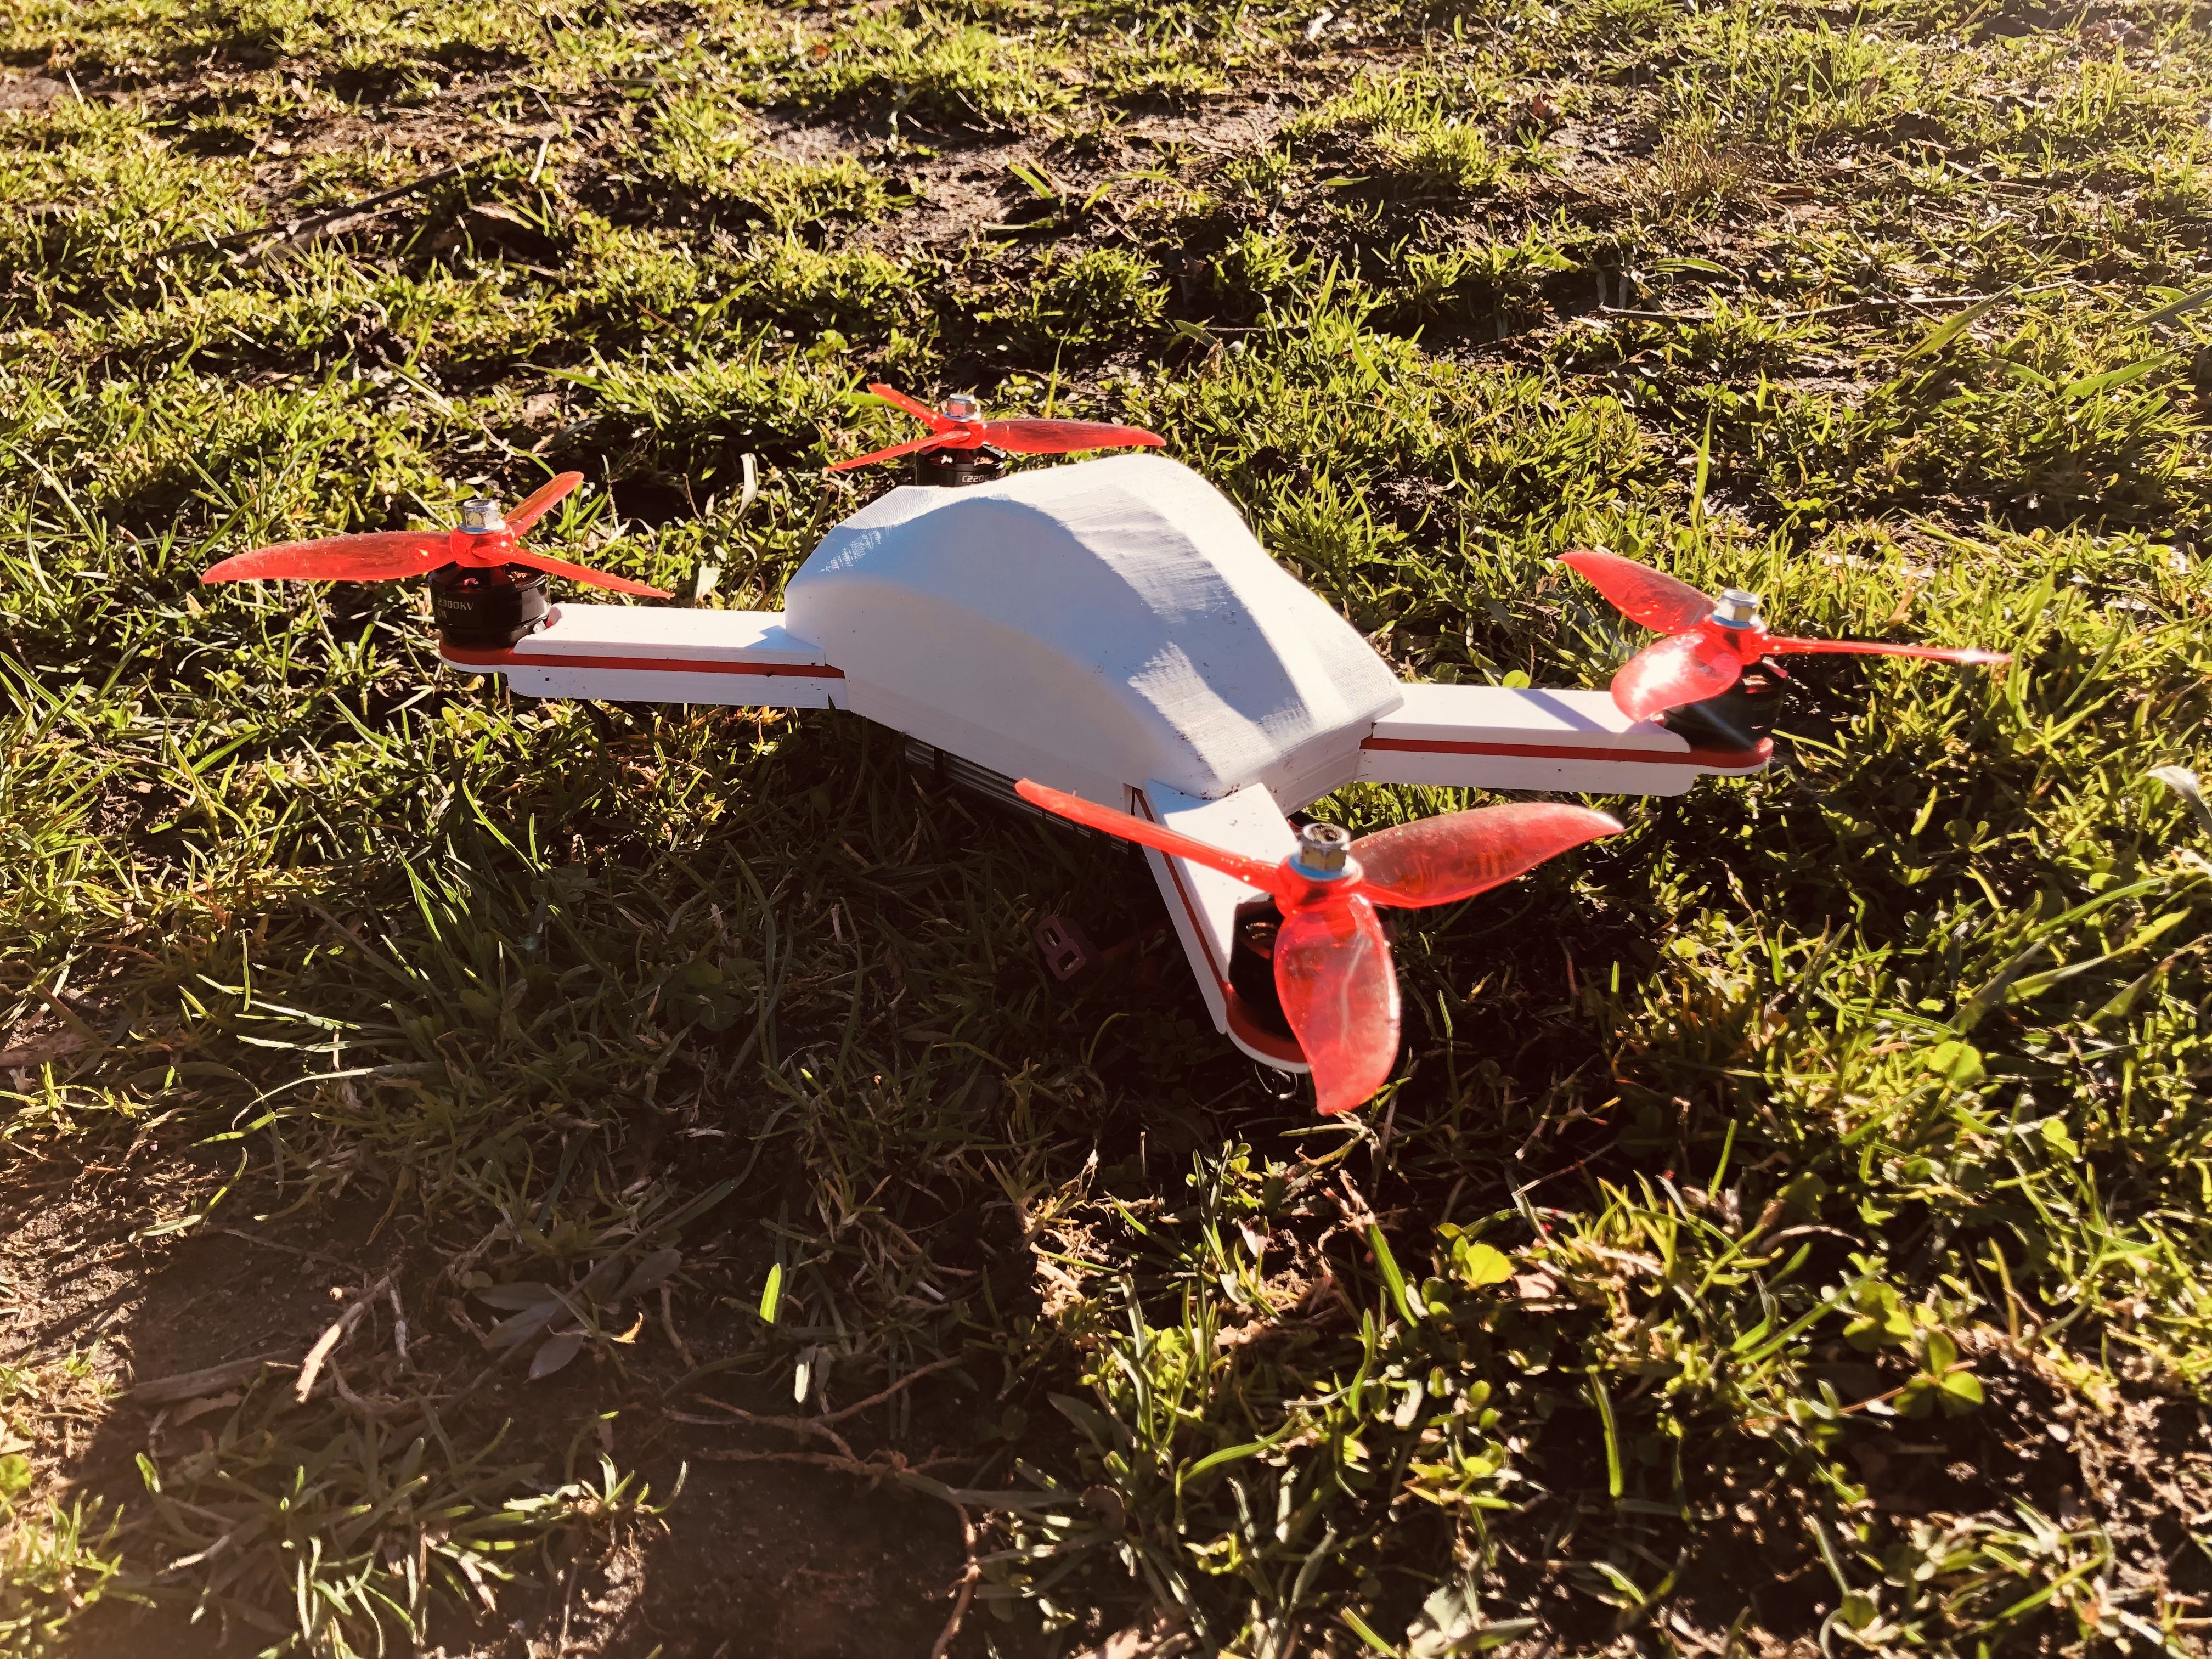
This arduino flight controller project was inspired by Joop Brokking's auto-leveling quadcopter build. My goal was to build this drone from scratch and then use an arduino as a controller instead of using an existing flight controller board. The body of the drone was designed and 3D printed by me, I custom built a circuit board to connect all electronics, and I built out this flight controller to get everything working together.
The project has gone through a few iterations. Version 1 was made using an Arduino Uno board at the core. This was a quick build designed to get something into the air for the first time. The body was a rough design and had a lot of flaws that made it harder to work with. These were dealt with in the next iteration of the drone.
The main upgrade for version 2 was a redesign of the drone body. My friend got a DJI mini drone with foldable arms for storage and I wanted to try the same thing with this project. I replaced the fixed arms with arms that all swiveled into the body. Secondly, I created a complete bottom half of the drone so that the battery was no longer exposed. There were a handful of small electronics adjustments as well. In order to save space on the inside, I swapped out the Arduino Uno for an Arduino Nano to save space. I also added a power switch onto the outside of the drone to make turning the motors on and off easier and safer. Finally, I added a magnetic cover to the drone so that I could easily remove the top case to access electronics.
Parts for this project included:
- Arduino Uno
- MPU6050 Accelerometer/Gyro Chip
- BMP280 Barometer Chip
- 4x 2300kV Brushless Motors
- 4x 30a Electronic Speed Controllers
- 4x 5045 Propellers
- 4x 699 Bearings
- 6x M2.5x8 Metal Dowel Pins
- 8 ¼" x 1/16" N52 Disk Magnets
- Power Distribution Board
- LED Light
- Wires/Resistors/Capacitor
- LiPo Battery, 3 cell 2200mAh
- Power Slide Switch
- 2x M3x25 screws
- 2x M3x20 screws
- 7x M3x6 screws
- 11x M3 Nuts
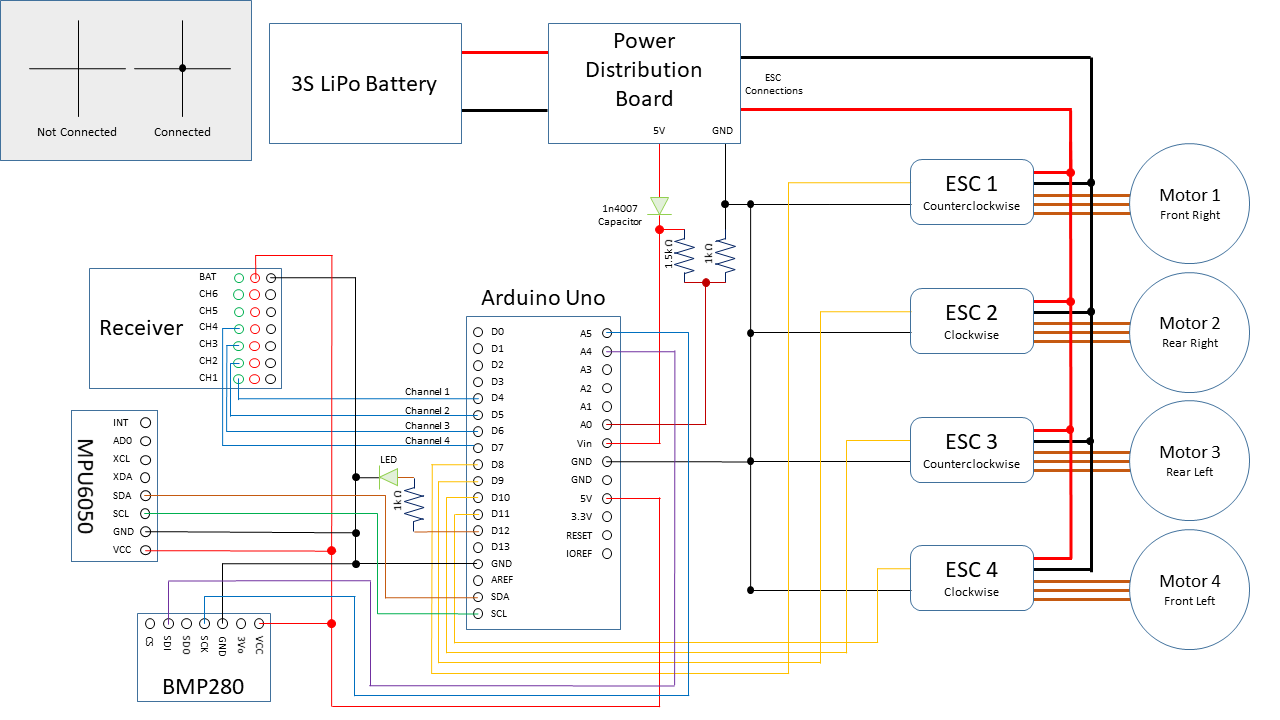
Here is a wiring diagram of the build:
You can find the STL files to print your own drone body here on Printables.
Once you have a built drone, you need to start by running the Drone_Setup file. This will run you through a series of prompts to make sure that everything is set up correctly and that the correct remote inputs are being used. At the end of these prompts, all data will be saved to the EEPROM.
Next, run Drone_ESC_Calibrate in order to test out the accelerometer and motors. This will let you make sure that the motors are spinning the correct directions and that the drone is reading the correct orientation.
Once this is done you can run Drone_Flight_Controller. Before you fly you should start by tuning the PID values at the top of the program; this will give you optimal performance.
This is the process that I used to tune the PID controller for auto leveling the drone. There may be better ways, but this worked for me.
Be careful when performing these steps. Use appropriate safety gear.
- Set P gain to 1 and I/D to 0. Check to make sure that the drone moves in the correct directions when the sticks are moved.
- D Gain: A. Increase the D gain in increments of 1 until the drone starts getting restless in the air. B. Lower until the drone flies steady. C. Take off 25% to get hte final value.
- P Gain: A. Increase the P gain in increments of 0.01 until the drone starts oscillating slowly. B. Decrease by 50% to get the final value.
- I Gain: A. Increase the I gain in increments of 0.2 until the drone starts overcompensating. B. Decrease by 50% to get the final value.
- P Gain Again: A. Increase the P gain until it starts oscillating. B. Take off a few points.
- Optimize the values with trial and error.
This was a slow process to get values that worked well for me.
