Repository containing some theory about Kubernetes and how to set up a master and a node using it on the Digital Ocean infrastructure provider. All these steps may change as the time goes by, so have in mind that these steps were executed by me in January 2019.
“Any sufficiently advanced technology is indistinguishable from magic." - A.C. Clarke
Author: Levindo Gabriel Taschetto Neto.
TO DO.
TO DO.
Follow the steps on the Master Config on the Master droplet.
TO DO: Put more details.
Follow the steps on the Node Config on the Node droplet.
TO DO: Put more details.
- Install Chocolatey
- Open the cmd as an administrator.
- Execute the following command:
@"%SystemRoot%\System32\WindowsPowerShell\v1.0\powershell.exe" -NoProfile -InputFormat None -ExecutionPolicy Bypass -Command "iex ((New-Object System.Net.WebClient).DownloadString('https://chocolatey.org/install.ps1'))" && SET "PATH=%PATH%;%ALLUSERSPROFILE%\chocolatey\bin"
- On the same cmd, run:
$ choco install kubernetes-cli
$ cd /etc/kubernetes
$ cat kubelet.conf
$ cd %HOMEPATH%
$ scp root@<IP_MACHINE_HERE>:/etc/kubernetes/admin.conf .
$ mkdir .kube
$ move admin.conf .kube
$ cd .kube
$ ren admin.conf config
$ del admin.conf
$ kubectl get nodes
$ kubectl get pods --all-namespaces
$ kubectl cluster-info
You must get something like this:
This action may be performed from your local machine if you have already configured kubectl and the config from master on it. More details can be accessed on the section How to Access the Cluster from a Local Machine* a little bit up in this readme :)
$ kubectl create -f dashboard/dash-admin-token.yaml --namespace=kube-system
$ kubectl -n kube-system describe secret $(kubectl -n kube-system get secret | grep admin-user | awk '{print $1}')
You're gonna get something similar to this:
Name:         admin-user-token-q79hm
Namespace:    kube-system
Labels:       <none>
Annotations:  kubernetes.io/service-account.name: admin-user
              kubernetes.io/service-account.uid: uid_here

Type:  kubernetes.io/service-account-token

Data
====
namespace:  11 bytes
token:      TOKEN_HERE
ca.crt:     1025 bytes
Copy everything in TOKEN_HERE.
$ kubectl proxy
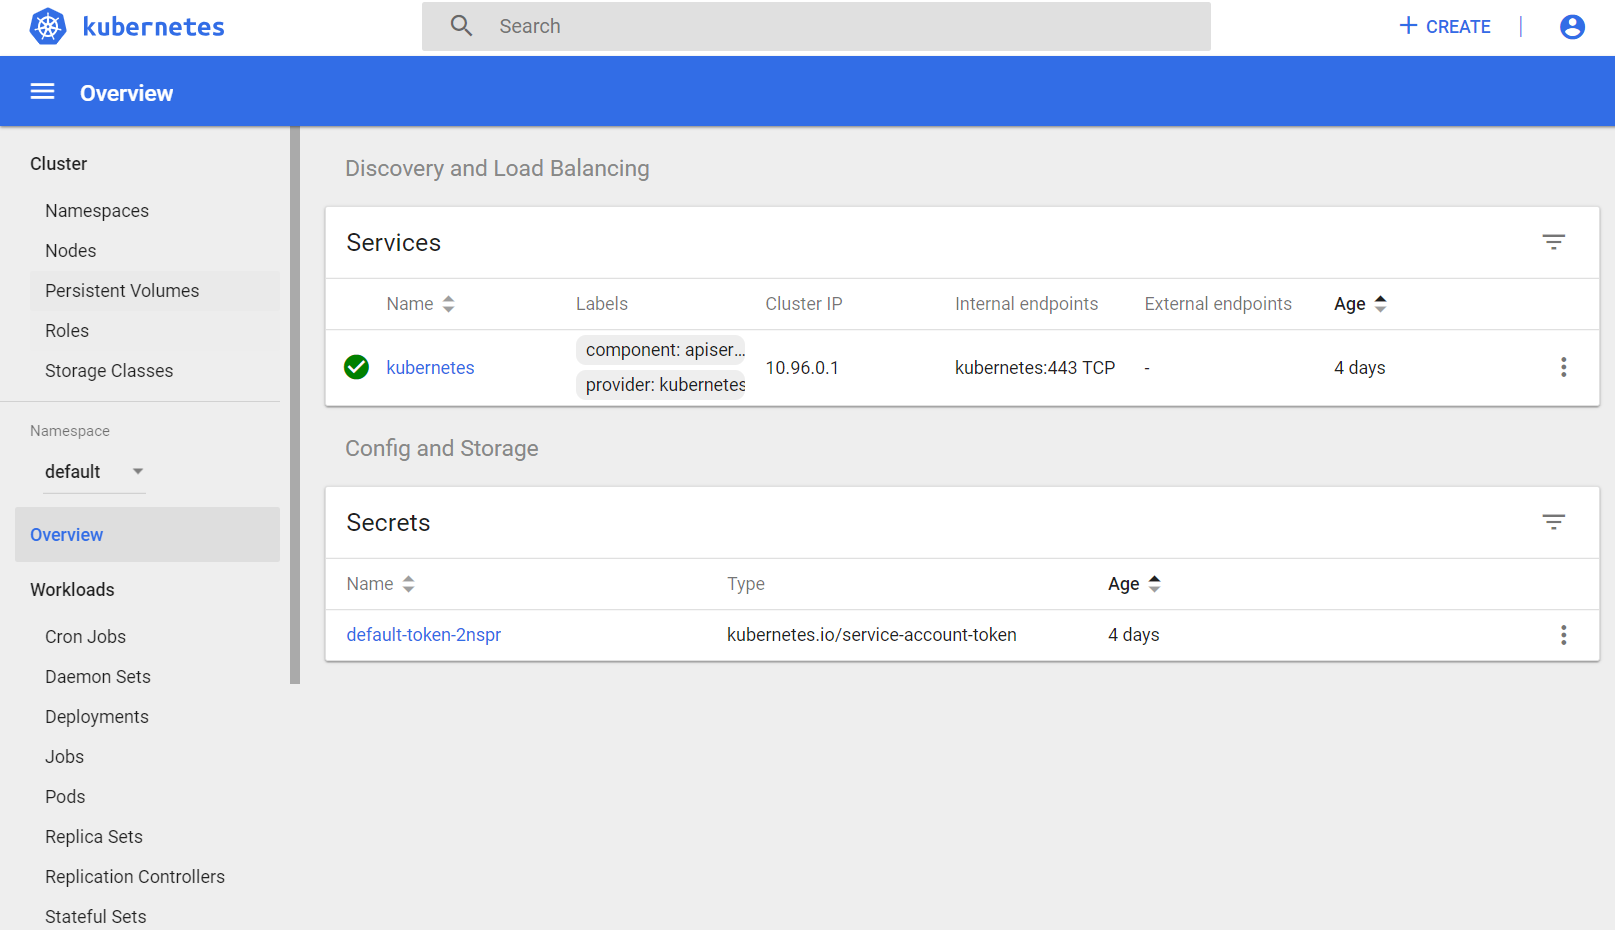
On http://localhost:8001/api/v1/namespaces/kube-system/services/https:kubernetes-dashboard:/proxy/#!/login. Then, the following page must show up on your browser:
Choose the option Token, paste TOKEN_HERE into the input box and click the button Sign In.
MIT License. Click here for more information about this license.


