ckw-ha-mqtt
Schickt PiFace Digital Daten via mqtt an einen mqtt-Broker und man kann somit via Homeassistant den Raspi steuern bzw. den Status der Ports abfragen.
Für Python 2.x
Vorarbeiten
Hardware
- Raspberry Pi 1
- PiFace Digital
Software
- Raspberry Pi OS auf SD-Karte
- SD-Karte in PC > leere "ssh"-Datei in boot-Partition erstellen
- Python 2.x
Installation auf Raspberry Pi 1
Konfiguration Raspi
sudo raspi-config
- Network Option > Hostname > "pischeune"
- Interfacing Options > SPI > enable
- reboot
Installation Softwarepakete
sudo apt install screen git python-pip
sudo pip install pifacecommon
sudo pip install pifacedigitalio
sudo pip install paho-mqtt
sudo pip install gpiozero
Installation ckw-ha-mqtt
mkdir ~/src/
cd ~/src/
git clone https://github.com/ckarrie/ckw-ha-mqtt
Start und Start-Parameter
python ~/src/ckw-ha-mqtt/mqtt.py -i <IP Adress of MQTT broker> -t <MQTT root opic>
-i= IP-Adresse des MQTT-Brokers (z.B. mosquitto), Default ist192.168.178.71-t= Wurzel-Topic der MQTT-Message, Default istwinden
Autostart mit screen
-
crontab -e -
Add
@reboot sleep 60 && /usr/bin/screen -dmS py_mqtt python /home/pi/src/ckw-ha-mqtt/mqtt.py -i 192.168.178.71 -t myhomename -
Mittels
screen -r py_mqttkann nun direkt auf diescreen-Instanz zugegriffen werden (Debugging, Live-Logs)
Tests
python ~/src/ckw-ha-mqtt/test_piface.py
-
Press a button (input button) on the PiFace Digital board to get messages like:
pi@pischeune:~ $ python test_piface.py
[2020-12-02 14:29:12.932129] Switch 0 pressed
[2020-12-02 14:29:15.339102] Switch 0 released
[2020-12-02 14:29:18.342504] Switch 2 pressed
[2020-12-02 14:29:18.959153] Switch 2 released
[2020-12-02 14:29:21.842271] Switch 1 pressed
[2020-12-02 14:29:22.525871] Switch 1 released
[2020-12-02 14:29:25.063868] Switch 3 pressed
[2020-12-02 14:29:26.353478] Switch 3 released
Troubleshooting
Der Prozess bricht mit Ctrl-C nicht ab, daher muss er in einem neuen Terminal mitels killall -9 python gekilled werden
Integration in Homeassistant
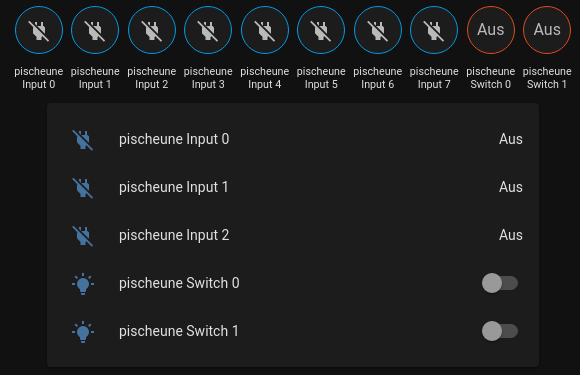
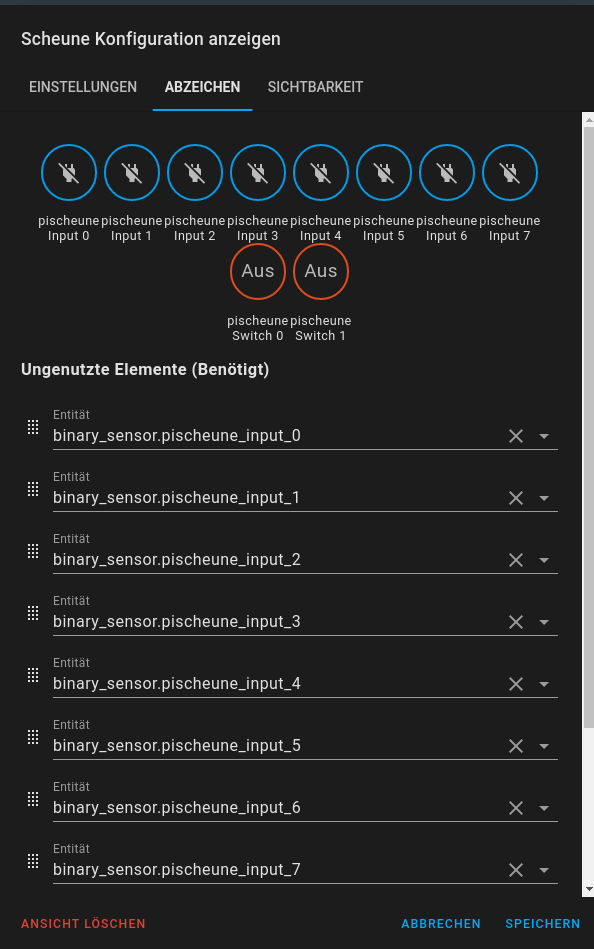
Der Input-Status steht nun als binary_sensor zur Verfügung, z.B. falls der Hostname vom Rasperry
"pischeune" ist, steht nun die Entität binary_sensor.pischeune_input_0 für Input 0 bereit.
Entities-Card
cards:
  - type: entities
    entities:
      - entity: binary_sensor.pischeune_input_0
      - entity: binary_sensor.pischeune_input_1
      - entity: binary_sensor.pischeune_input_2
      - entity: switch.pischeune_switch_0
      - entity: switch.pischeune_switch_1
