| Status | |
|---|---|
| Travis CI (iOS) |  |
| Code Coverage (iOS) | |
| Code Quality (Swift) | |
| Code Quality (Java) |
Hey! This is a GroupLock project. This will allow you (in near future) to stay non-stressed about your file you sent to your mum.
For building the crypto library we use CMake as frontend.
CMake is used to control the software compilation process using simple platform and compiler independent configuration files, and generate native makefiles and workspaces that can be used in the compiler environment of your choice.
So, using CMake not only can you generate Unix Makefiles to build and test the project using make and make test commands, but also generate fully functional MS Visual Studio projects or Apple Xcode projects, so you can keep developing using an IDE you like.
All the configuration settings are in the CMakeLists.txt file.
First of all, you need to install CMake. Download it for your platform from here and install. As soon as you did, follow these steps:
- Open CMake app.
- In the first line (for source code) paste a path to wherever a top-level
CMakeLists.txtfile is located, namelyGroupLockCryptodirectory. - In the second line (for binaries) paste a path to the
Builddirectory.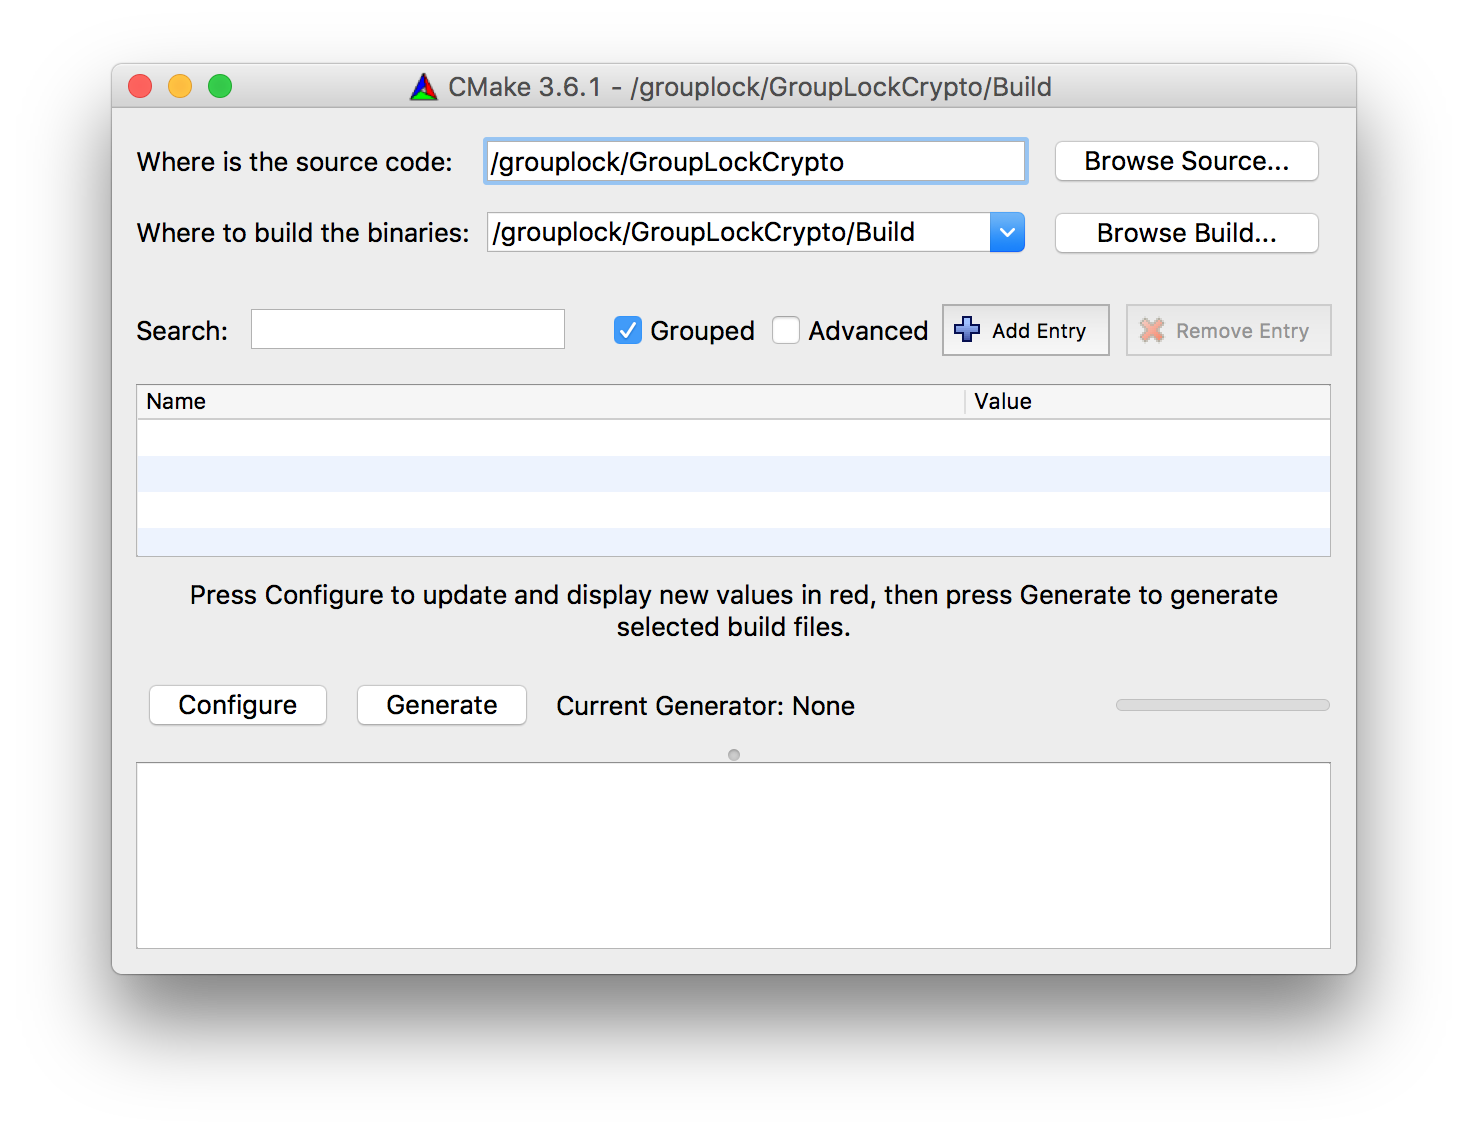
- Click Configure. Choose what you want CMake to generate: Visual Studio project, Makefile or something else.
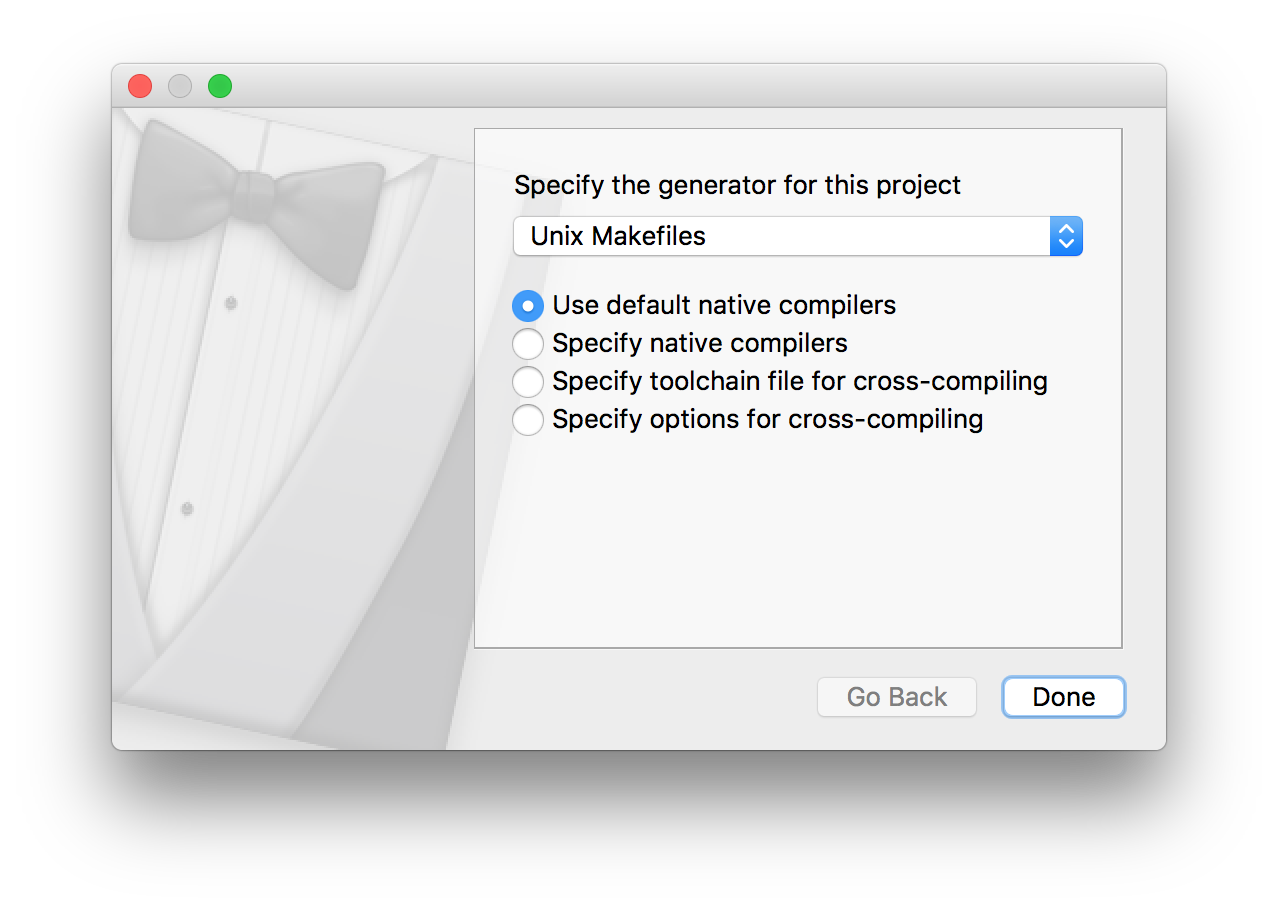
- When configuration succeeds, click Generate. After that something appears in the
Builddirectory depending on what you've chosen to generate.


- Make sure CMake command line tools are installed and install them if they're not (Tools → How To Install For Command Line Use)
- Navigate to the
Builddirectory (namelyGroupLockCrypto/Build) - Execute the
cmake ..(note the points!) command if you want to generate the default solution — Makefile. Otherwise executecmake .. -G <generator name>. Substitute<generator name>for"Visual Studio 15"orXcodeor whatever you want.
When it's done and all the necessary files are generated, you can work on the project in a way you like. Just make sure that source files never escape the Source directory, because in the current configuration CMake looks for all the *.h and *.cpp files located inside it.
Important note: Don't commit anything generated by CMake. Just don't. After you've generated your favorite IDE project, you can add, delete and modify any source files (again, just as long as they're inside Source/), commit, push and pull those changes. If something changes in the CMakeLists.txt file, CMake automatically reconfigures and regenerates as soon as you hit Build, so no point in keeping build files in the repo.
- Download Java Development Kit.
- Download Android Studio
- Sign up for genymotion.com and download Genymotion with VirtualBox
- Install JDK
- Install Android Studio
- Install VirtualBox and Genymotion. After installation run Genymotion and add virtual device.
Run Android Studio.
- Go to File → Open, choose GroupLockApplication and press OK
- Go to Preferences → Plugins and click Browse Repositories, then look for Genymotion. Right click and choose Download and Install.
- Restart Android Studio. You should see a new icon (Genymotion Device Manager) in your IDE.
- Open Genymotion Device Manager and start your virtual device.
- In Android Studio, press the Play or Debug button, and you should see the dialog that asks you to choose an emulator. One of them will be the Genymotion emulator. After you choose that emulator and press OK, it will run the application in the Genymotion emulator.
For building an app on iOS you need a Mac with Xcode intalled on it. You can get Xcode from Mac App Store.
- Make sure you have the latest version of CocoaPods intalled. In order to install CocoaPods open Terminal and execute the following command:
$ sudo gem install cocoapods - Clone the repository and go to
GroupLockiOSdirectory in Terminal. - Execute
$ pod install. All the needed dependencies will be installed. - The project is ready to work with.
Important: use GroupLock.xcworkspace file, not GroupLock.xcodeproj!