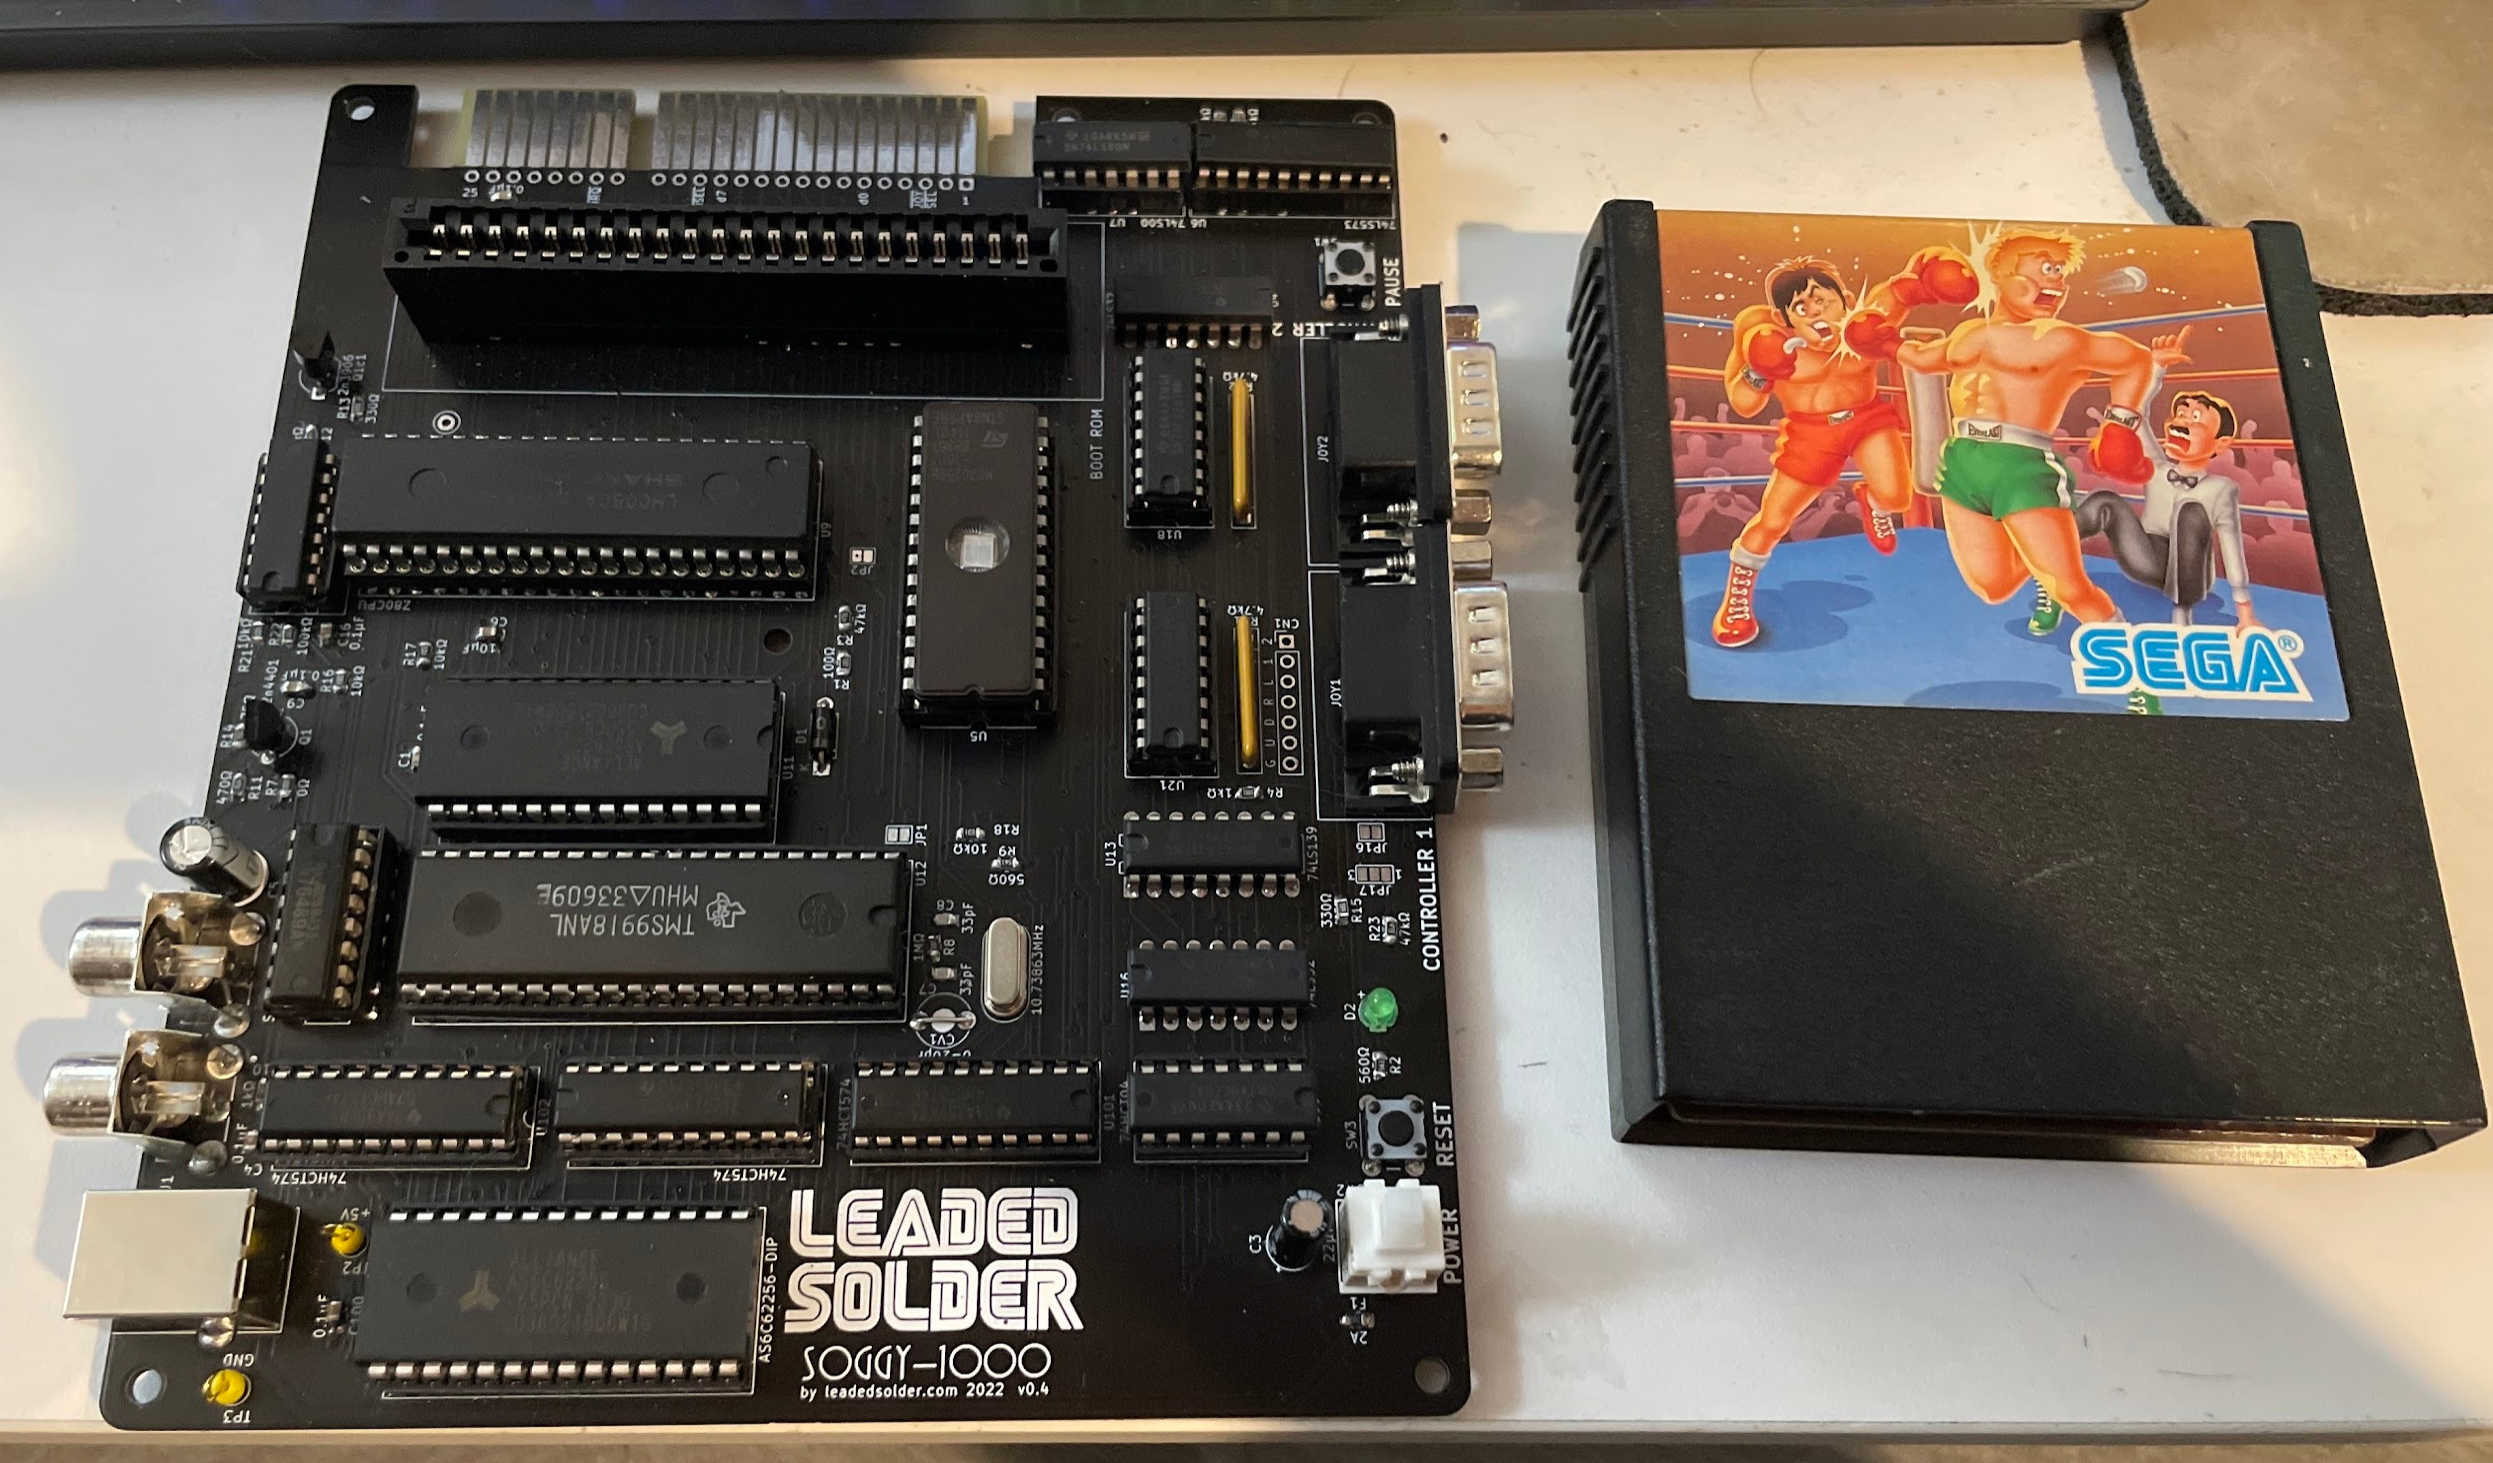
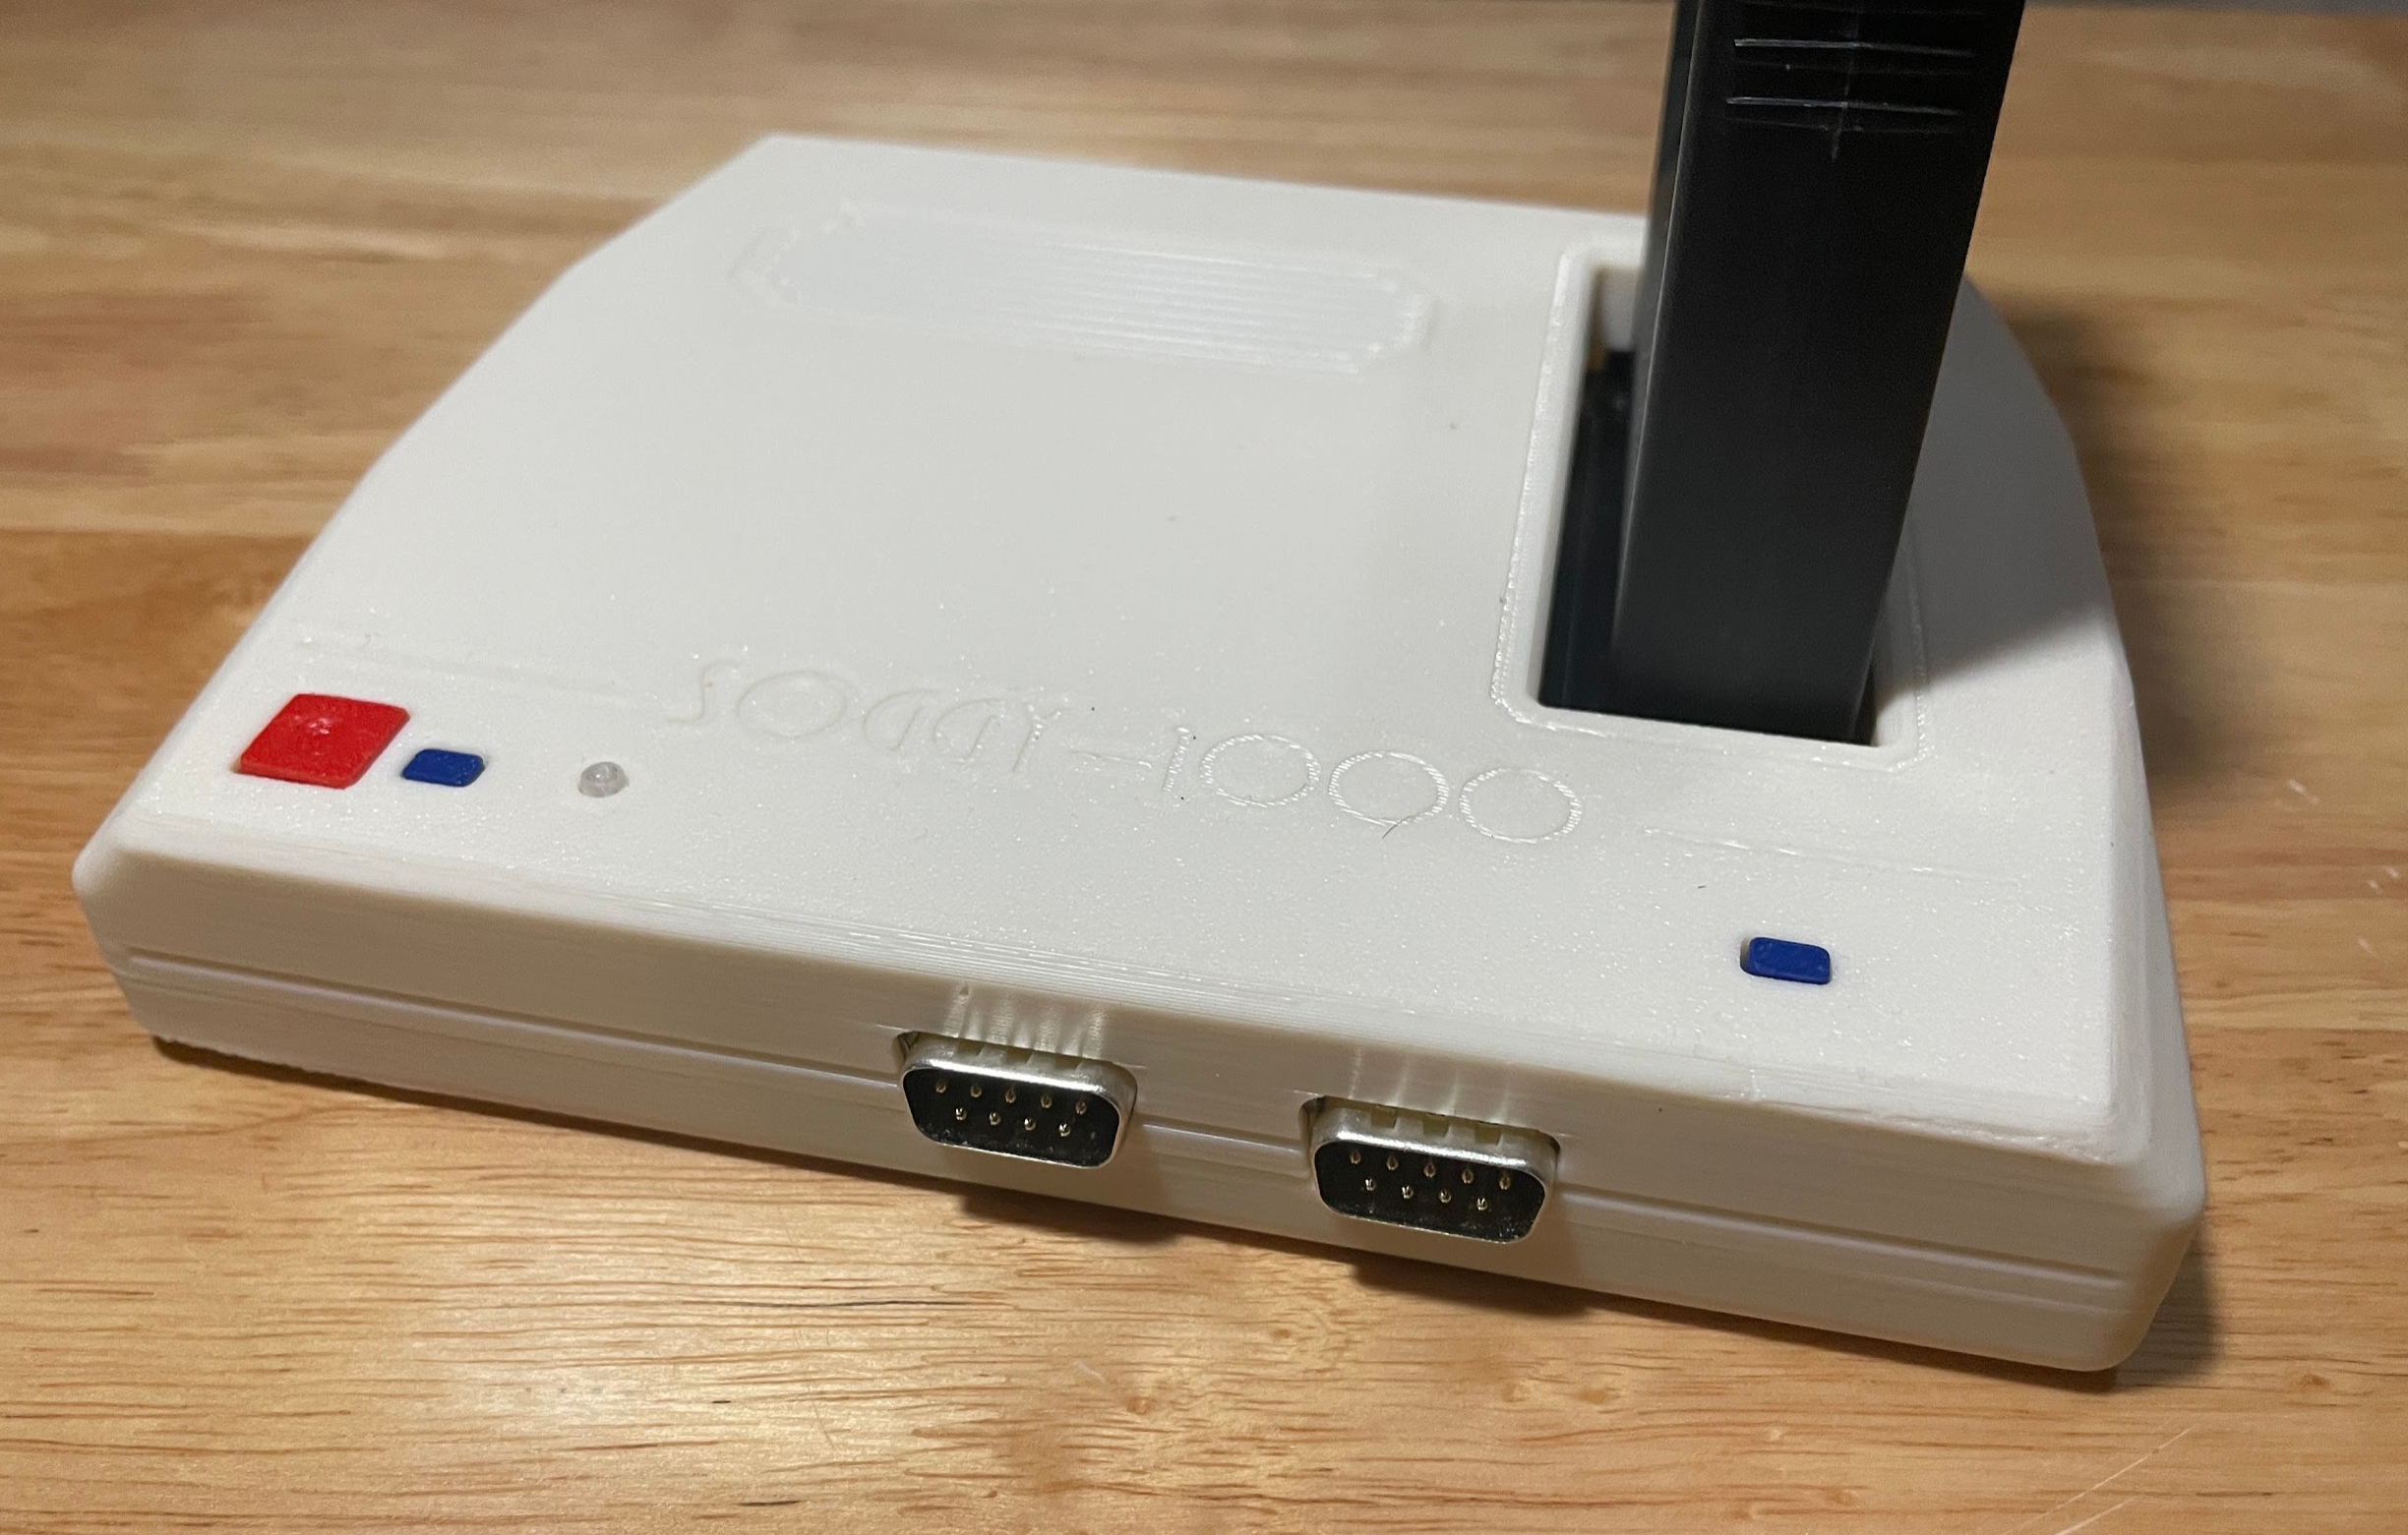
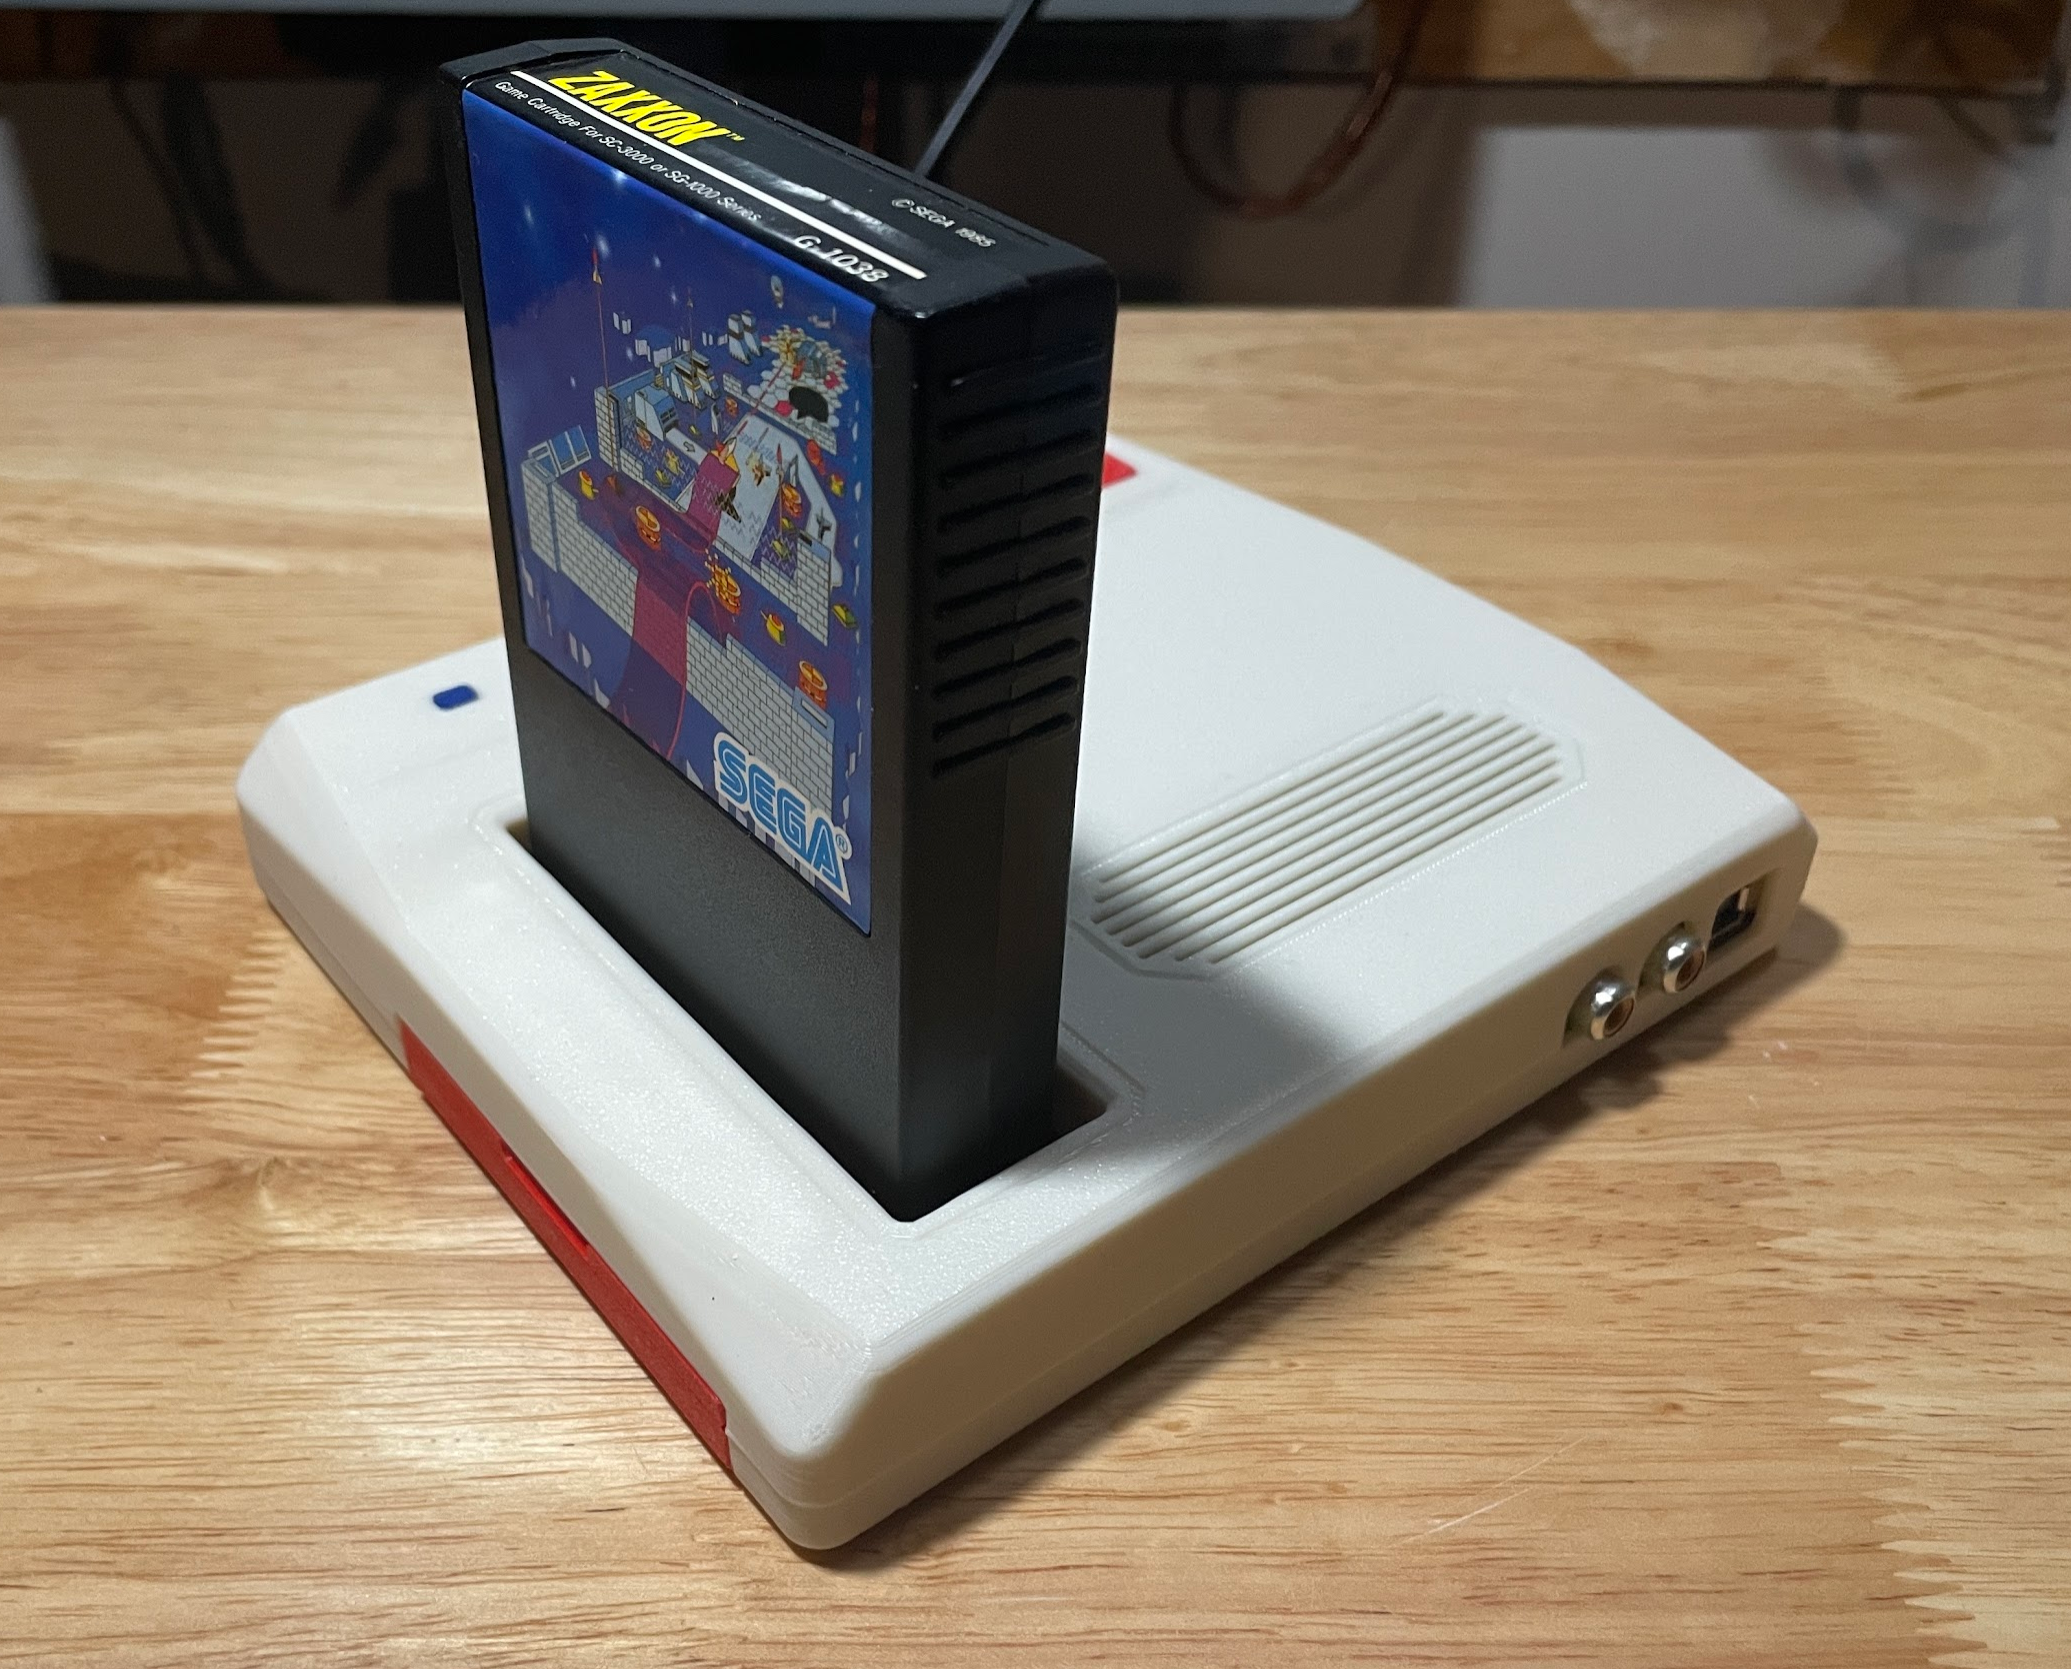
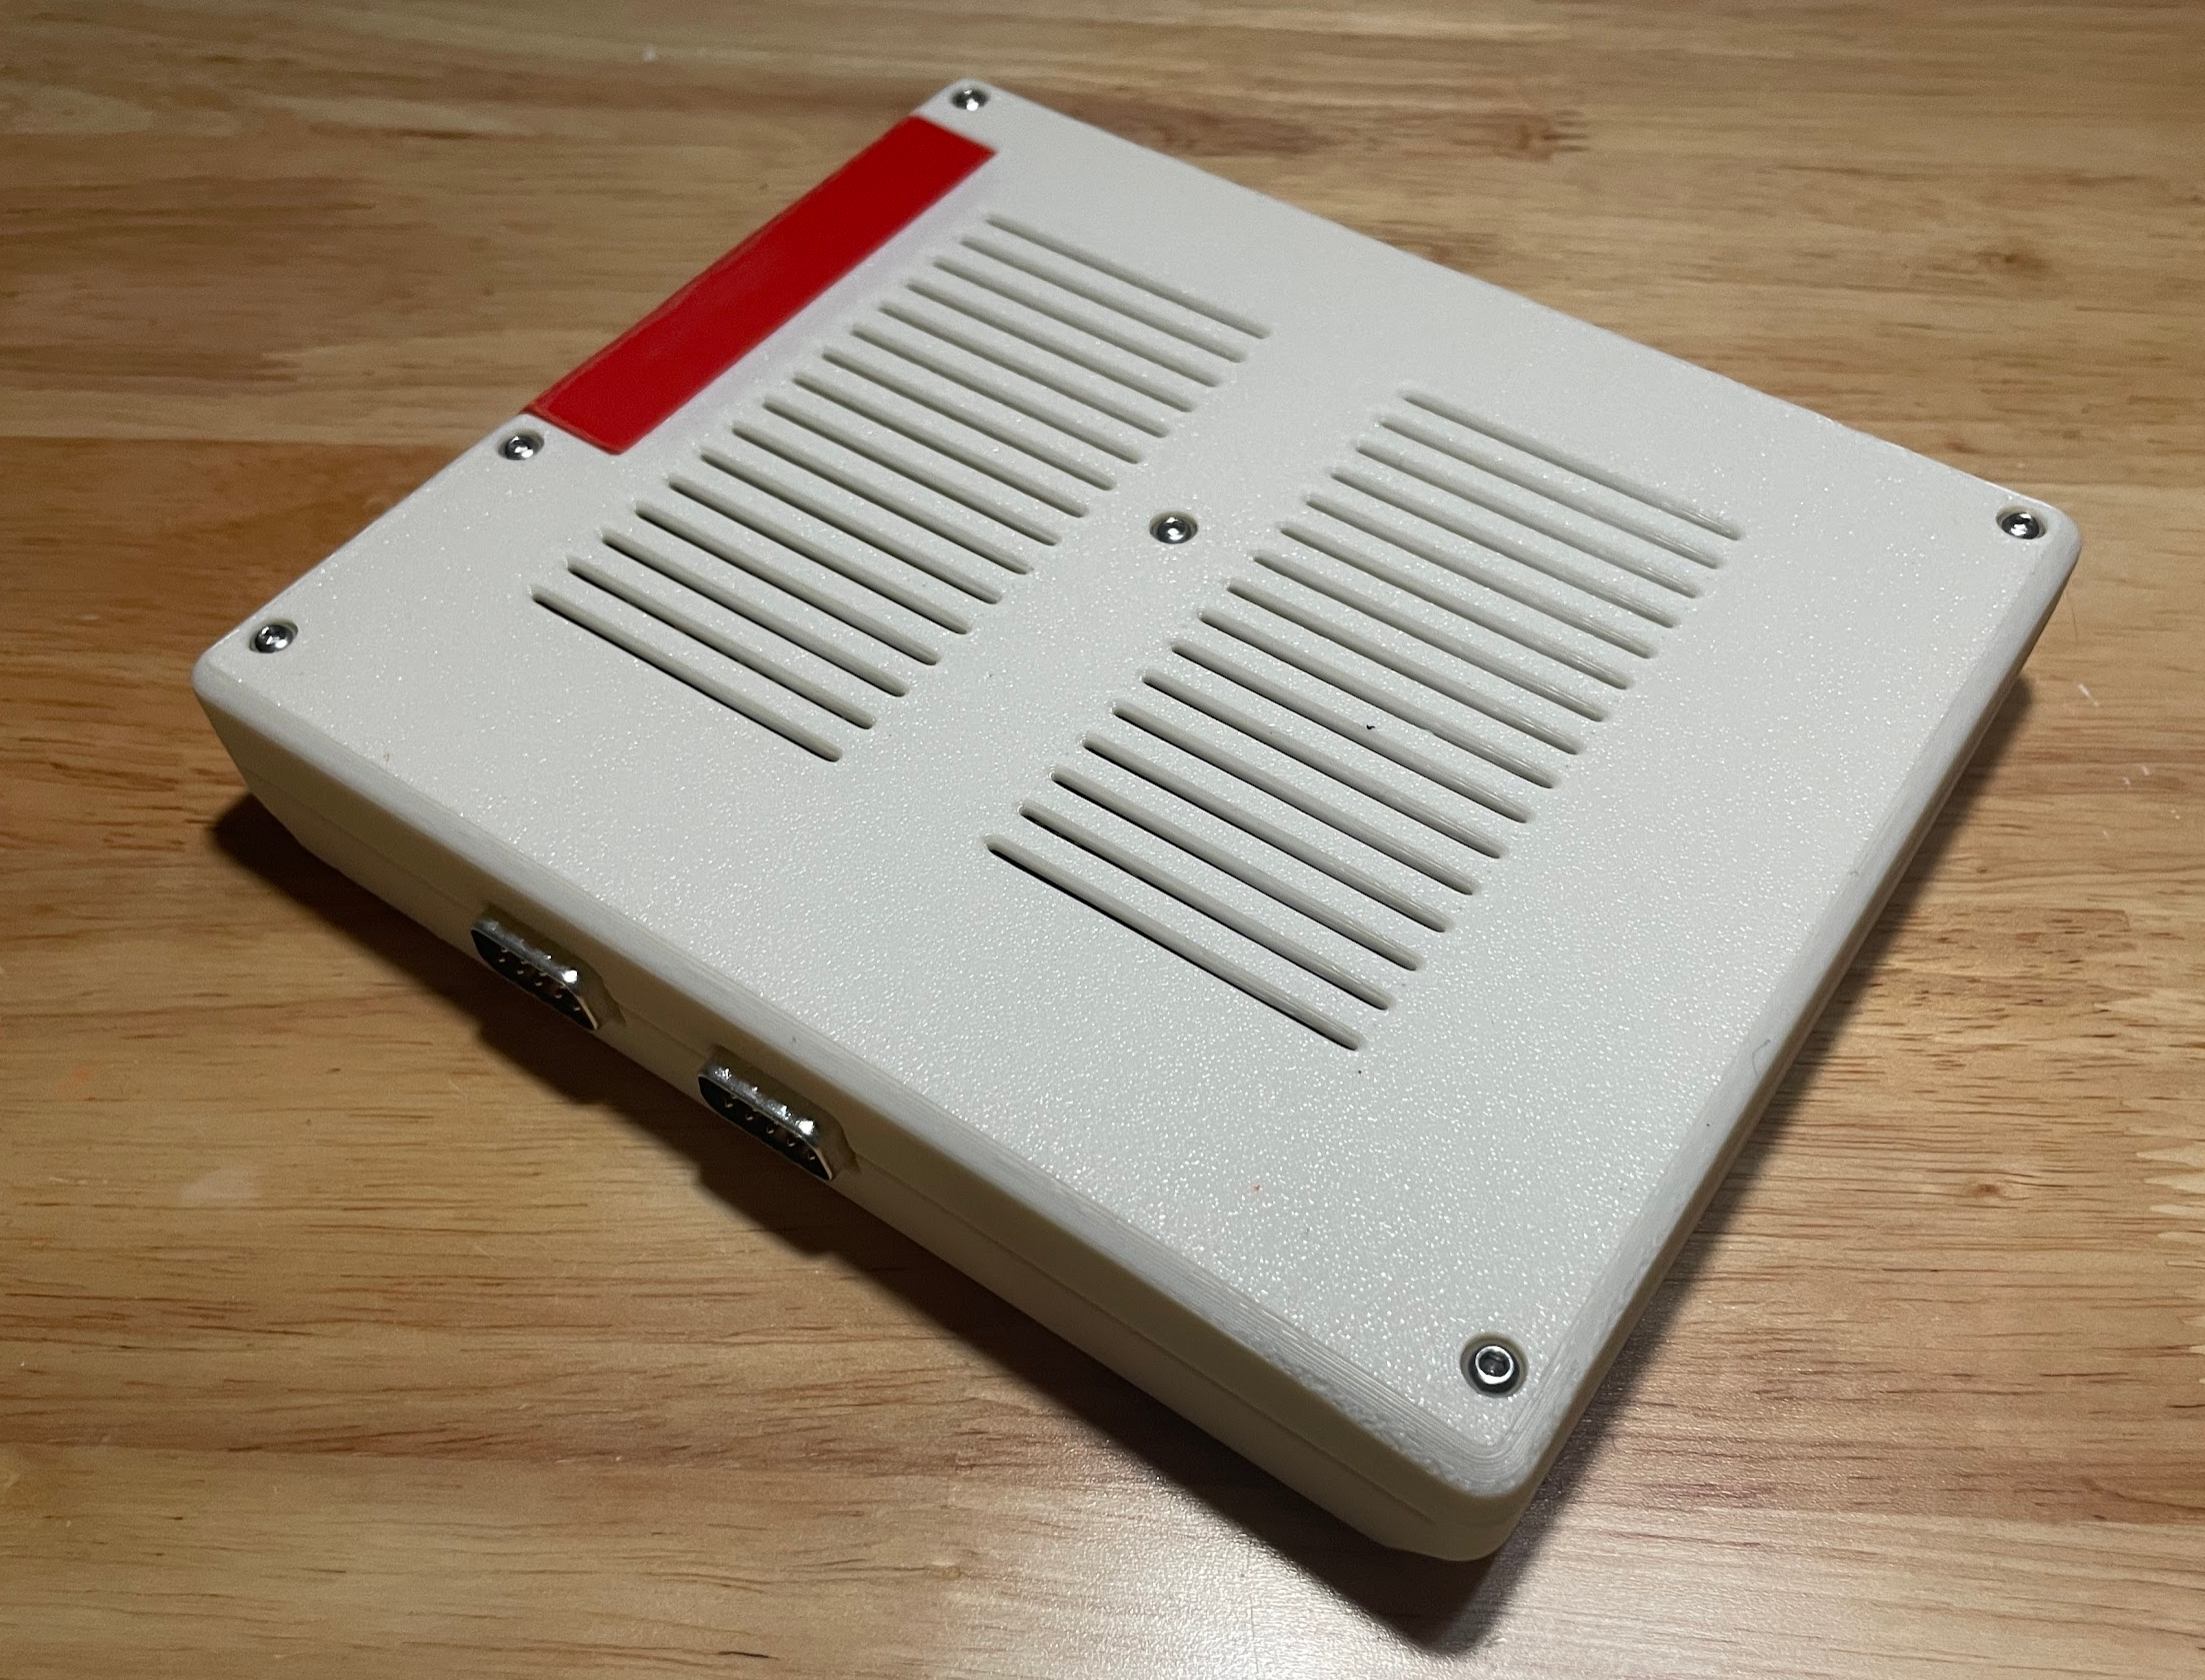
It seems like the absolute worst thing you can do (for my general productivity) is hand me a board for something. First, unless it's a positively massive number of components, it's almost certain that I'm going to build the thing. This is exactly what happened when I was handed a Soggy-1000 v0.4, albeit with a couple of parts that didn't work out of the gate and a couple things I broke during the build, benevolently resolved for me by the Soggy's designer. (Thanks!)
So, with the board assembled, we hook up USB for power, RCA audio and video, and the SJ-150 from my Mark III, and turn it on. Let's see what happens!
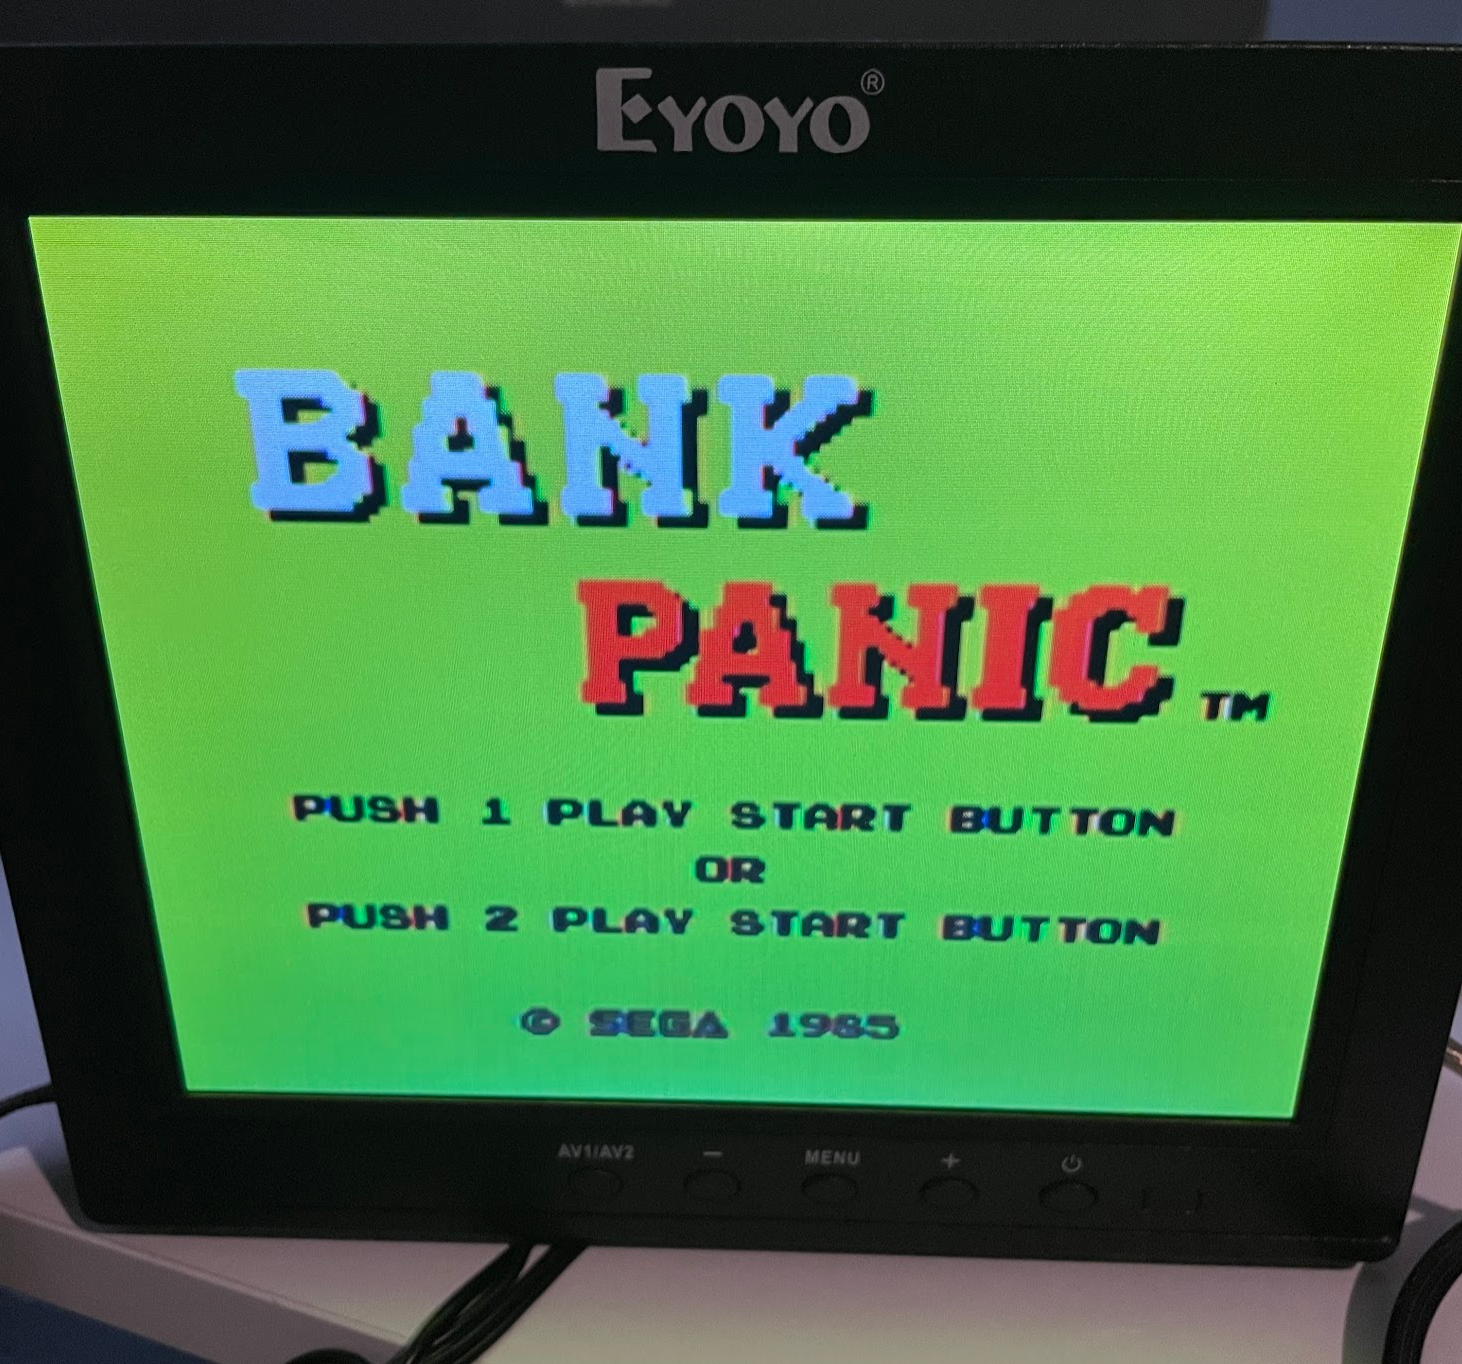
It works! Here's Bank Panic, running from the onboard 27C256 ROM, as a test. Then, we drop in the cartridge.
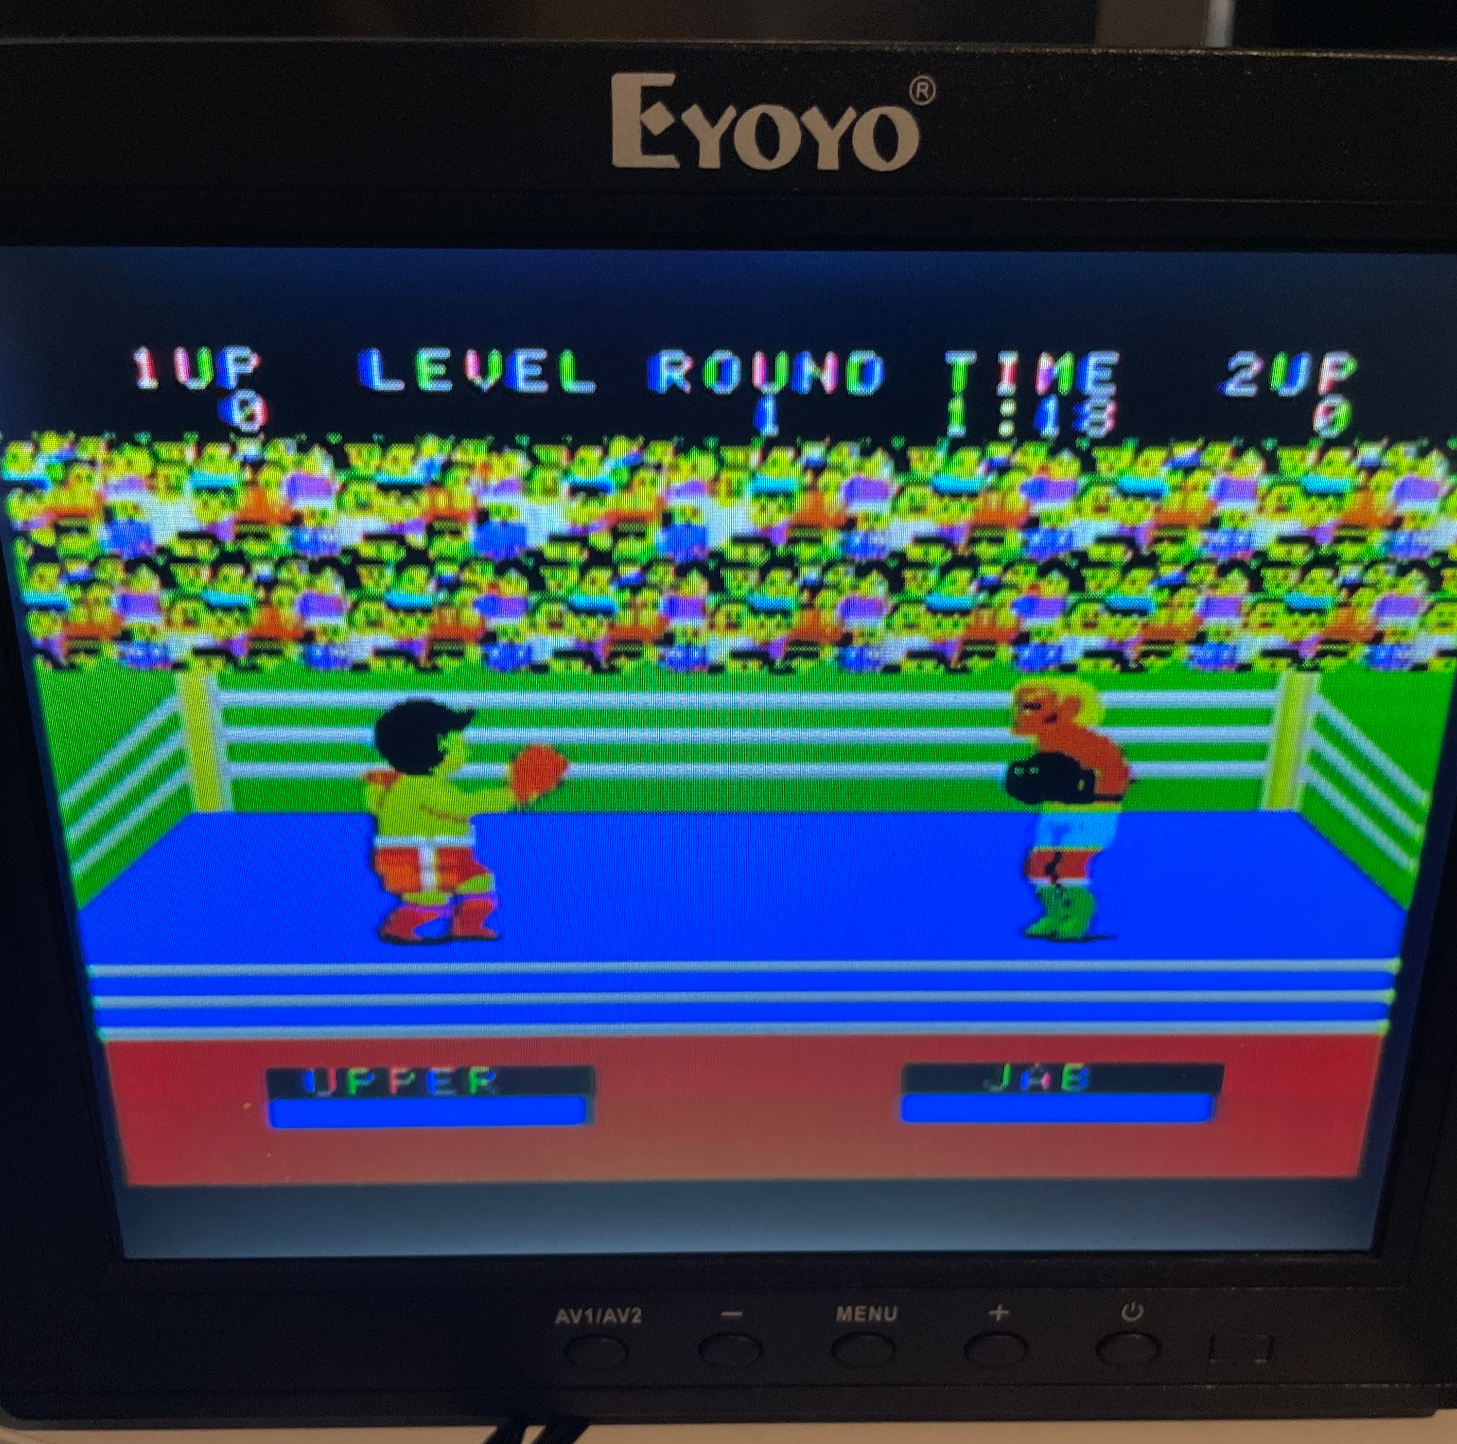
Yep, cartridge works fine, too. Great, I now have...a working SG-1000 clone. I don't have a particular interest in the SG-1000, but it's a fun novelty, at least. This, unfortunately, is where the madness in my brain begins to start seeping into things, because I look down at this thing, and all I can see is a bare PCB with stuff plugged into it, and something rooted deep in my psyche cannot tolerate that. The board was offered to me with little rubber feet on it, so that it wouldn't slide around, and I think that offer was the last straw.
It needs a case. Without a case, it's just a circuit board. You're always going to be gingerly picking it up and trying to figure out how to sit it on whatever surface is in front of your monitor, or you're going to go completely the other way, and it's just going to get tossed in a pile of crap. (Probably all of the other projects that you've built, which work, but again are just a board and tangle of wires.) This is where hobby projects end, and where they go to die. What am I going to do with an SG-1000 that I can see all the chips on any time I pull it out? I'm certainly not going to plug it in and use it, that's for sure.
Fortunately for me, I have two things to combat this: (heavily medicated) mania, and (medicated but still prevalent) ADHD. Smash cut to twelve hours later.
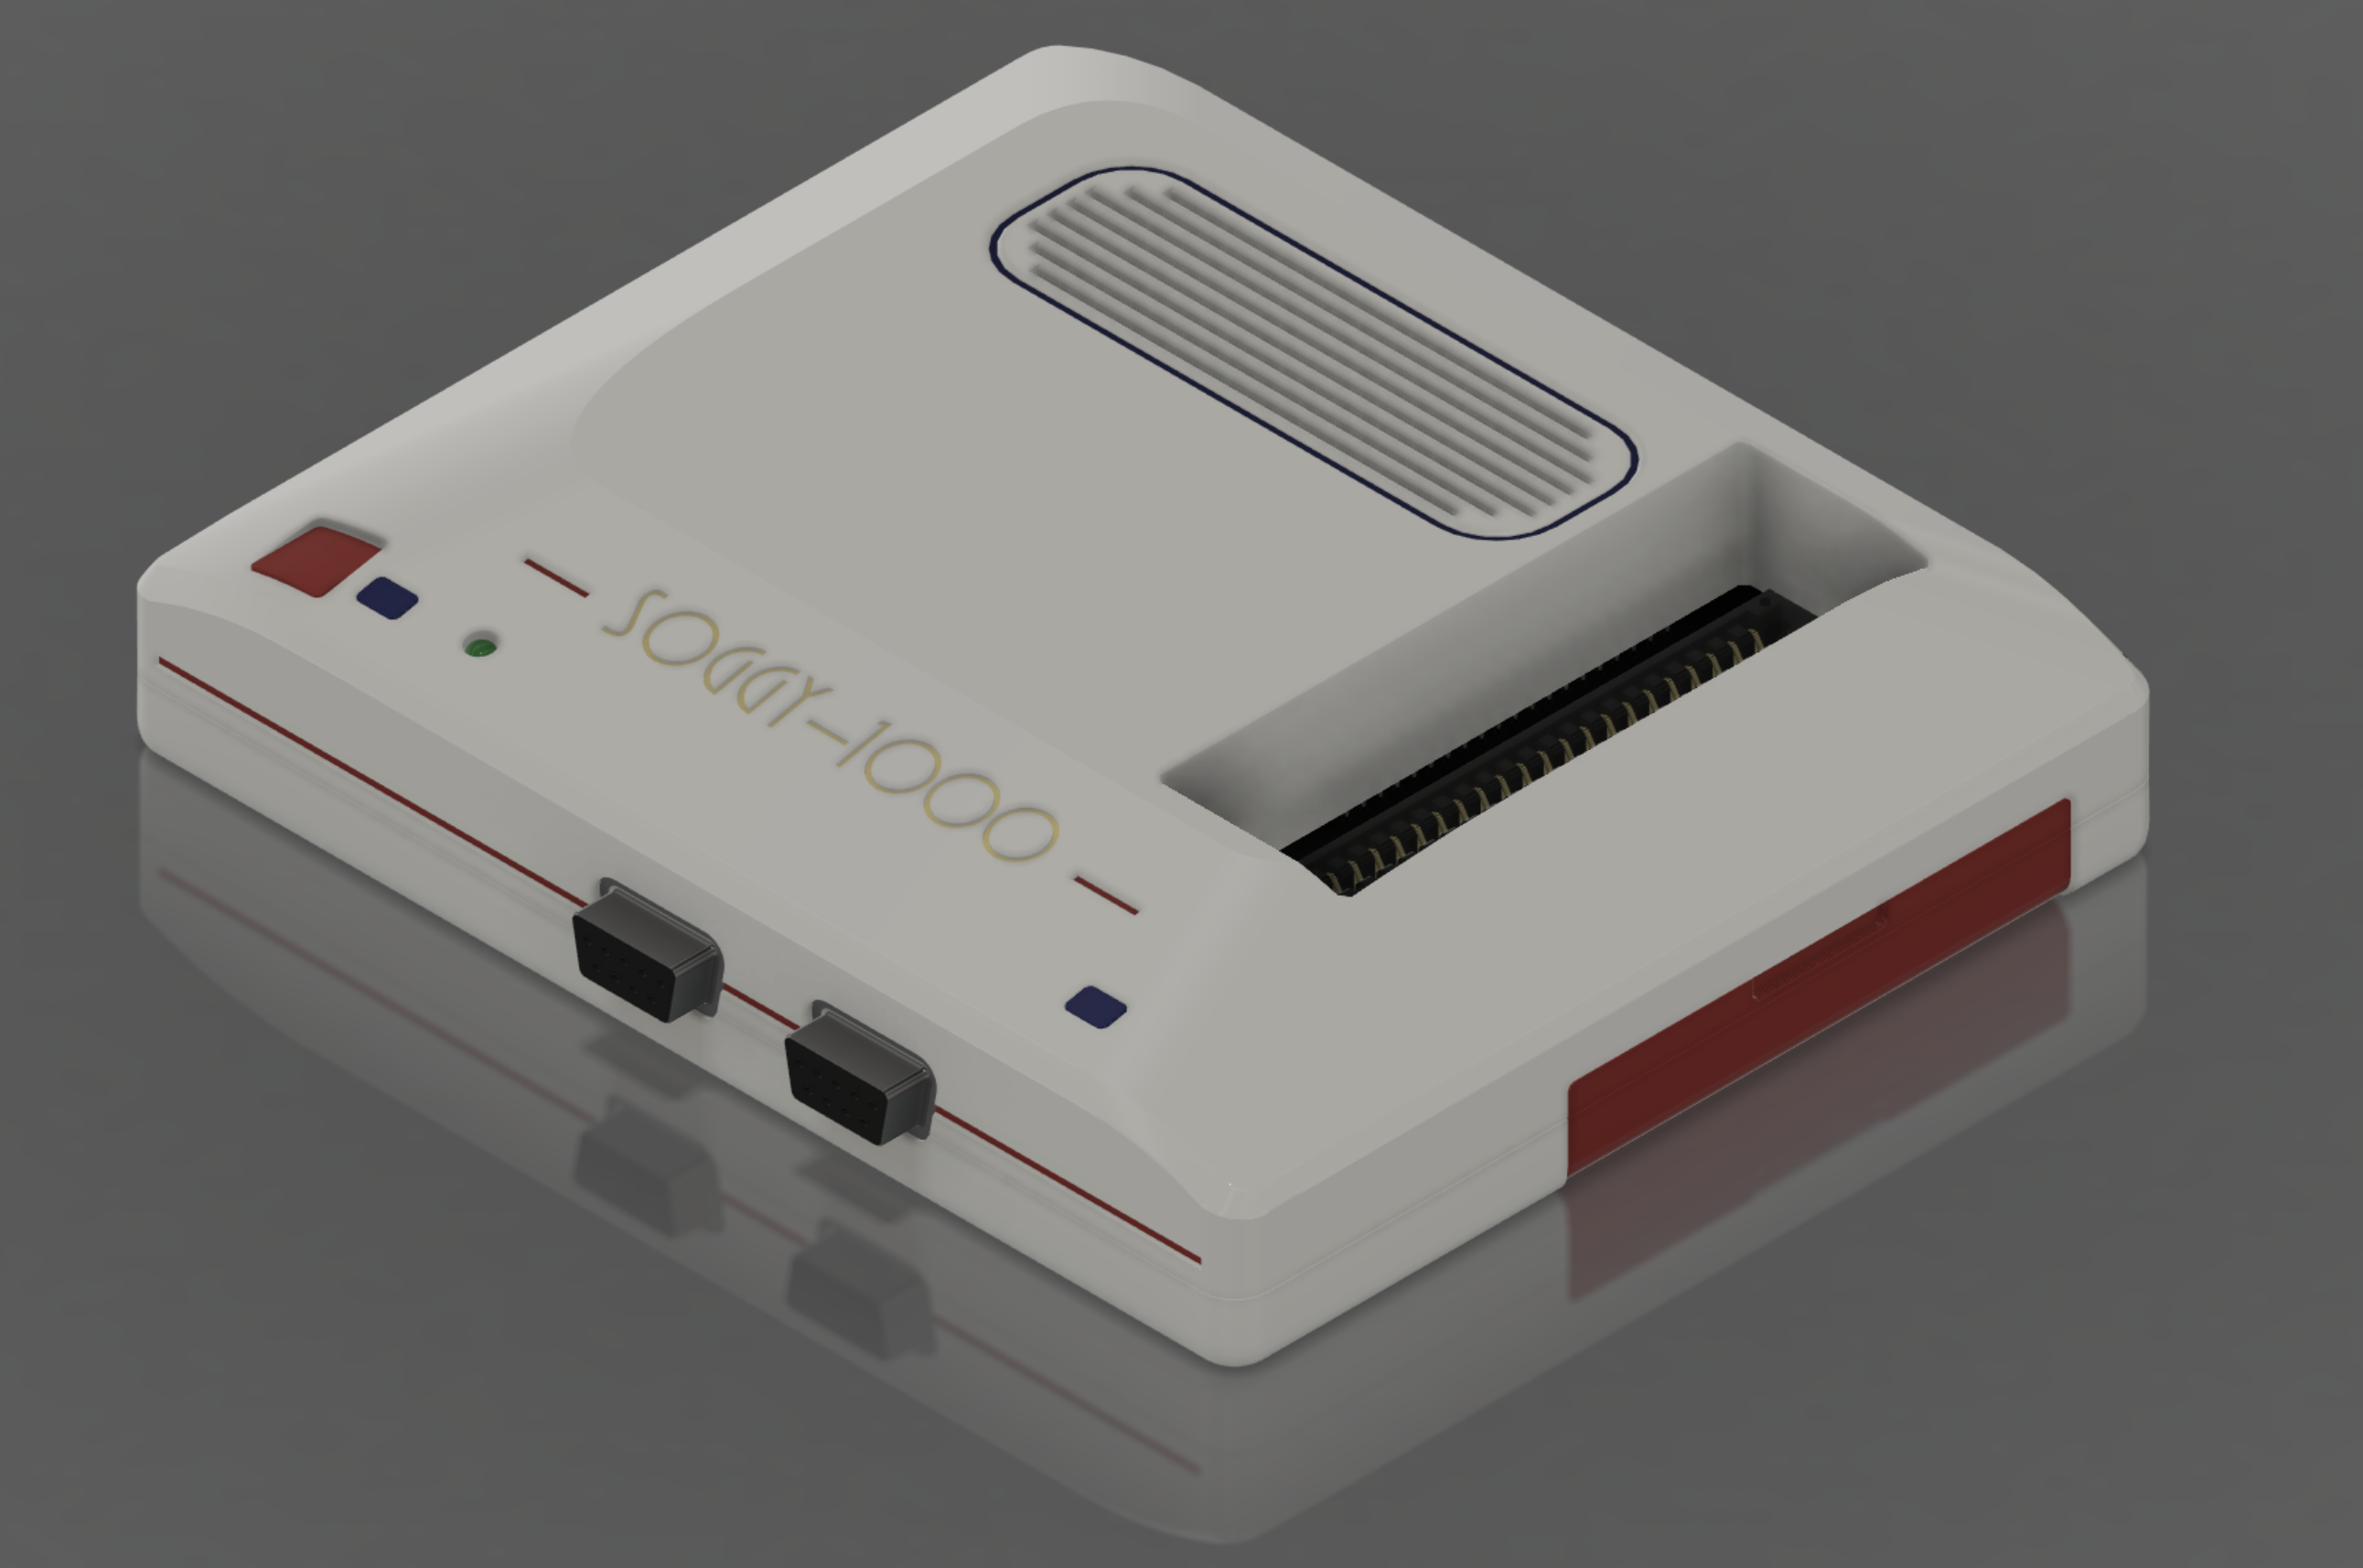
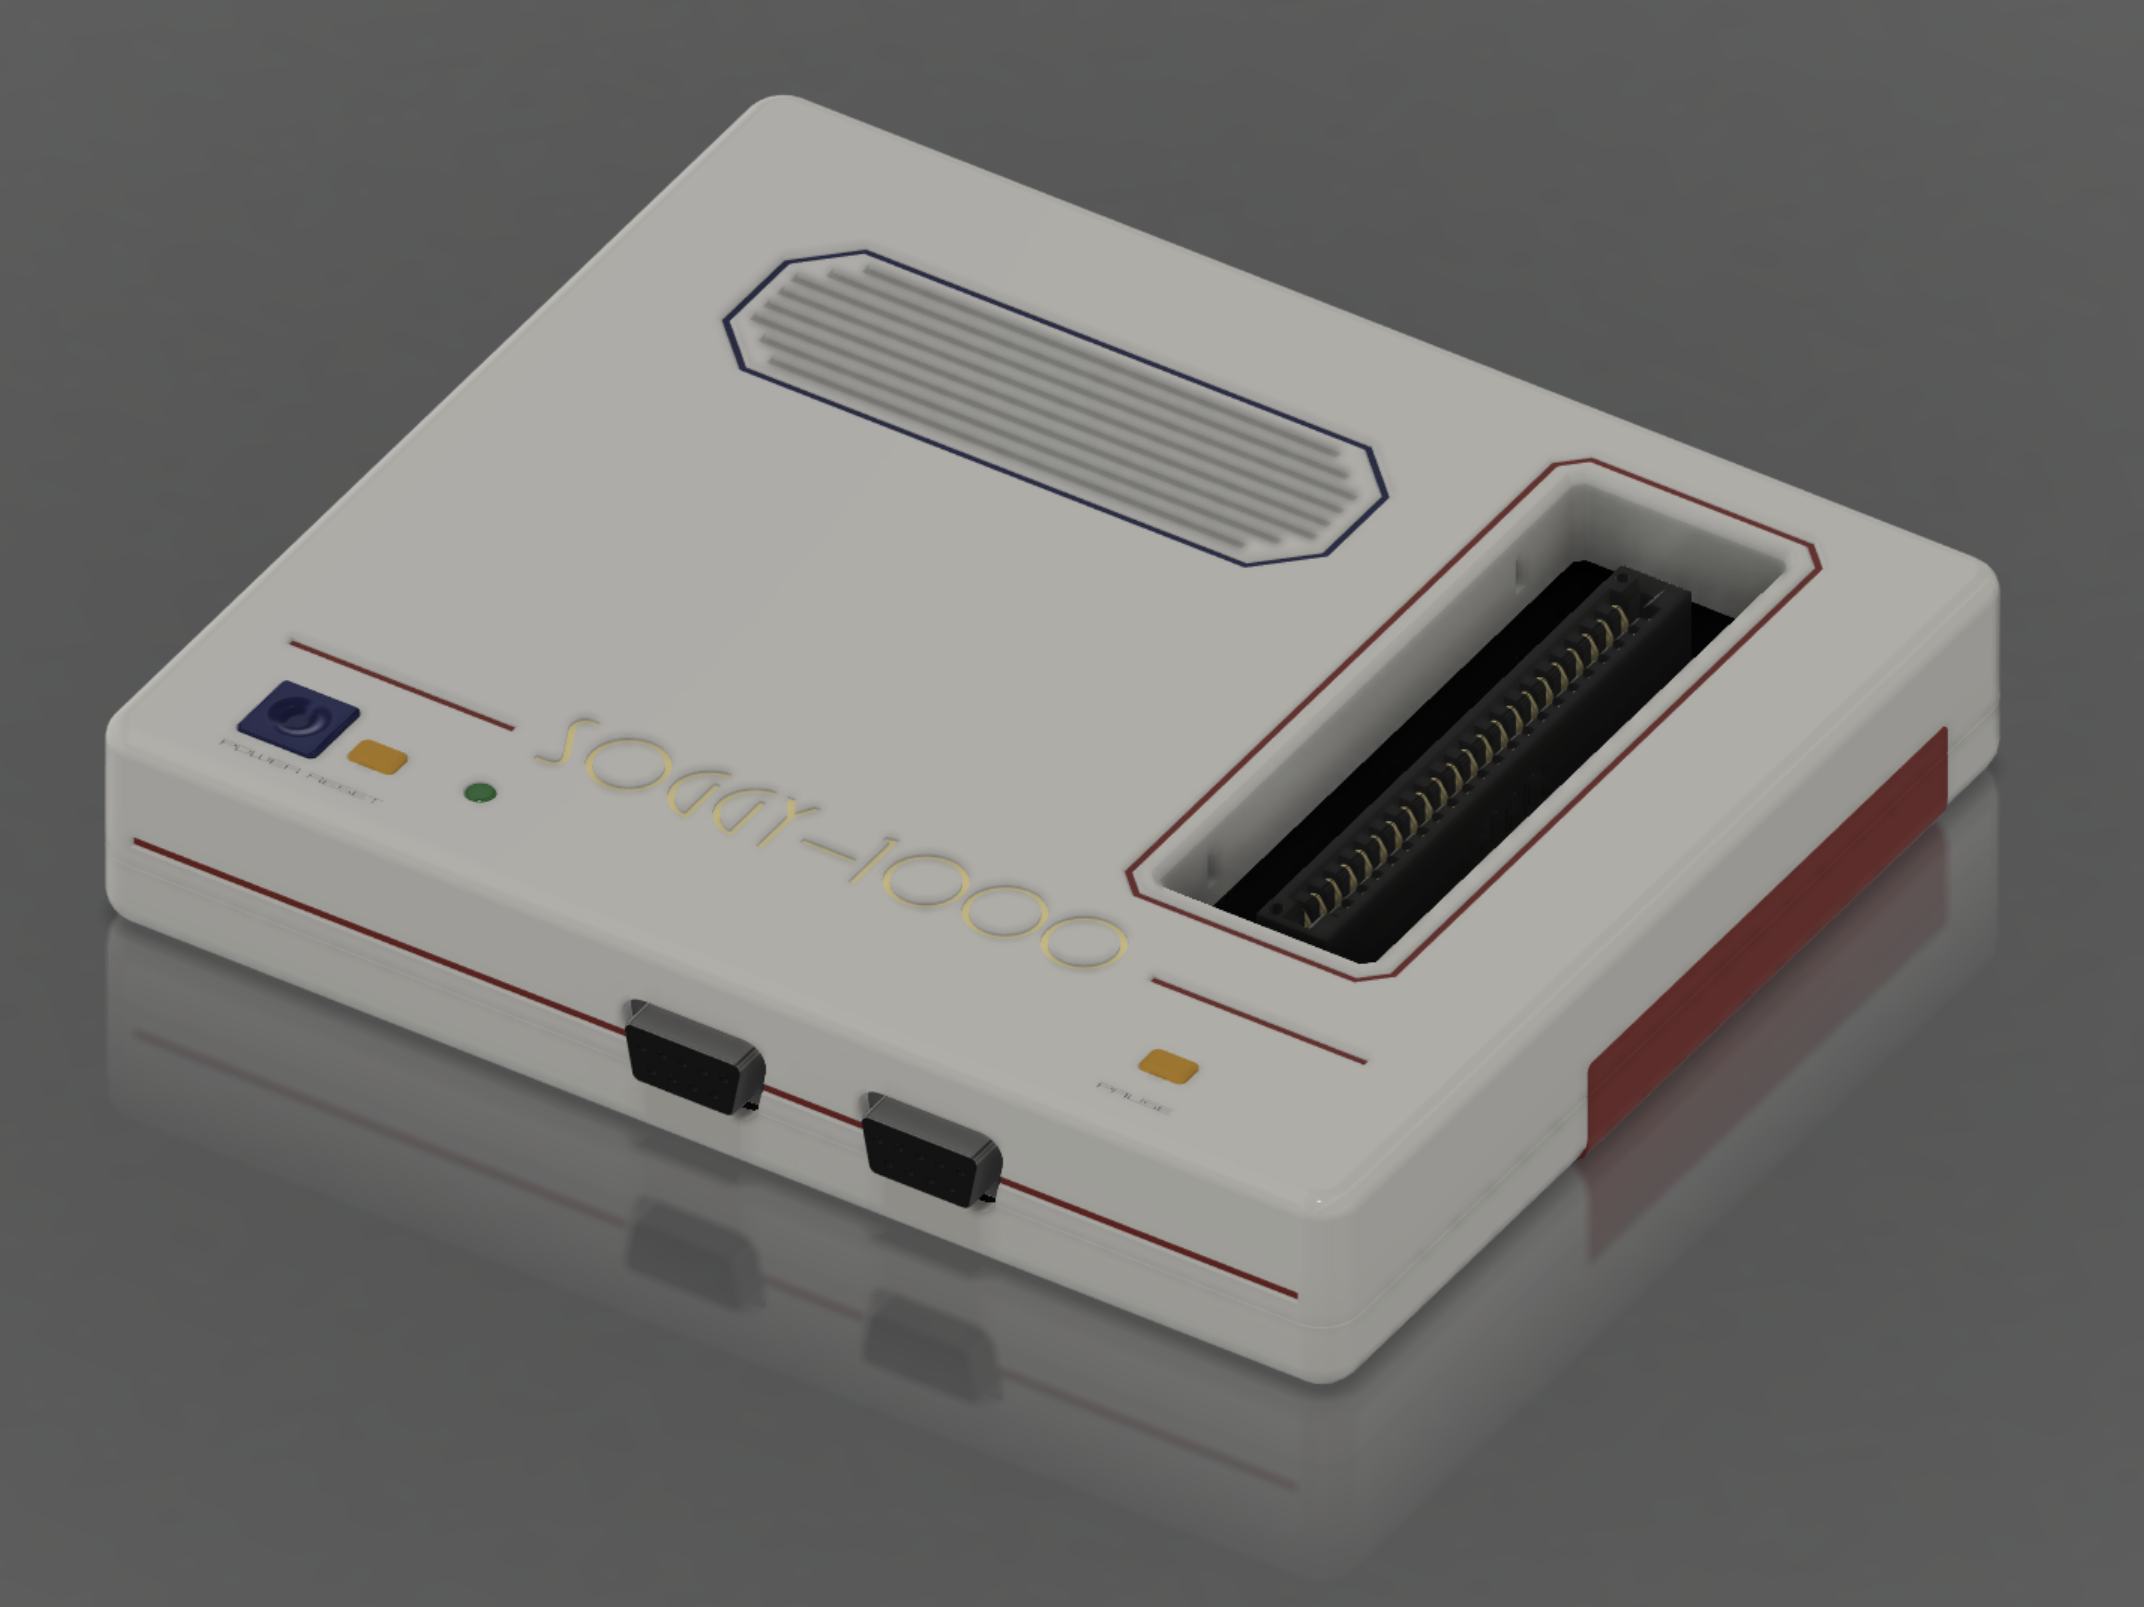
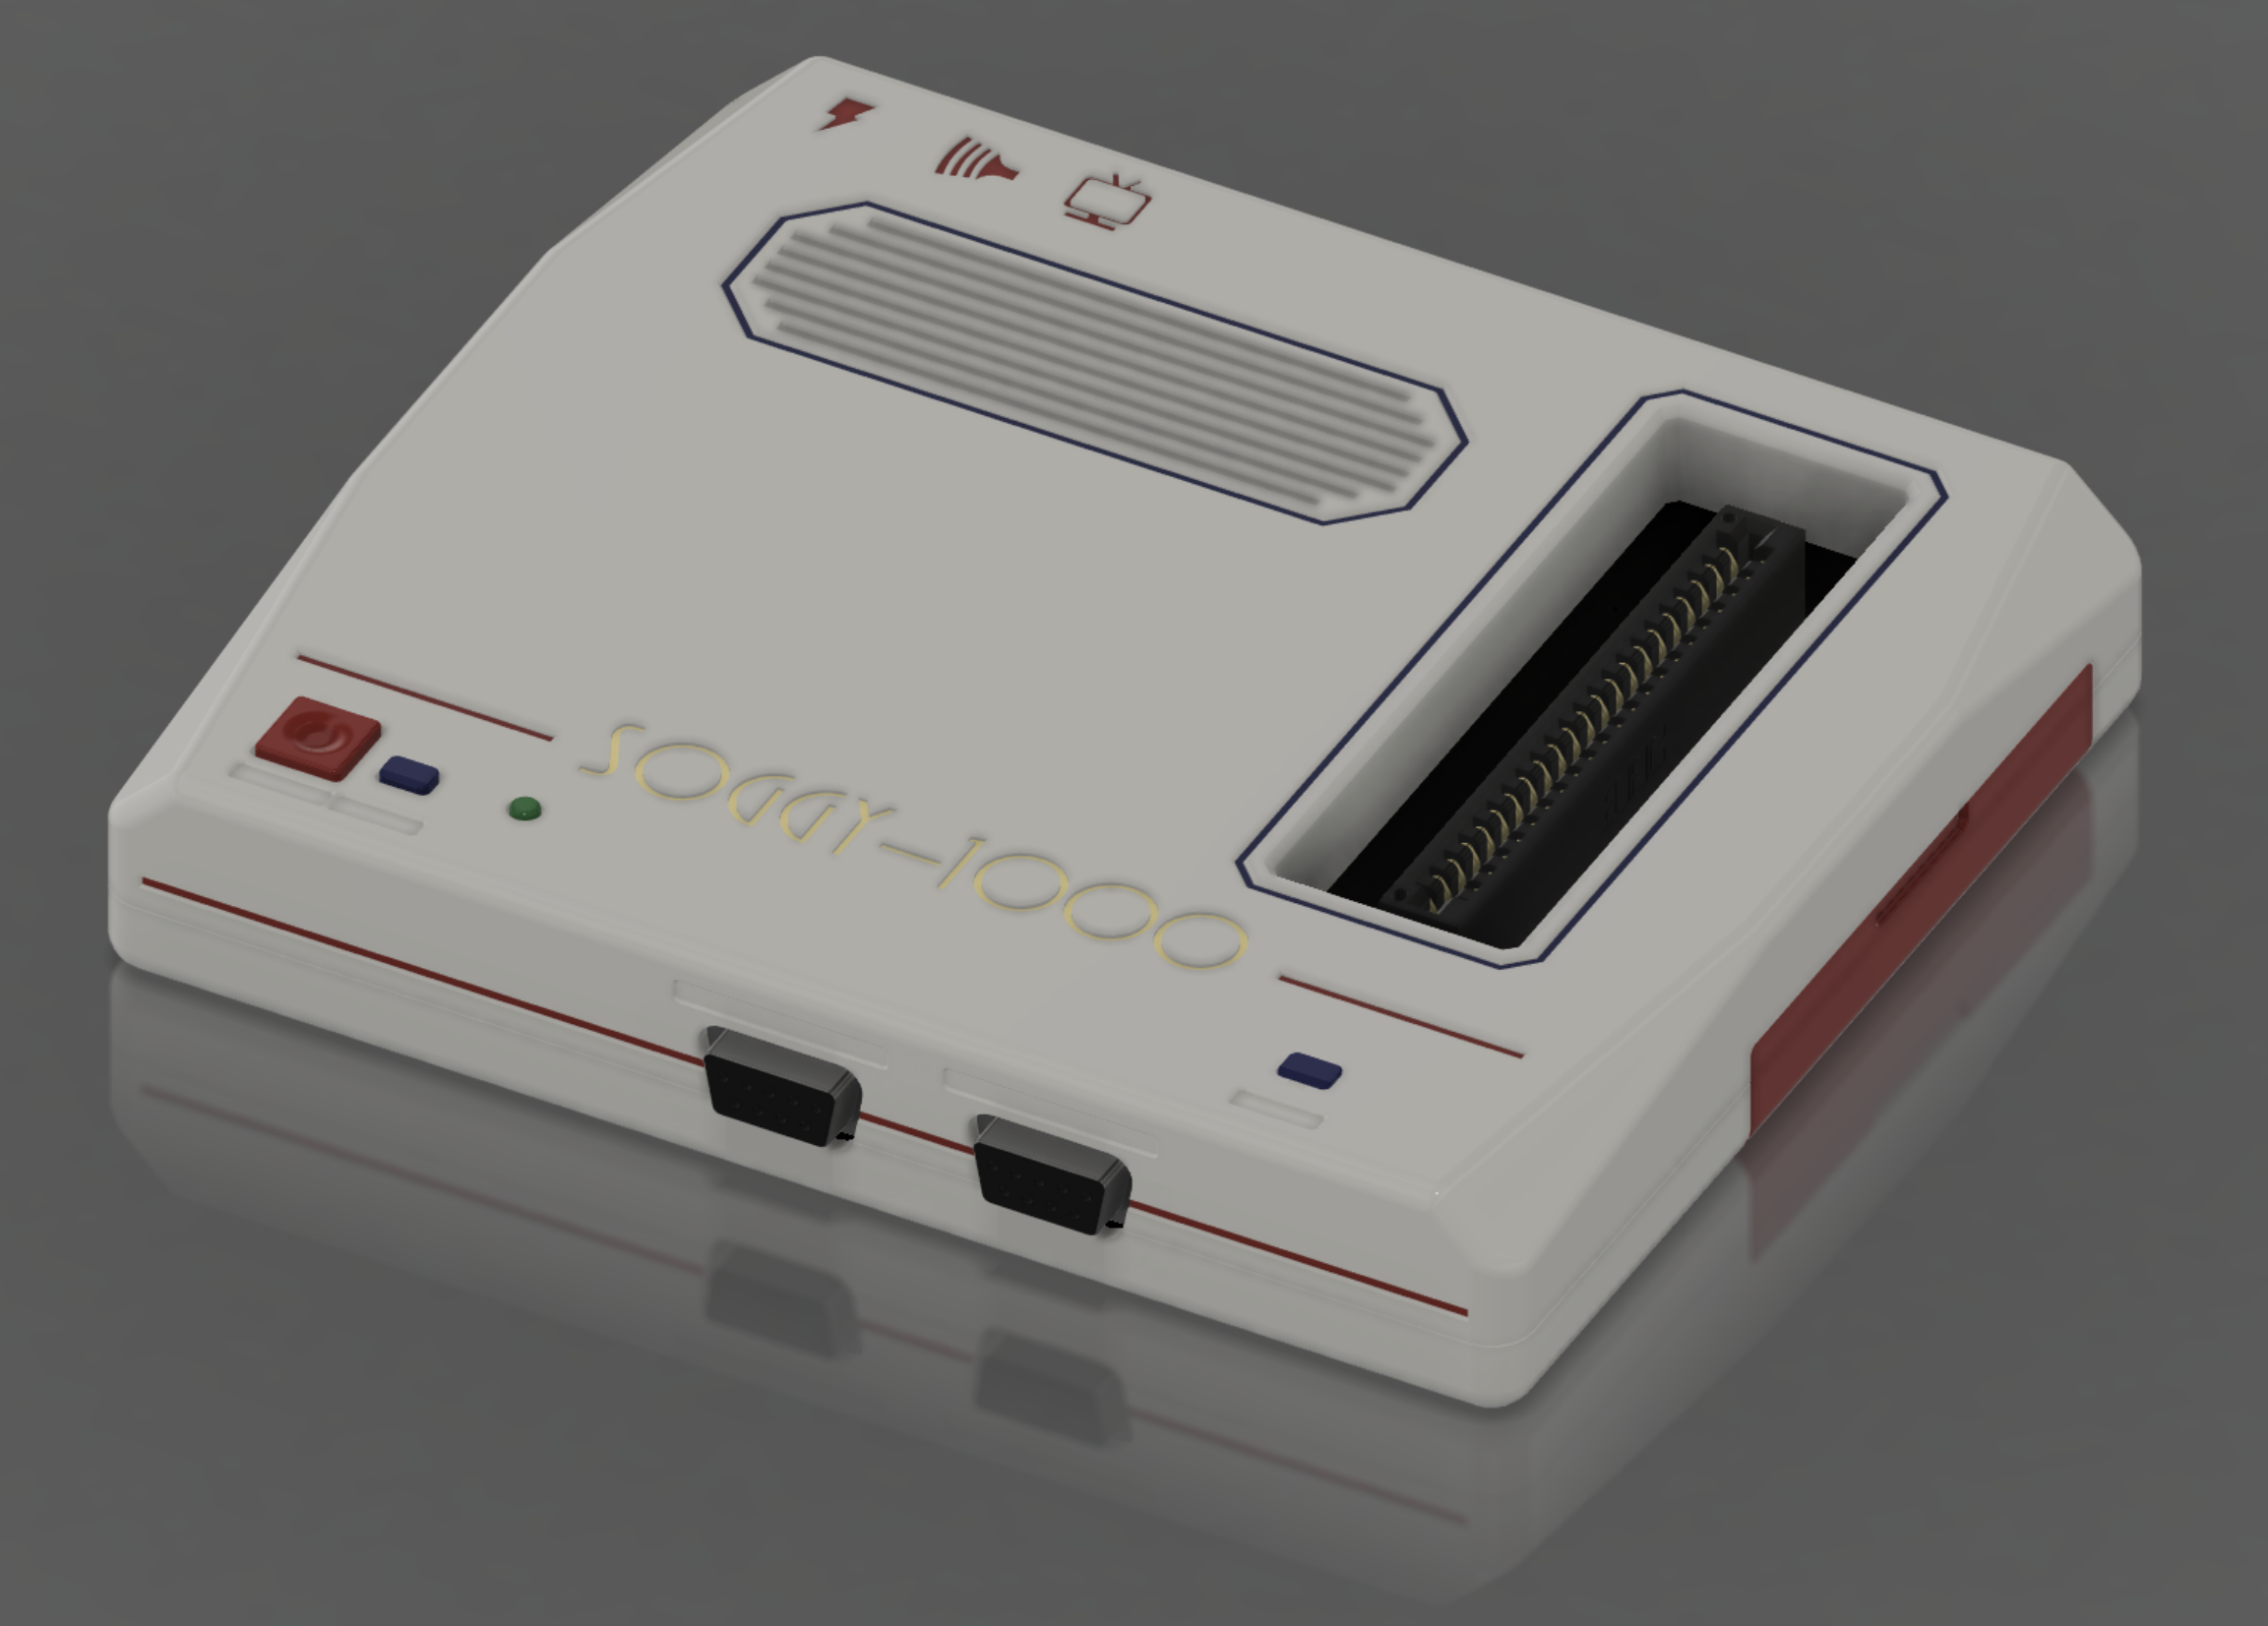
Wow, that sure was a thing that happened...I don't want to say quickly, but I certainly didn't notice the time passing. Let's take a closer look.
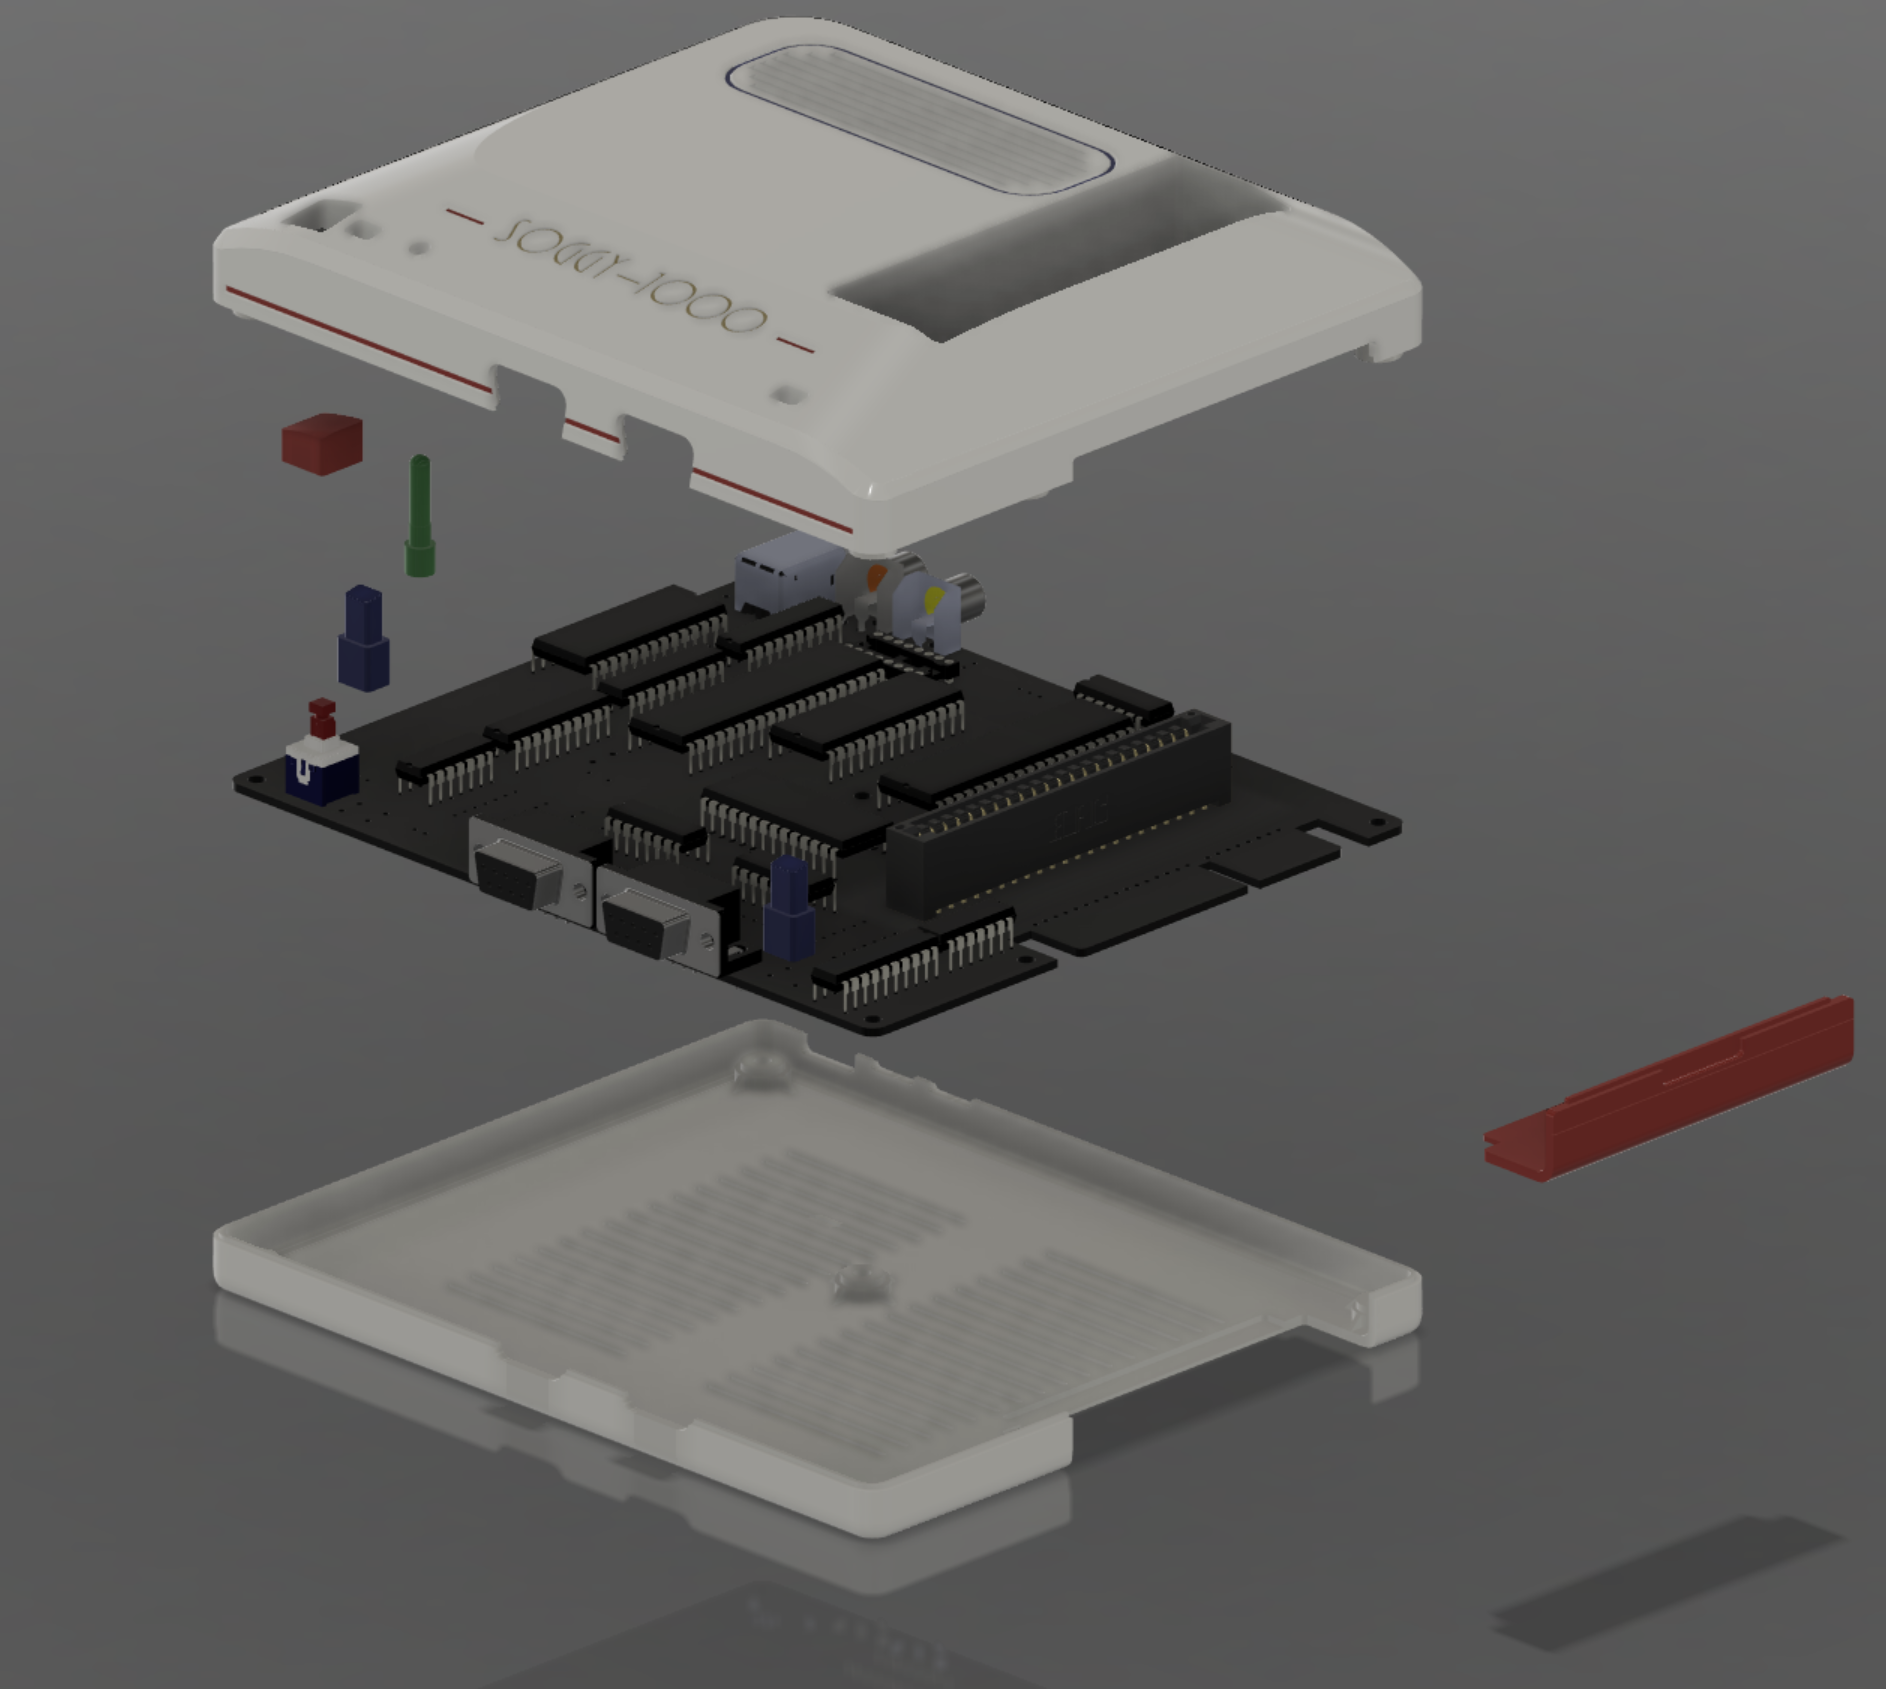
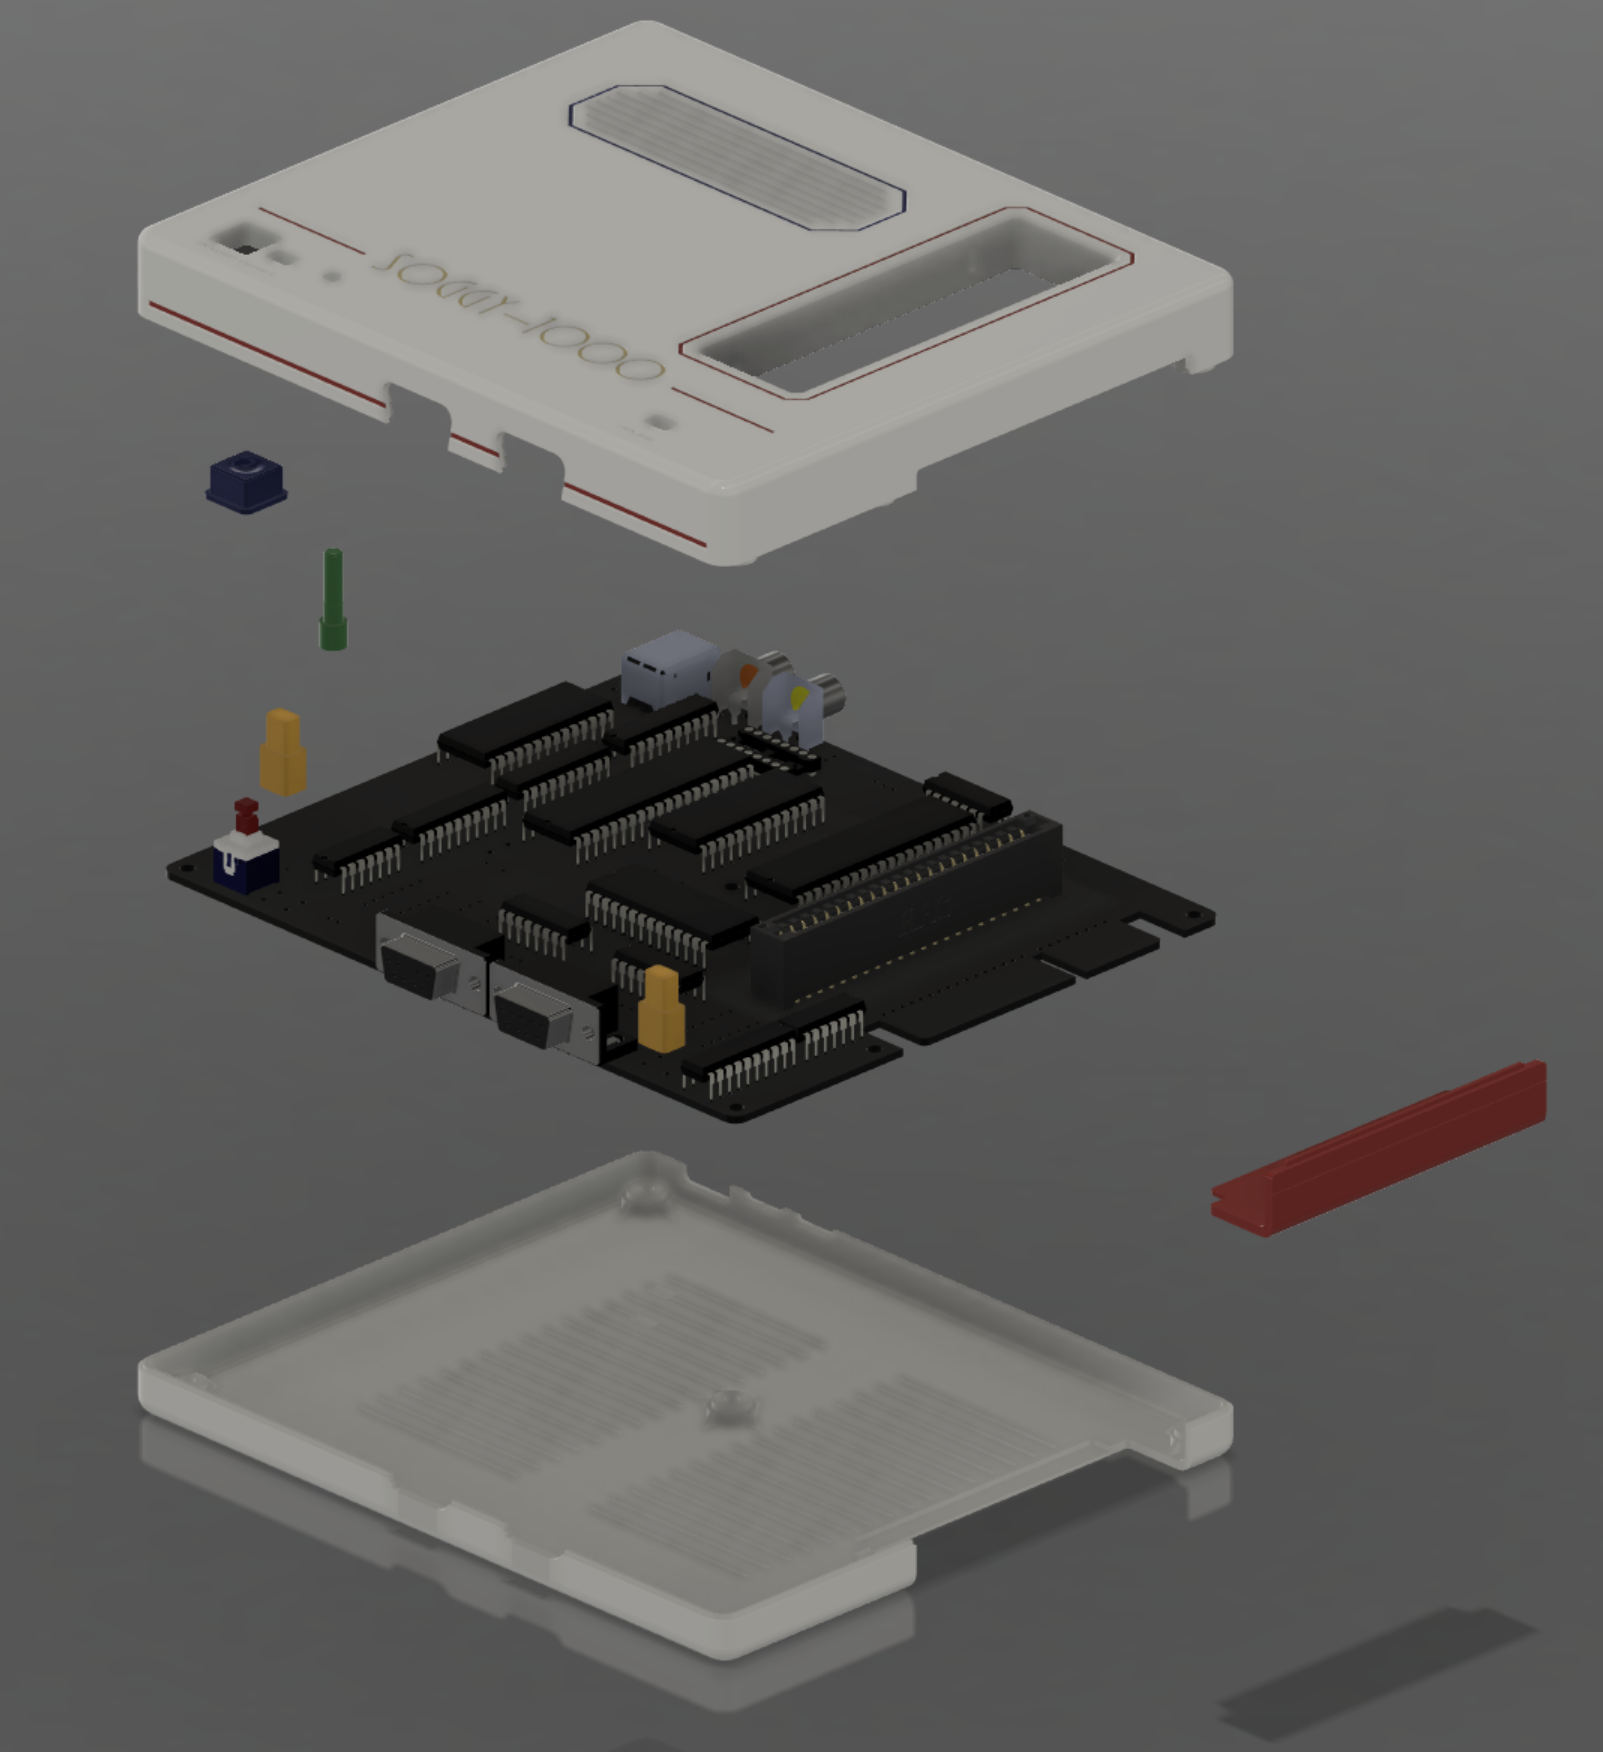
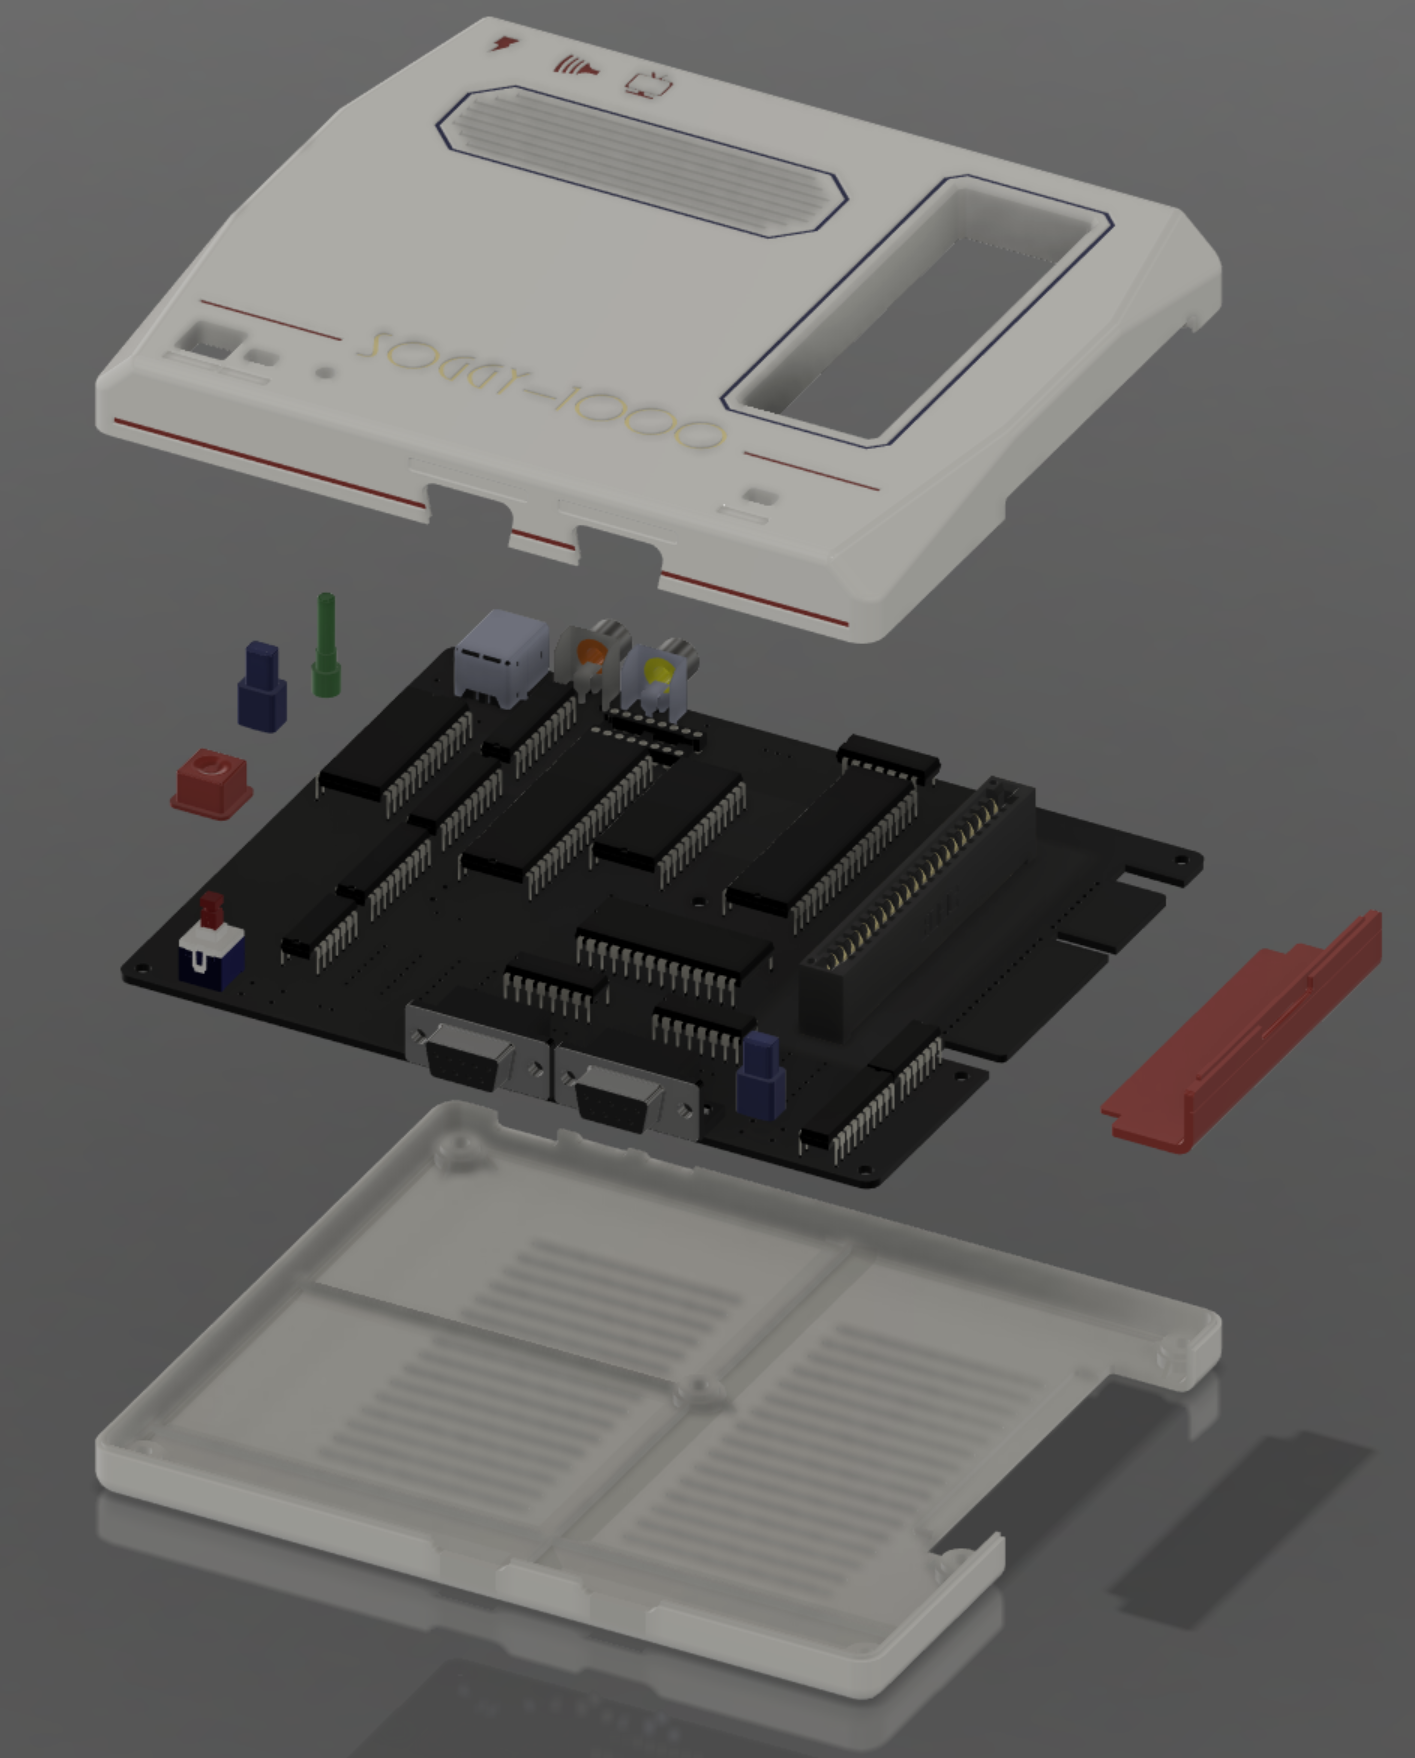
Vents and grilles and curves everywhere, whole buttons and LED light pipes, and a little pop-out door for the expansion edge connector. This was...a lot. Taking a second to talk about actually building the damn thing, for some background, what I have at my disposal is basically a big hot glue robot that squeezes molten plastic together. (Obviously I'm talking about a 3D printer.) Anyone who knows anything about 3D printing will look at this and go "uhhh, okay, what's your plan here?) The bottom case and expansion door are probably fine, but that top case is absolutely not going to print well without a ton of support, even if you stick it on its back. (Note: you should print it on its back so you get a nice surface finish on the top.)
So, while this was a loving creation of wild, manic creativity, I knew it was never going to get made. I was fine with this, and I'm still glad I made it. But let's take a few steps back and see if we can't make something simpler that can actually be manufactured.
The best thing to do is probably to create something similar, but with a lot more...flat surfaces. Something nice and big and flat that'll stick to the bed easily, without a lot of overhanging angles.
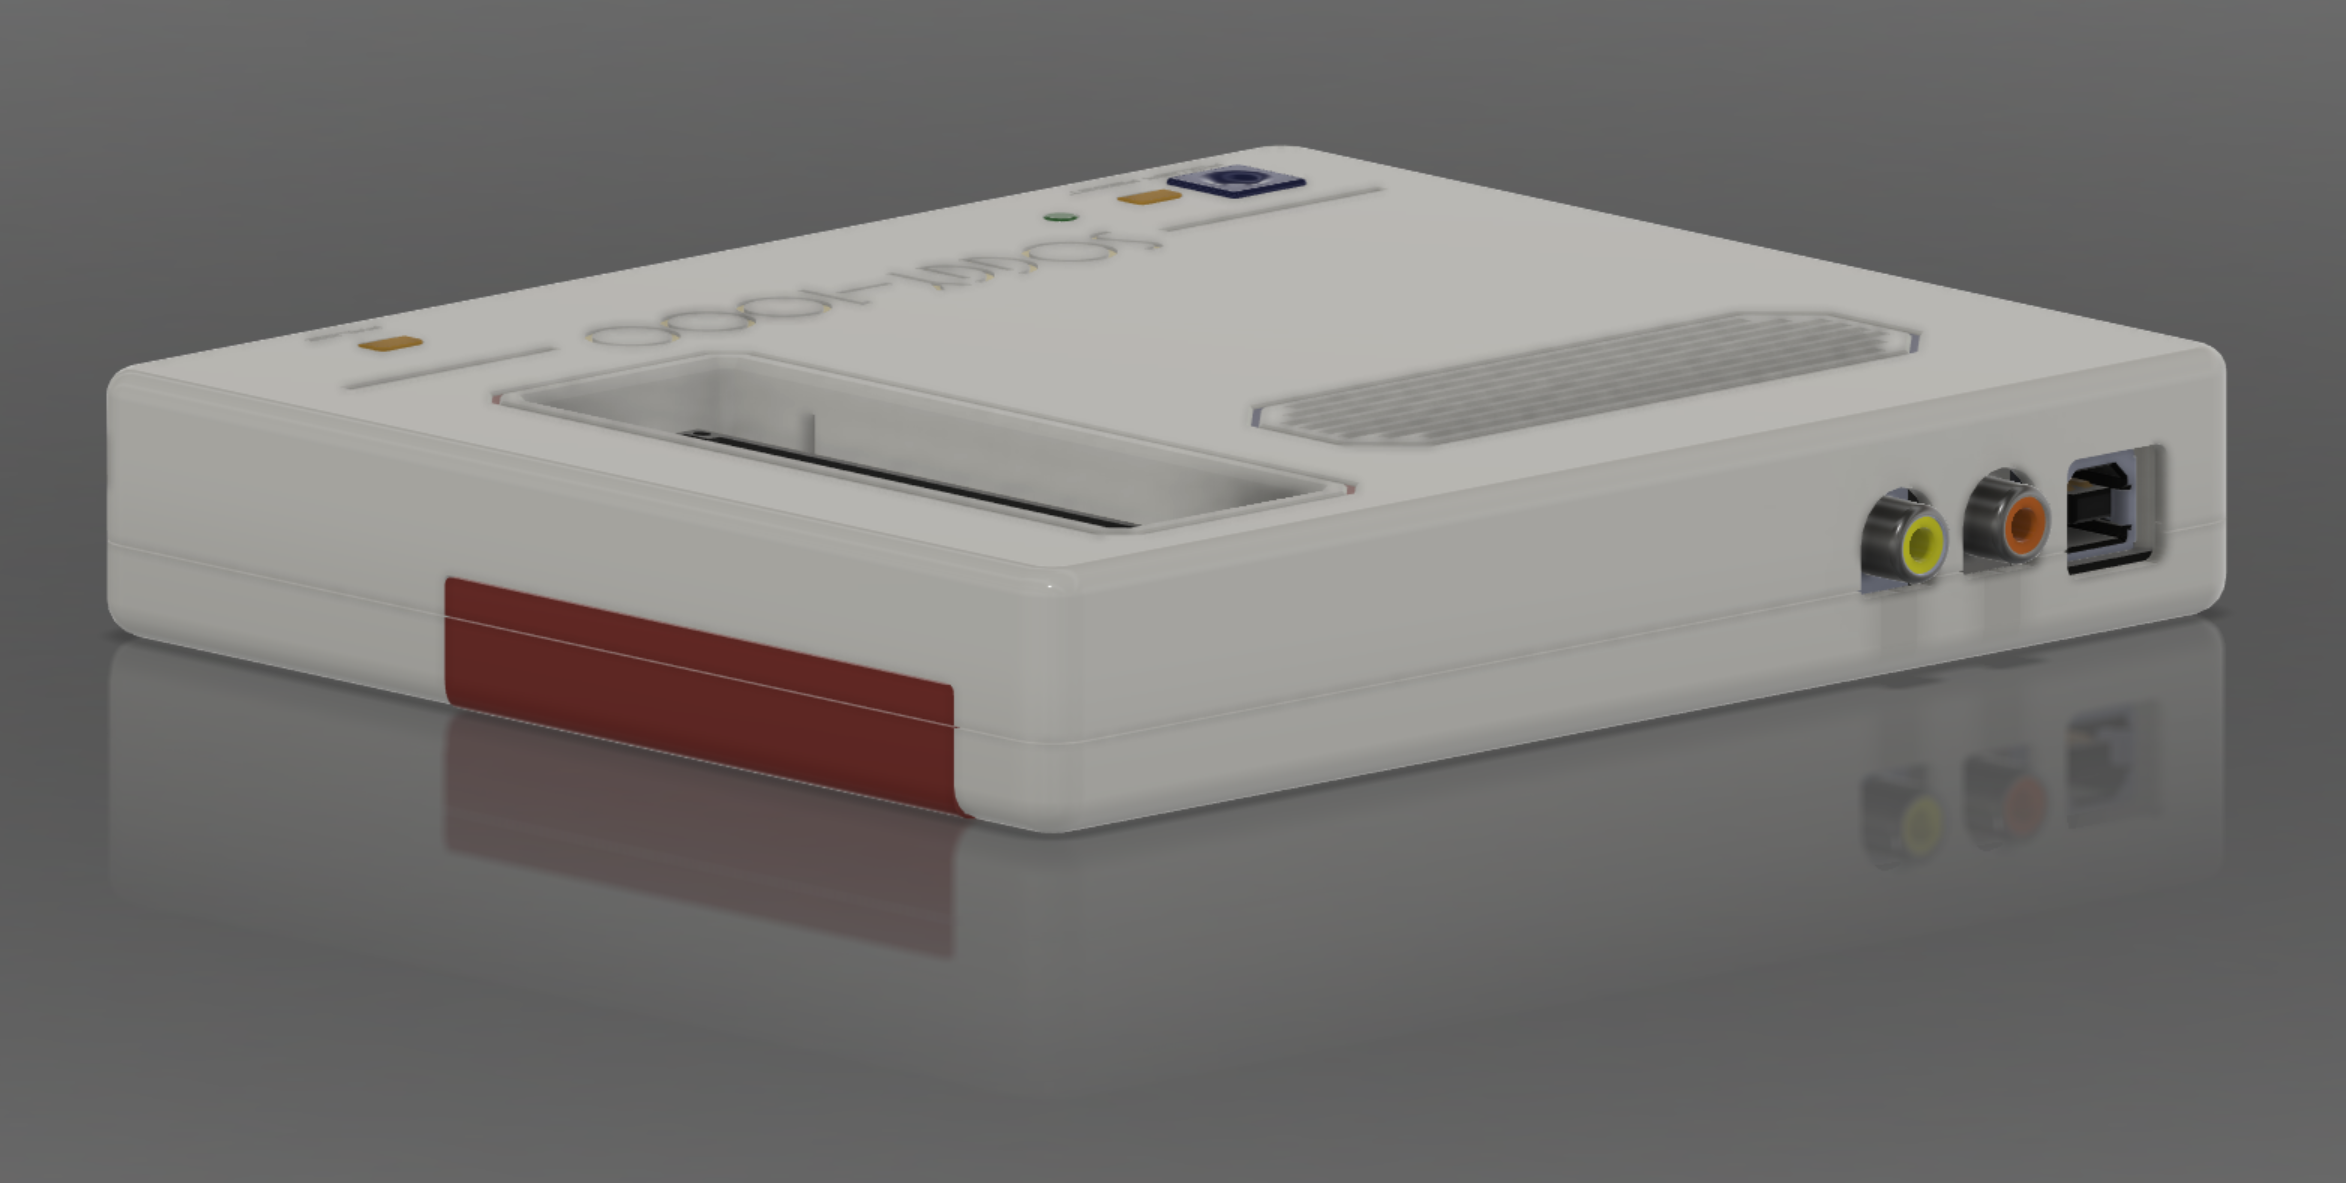
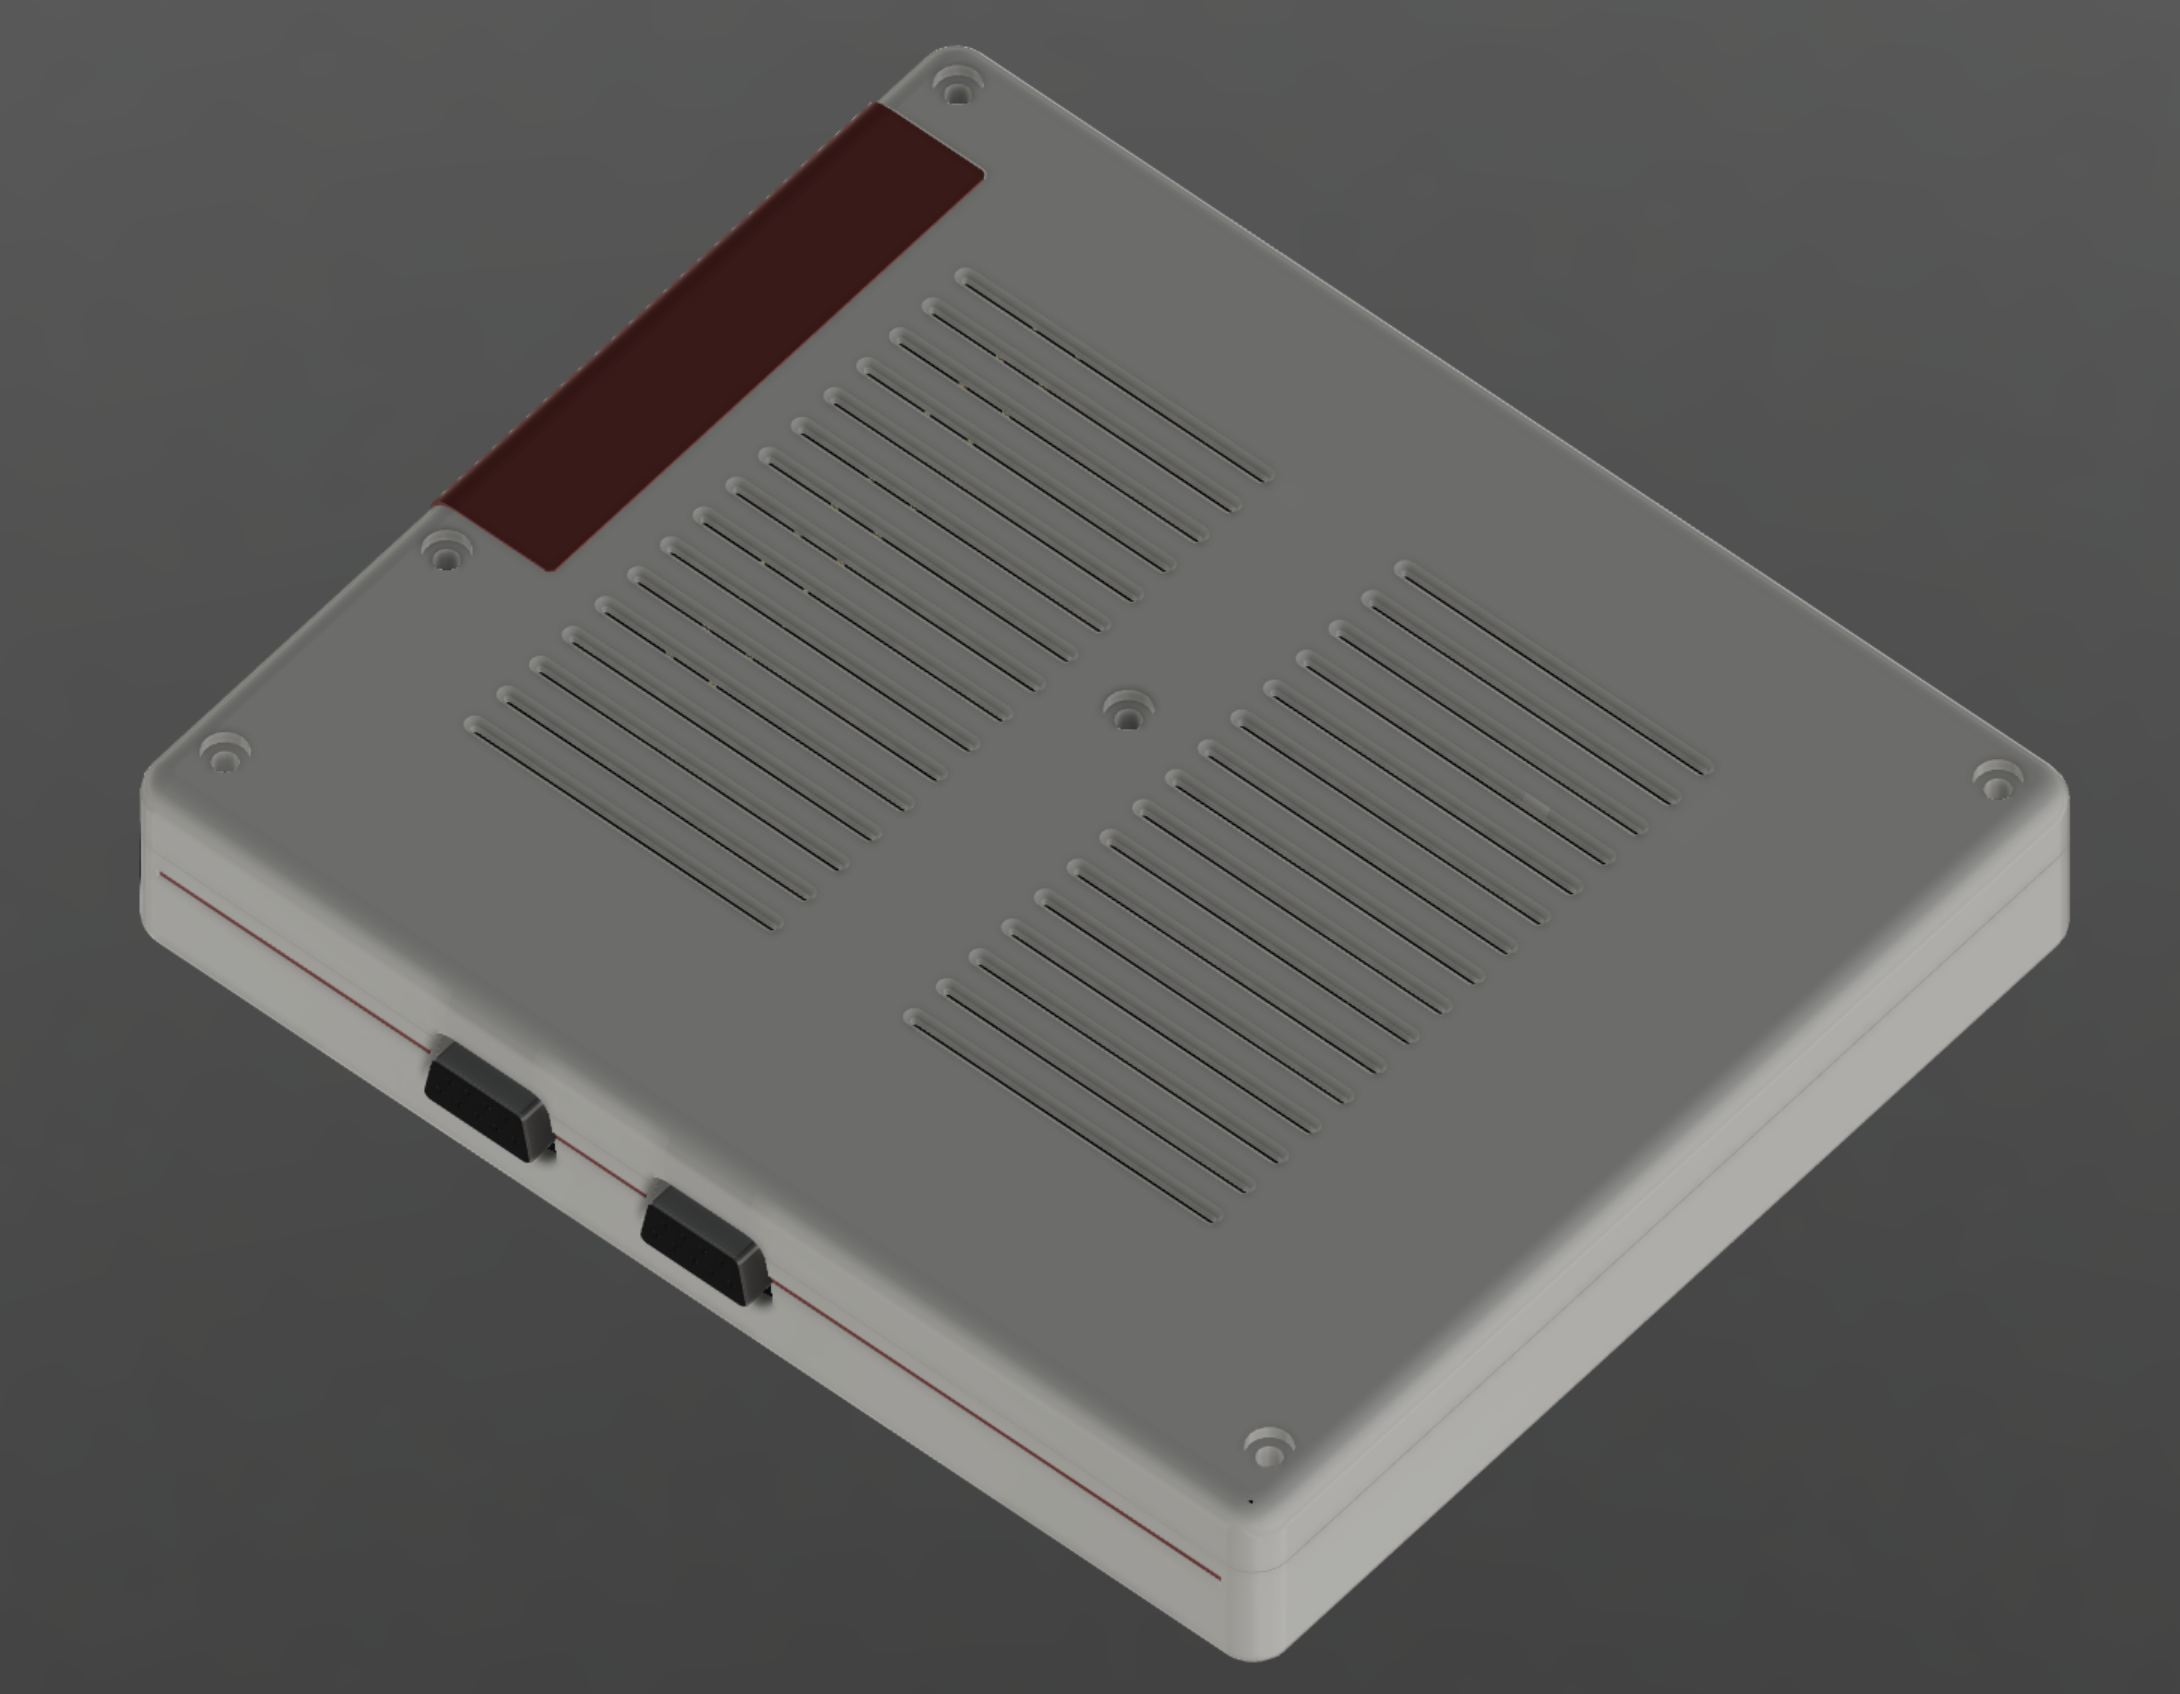
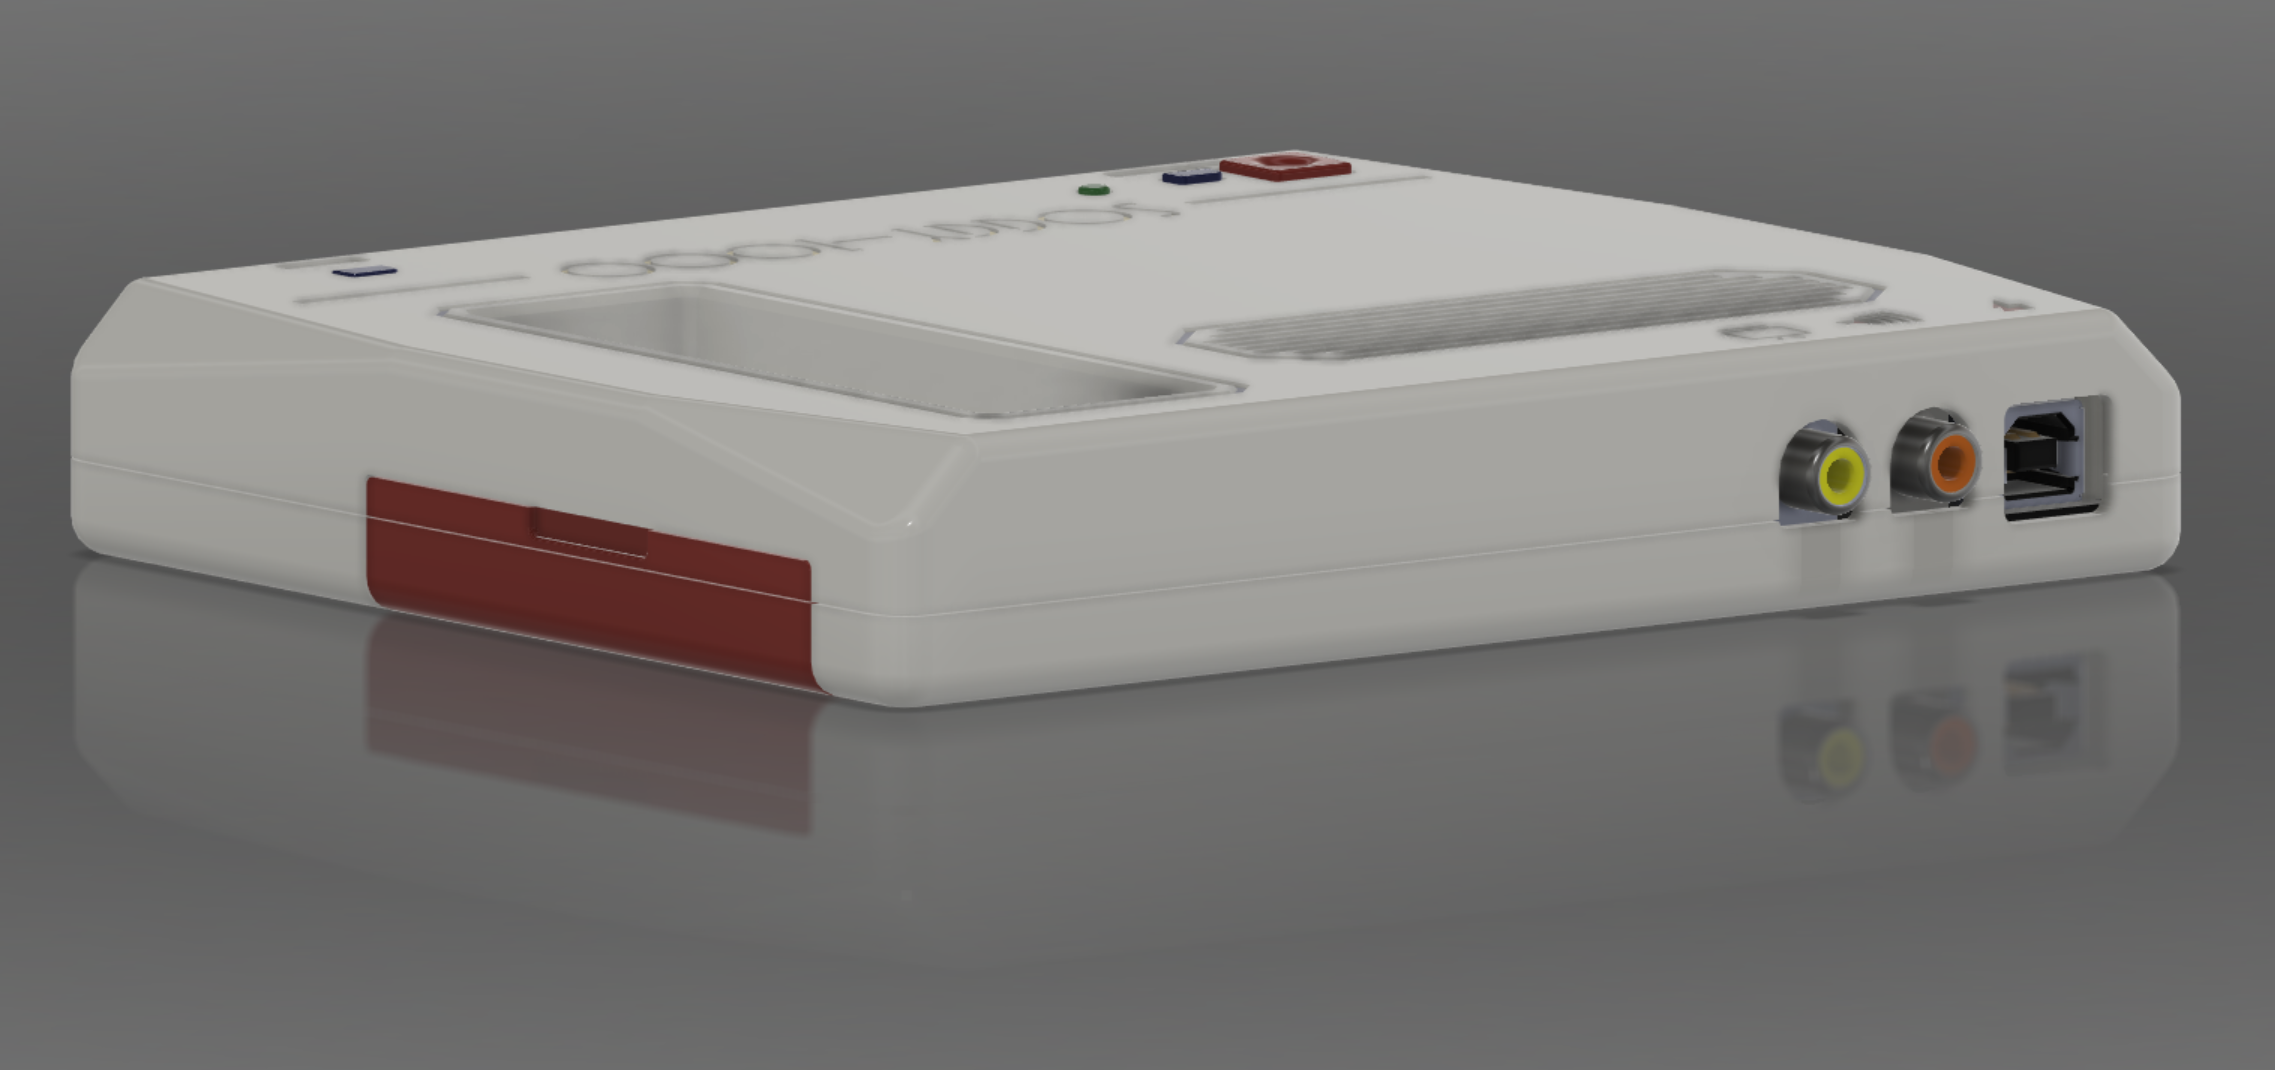
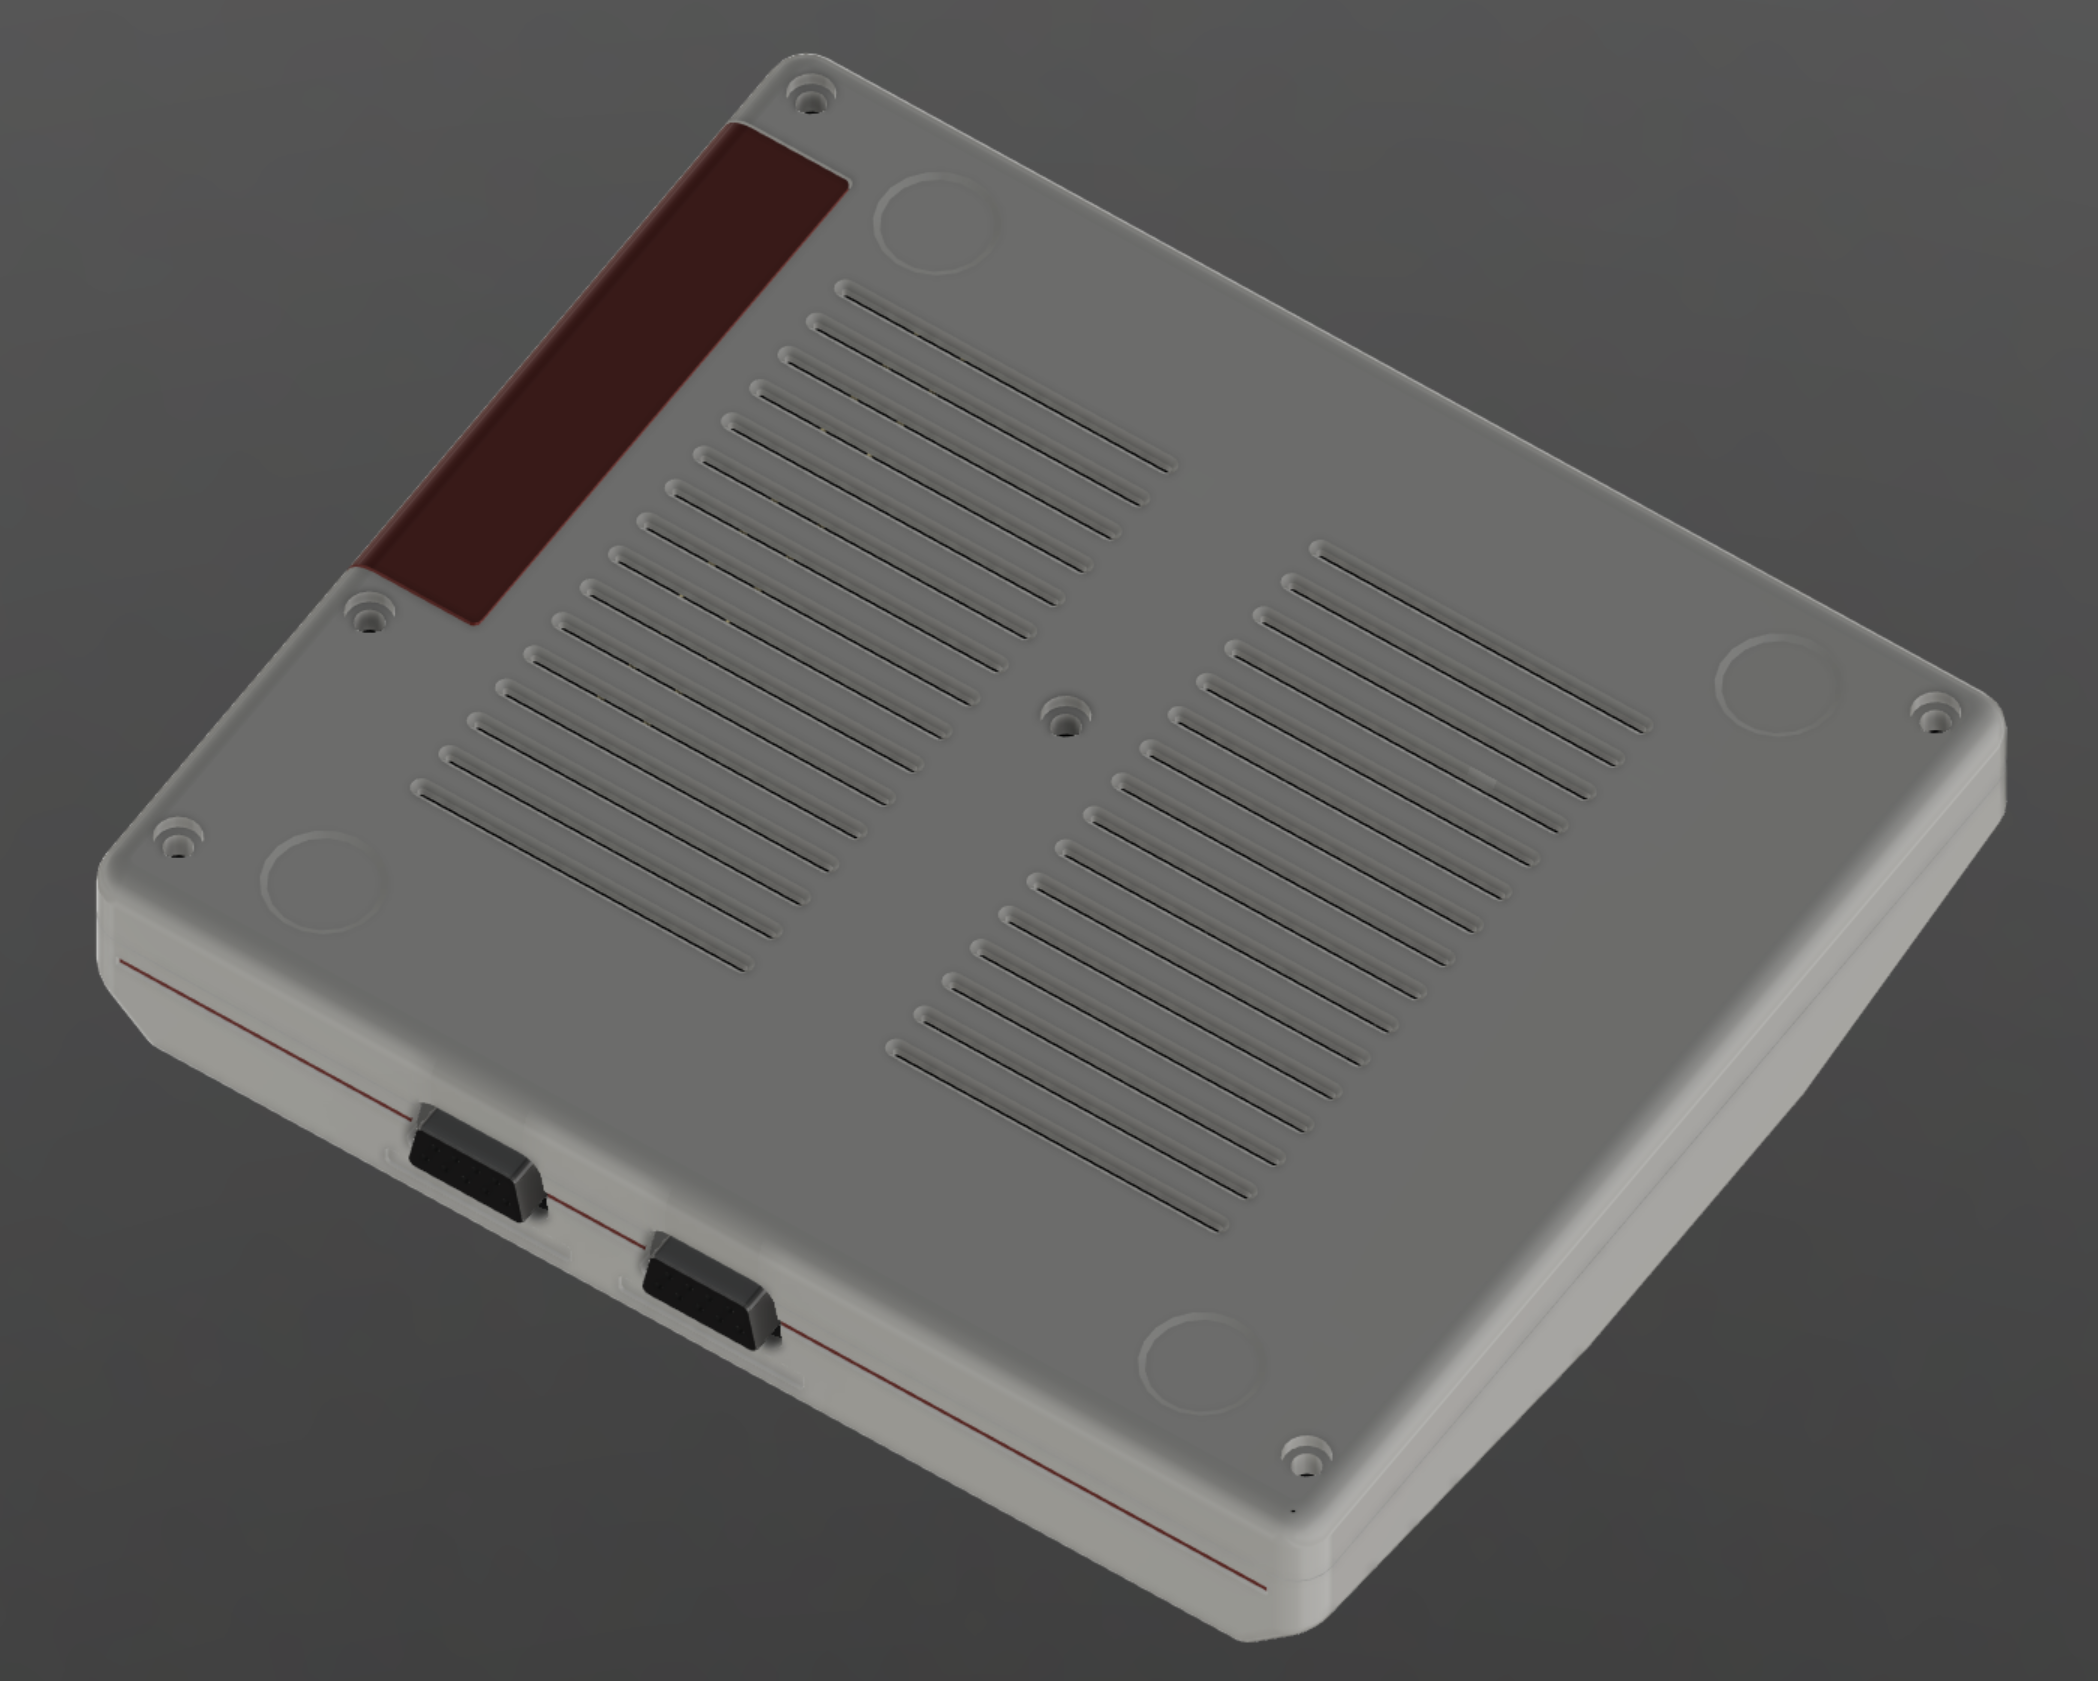
Okay, well this is...certainly more straightforward. All the same features are there: cutouts for all the ports, buttons, vents and grilles. We've lost the curve on the top case, and the indents in the bottom for rubber feet, but this should certainly be printable. It was at about this time that two things happened:
- I realized that the footprint used for the DE9 connectors on the Soggy's controller ports, which was auto-generated from the DigiKey part by Ultra Librarian, was wrong, and had the controller ports hanging over the edge of the board by about 2.5mm, and
- My printer broke in some comical ways, as 3D printers tend to do.
While I waited for some parts to resolve the second point, it was time to look at what to do about the first point.
First, I just fixed the KiCAD footprint for that part to include the correct courtyard and silkscreen for the size of the connector body, and added some copper to the pads around the retainer holes so they could be soldered in. You can expect a board revision with that change eventually, which puts the controller ports a little further back. Still, this left me with a problem for right now, because I'm not building another one of these unless there's a very good reason to do so. This meant that I needed to modify the case so that the current board's ports would fit comfortably, without moving anything so drastically that if they shift back 2.5mm, you won't be able to get a controller plug in there.
Okay, fine, we kick the front edge out about 3mm. Even like that, the controller port shrouds still stick out a bit, so we've got some wiggle room either way. I wish they were flush once everything is revised, but it's close enough that I'm not really bothered, considering we're using off-the-shelf DE9 male connectors. I don't have any screenshots of this because it was tedious and boring, but you get the picture, and we're getting there.
So, now we have a case that works, but it's kind of...boring. I miss the definition on the edges, and the slightly asymmetric shape front to back. Well, most 3D printers will let you get away with an overhang up to about 45 degrees without gnarly supports before they start falling apart, and mine's pretty good, so let's see what kind of edge features we can add here...
Oh damn, now we're talking. What else did we get on here?
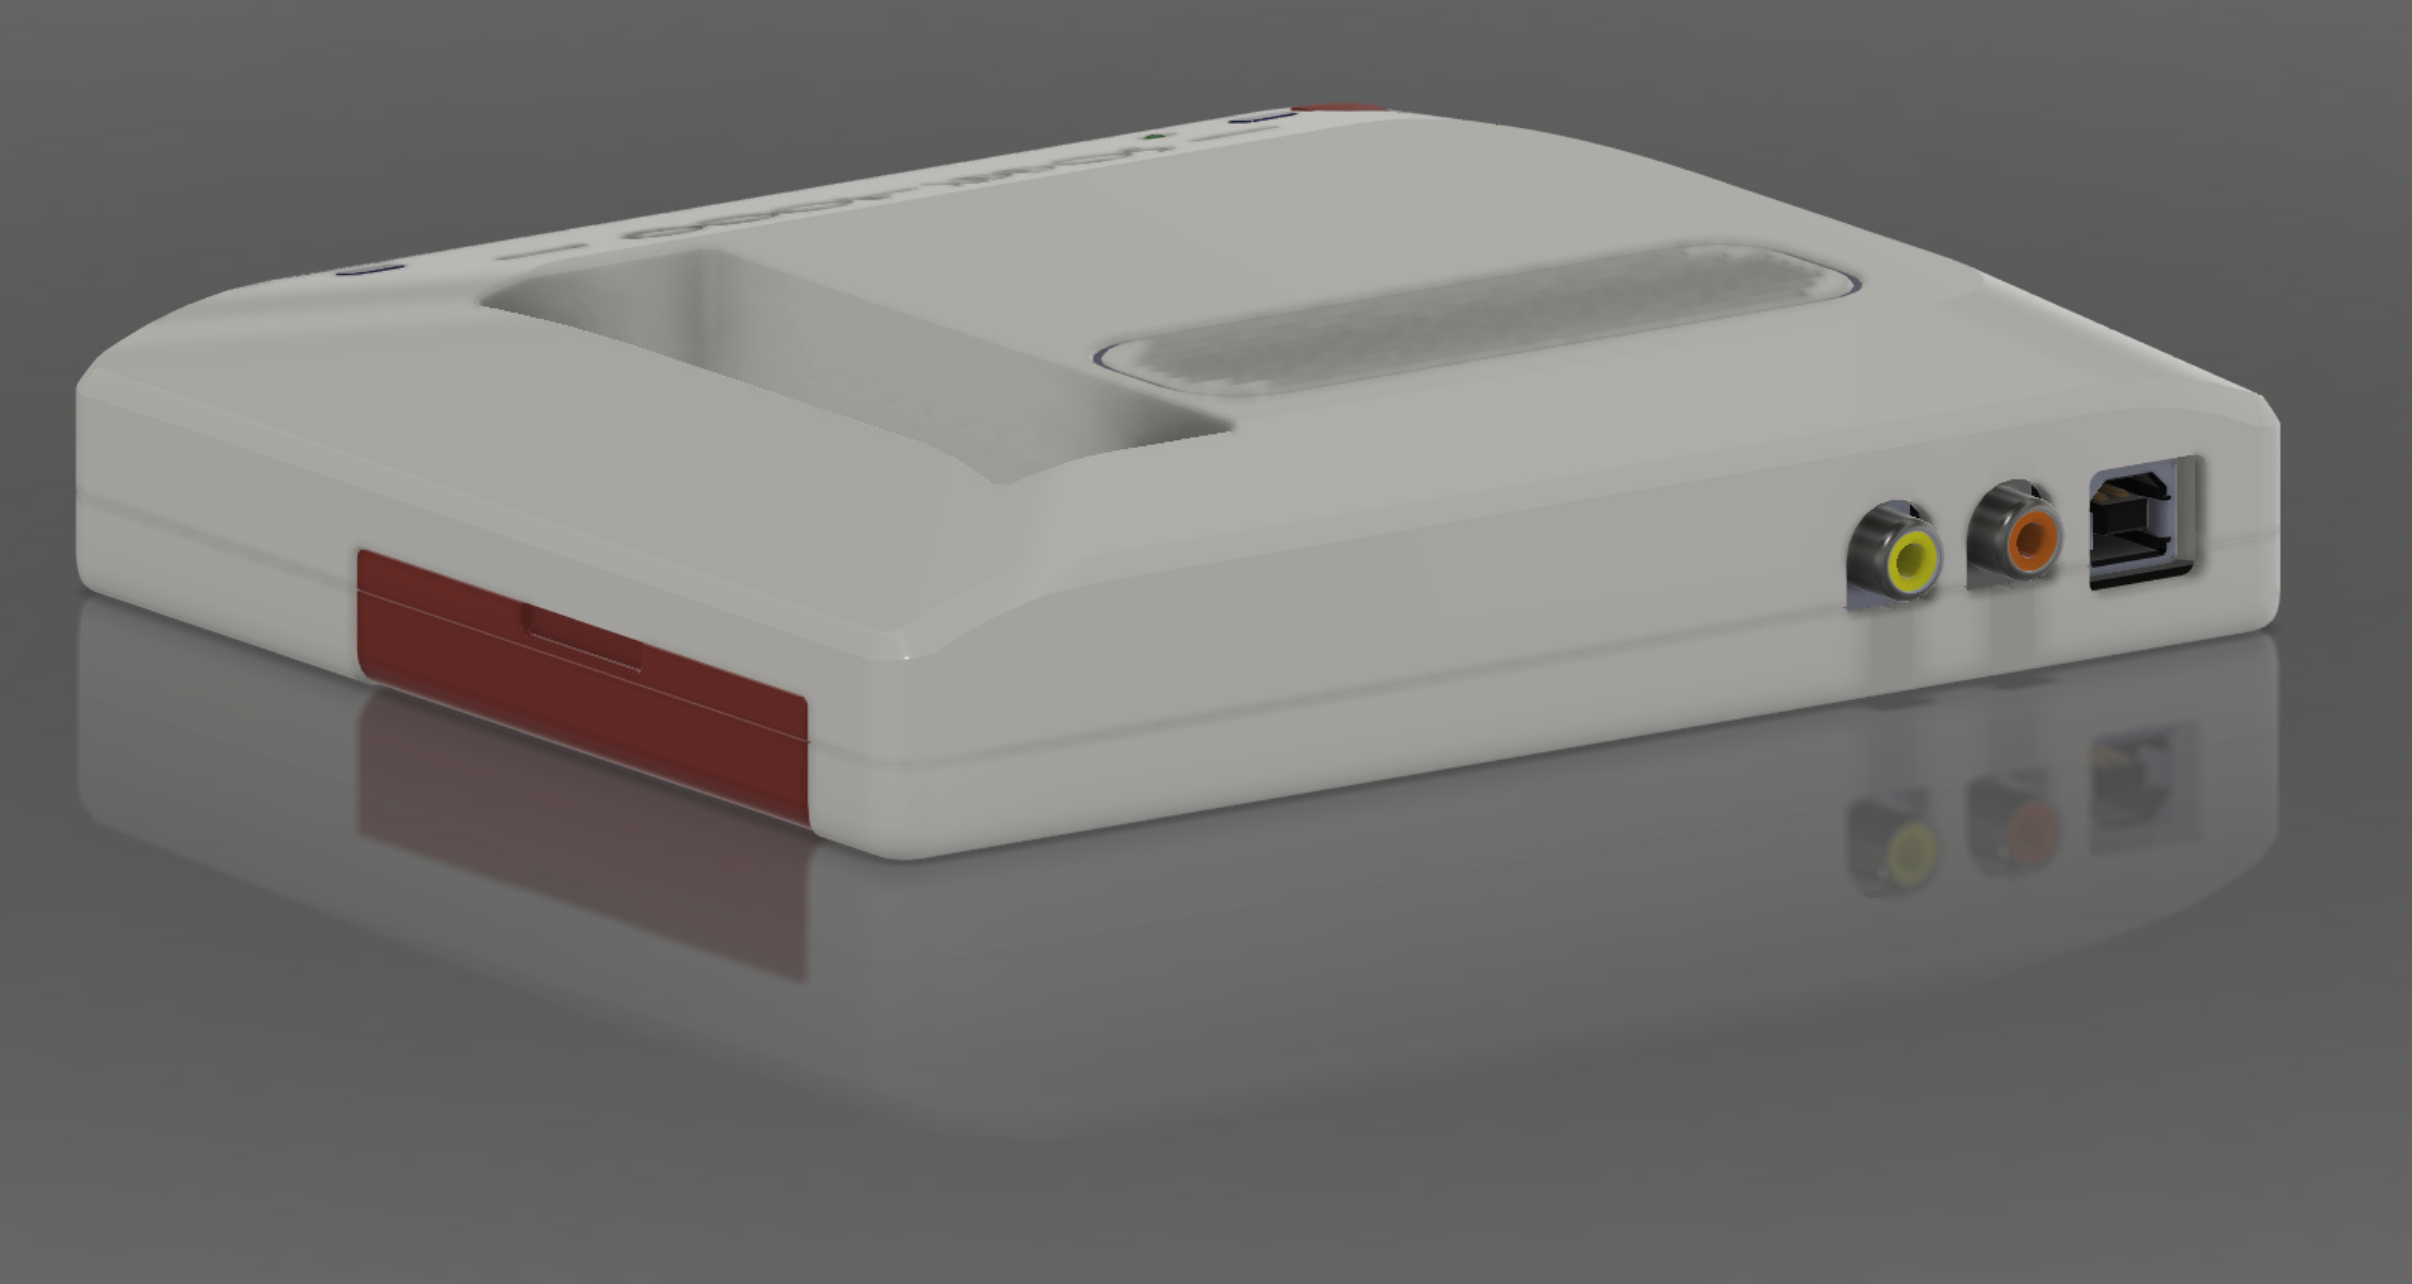
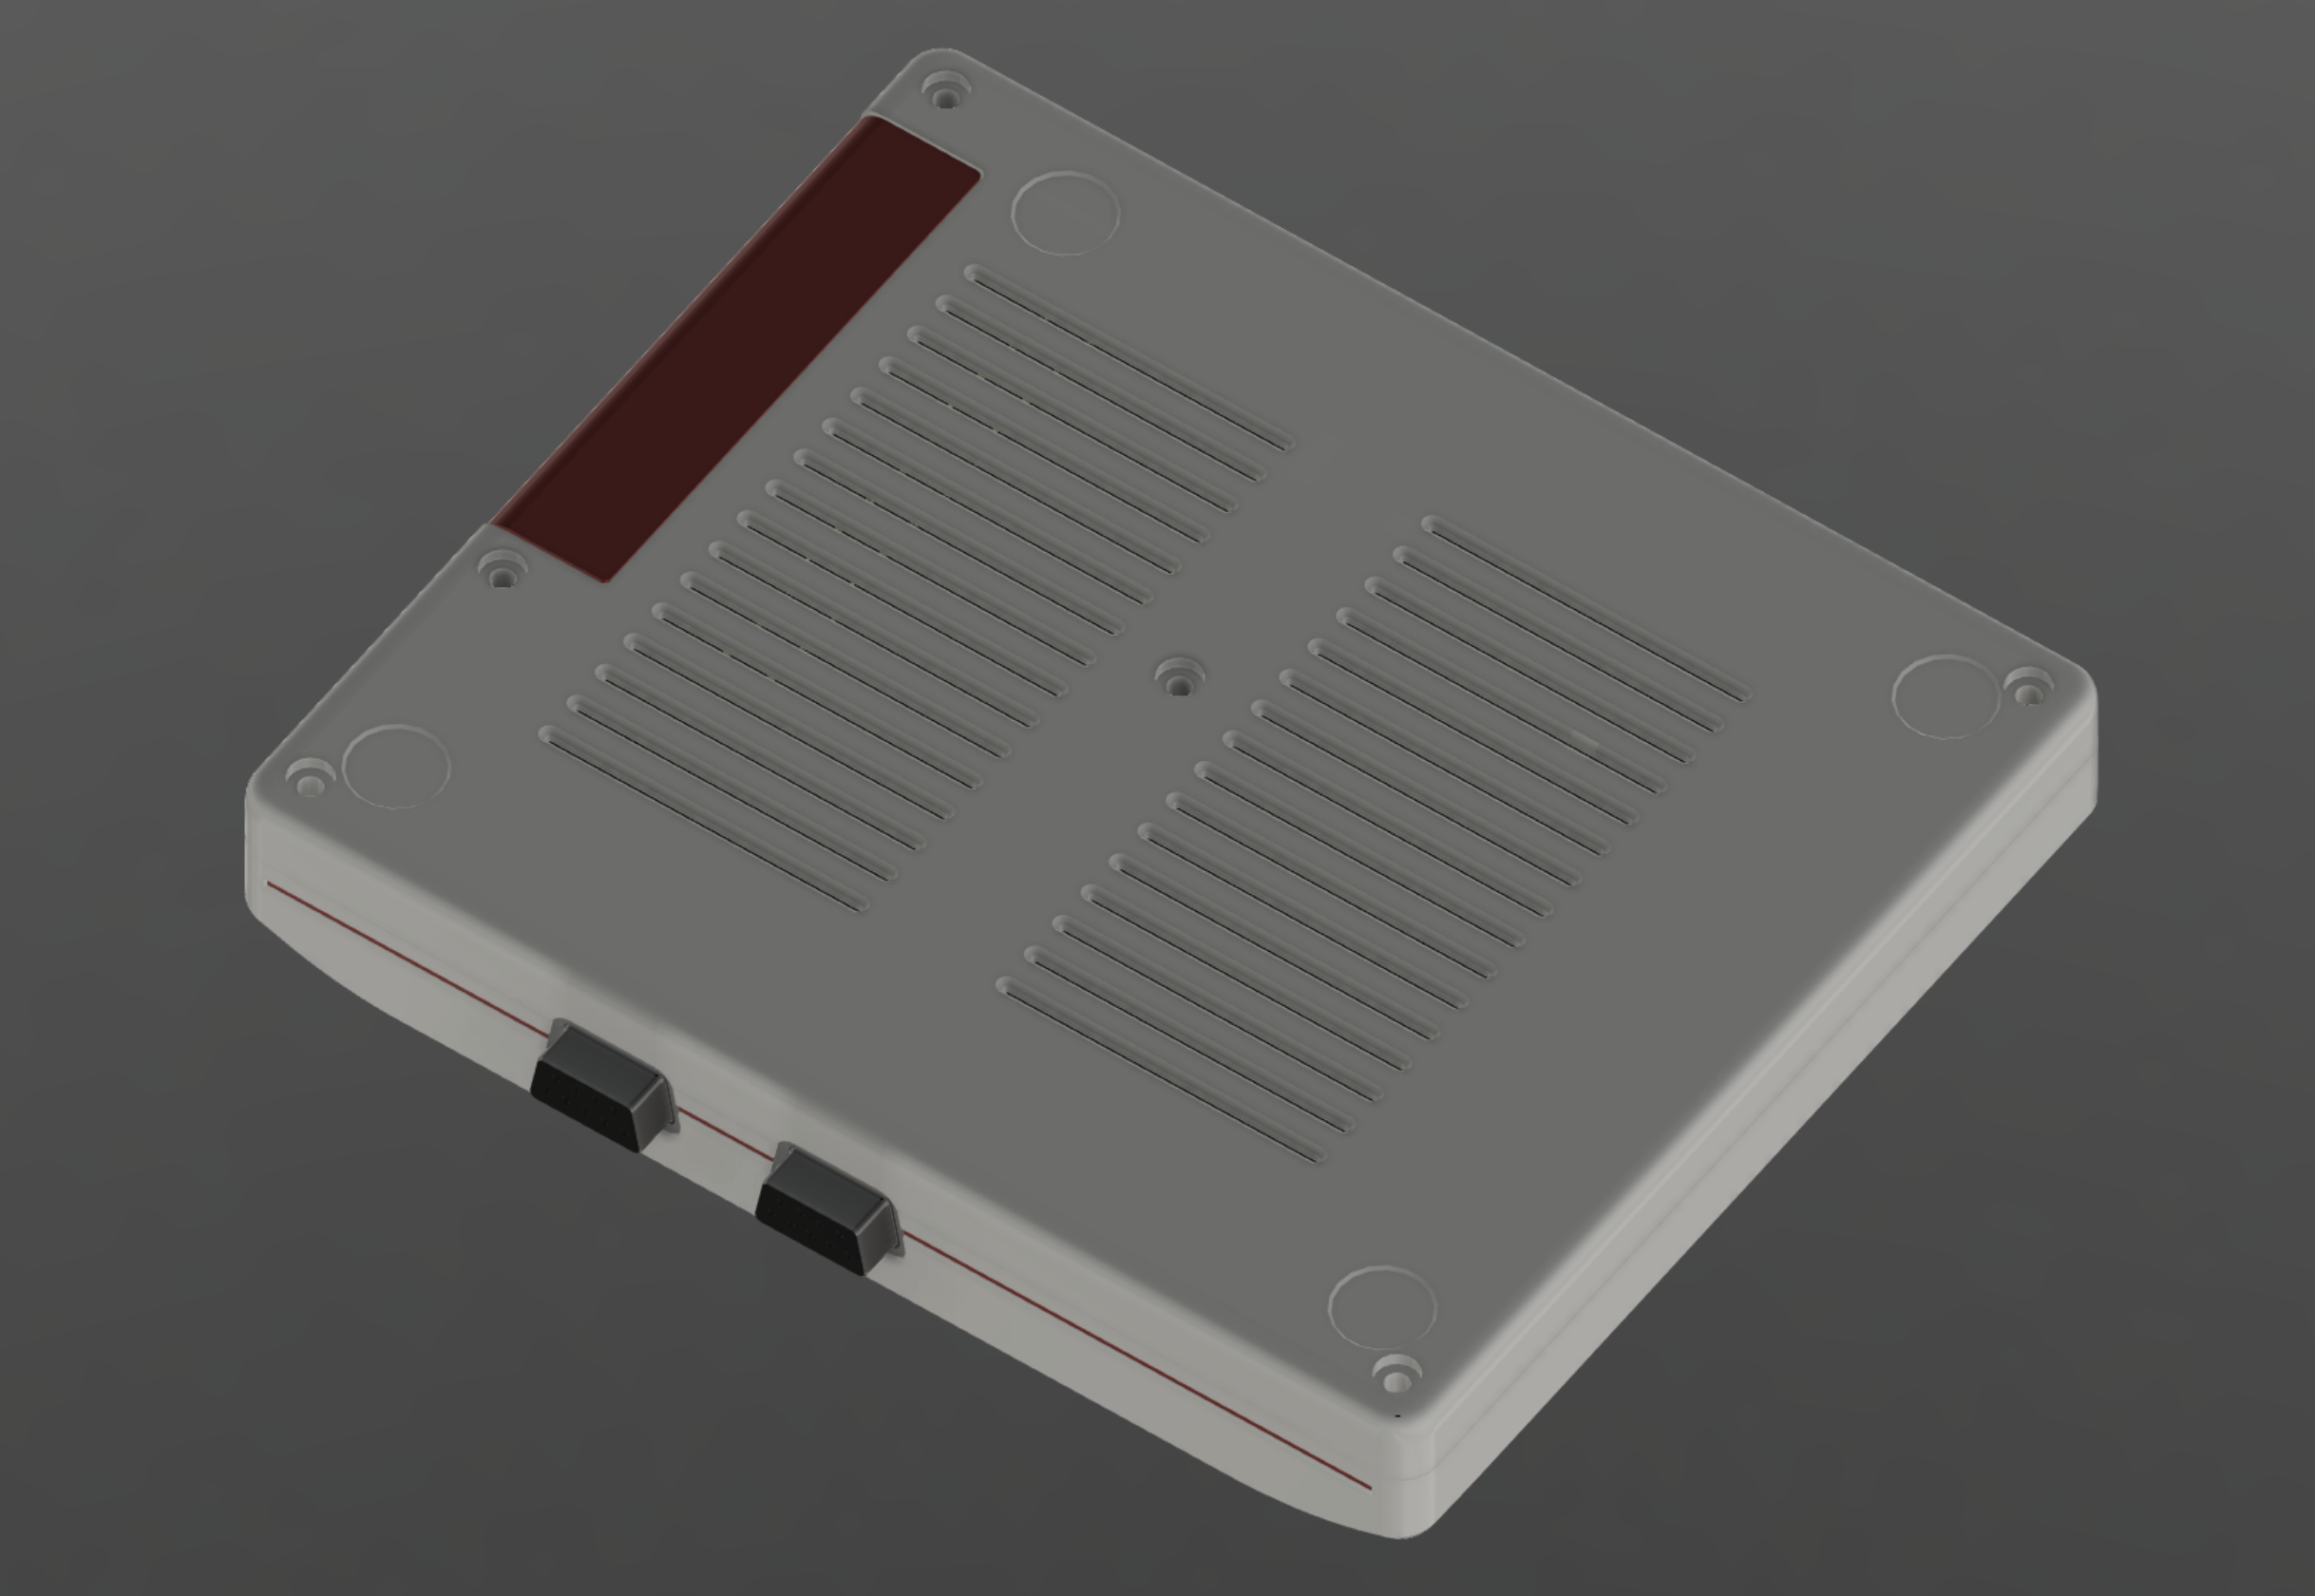
Some fun edge chamfers are back in the top case, the bumper recesses are back on the bottom, it's all filleted awkwardly, the expansion door has a cutout to make it easier to get in and out, the buttons are set back a little more from the hole so they fit in easier assuming your printer overextrudes slightly in some places and your dimensional tolerances are shit... okay, maybe it's just me, but this is starting to look like A Thing(TM).
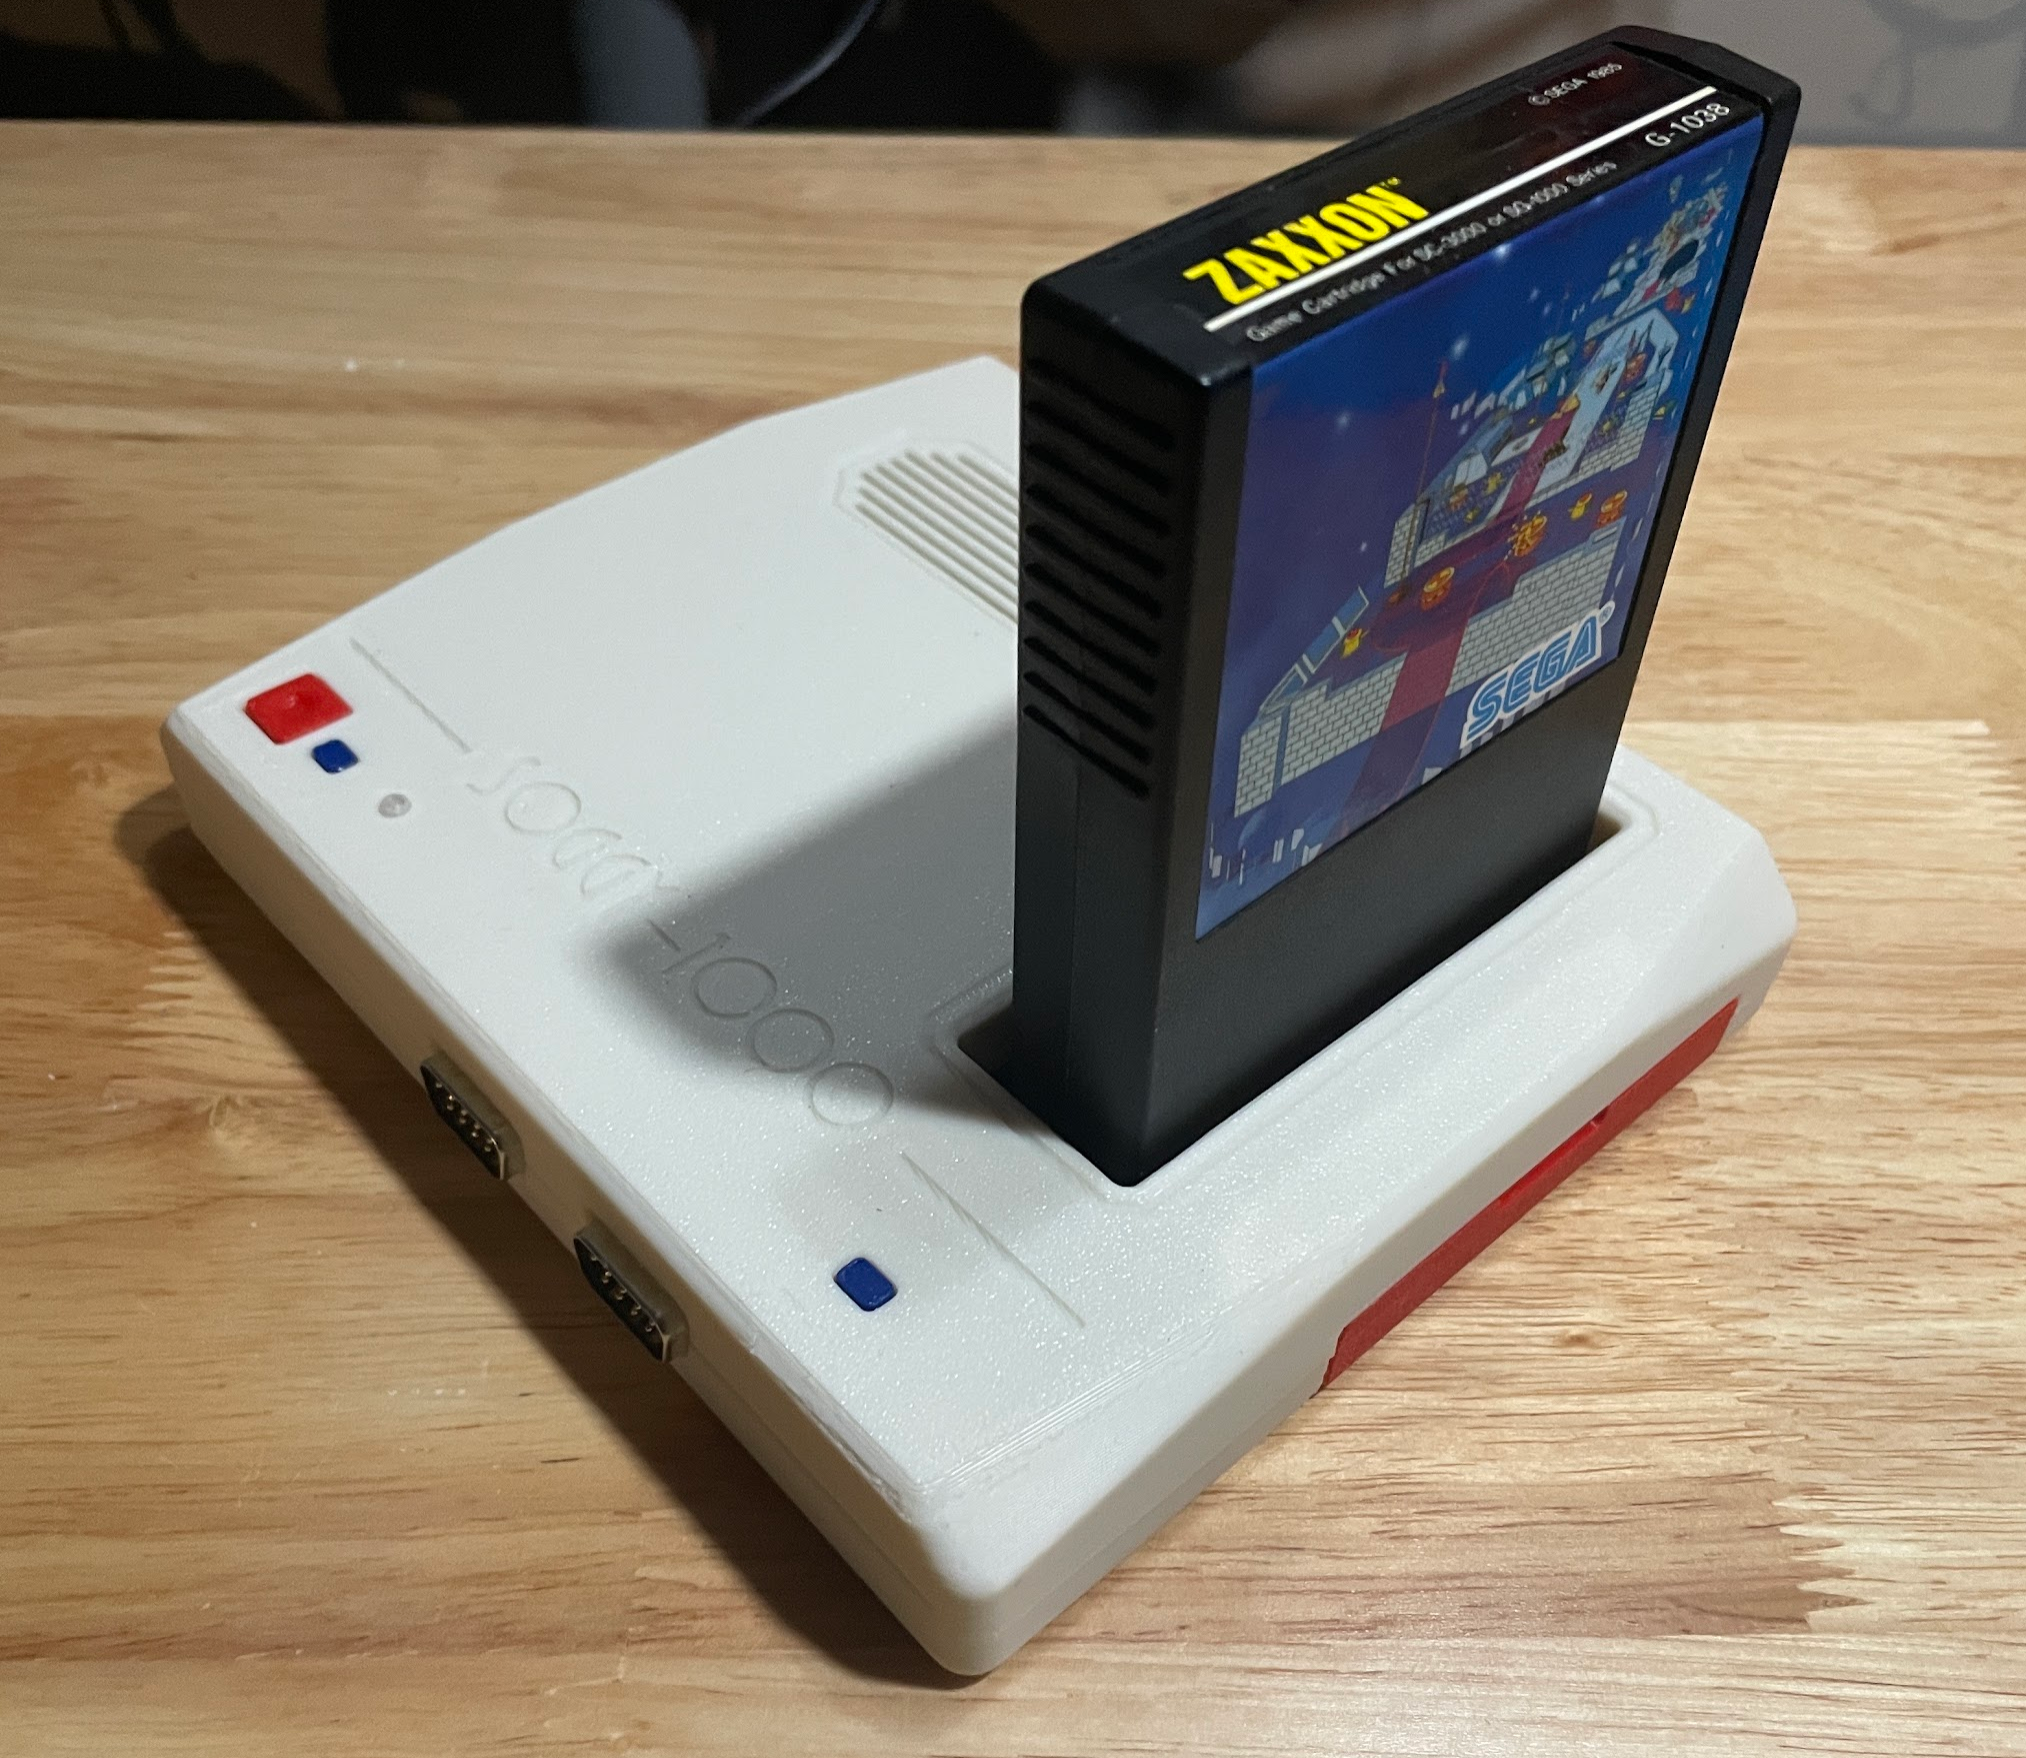
Shit, yeah, this is a real thing now. This isn't even the final revision and it works.
Eventually I might reprint my top and bottom cases with the revised parts, but it's a long print and this is probably good enough for me, personally. I've done one revised print for the Soggy's designer, and it turned out great, but I'm not going to go into that here.
I just want to make you stare at some of this crap, because I spent way too much time on it.
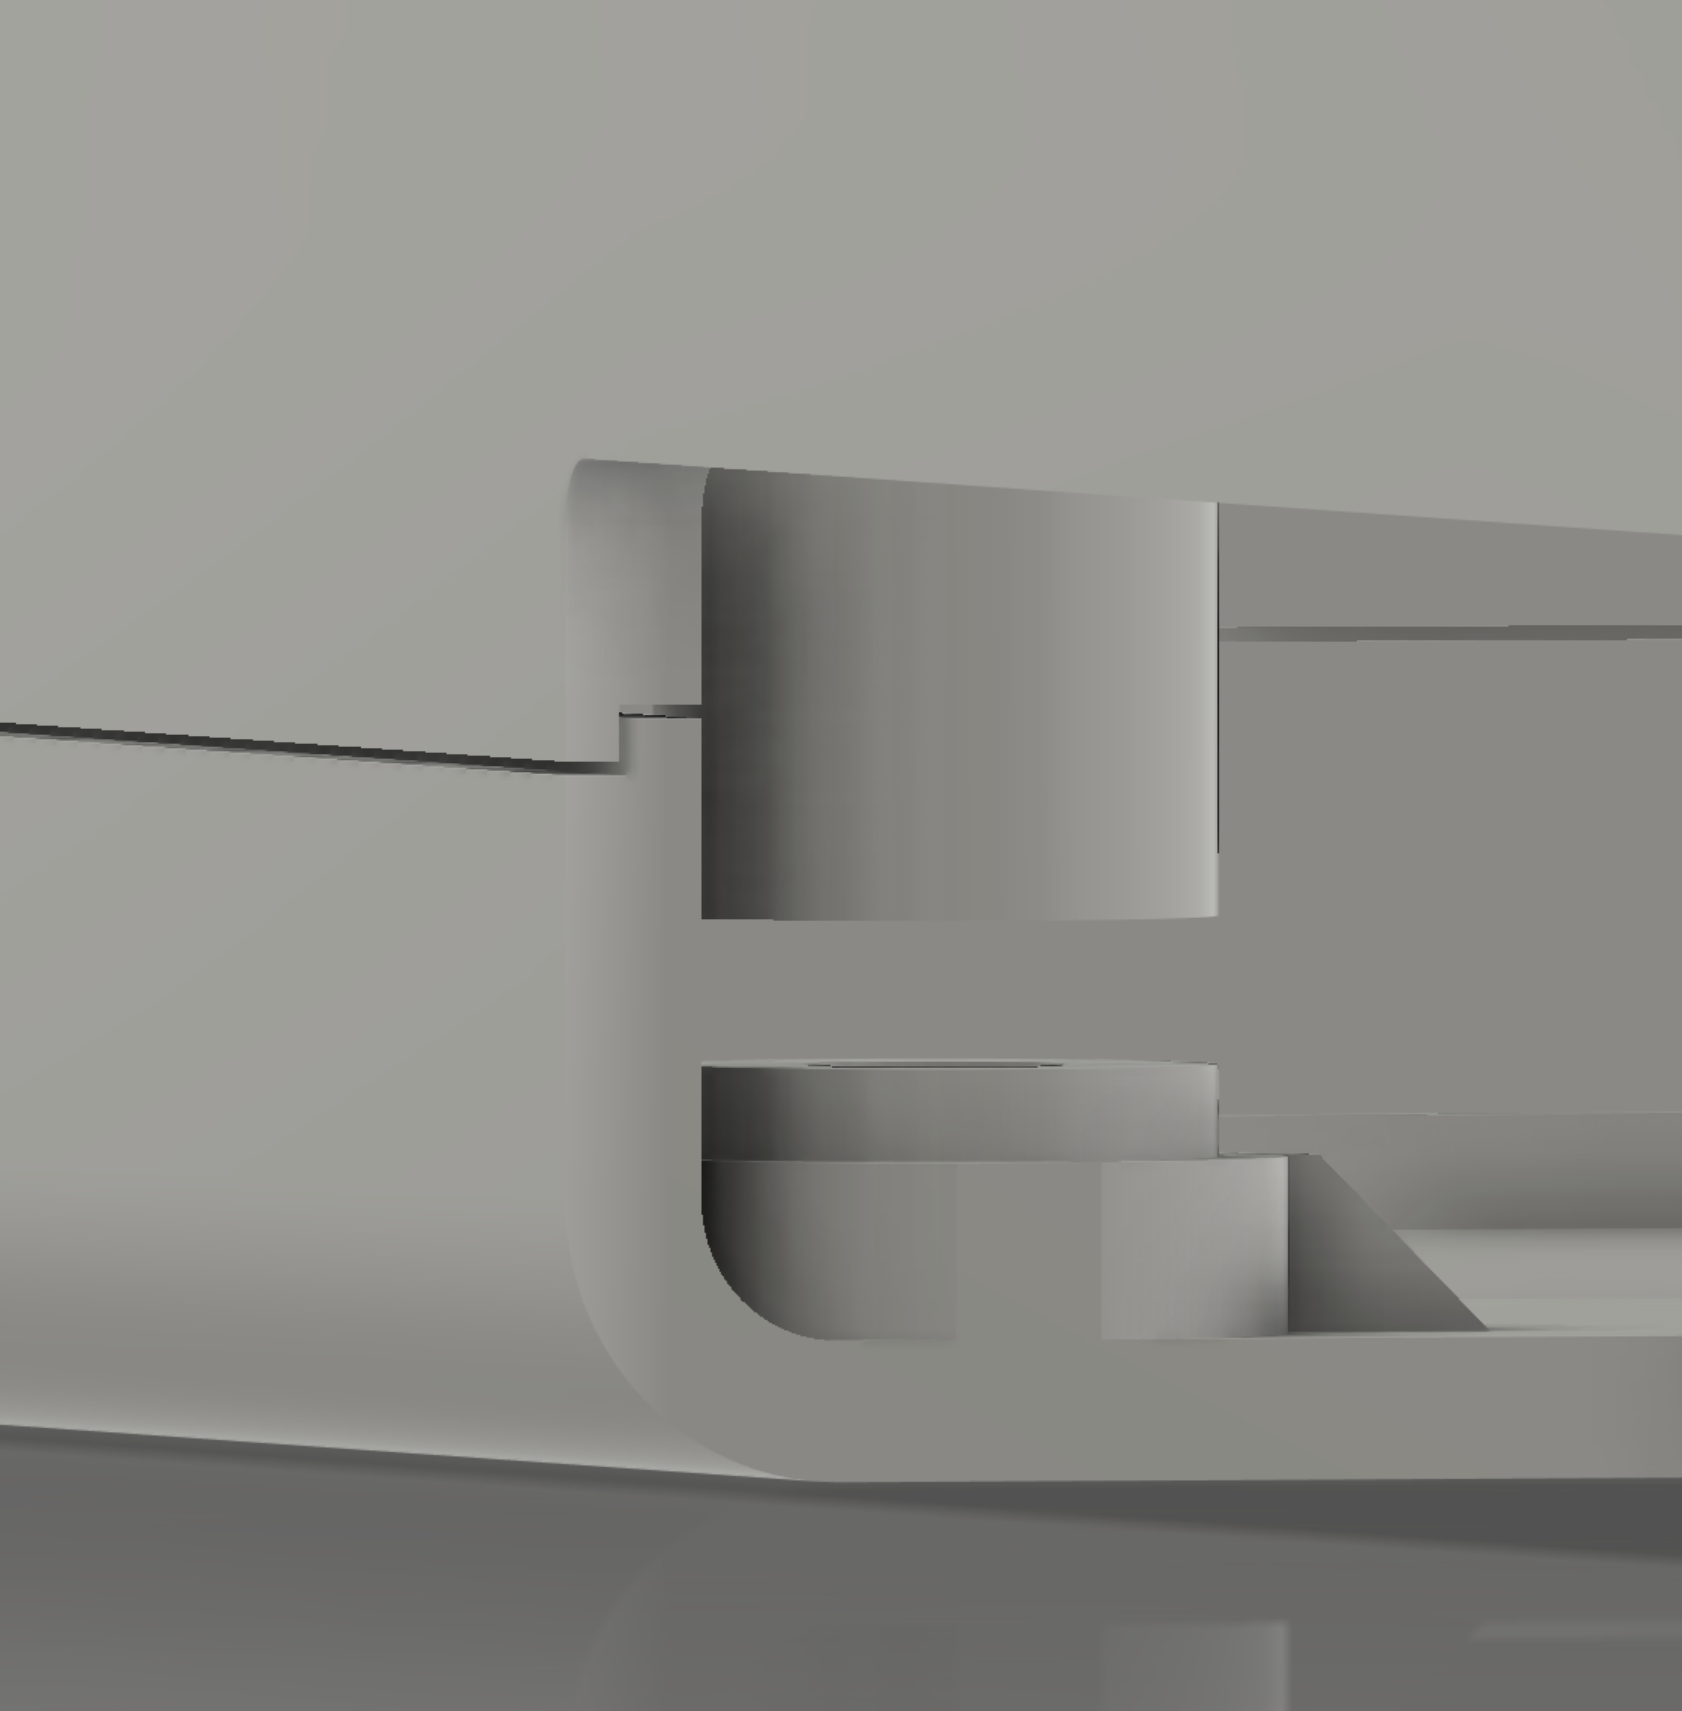
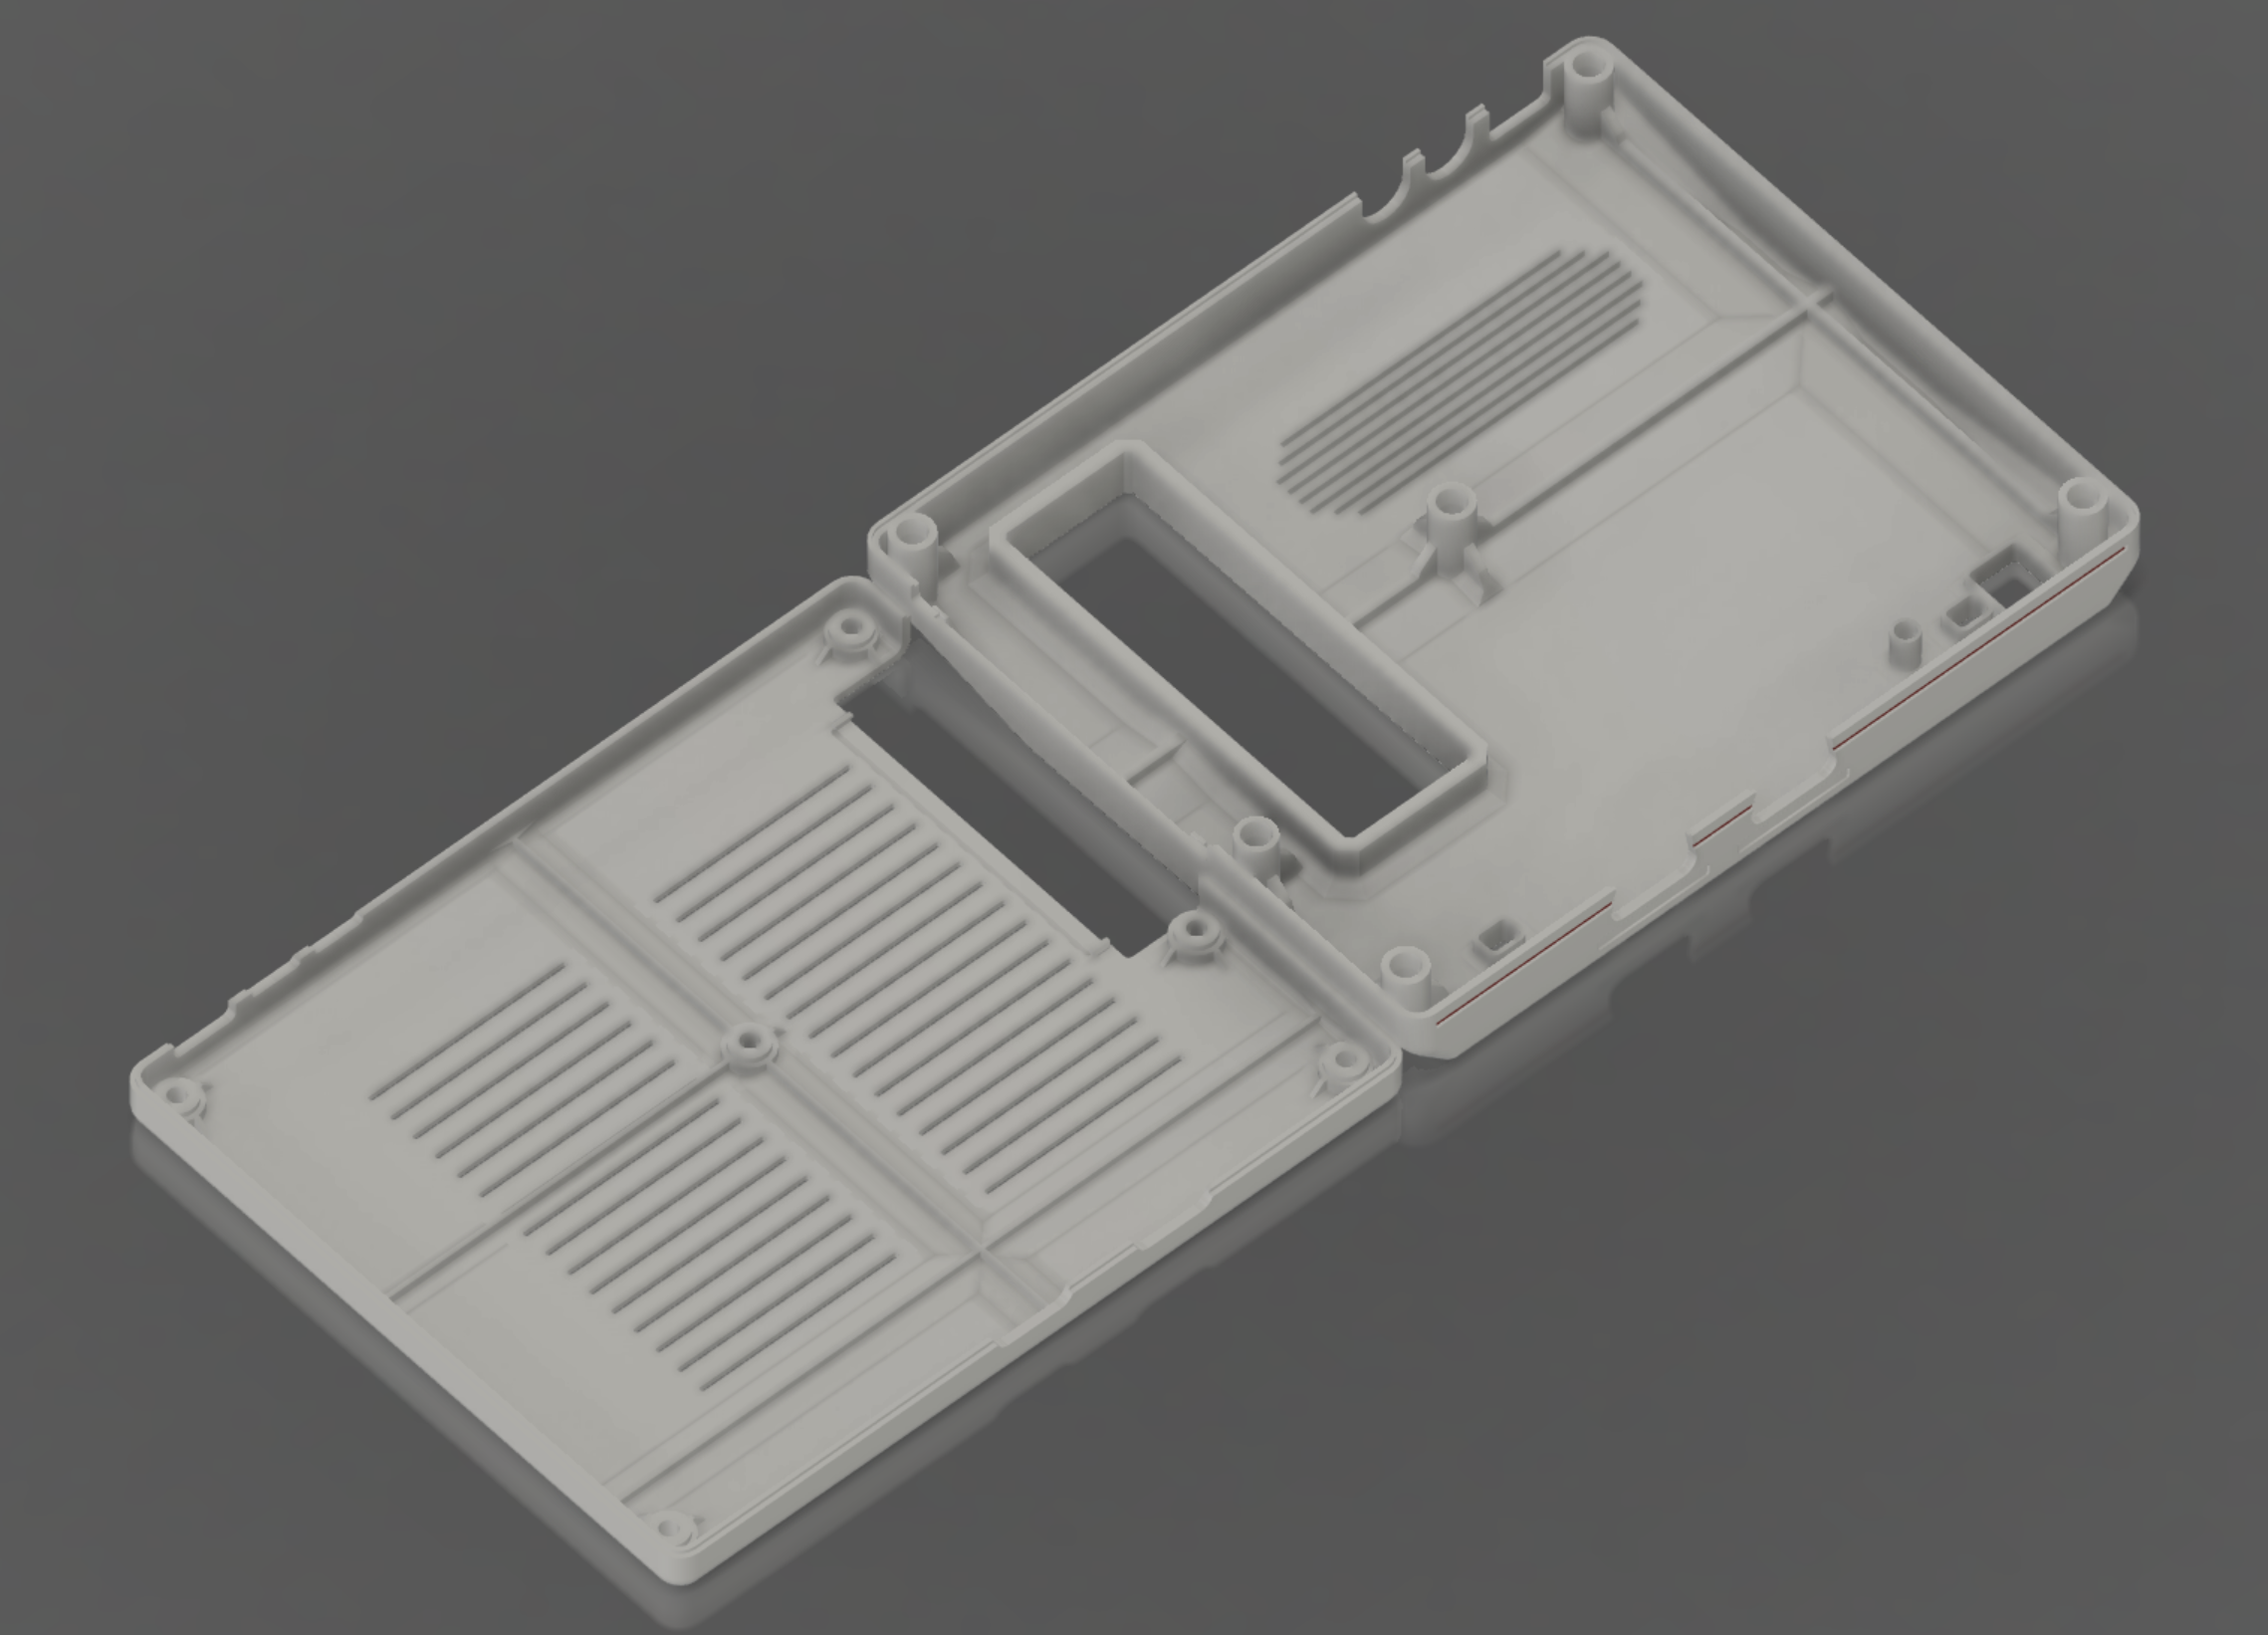
First, look at this stupid offset lip between the top and bottom cases. This thing runs around the whole outside of both case halves, and it was a pain in the ass to make, but it makes a huge difference in how they fit together and how the seam looks when you bolt them together. Speaking of bolts...
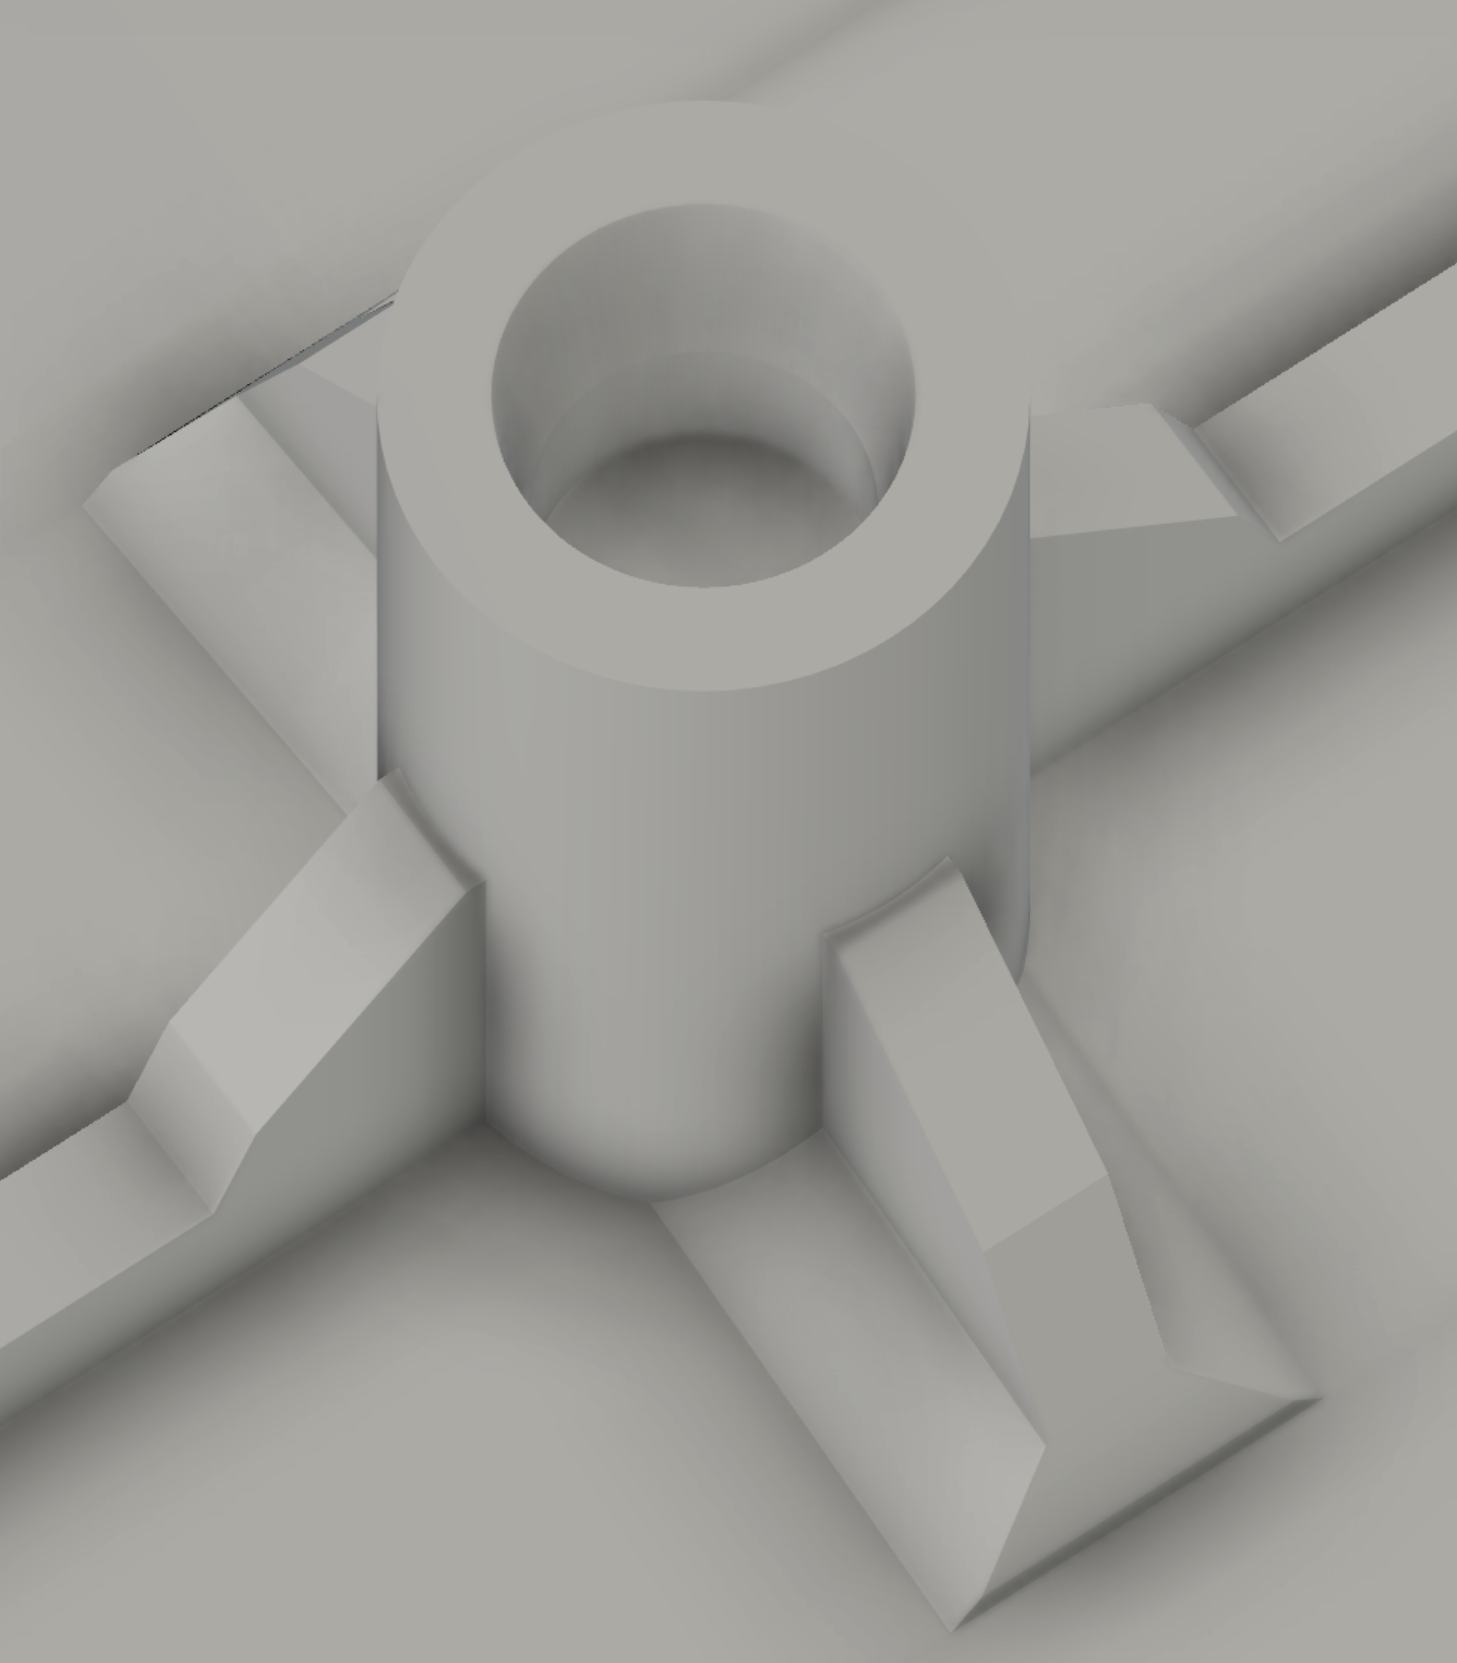
The entire thing is held together using M3 12mm button head cap screws, which thread into M3x4mm heatset inserts pressed into these holes. They have a very slight taper so the plastic has somewhere to melt to and the heatset drops in straight.
There's an annoying amount of ribbing on the insides of both cases, where I could fit it around the vents, in the interest of keeping the damn thing from warping during the print, and to provide some rigidity during use. The ribs have a long, shallow chamfer up to them to provide more surface area on each layer, since 3D print strength is largely determined by the area melted together between layers.
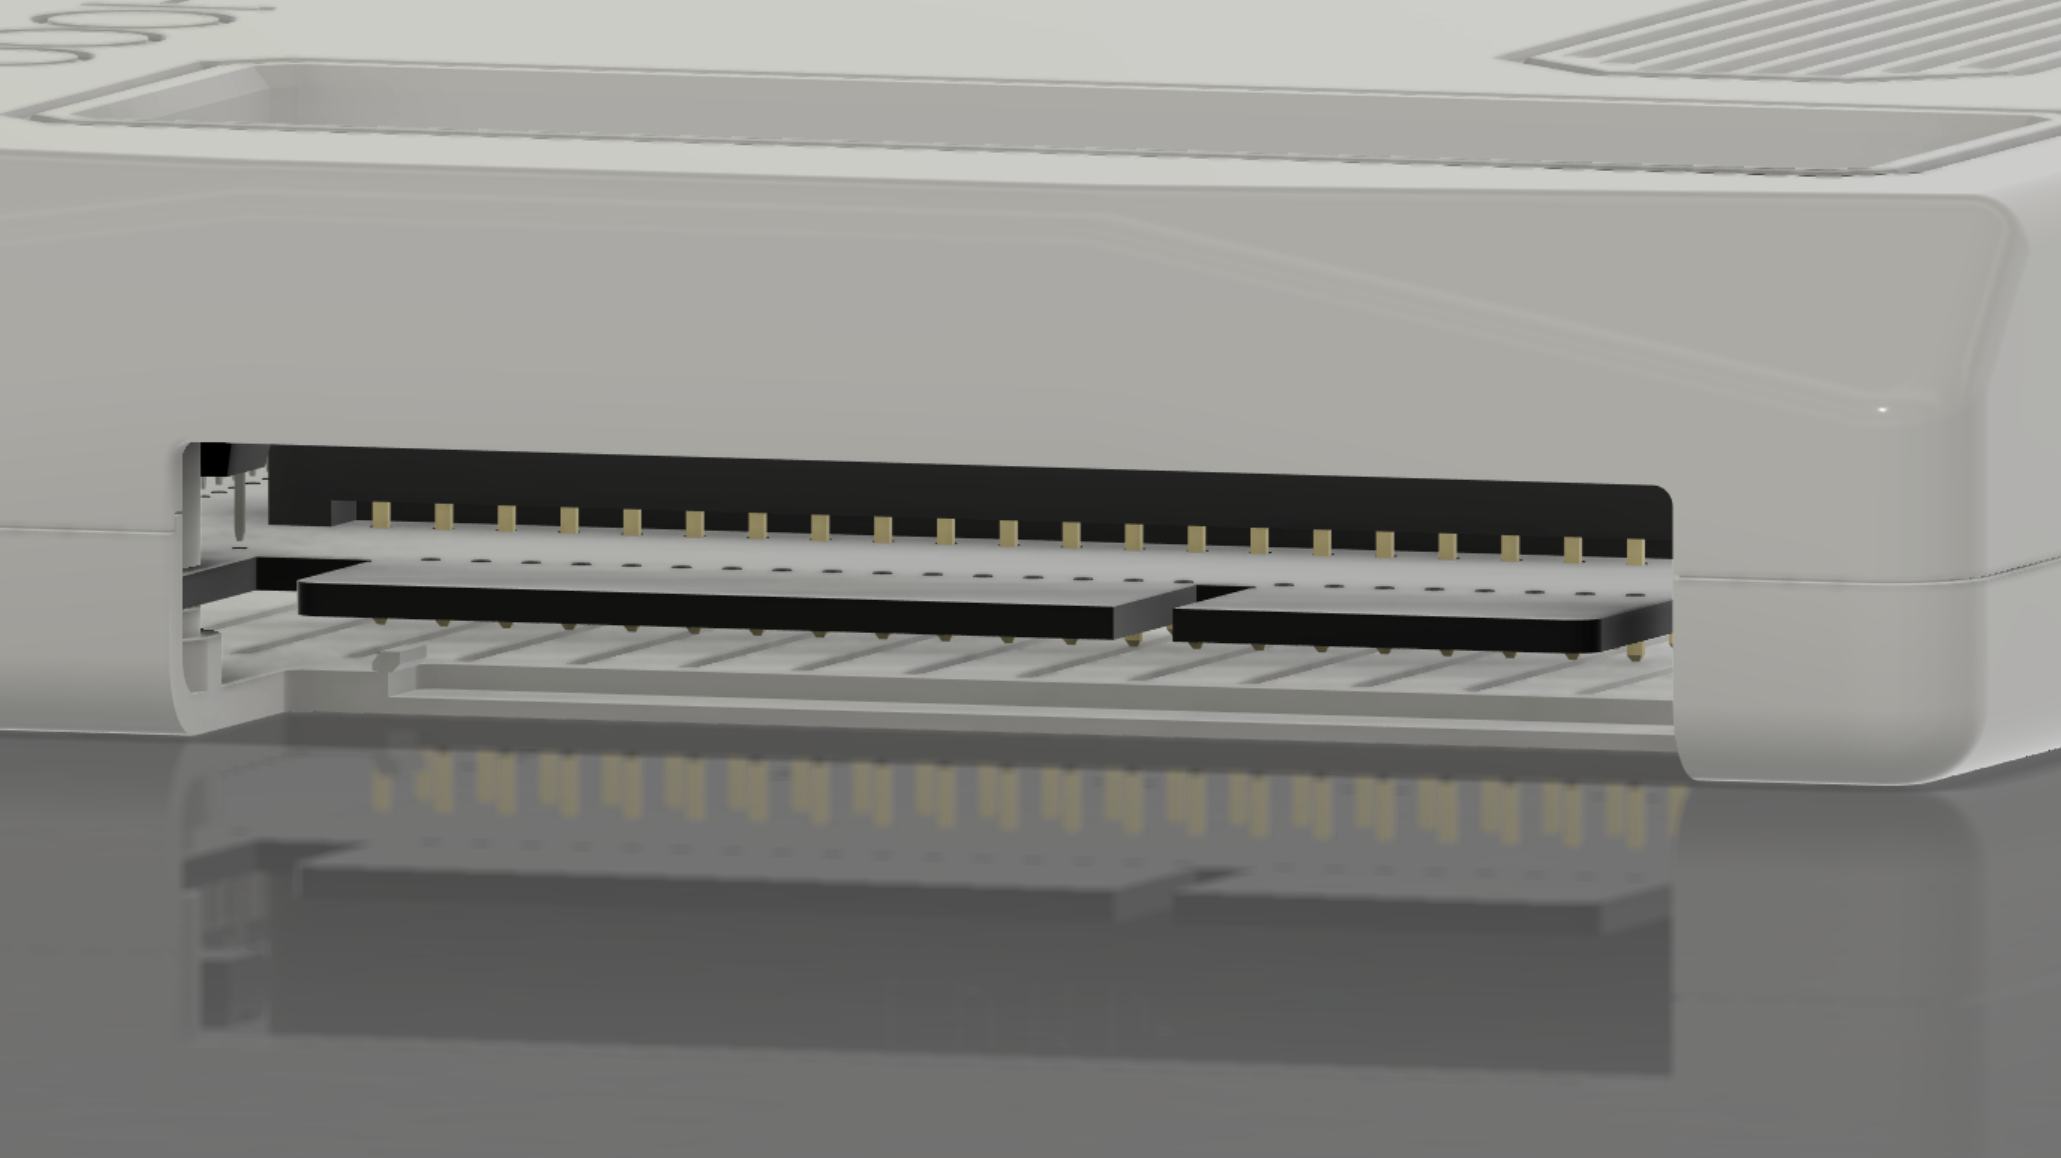
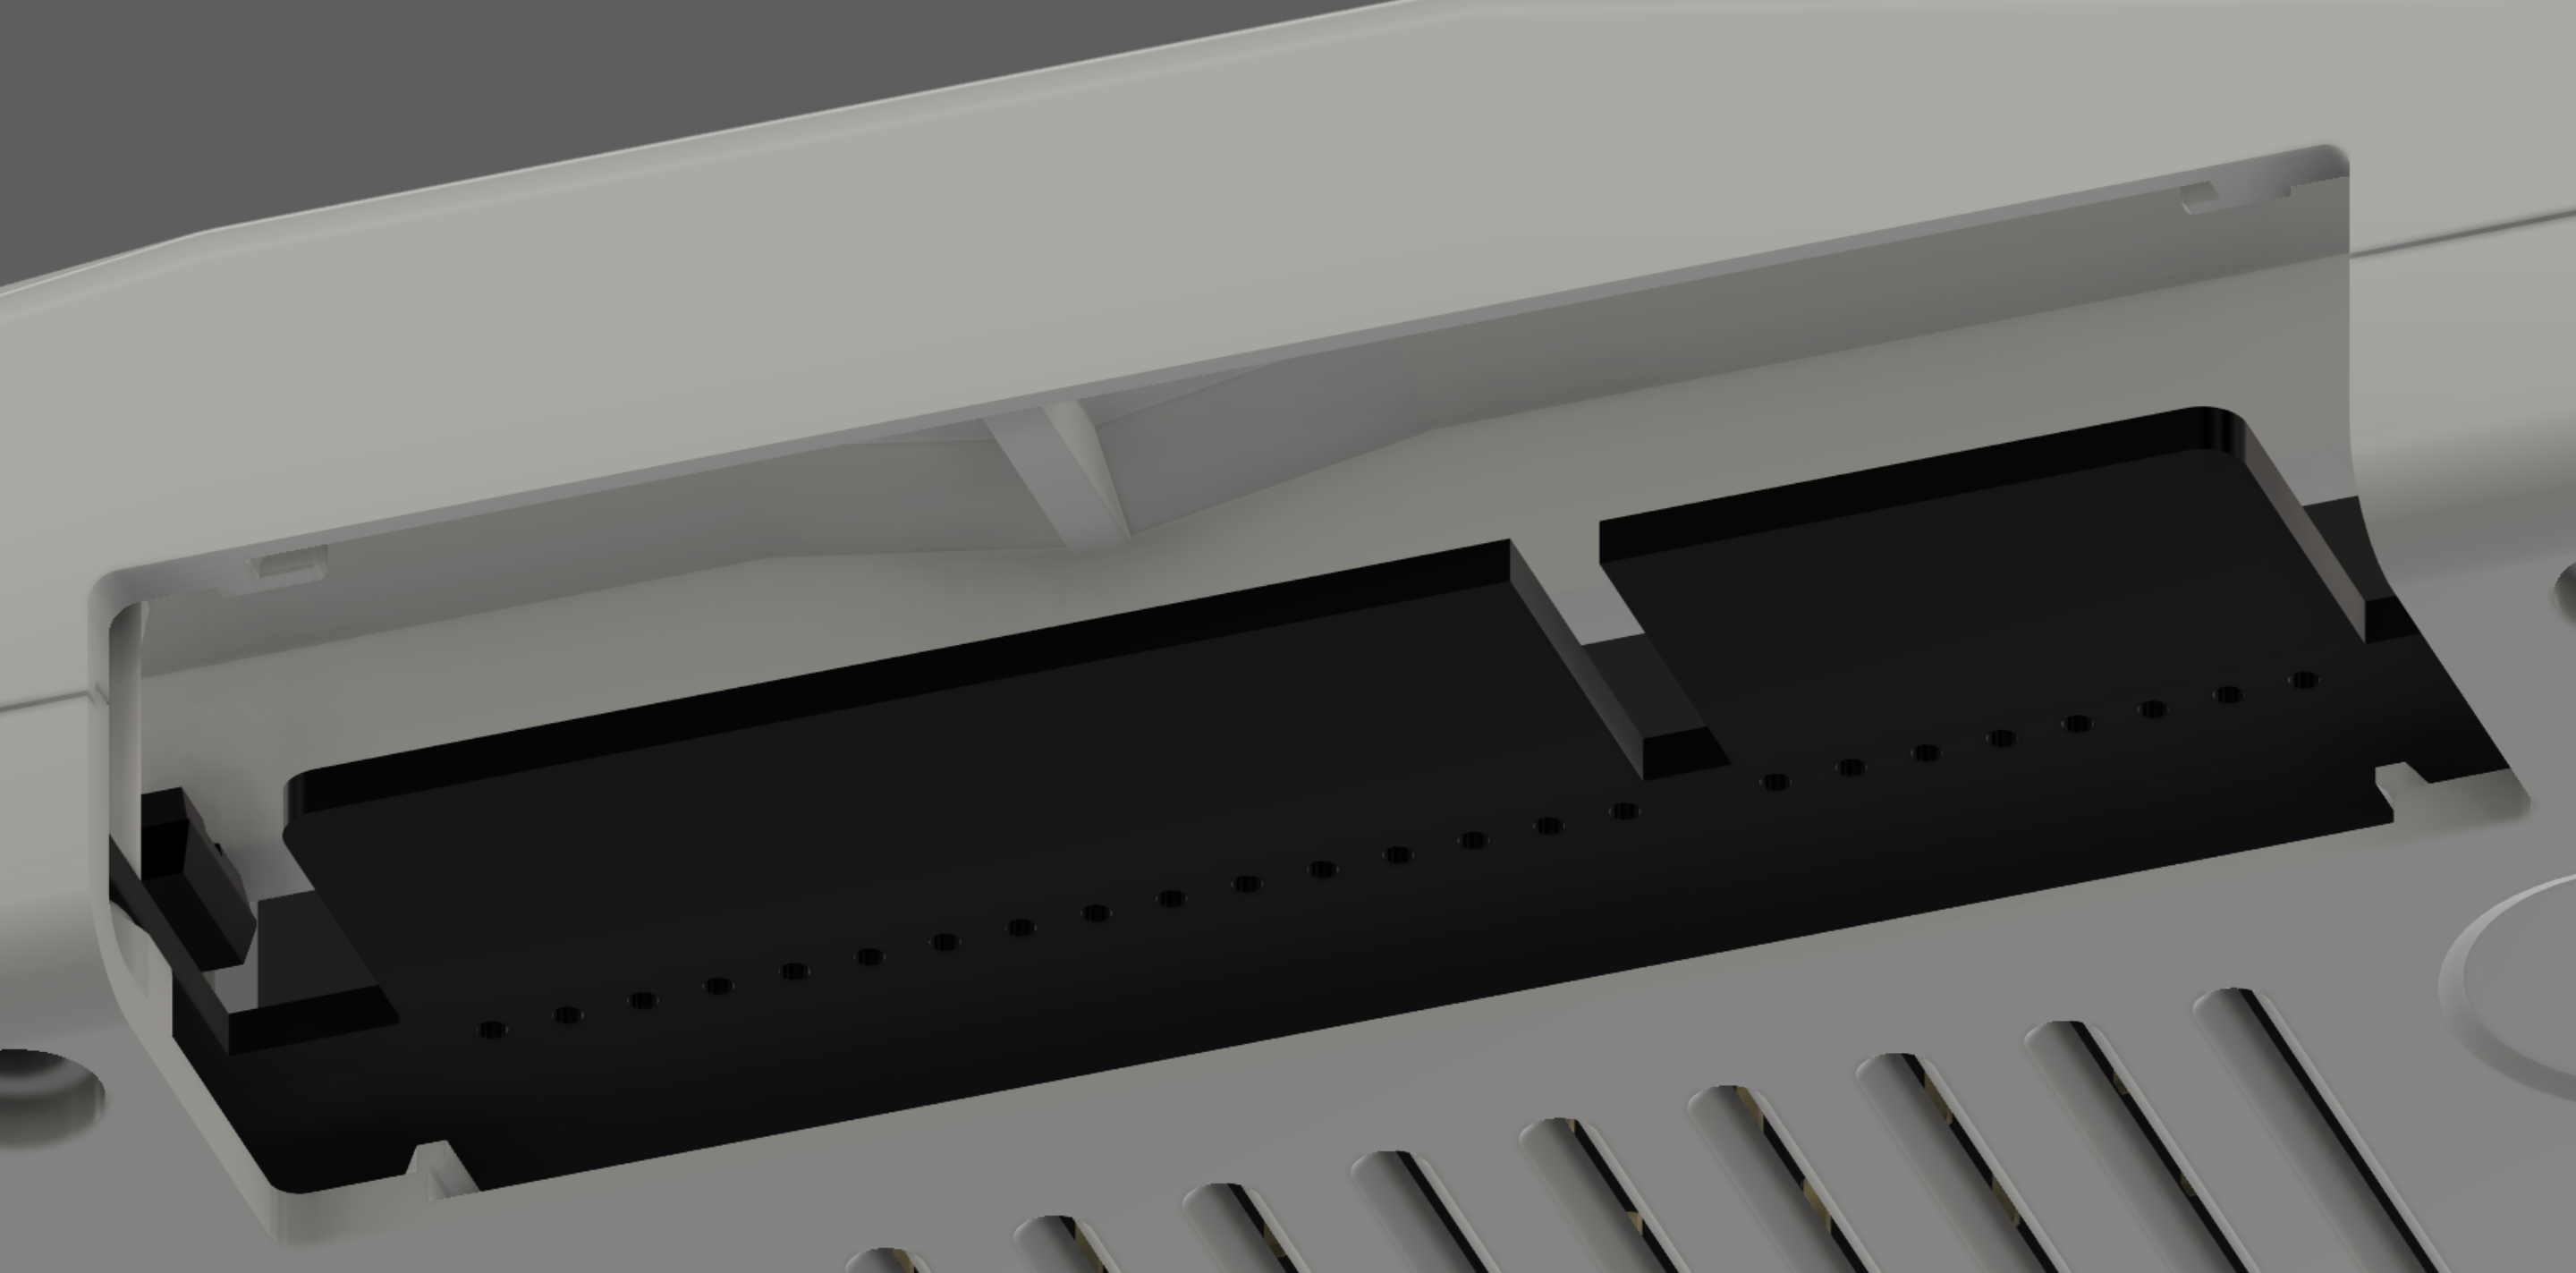
The expansion door pops out to reveal an area around the board edge expansion connector which is large enough that getting the slot connector on an expansion device on and off shouldn't be totally awful.
The whole cutout has recesses behind the exterior face of the case for the door's retaining tabs, and those cutouts in the case have a little lip to fit the tab into while you're popping the door in, which makes the whole process a significant amount easier.
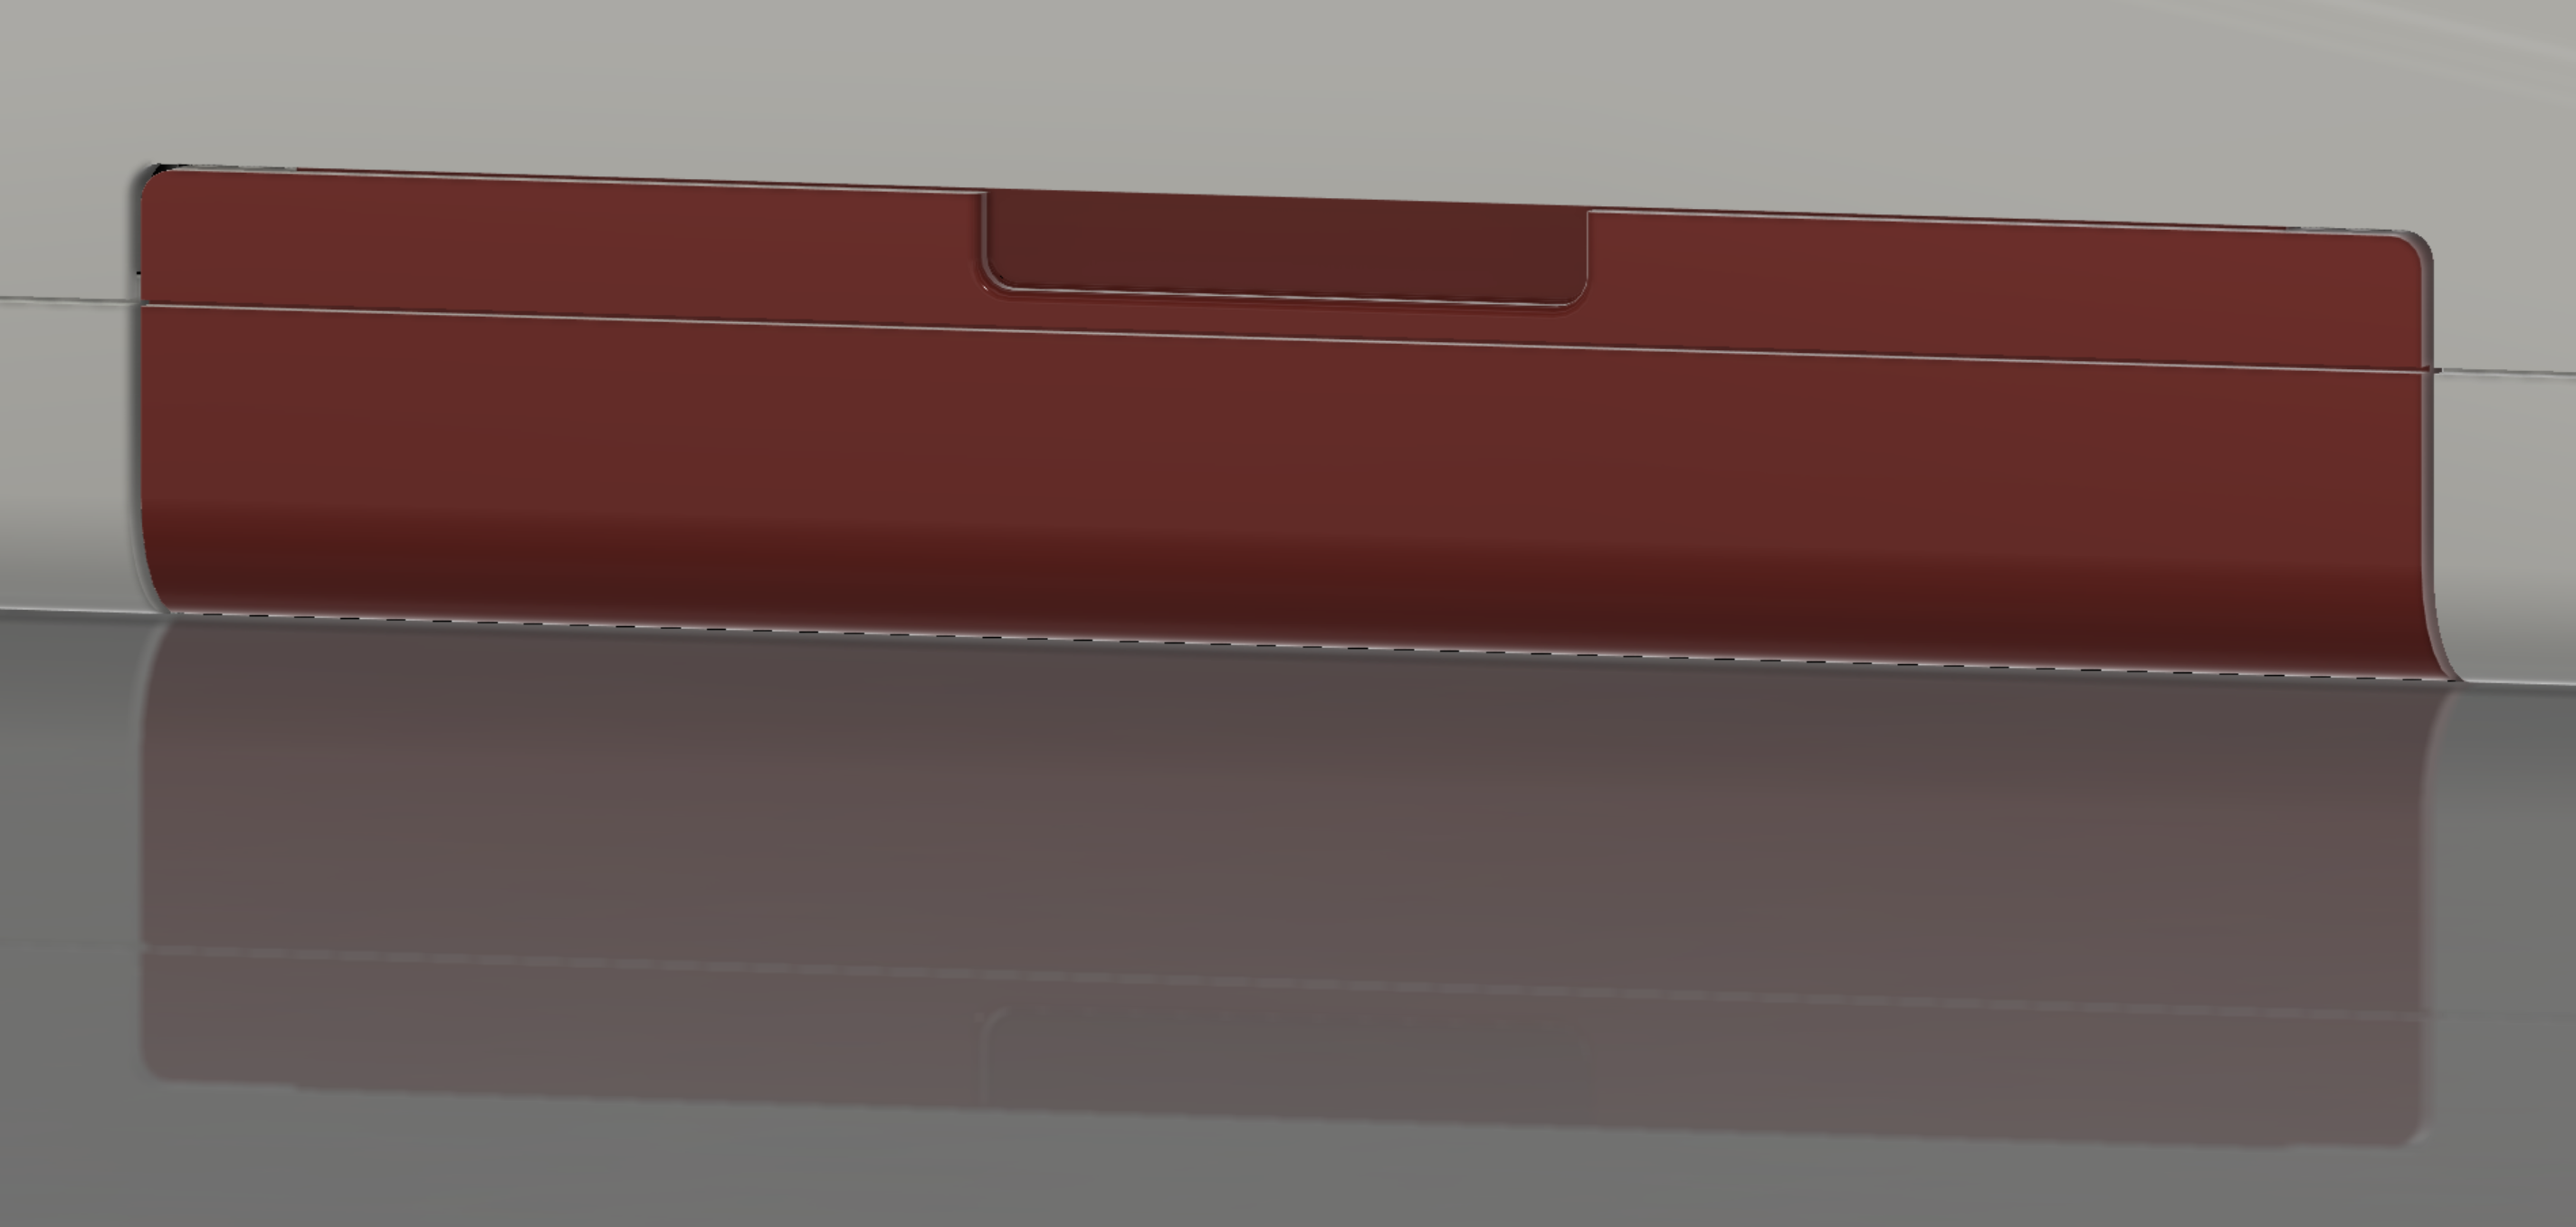
The door itself has a recessed line in it that matches the mating seam in the top and bottom cases, as well as a recess where it meets the top case so you have something to stick a thumb in to pop it out. The two tabs that protrude from the visible surface match up with the slots cut in the top and bottom case halves to allow the case to retain it. The whole design works quite well, even in a 3D printed part.
I could go on for hours about the design of the buttons, and the retainers for them built into the top case. I could talk about optimal slicing to print the thing. I'm not going to, because that shit is boring. But hopefully this was at least a little interesting, and somewhat informative with respect to why some of the things in this enclosure look the way they do.
But mostly, I had to suffer to make this, so I wanted you to suffer just a little bit reading it.
