Microsoft @ JSConf EU: LED Guide
At the Microsoft Booth this year, we're doing something extra special: an attendee-controlled LED build.
In this guide, we're going to go over the various parts you'll need to know (and extras you may want to know) to control the LED build yourself!
Table of Contents
- Overview
- Creating and Deploying Azure Functions
- Submitting Your Functions
- Credits
Overview
At the Micorosoft booth, we'll have a rather unique setup: a programmable LED build that is controlled entirely by input recieved from JavaScript via Azure Functions.
Attendees can submit their own light patterns that will be queued up and run on the LED build. We welcome and encourage creative submissions, and are very much looking forward to seeing what you'll be able to do with the LED build.
Here are various the key things you'll want to know about if you're interested in submitting your own LED builds:
- Azure Functions
- The Functions as a Service (a.k.a. Serverless) tool available from Azure
- Check out Creating and Deploying Azure Functions for more information on getting started!
- rvl-node-animations
- The module by Bryan Huges that makes the interface for controlling lights in the LED build significantly more simple than hardcoding LED patterns.
- Can be installed via
npm i rvl-node-animations.
- Submissions
- The page where you can submit your Azure Functions for the LED Build
Global Prerequisites
Since this prjoect relies on Azure, you'll need an Azure account. If you don't already have an Azure account, you can sign up for a free one here. With a free account, you get 1,000,000 Azure Functions executions per month.
Additionally, we're going to be working from a directory that I reccomend you create now: jsconf-eu-led. Most, if not all, work we do will be within this directory. Of course this isn't a requirement for all functions, but for the purpose of this guide it makes sense 😇
Creating and Deploying Azure Functions
Let's dig into creating and deploying functions in three ways: via the CLIs, via VS Code, and via the Azure Portal.
Creating and Deploying Functions Using Azure CLIs
If you're more of a CLI user than an IDE or Portal user, you can use two CLIs – one for building and testing Functions locally, and one for deploying your functions up to Azure.
If you encounter any problems or have questions about the CLIs, feel free to approach team members at the booth and we'll be happy to help you 😊
Installing the CLIs
The CLIs we're going to use are func and az:
- You can find install instructions for
funchere, also known as azure-functions-core-tools. - You can find install instrunctions for
azhere.
Initializing this Functions Project and Creating a New Function
With func, you have a few initalization options available to you:
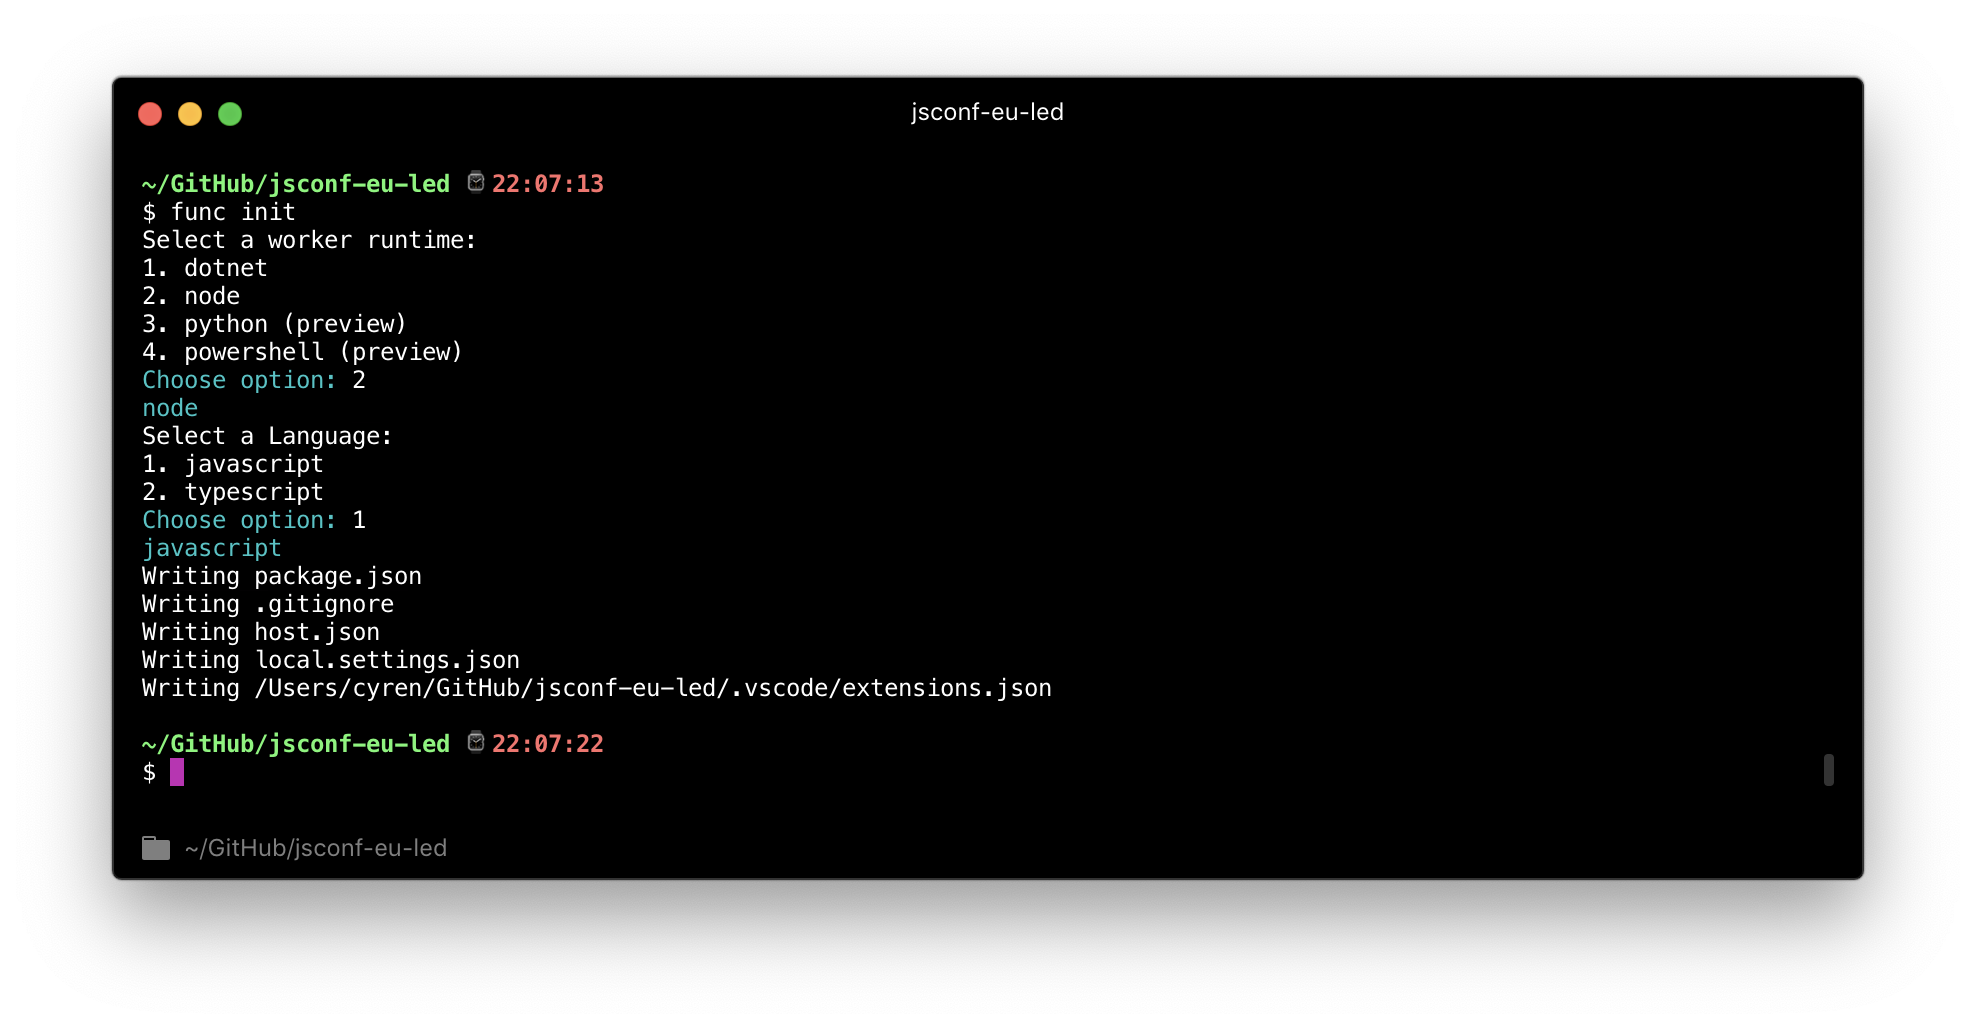
func init [directory]: Initalizes the curent directory if you don't pass [directory]as a Functions app. If you do pass [directory], a new directory named as whatever you pass [directory] will be created and initalized as a git repo.
Azure Functions support a suite of langes, including JavaScript and TypeScript... which is what we assume most, if not all, of you will use.
It's worth noting that this creates a virtually empty package.json. You can safely run npm init again if you want to use the interactive CLI for generating a package.json, or npm init -y to automatically accept all defaults suggested by the interactive CLI.
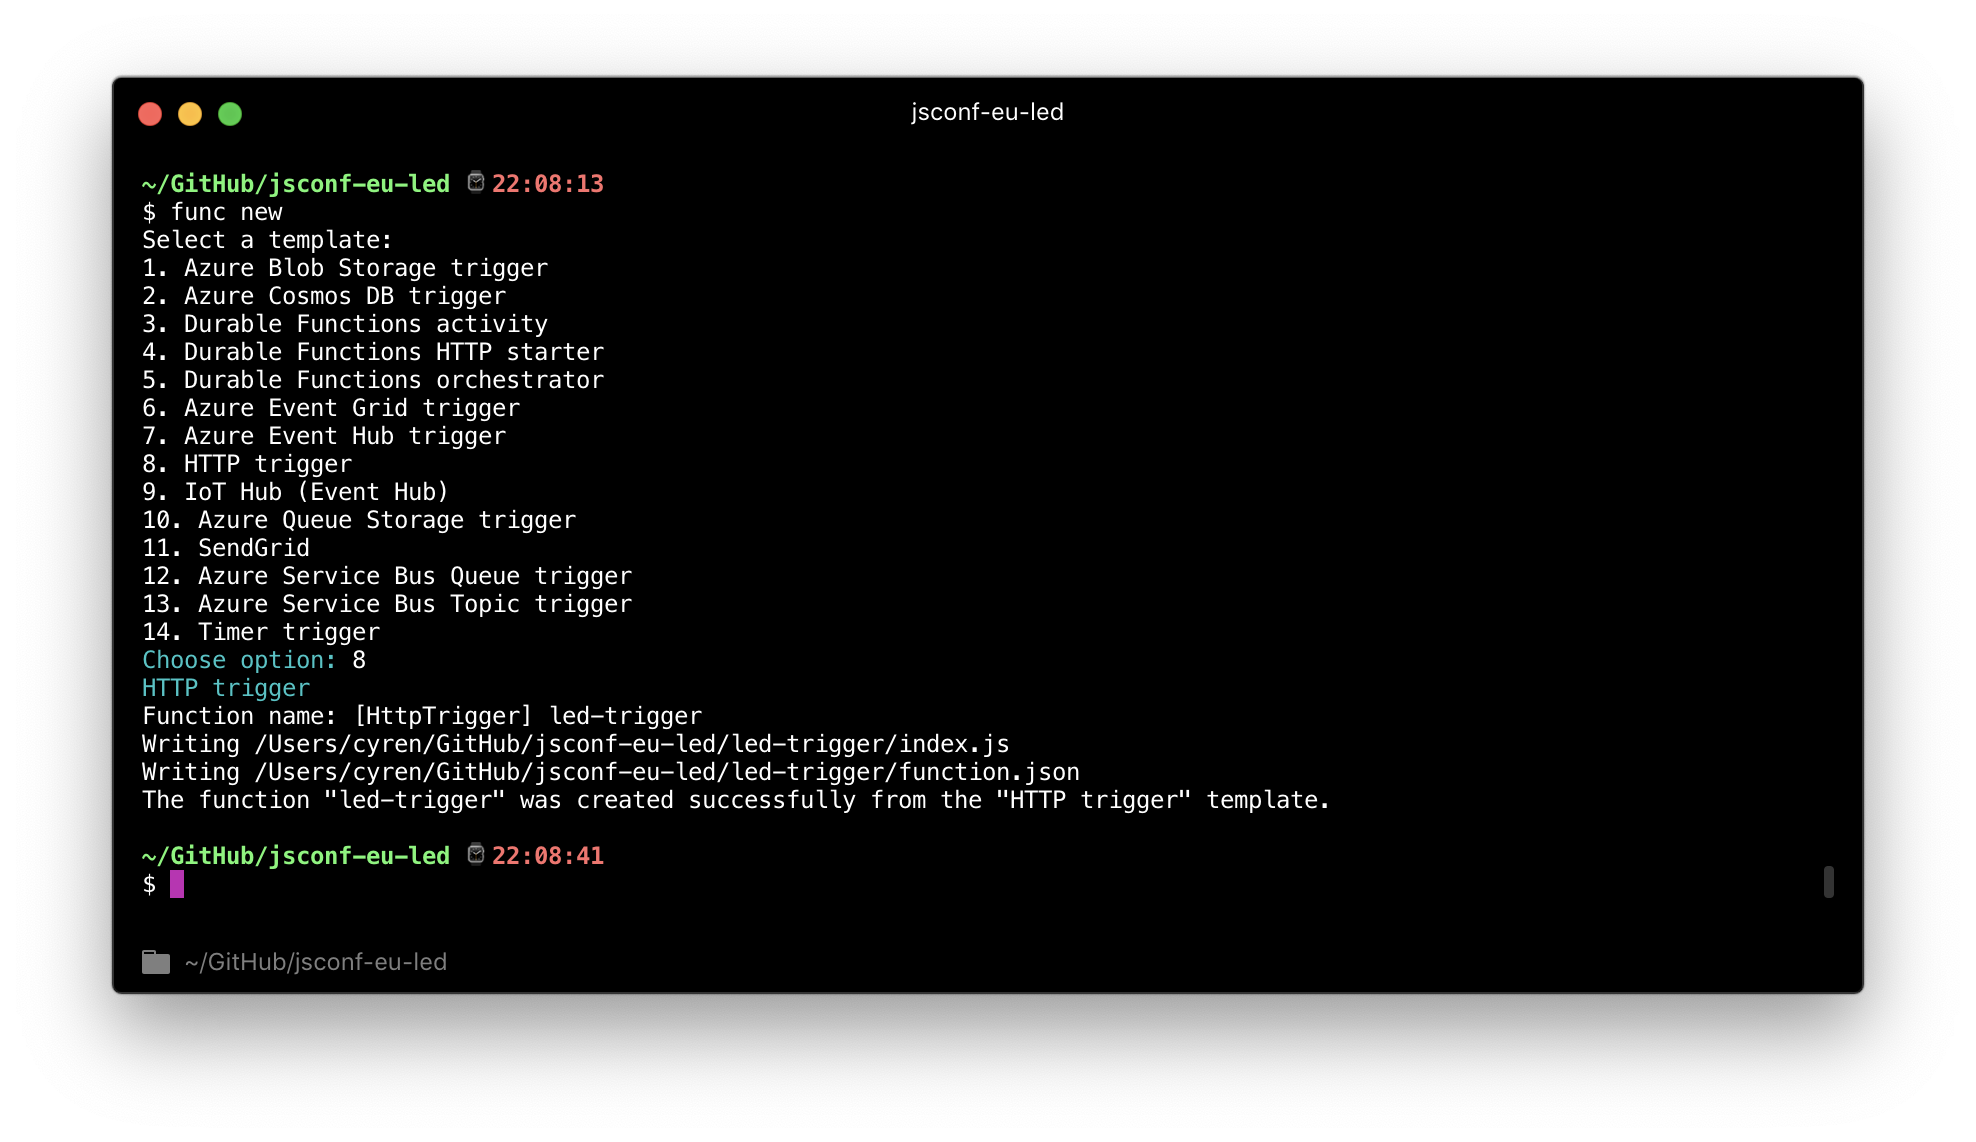
func new: Scaffolds out a new Azure Function in the current directory. You will be prompted to select a template – for our purposes we're going to do an HTTP trigger (option 8).
There are a few flags you can pass to func new that may be of interest. You can pass --name <function name> will automatically skip the interactive name selection, and --template "<trigger name>" where you pass the name of the template (in our case, HttpTrigger) that you'd like to use.
To scaffold our function out, we can run:
func new --name led-trigger --template "HttpTrigger"A new directoy called led-trigger will be created, in which you'll find function.json and index.js – the basic components for a JavaScript Azure Function.
Local Development
The func start command is available to you, allowing you to run your functions locally without the need to deploy them to the Cloud to test them.
Since we're working with HTTTP Trigger functions, you'll be provided a URL that they can be accessed from - you can check what they return at this URL.
Setting up the Cloud and Deploying Functions
To deploy, you'll need the az CLI. Let's get the CLI set up + build out some Cloud infrastrcutre for you:
Run az login (be sure you have the az CLI installed). This will open up your default browser to an authentication page, where you should login with a Microsoft account that has Azure set up.
From there we're going to run a suite of commands to build out our cloud infrastrucutre:
- Run:
az group create --name jsconfEU --location westeurope- This command creates a new Resource Group.
az group createis the command here, telling Azure to create a new Resource Group--name jsconfEUis what we're going to call this Resource Group.--location westeuropeis telling Azure which region we want to host this Resource Group in. There are currently 54 regions.
- Run:
az storage account create --name jsconfeustorage --location westeurope --resource-group jsconfEU --sku Standard_LRS- This command creates a new storage account, which is where the code you're going to be running will be stored.
az storage account createis our command, telling Azure to create a new storage account.--name jsconfEUStorageis passing the name of the storage account we want to crreate. In this case, we've selectedjsconfEUStoragebut this can be anything.--location westeuropeis telling Azure which region we want to host this Storage account in. Generally you'd want to have it in the same region as your Resource Group.--resource-group jsconfEUis the Resource Group we want to attach this Storage account to. We want to have this be the same Resource Group as the one we created with the previous command.--sku Standard_LRSis passing an identifier for – in this case – what kind of storage account we want to create.Standard_LRSrepresents Standard Locally Redundant Storage, which is the most basic form of Storage.
- Run:
az functionapp create --resource-group jsconfEU --consumption-plan-location westeurope \ --name jsconfeu-led --storage-account jsconfeustorage --runtime node- This command tells Azure to create a Function App and connects it to the other two parts that we just built.
az functionapp createis our basic command, telling Azure to create a new Function App.--resource-group jsconfEUis passing the resource group we want to set up this Function App in.--consumption-plan-location westeuropesets up the Function App as consumption-based in the same region as our other resources--name jsconfeu-ledis the name of our Function App as it appears in Azure.--storage-account jsconfeustorageconnects the Function App to the Storage account that we created.--runtime nodetells the Function App that it's going to be a JavaScript Function App.
- Finally, run:
func azure functionapp publish jsconfeu-led- Here, we're using the
funcCLI to publish to a Function App calledjsconfeu-led, which is what we named the Function App we created in the previous step.
- Here, we're using the
Creating and Deploying Functions Using VS Code
Installing the Tools
For development in VS Code, you'll want both the Azure Functions Core Tools CLI, and the Azure Functions extension for VS Code. You can find instructions on how to get both set up for your environment, there's an exceelent in the the VS Code docs.
If you have any questions about or issues with the getting the VS Code tools set up, feel free to ask anyone staffing the Microsoft booth – we'd be happy to help ✨
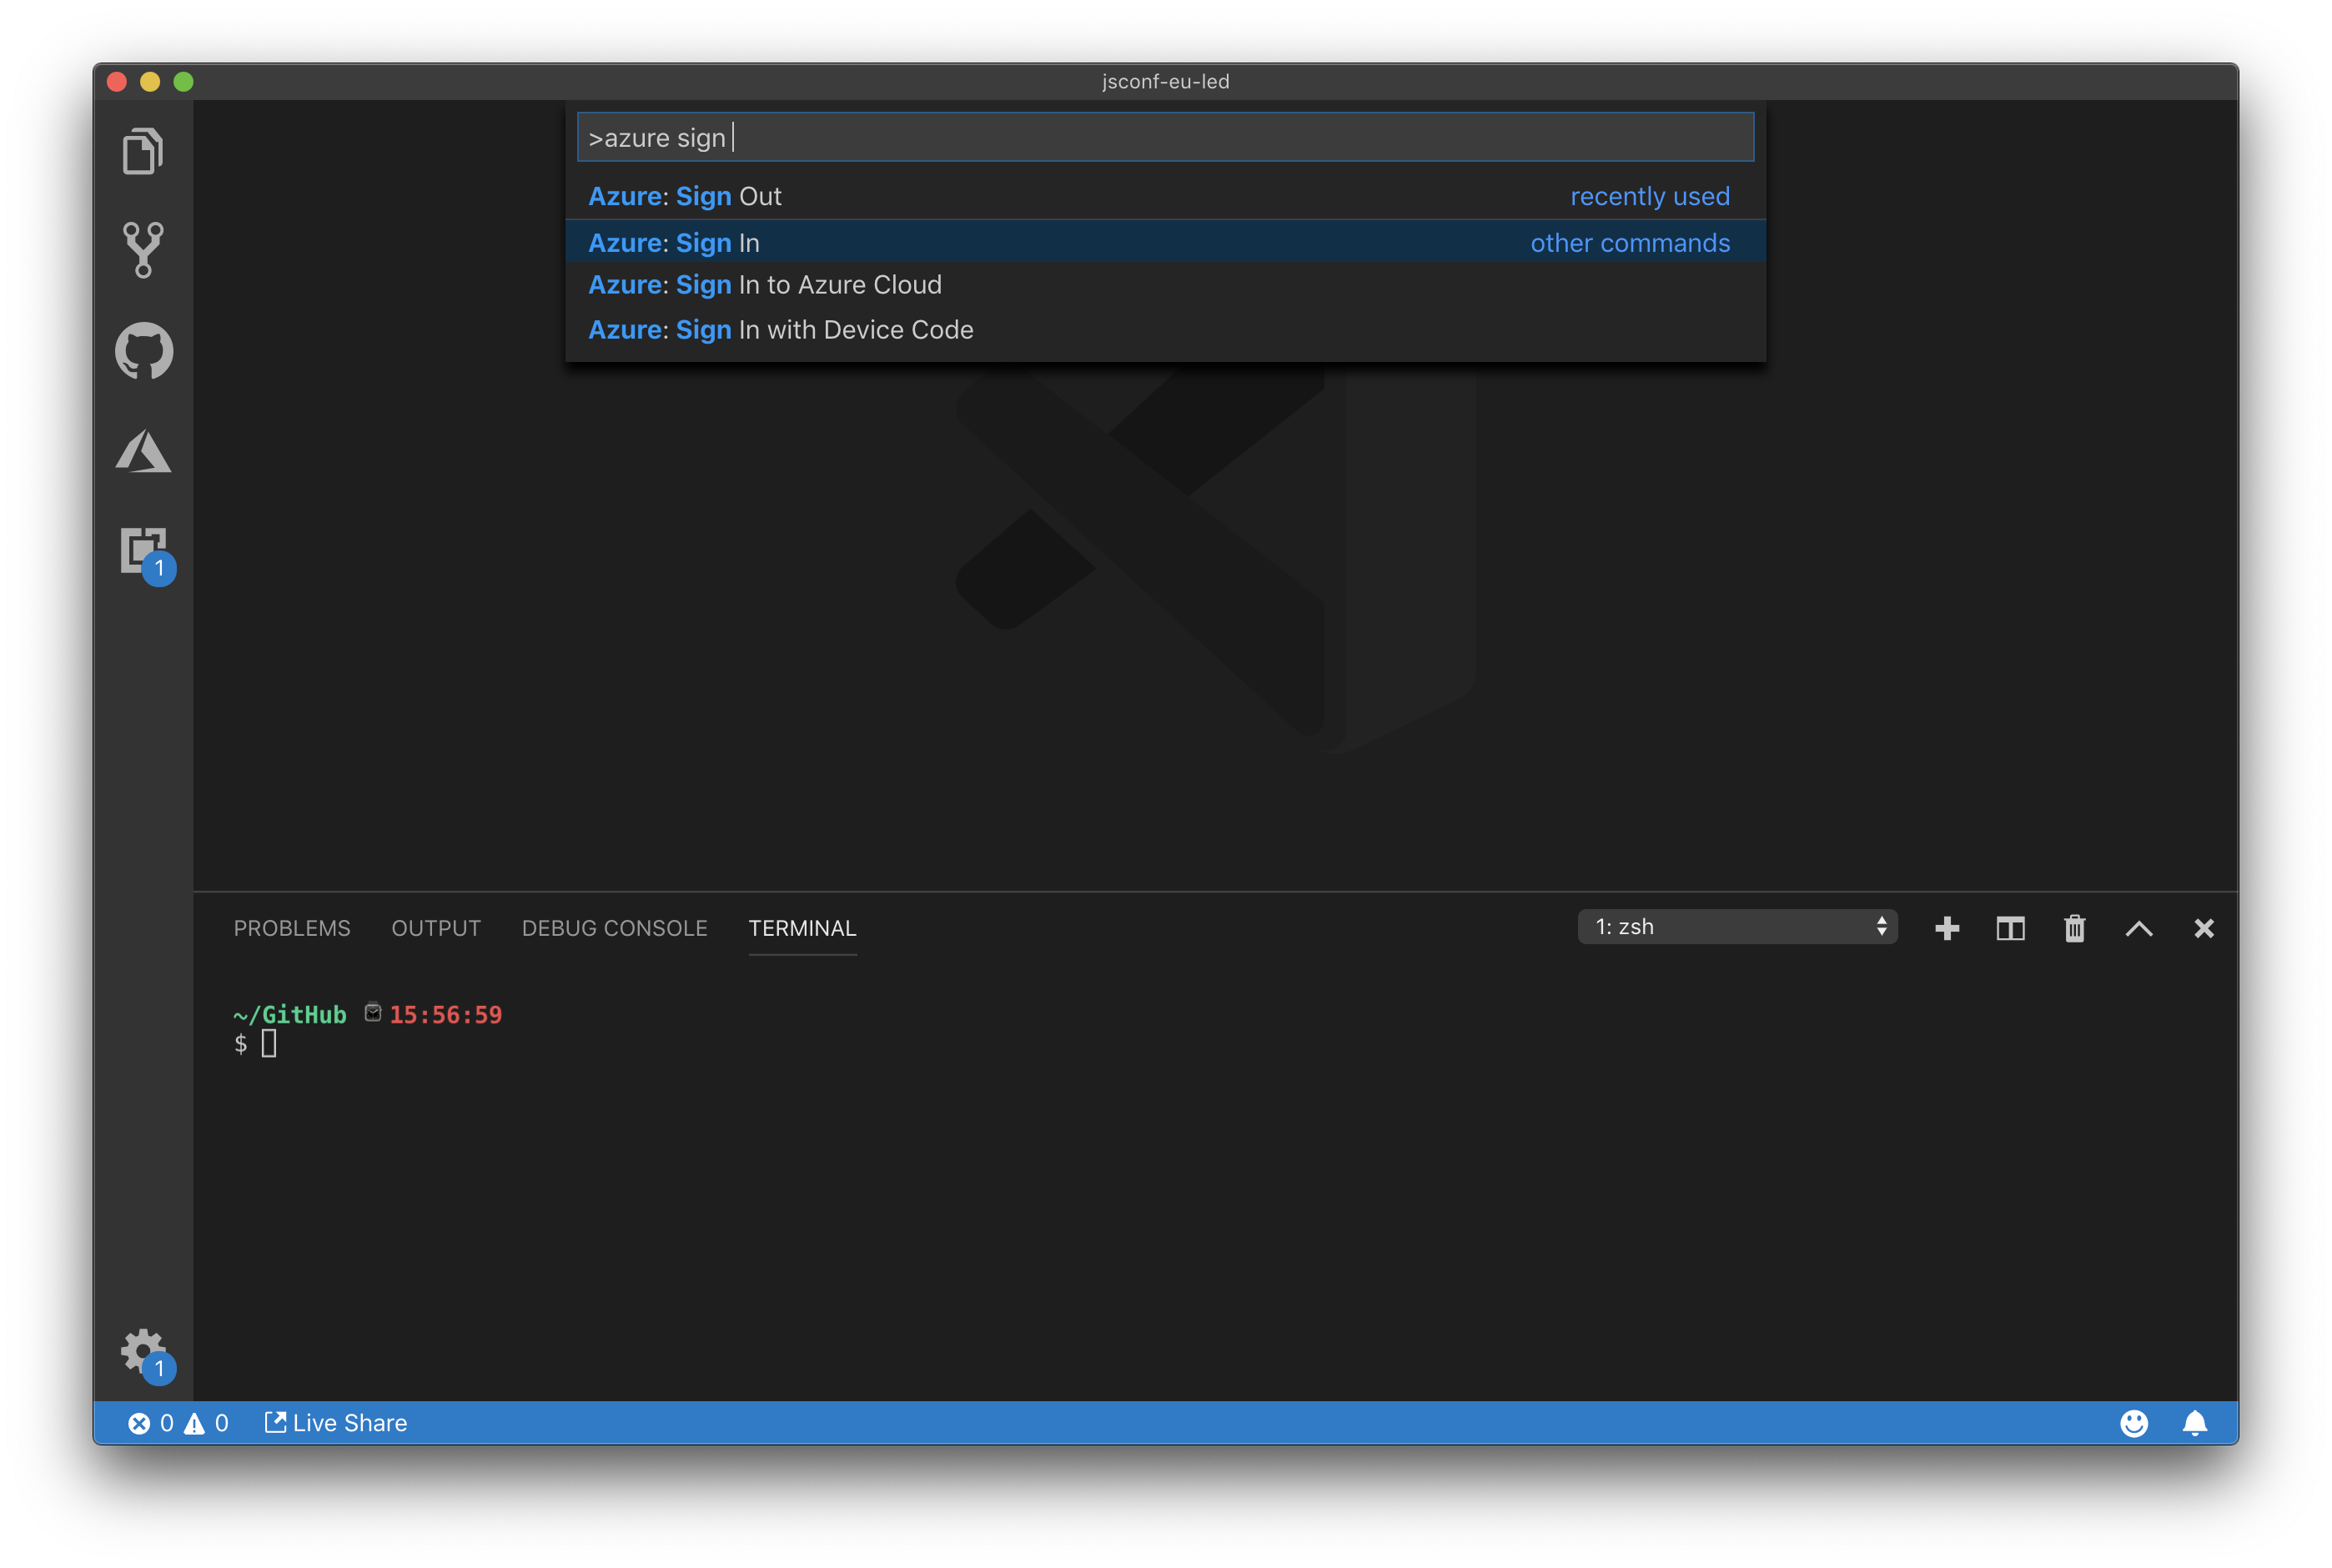
Once you've got the CLI and extensions installed, you'll need to sign in to Azure. You can accomplish this by opening the Command Pallete and typing Azure: Sign In:
Additionally, you can open up the Azure Functions sidebar and click "Sign in to Azure..." to sign in. To get the sidebar to appear you may need to restart VS Code.
Local Development
In VS Code, you have two options for local Function development:
func startuses the Azure Functions Core Tools CLI, and is an easy way to kick off your functions from the integrated terminal inside of VS Code. Ensure the current working directory is the directory your functions are in.- Pressing the
F5key automatically runs your functions.
Since we're working with HTTTP Trigger functions, you'll be provided a URL that they can be accessed from - you can check what they return at this URL.
Setting up the Cloud and Deploying Functions
With the jsconf-eu-led directory open and your functions set up inside of the directory


