Discussion: AUTOMATIC1111/stable-diffusion-webui#11612
This is Extension for AUTOMATIC1111/stable-diffusion-webui for having more control over inpainting.
Copy the link to this repository into URL for extension's git repository in WebUI Extensions → Install from URL tab:
https://github.com/klimaleksus/stable-diffusion-webui-disable-inpainting-overlay
Also you may clone/download this repository and put it to stable-diffusion-webui/extensions directory.
You will see a section titled Disable Inpainting Overlay on img2img tab. It has 3 checkboxes:
It will save to final result the same image that you may see in preview during generation. Which means:
- Unmasked area will be changed, because of VAE conversion
- Quality of your image will quickly degrade, if you will use your output as input again
- When "Inpaint area"="Only masked" you will have cropped result, not pasted back to original image
- However, there should be no seam on mask boundaries
Why you may need this? In case if you want to manually put your inpainting result to a top layer in photoshop to erase its outer area by yourself. This way you will get much more freedom, compared to just a tiny blurred border of the mask otherwise.
Use this ONLY when you plan to composite your inpainting manually!
Example!
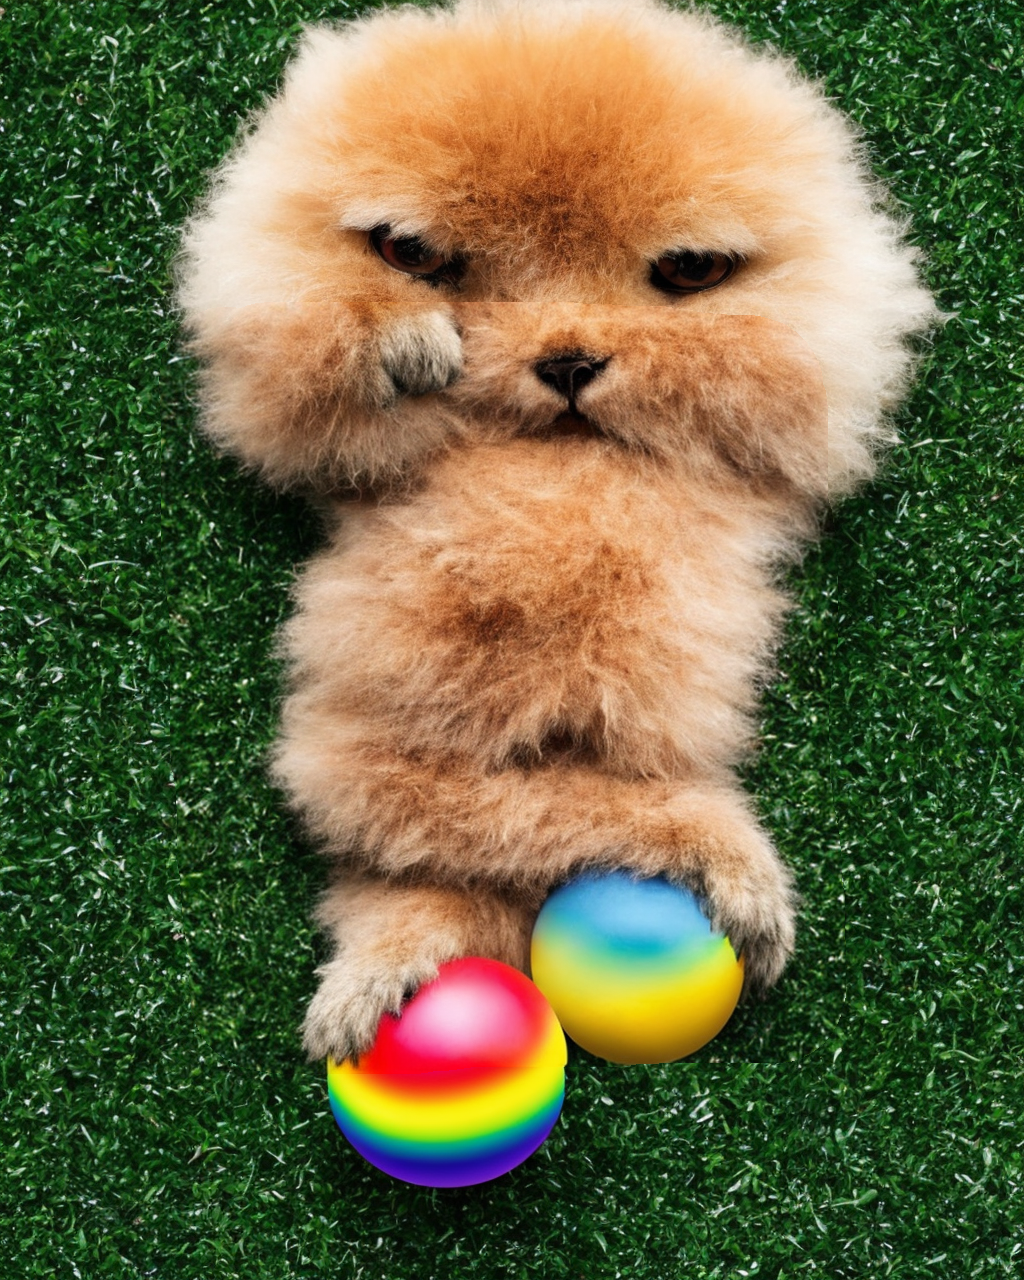
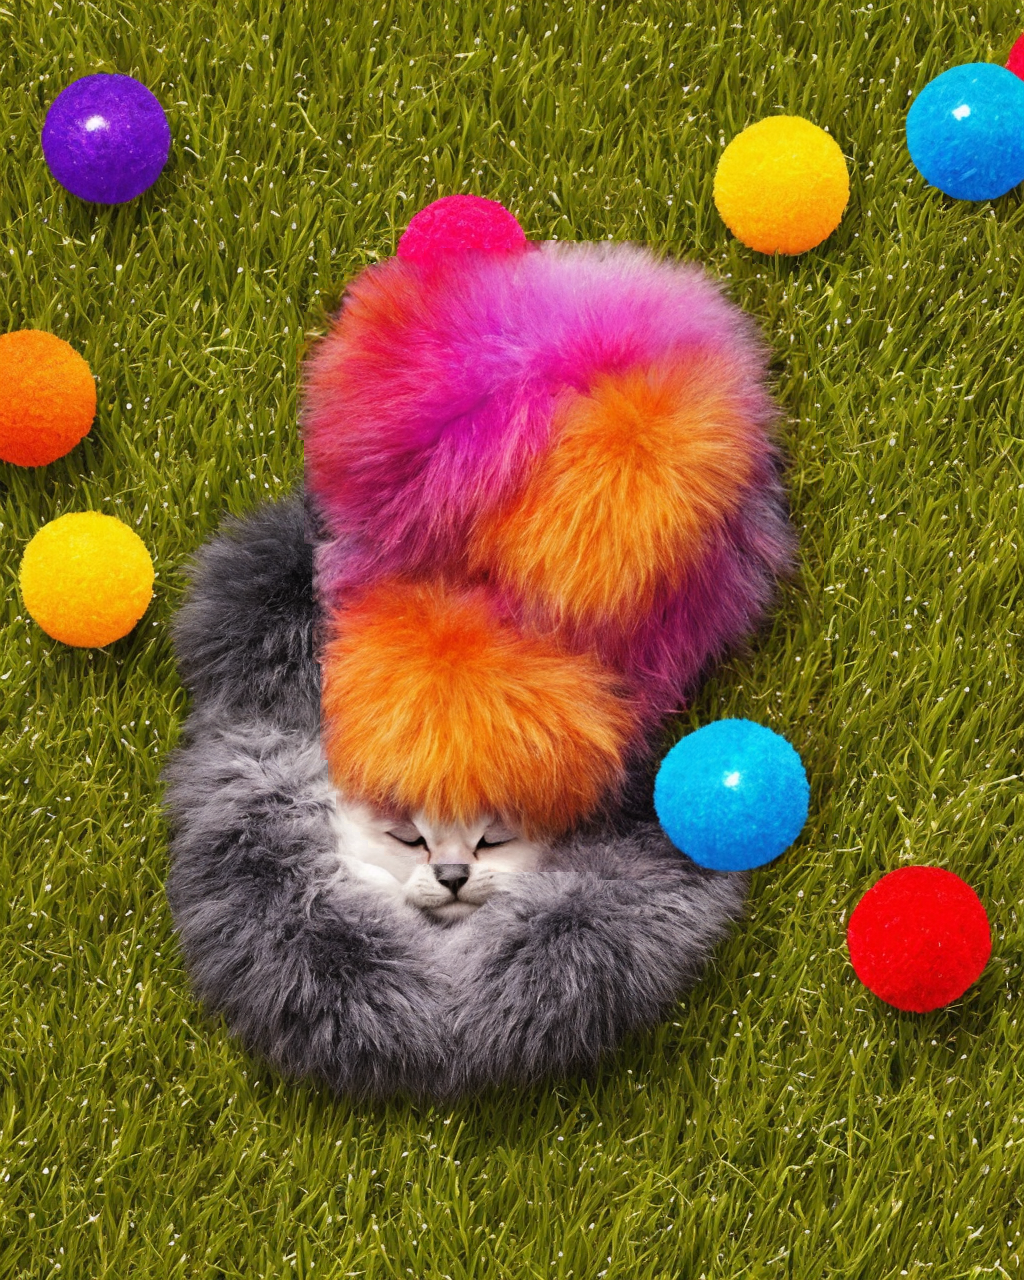
Source picture: (zero mask blurring)

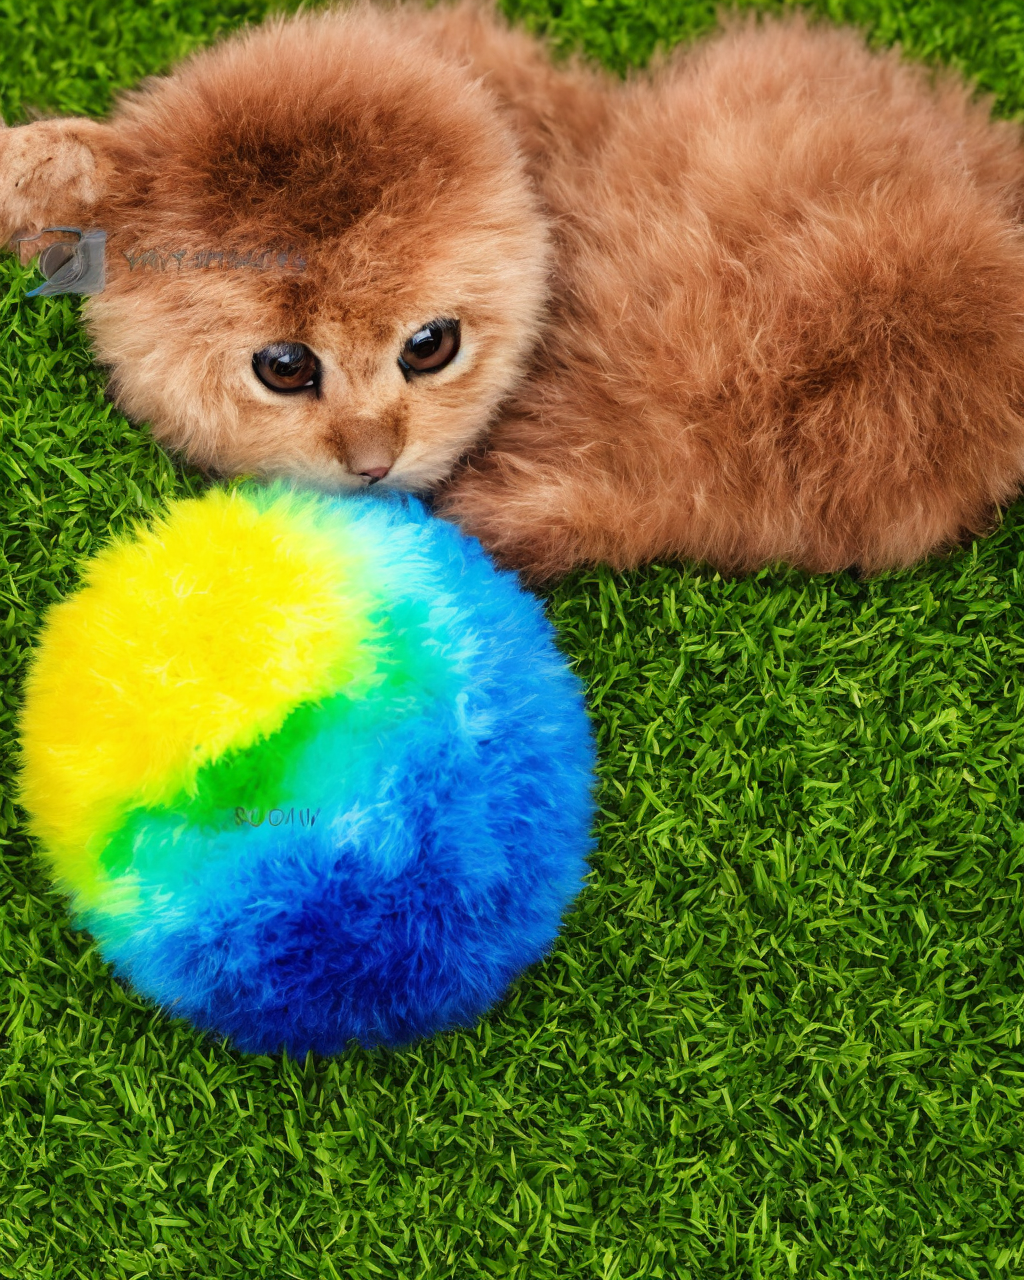
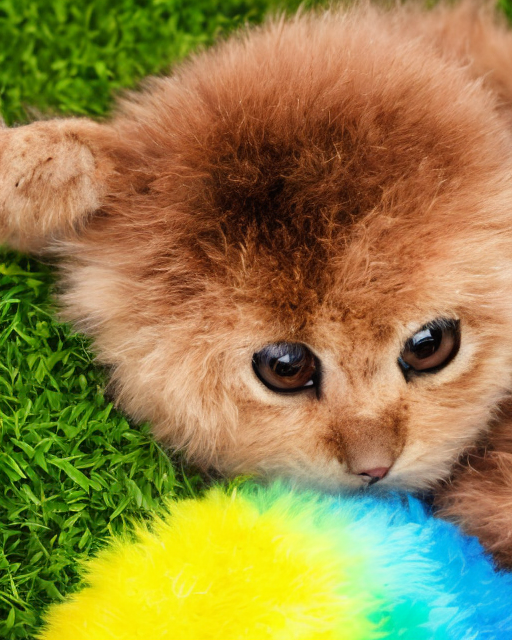
Normal inpaint:
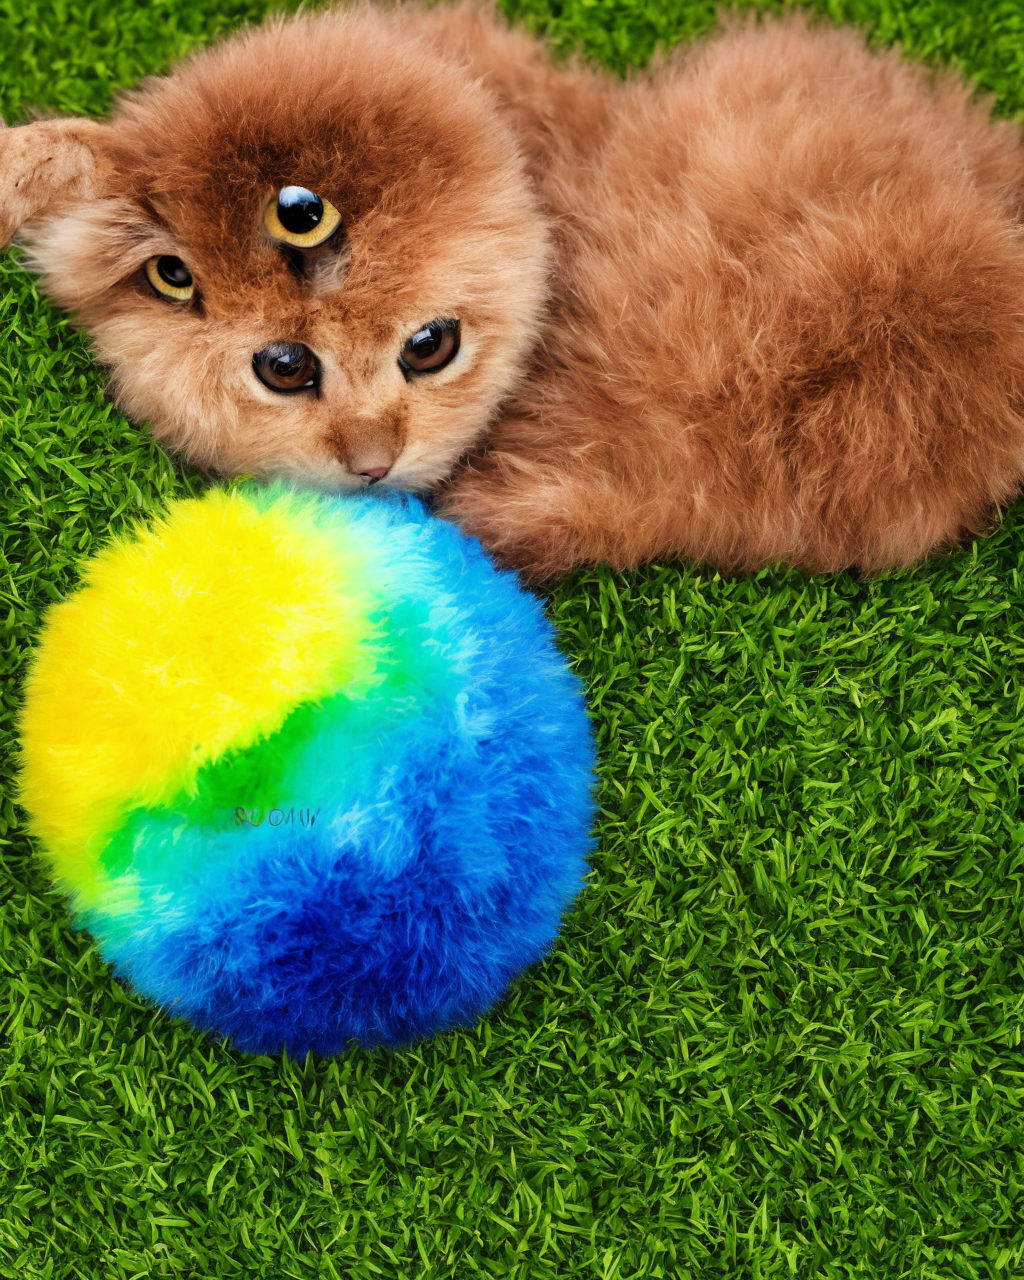
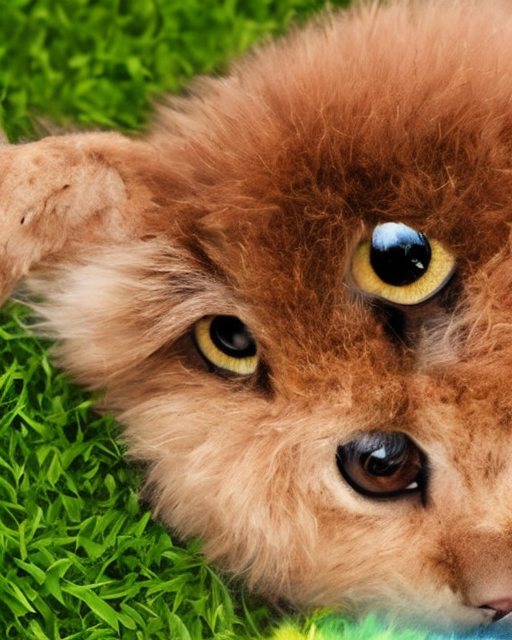
Disable inpainting overlay:
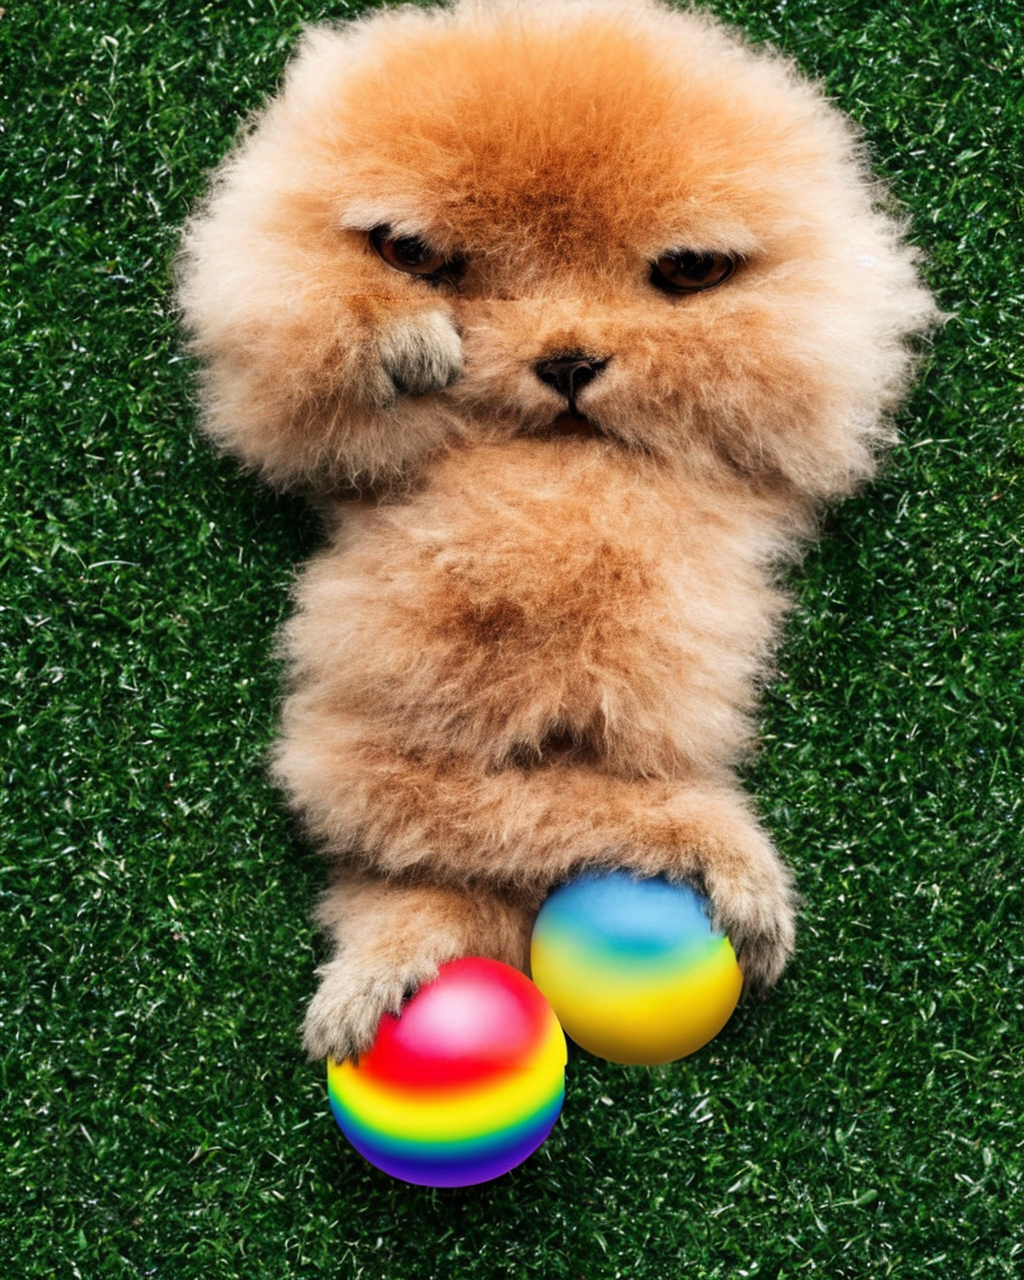
Notice that:
- Everything inside the masked area stays exactly the same (in this case except for the animal leg shading, but it looks like fp16 rounding issue).
- Everything outside the masked area subtly changes (especially general contrast of the color for some reason).
- The seam around the mask is invisible (okay, you can see that on some contrast regions the model failed to align the content, but look at the grass!)
It will sharpen the mask, getting rid of semi-transparent areas. You will see actual latent squares, which means:
- The mask border will be rough, with much more visible seam
- Mask blurring will be ignored (but applied before rounding the mask)
- Masked contents changes, because the latent mask will not be strictly identical to original one
- However, no transparency will be involved when compositing your final image, so that re-inpainting the same region (after using your output as a new input) will not contain "semi-redrawn" pixels: each pixel will be either original, or fully inpainted.
Why you may need this? Probably in case when you want to refine your inpainted contents sequentially, by sending your best result back to inpaint with the same mask again and again, but without blurring/destroying the area around mask edges (that often becomes visible otherwise).
This mode does not add anything valuable when used together with disabled overlay.
Example!
Source picture: (mask blur will be 32)
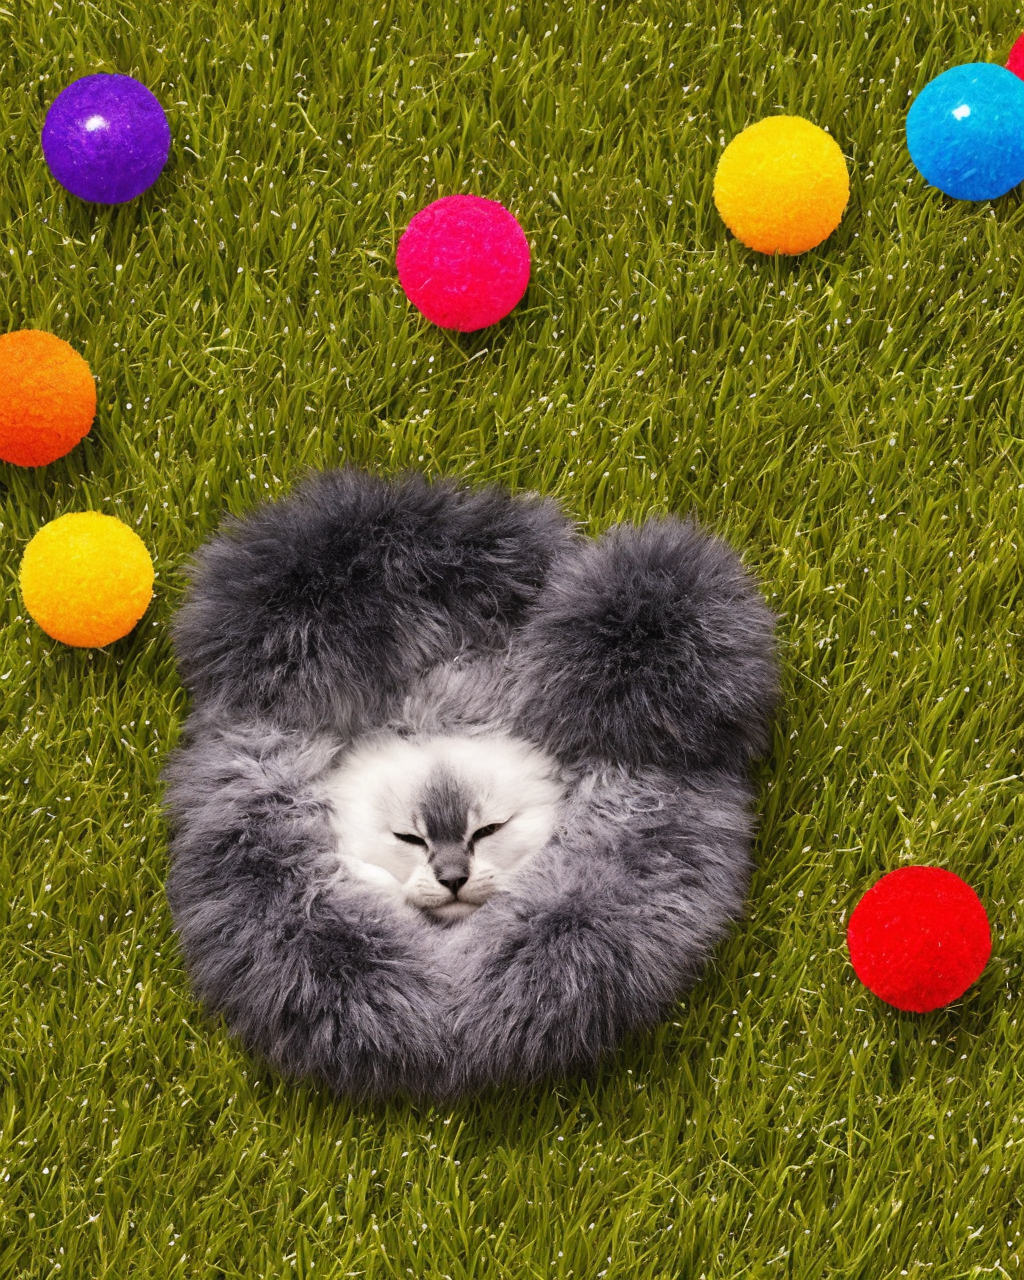
Normal inpaint:
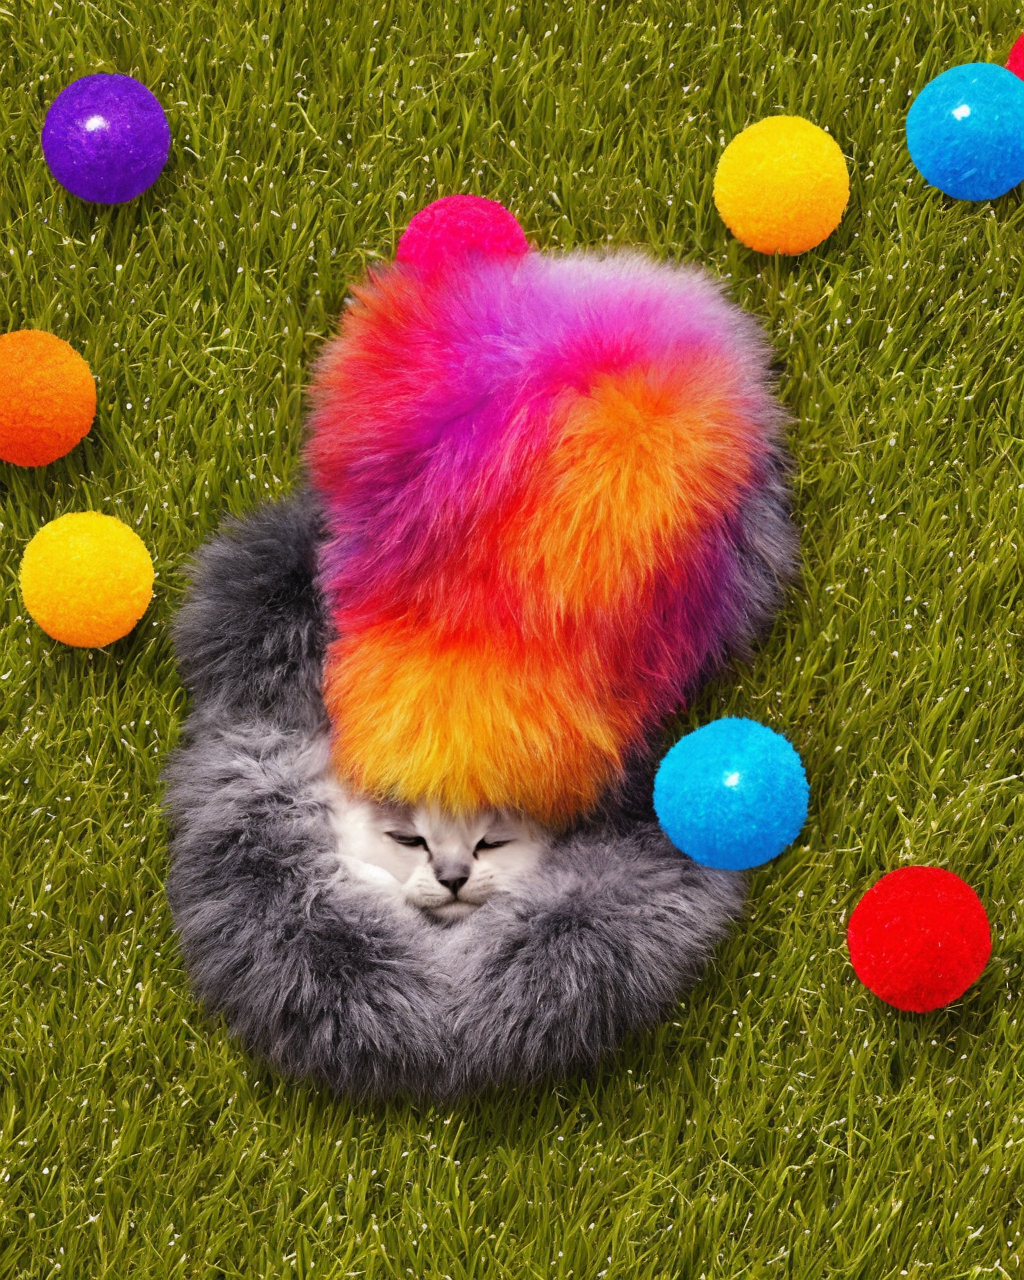
Align mask on VAE squares:
Notice that:
- Masked contents changes severely. (It is impossible to prepare a binarized and aligned mask that will fit exactly the same squares when WebUI downscales it back again, because antialiasing it used during downsampling masks to latent size)
- The seam is clearly visible, with rough edges. (Don't worry, you may reuse the output as input again, and at reasonable denoising strength that edge won't get worse)
- The area just around the border is not blurry anymore. Really! Look at the fur after normal inpainting – it is too much blurred, and you couldn't get rid of that later anymore.
It will drop your "Only masked padding, pixels" value, but calculate inpainting region so that inpaint window will be exactly width*height pixels, centered around the masked area. Which means:
- You won't get high-quality image downscaled and pasted into your region
- Some parts of a very large mask might be left out-of-bounds
- Doesn't not work with outpainting, just as "only masked" itself too
- However, no scaling would be done whatsoever (it's like auto-calculated pixel-perfect padding, independently for width and height)
Why you may need this? In cases when you already upscaled your image large enough that inpainting at native resolution is feasible, but you don't want to crop the area manually, nor you want to calculate or pick-up the value of padding yourself.
To see the target area exactly, set the first checkbox here ("Disable inpainting overlay") too.
Example!
Source picture: (window = 512*640 – half of image resolution; padding will be 8)
Normal inpaint, only masked:
Ignore padding but crop to 1:1 resolution:
If also enabling "Disable inpainting overlay" checkbox, we'll see:
Notice that:
- Original padding was way too low, so the picture got cropped too much. But how would you estimate its value otherwise?
- Normal only-masked inpainting upscaled the image and then downscaled the result.
- Ignored padding made it not only render properly (the window size was big enough to fit the content), but also made the result with disabled overlay easy to composite manually (because it's saved at original scale).
- Generate your image. Use highres.fix if you want, or whatever tricks you know.
- Upscale the image so that you can inpaint bad parts of it. Use your favorite upscaler.
- Set "Align mask on VAE squares" and "Ignore padding but crop to 1:1 resolution".
- Mask the bad part of the image and adjust the prompt. Inpaint several times.
- Choose the best result and send in back to Inpaint. Check "Disable inpainting overlay"
- Inpaint several times more (adjusting/lowering the denoising strength).
- Save the best result, uncheck "Disable inpainting overlay", do not try to send this back to input!
- Restart from point 4 for any other bad part. Here you may revert to original clean input if you want.
- When all done, open any layered image editor and load there all of your saved inpaintings by layers.
- Set layer composition function to "multiply" and align your layers precisely.
- Use "eraser" tool with soft borders to clean each layer, leaving inpainted content visible as small as needed. Revert composition to "normal".
- Merge all layers and make final adjustments (for example, downscaling the whole image back to reasonable resolution).
Notes:
- In point 5 you don't have to use iterative inpainting. If you want to do it in one shot, uncheck "Align mask on VAE squares" and set some reasonable mask blurring. When you'll find the perfect seed, check "Disable inpainting overlay" and re-process with fixed seed. You can load back the first result with blurred border after that if you want. Don't forget to reset the seed to -1! To simplify further, you can inpaint with disabled overlay from the very beginning, without changing the input anymore.
- In point 4 you could adjust the prompt by adding "BREAK" to it, with description of what you are currently inpainting, for example "a photo of … best quality BREAK (cute hand with accurate fingers)"
- You can use ControlNet inpainting model to get more coherent outputs. To do this, just enable a ControlNet unit and set "Inpaint"/"inpaint_only" without specifying the input image.
This extension does not add anything to generation info, nor it prints anything to console.