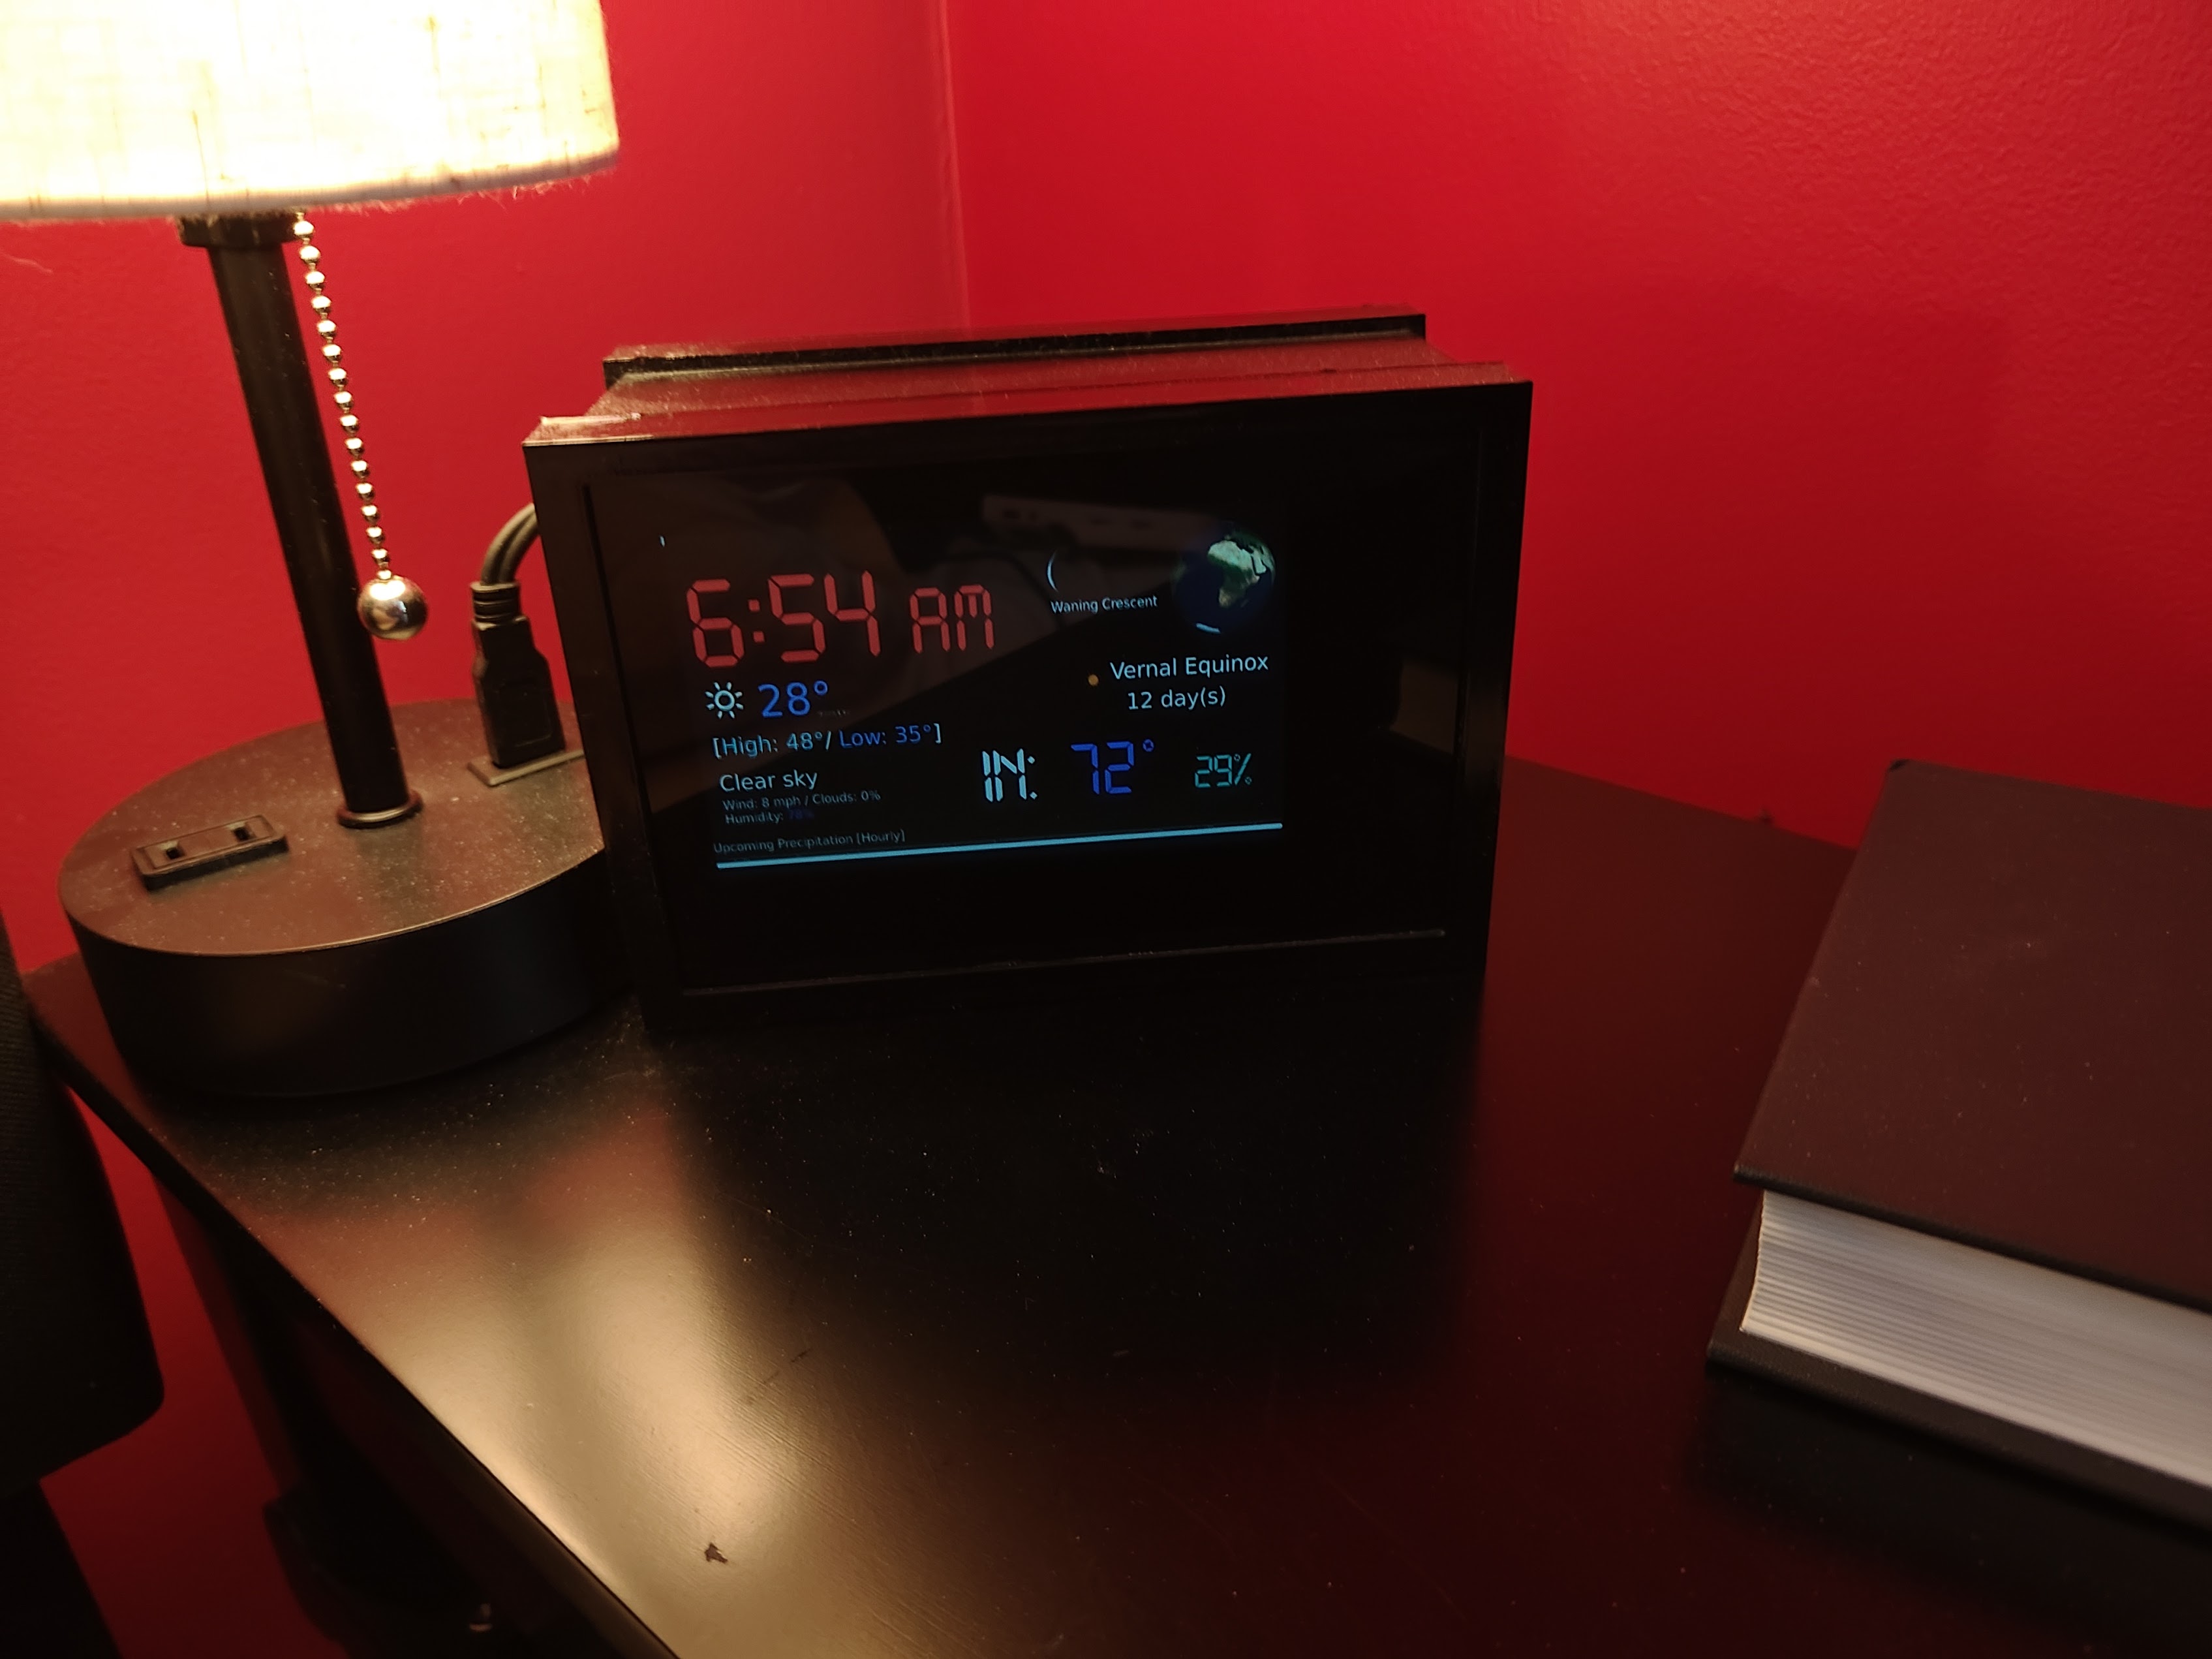
Create a table top web panel (headless browser with automatic refresh) with a rapsberry pi 0
Download "RASPBIAN" https://www.raspberrypi.org/downloads/raspbian/
Create your new hard disk for DashboardPI
Insert the microSD to your computer via USB adapter and create the disk image using the
ddcommandLocate your inserted microSD card via the
df -hcommand, unmount it and create the disk image with the disk copyddcommand$
df -h/dev/sdb1 7.4G 32K 7.4G 1% /media/XXX/1234-5678$
umount /dev/sdb1Caution: be sure the command is completely accurate, you can damage other disks with this command
if=location of RASPBIAN image file of=location of your microSD card
$
sudo dd bs=4M if=/path/to/raspbian-lite.img of=/dev/sdb(note: in this case, it's /dev/sdb, /dev/sdb1 was an existing factory partition on the microSD)
Setting up your RaspberriPi
Insert your new microSD card to the raspberrypi and power it on with a monitor connected to the HDMI port
Login
user: pi pass: raspberry
Change your account password for security
sudo passwd pi
Enable RaspberriPi Advanced Options
sudo raspi-config
Choose:
1 Expand File System
9 Advanced Options
A2 Hostnamechange it to "DesktopScreenClock"
A4 SSHEnable SSH Server
A7 I2CEnable i2c interface
Enable the English/US Keyboard
sudo nano /etc/default/keyboard
Change the following line:
XKBLAYOUT="us"
Reboot PI for Keyboard layout changes / file system resizing to take effect
$
sudo shutdown -r now
Auto-Connect to your WiFi
sudo nano /etc/wpa_supplicant/wpa_supplicant.conf
Add the following lines to have your raspberrypi automatically connect to your home WiFi (if your wireless network is named "linksys" for example, in the following example)
network={
   ssid="linksys"
   psk="WIRELESS PASSWORD HERE"
}
Reboot PI to connect to WiFi network
$
sudo shutdown -r nowNow that your PI is finally on the local network, you can login remotely to it via SSH. But first you need to get the IP address it currently has.
$
ifconfigLook for "inet addr: 192.168.XXX.XXX" in the following command's output for your PI's IP Address
Go to another machine and login to your raspberrypi via ssh
$
ssh pi@192.168.XXX.XXX
Start Installing required packages
$
sudo apt-get update$
sudo apt-get upgrade$
sudo apt-get install vim git i2c-tools build-essential python-dev rpi.gpio python3 python3-pip python-setuptools python3-requests python3-dev$
sudo apt install --no-install-recommends xserver-xorg-video-all xserver-xorg-input-all xserver-xorg-core xinit x11-xserver-utils
Install DHT22 Python Library
$
git clone https://github.com/adafruit/Adafruit_Python_DHT.git$
cd Adafruit_Python_DHT$
sudo python2 setup.py install
Update local timezone settings
$
sudo dpkg-reconfigure tzdata
select your timezone using the interface
Setup the simple directory l command [optional]
vi ~/.bashrcadd the following line:
alias l='ls -lh'
source ~/.bashrc
Fix VIM default syntax highlighting [optional]
sudo vi /etc/vim/vimrcuncomment the following line:
syntax on
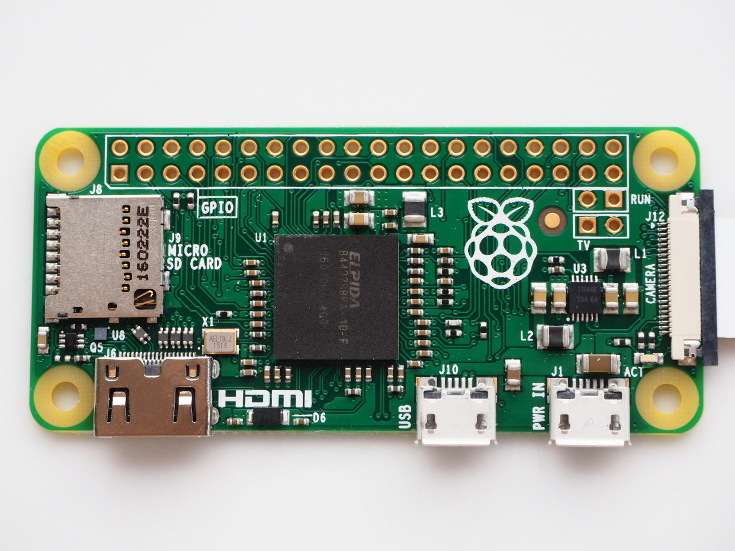
RaspberryPi Zero
USB WIFI (if not a PiZero W)
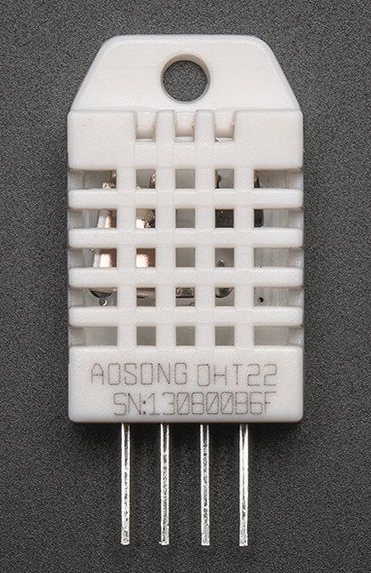
DHT22
5 Inch Touchscreen for Raspberry Pi
Semi-Transparent PlexiGlass
Connect the DHT22 as follows in the diagram
Connect the 5 inch monitor as you would a normal monitor through the HDMI port on the raspberrypi.
Create a .xinitrc file in your rapsberry pi home directory
$ vi .xinitrc
#!/usr/bin/env sh
xset -dpms
xset s off
xset s noblank
unclutter & matchbox-window-manager & midori -e Fullscreen https://WEBSITE URL HERE
Edit the .bash_profile to startx when you login
$ vi .bash_profile
if [ -z
$DISPLAY ] && [ $ (tty) = /dev/tty1]
then
startx
fi
vi ~/.config/midori/config
[settings]
last-window-width=710
last-window-height=530
show-navigationbar=false
Create a copy of settings-shadow.py to settings.py and update your own values for your clock.
Get Outside weather
weatherAPIURL = 'https:// openweather API'
https://openweathermap.org/
account is required, the device will simply read from the default forecast returned from the API, it will also post it to the Datahub.
OPTIONAL DATAHUB
use https://github.com/khinds10/DeviceHub to setup a custom datahub for your device to post temps as time goes on.
deviceLoggerAPI = 'data logger URL'
DHT Adjust is degress (in F) to plus or minus in case your DHT22 is running hot or cold.
dht22Adjust = 0
Setup the crontab to:
-
wait 5 minutes then move the mouse to the corner so it's no longer visible
-
check temp each 7 minutes
-
press the F5 (browser refresh) key each 15 minutes - this will ensure that if the website crashes or doesn't load, it will refresh again periodically
$ crontab -e
@reboot sleep 300s; export DISPLAY=:0; xdotool mousemove 500 500 click 1; xdotool mousemove 0 0;
*/7 * * * * python3 /home/khinds/temp-check.py
*/15 * * * * xte -x :0 "key F5"


