PythonAppleM1
Python setup guide for new apple M1 MacBook Pro. The M1 chip is superb, however it leads to incompatibility and for the moment I do not recommend a python setup without rosetta. Hence, all the following advices require to have previously set up a terminal with rosetta activated. If you do not know how to this, let's check this tutorial. Having a functional python environment and data science compatible setup is touchy and I have spent some times gathering data to create the following tutorial. I hope it will be useful 🤞
1. Install python via miniforge.
1.1. Install anaconda
Miniforge provides a lightweight conda environment which has several advantages: Conda packaging manager, switching python version effectively and so on.
What you want to do is install miniforge OSX_86-64.
You can download it there
Go for : OS X x86_64 Miniforge3-MacOSX-x86_64. Open your Rosetta terminal, and go to the folder containing this file.
bash Miniforge3-MacOSX-x86_64.shFollow the installation guide, and do not forget to restart your terminal after it is completed.
1.2. Choose your python version
conda search python
conda install python=3.8.12
We can only access to python version equal or order to py 3.8. I recommand python 3.8.12 as it is a security version known to be reliable.
You can check that the python version has changed.
(base) python -V
(base) should appear next to your user name, as it refers to your conda environment.
1.3. A Minimal Setup for Data science.
As a data scientist, sometimes I have a csv files to analyze without wanting to create a virtual environment (even if it the pratice I use and recommend for bigger projects). By running the following command, you have all the essential packages installed at once.
conda install pandas numpy numba matplotlib seaborn scikit-learn jupyter
Using jupyter on a macbook with an Azerty Keyboard (that's the french way 🇫🇷), can be tricky especially regarding toggle comment shortcut, which I will cover at the end of this tutorial.
2. Pipenv - A python best practice
conda install pipenvBy doing so you are installing pipenv using conda. Pipenv is the best way to integrate virtual environment to your python practice. It enables you to create a minimal python environment with all the required package for your project (no more - no less🚀).
2.1. Create a new environment
A best pratice is to setup the virtual env within your project folder
This will change your life when you have to deploy (like really 🤝) (on heroku for instance)
- Create .venv folder within your project [project/.venv]
mkdir .venv- Pipenv recognizes this folder and settles the venv in it
- Now you can create the virtual environment
pipenv shell --python 3.8.12 #As we said python 3.8.12 is secured & reliableInstall packages
One package
pipenv install pandasUse pipenv as pip --> Pipenv will install the package. It might take some time to lock the dependencies.
Several packages
Store all the packages in requirements.txt file.
pipenv install -r requirements.txtFaster, better, stronger.
Your own project package
It is one for of my favorite practice to design and use my own packages thanks to init.py files. It will require a setup.py file before creating the venv.
pipenv install -e.- This install the local package.
2.2. Work with a PipFile
- One can share its own pipenv to another by sharing PipFile!
- It contains all the necessary packages, and it is really useful. To be more advanced you can use pipfile.lock which handles dependencies.
Create again .venv folder
mkdir .venvLaunch Pipenv
pipenv install2.4 Run back pipenv
Go into the folder
pipenv shell
2.5 Remove pipenv environement.
pipenv --rm
3. Jupyter notebook setup
Personnally, I love Jupyter notebook and I use it to try a lot of ideas - before writing .py files or just plotting data and so on. It is a powerful tool, however some functionalities are not working on mac.
3.1. Run jupyter notebook with pipenv
Launch your virtual environment with pipenv shell. Check that you have (venv), meaning that you are in the virtual environment, in your folder.
(venv) user@macbook-pro folder pipenv run jupyter notebook
pipenv run jupyter notebook, starts jupyter notebook within your virtual environment.
3.2. Toggle comment
Commenting cell with a shortcut is really key to boost your productivity and try different ideas quickly. On AZERTY keyboard, the shortcut : Cmd-/ is not working.
This issue is quite common to non-us keyboard user. After trying several ways, I finally found a working one, with jupyter nbextensions.
3.2.1. Install nbextensions for Jupiter.
Tutorial is here, and I recommend using conda
conda install -c conda-forge jupyter_contrib_nbextensions
3.2.2. Get rid of multiples warning.
When launching jupyter notebook and opening a notebook, it could occurs to several warning in your terminal, fix it with:
conda install "nbconvert=5.6.1"
3.2.3. Use nb extensions
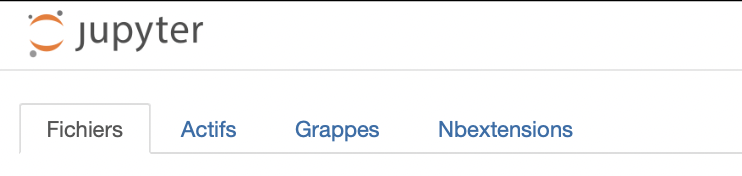
Once you have install nbextensions, restart your notebook to have changes, working. You should be able to see an nbextensions menu on the home page:
For me I had the following issue when going to nbextensions module. Unchecking disable checkbox work.
3.2.4. Toggle comment
Once you can access to nbextensions module go to :
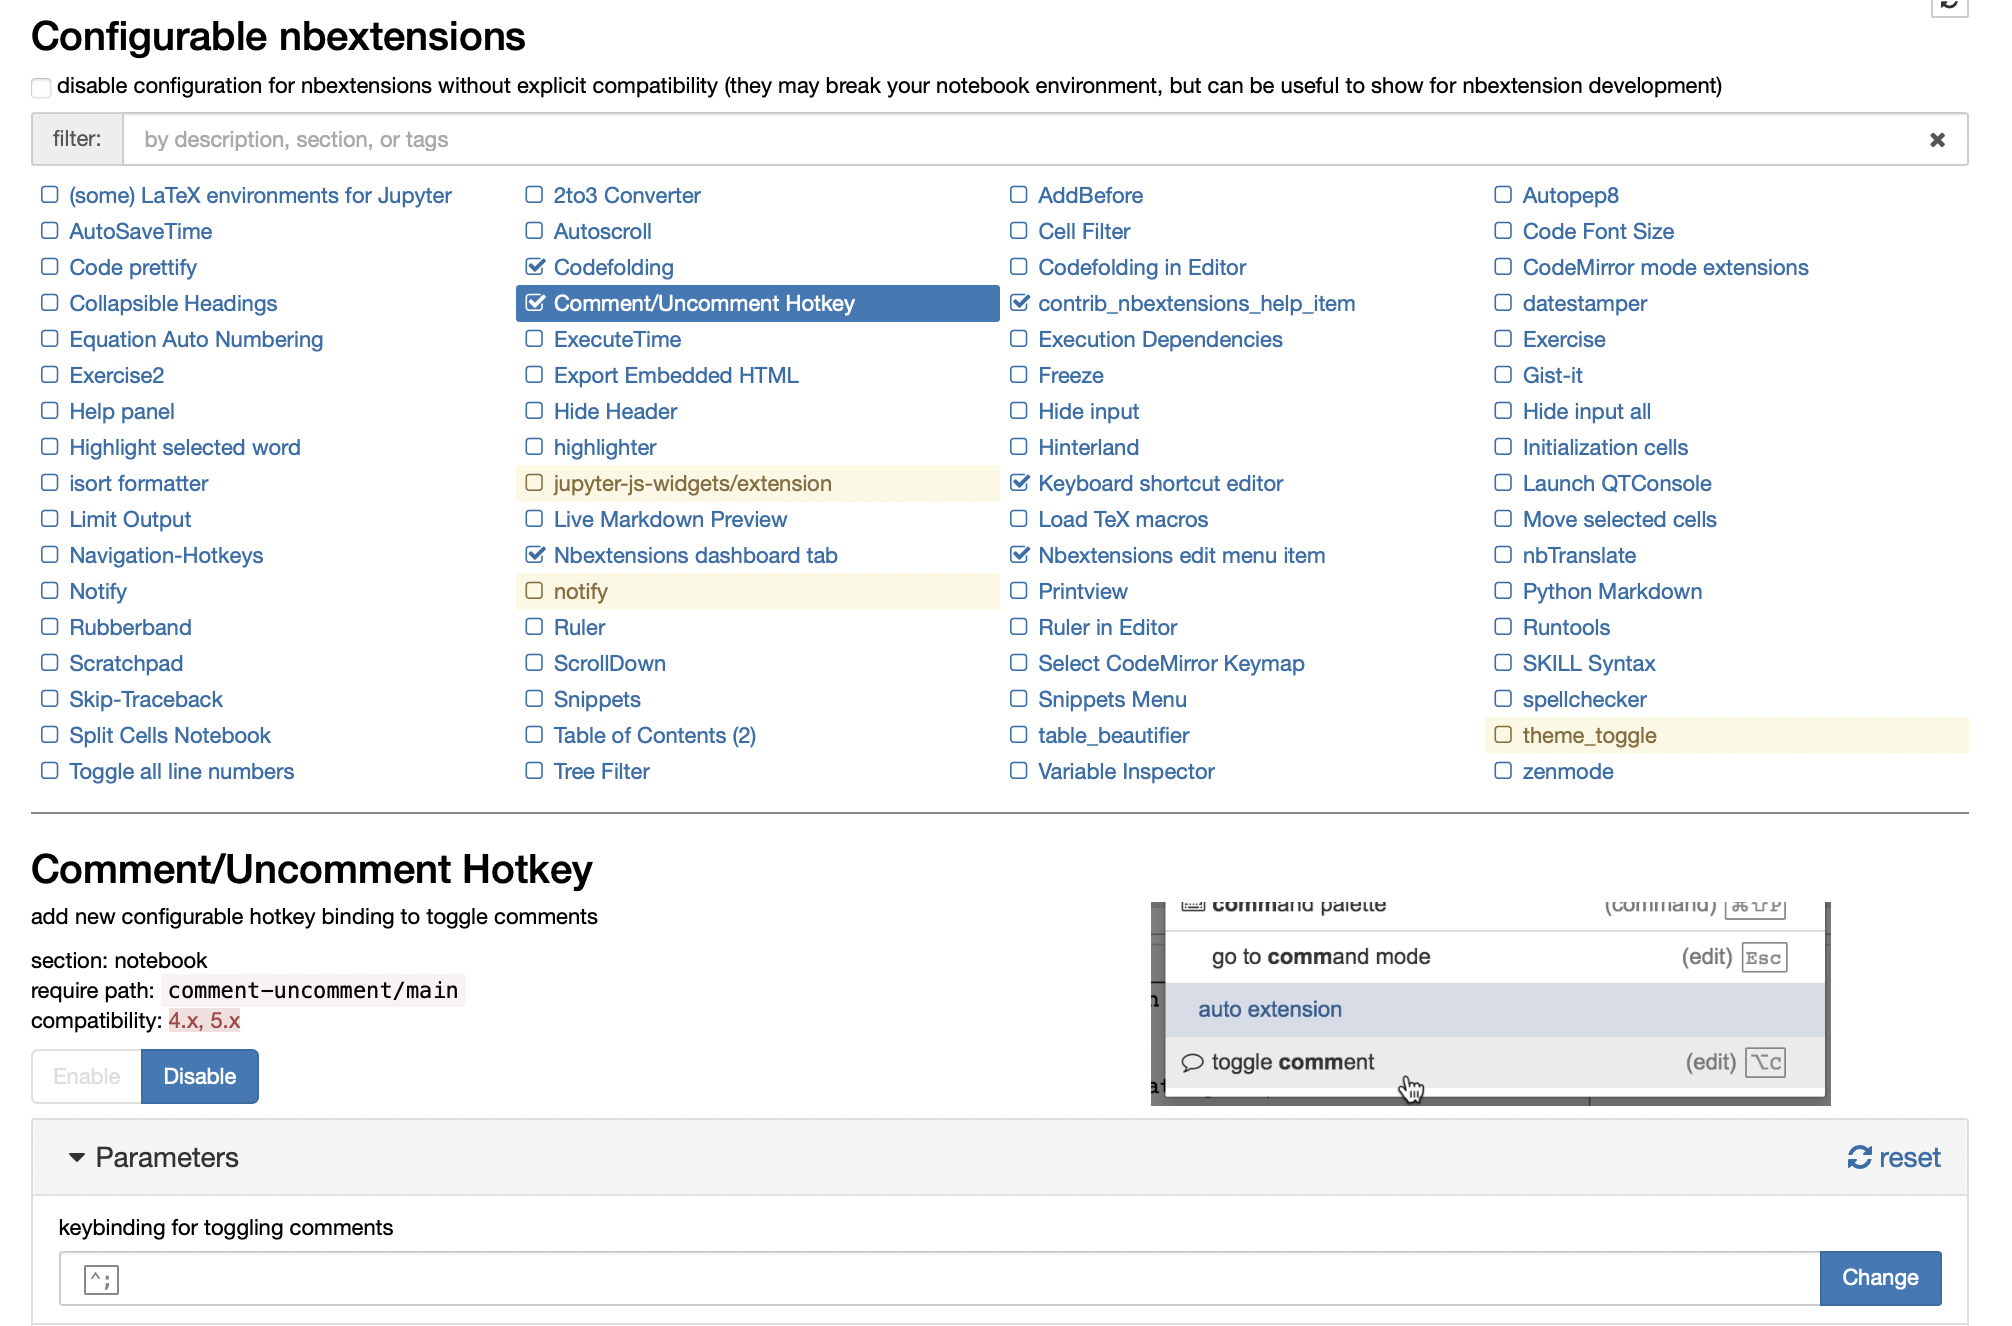
Enable the Comment/Uncomment Hotkey extension.
I recommand using : Ctrl-; as the shortcut for toggling comment has specific requirements regarding possible keys.
Once you do that, it works and you can comment with the shortcut as you would do on Windows or Ubuntu.
⚠️ If this tutorial is useful and helped you to save precious time ⏱: feel free to buy me a coffee and do not hesitate to dm for suggestions or data science/algo-trading projects 🚀
Coffee time ☕️
TPnhs2NgW58vd5AcPwqwxE3GANoW4UWJmW [USDT - TRC20]