Power Query Custom Data Connector for Power Automate REST APIs (Commercial)
This Custom Data Connector wraps a few of the "Get" endpoints in the Power Automate API, so that OAuth can be used to authenticate to the service. This connector serves as a way to have a library of Power Query functions to build datasets based on the Power Automate APIs without the need for storing client secrets or passwords in the dataset.
Each function returns a JSON body and not a table of data. This decision was made to provide flexibility in converting the JSON body to tabular data when 1) the API responses are changed by Microsoft or 2) the API responses differ between commercial and sovereign clouds (e.g., GCC, DoD, etc.).
Table of Contents
Installation
Desktop
- Open Power BI Desktop and navigate to File -> Options and Settings -> Options.
- Navigate to GLOBAL -> Security and under "Data Extensions" choose "Allow any extension..."
Because this is a custom data connector you have to choose this option in order to use it in Power BI Desktop.
- Close all Power BI Desktop instances on your local machine. You are often prompted to do so by Power BI Desktop.
- Copy the .mez file to your folder "Documents\Power BI Desktop\Custom Connectors". If the folder does not exist, create it first.
- Open Power BI Desktop.
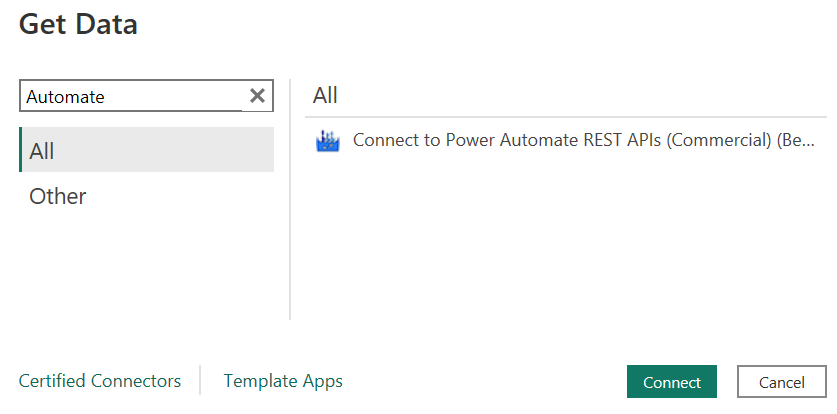
- Select Get Data option.
- Navigate to the "Other" section and you should see the "Connect to Power Automate REST API" connector.
- Select the connector and press the "Connect" button.
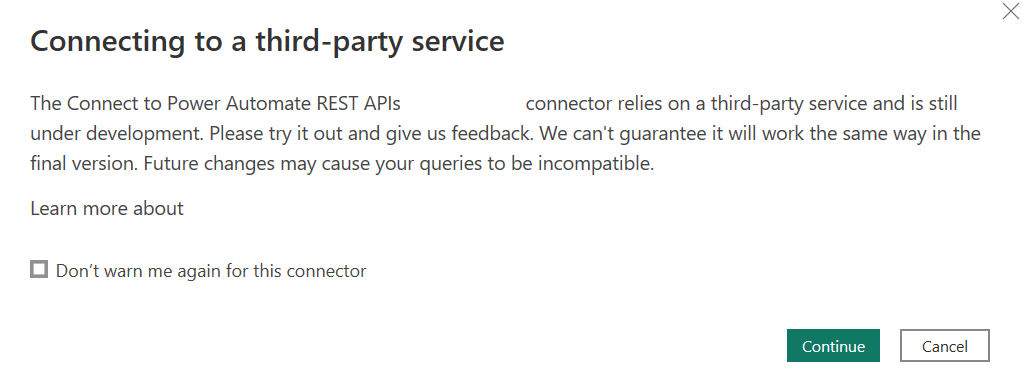
- You may be prompted with the pop-up below. Choose "Continue".
- If this is your first time using the custom data connector you will be prompted to sign into Office 365. Please follow the instructions to sign in and then choose the "Connect" button.
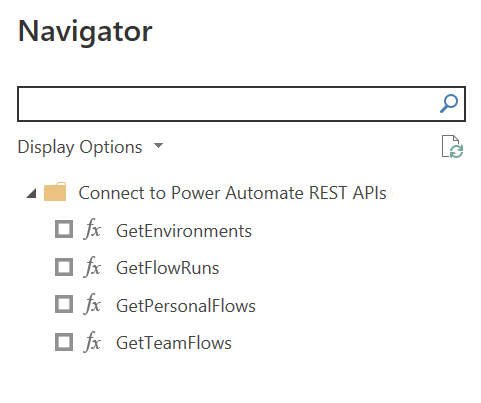
- The Navigator prompt will appear (example below).
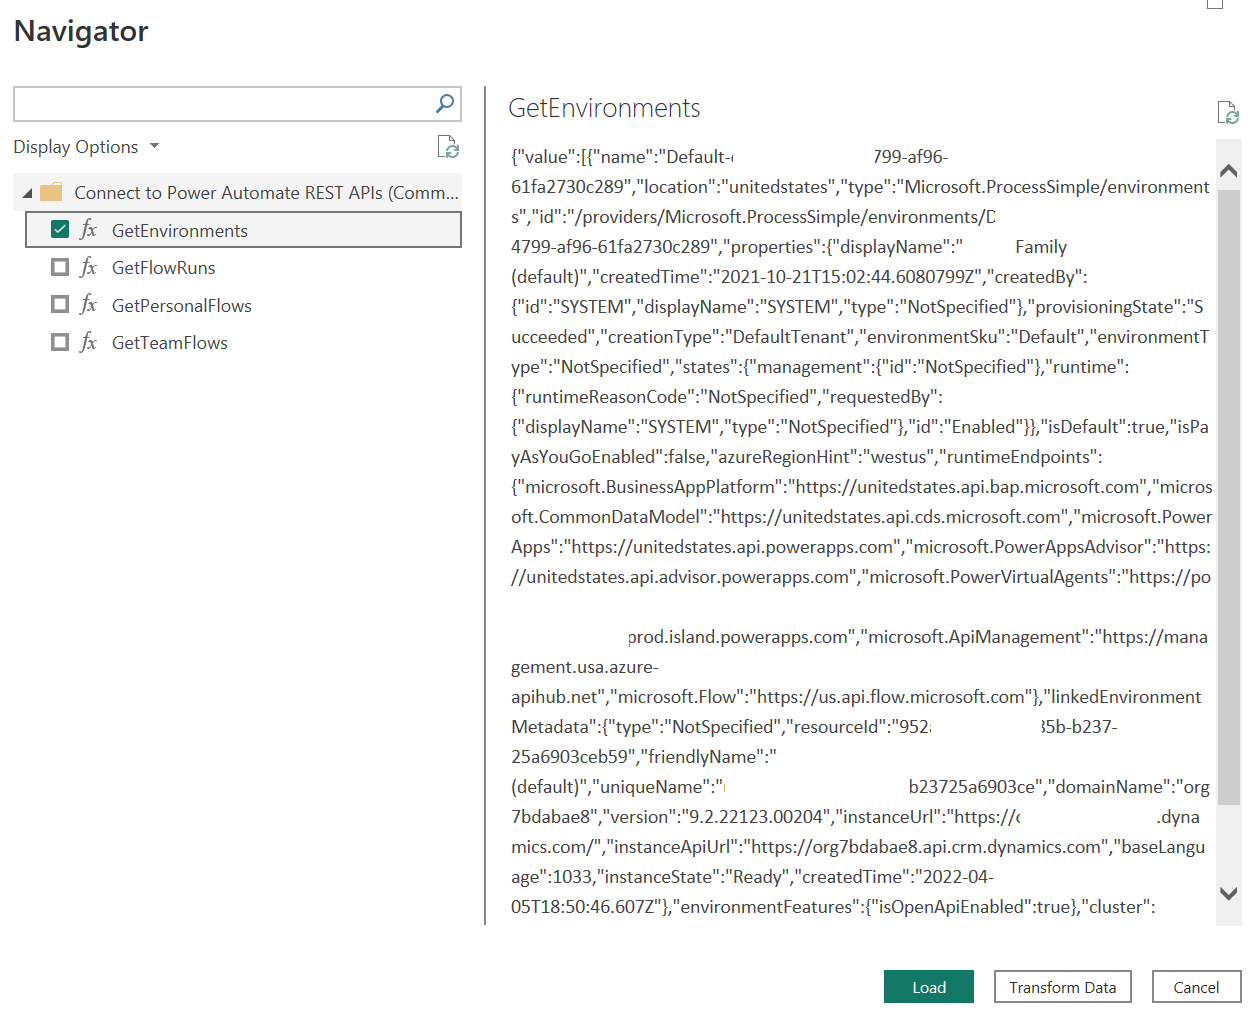
- Choose the "GetEnvironments" option and you should see a json response (see example below).
- Then choose the "Transform Data" button. This should open the Power Query Editor.
- Under "Applied Steps", remove the steps "Invoked FunctionGetEnvironments1" and "Navigation".
- You now will see a catalog of the Power Automate REST APIs to leverage. I suggest you rename the Query "GetEnvironments" to "Function Catalog".
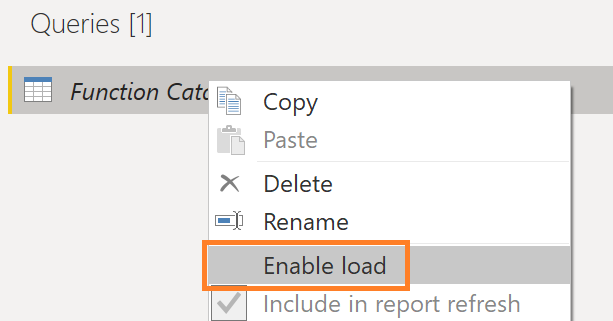
- I suggest you also uncheck "Enable Load" for the Function Catalog so it doesn't appear in the data model. When disabled the Function Catalog will appear italicized.
Using Functions
With the Function Catalog created, please follow these steps to leverage the functions:
- Identify the name of the function you wish to use. Right-click on the "Function" value located for the appropriate row and select "Add as New Query".
- The function will be created and it can now be used to query the Power BI service.
Functions Implemented
Not all functions from the Power Automate REST API have been implemented. Here are the endpoints available at the moment.
Apps
| End Point | Description |
|---|---|
| Get Environments | Returns the environments available to the requestor. IsDefault parameter identifies the default environment (true value). |
| Get Personal Flows | Returns the Personal flows (shown as Cloud Flows in the Power Automate interface) for a specific environment. |
| Get Team Flows | Returns the Team flows (shown as Shared With Me in the Power Automate interface) for a specific environment. |
| Get Flow Runs | Returns the flow runs for a specific Flow ID. If no parameters are supplied it will retrieve the latest 50 runs. |
On-Premises Gateway
The custom data connector will need to be installed in the a Power BI Gateway in order to refresh datasets leveraging this custom connector. For more information on installing a custom data connector with a gateway please see: https://learn.microsoft.com/en-us/power-bi/connect-data/service-gateway-custom-connectors.
Building Connector
Prerequisites
- Install Visual Studio code: https://code.visualstudio.com/download.
- Install Power Query SDK for Visual Studio Code: https://github.com/microsoft/vscode-powerquery-sdk
- Clone this repo to your local machine.
Compile
In order to the compile the custom data connector to the .mez file, please follow these instructions:
- Using your keyboard, use the shortcut Ctrl+Shift+B. Visual Studio will prompt you within the command palette to choose a build task. Select the "build: Build connector project using MakePQX".
-
If the build succeeds the .mez file will update in the folder "bin\AnyCPU\Debug".
-
If the build fails the Power Query SDK often presents a notification (see example below).
Testing Connector
In order to test the custom data connector, please follow these instructions:
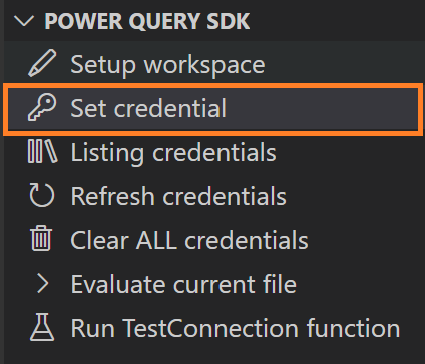
- Choose the "Set Credential" option within the Power Query SDK. Select AAD and follow the prompts to log into Microsoft 365.
- The .query.pq file is used to test the custom data connector, please update the section labeled "TEST VARIABLES" for your own environment.
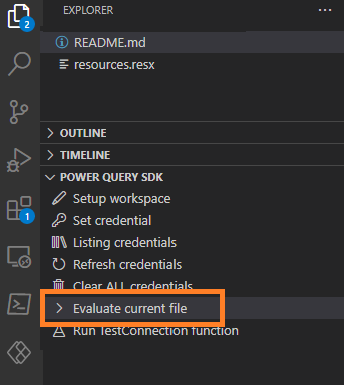
- When you are ready to test, use the "Evaluate current file" option in the Power Query SDK in the "Explorer" tab.
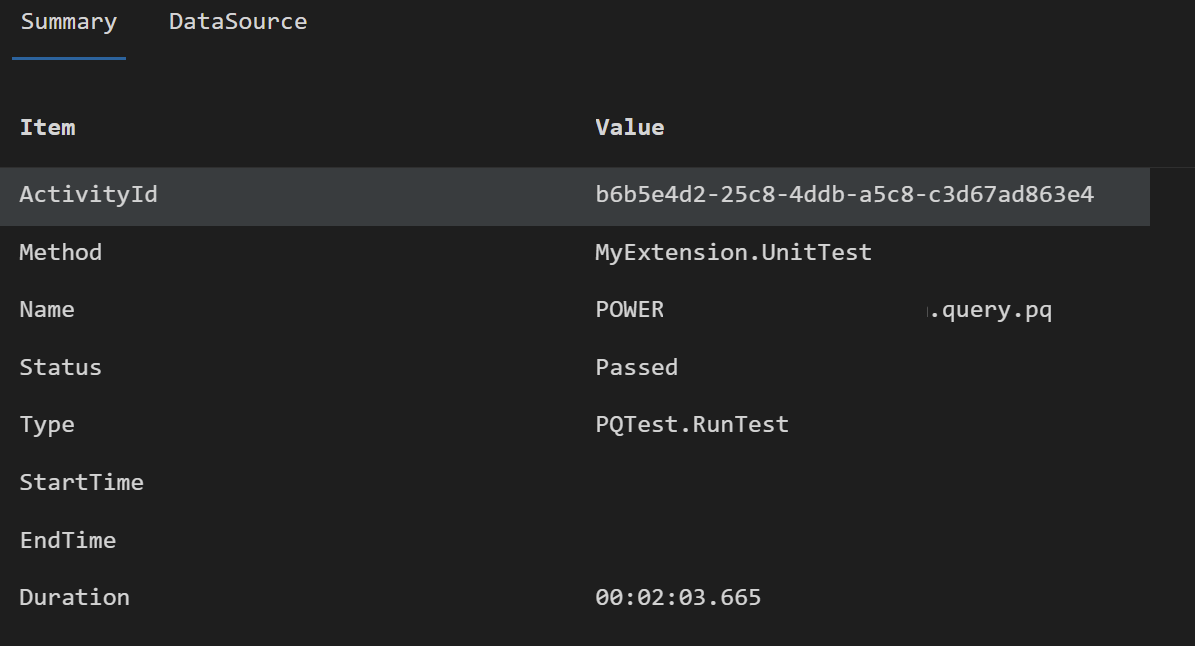
- When the testing completes, a new tab will be present any failed results or if all the tests passed (example below).

