README

👋 Greet New Members Privately in Slack
In just a few steps, we will create a Slack app to privately welcome and guide new users when they join a Slack channel. We’ll breeze through the setup process, and you’ll be able to return to make modifications and add your own style and custom message for a unique onboarding experience!

The workflow will run on Standard Library, a free-to-use API and workflow hosting platform, powered by Node.js, that will use this repository as its project structure. Standard Library will automatically handle Slack authentication / webhook signing and more for you, so you can focus on just writing and modifying logic.
Example Use Case

Table of Contents
How It Works
1 const lib = require('lib')({token: process.env.STDLIB_SECRET_TOKEN});
3 /**
4 * An HTTP endpoint that acts as a webhook for Slack member_joined_channel event
5 * @param {object} event
6 * @returns {object} result Your return value
7 */
8 module.exports = async (event) => {
10 // Store API Responses
11 const result = {slack: {}};
13 console.log(`Running [Slack → Retrieve Channel, DM, or Group DM by id]...`);
14 result.slack.channel = await lib.slack.conversations['@0.2.5'].info({
15 id: `${event.event.channel}`
16 });
18 console.log(`Running [Slack → Retrieve a User]...`);
19 result.slack.user = await lib.slack.users['@0.3.32'].retrieve({
20 user: `${event.event.user}`
21 });
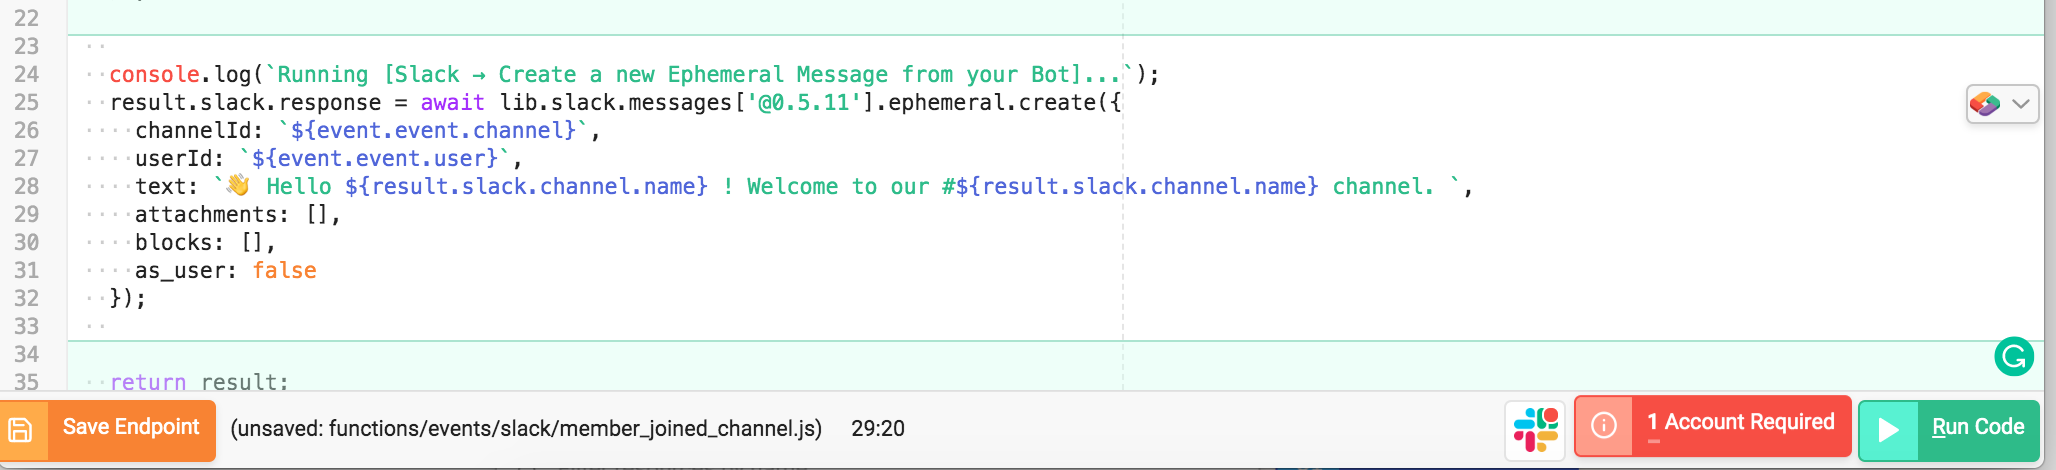
24 console.log(`Running [Slack → Create a new Ephemeral Message from your Bot]...`);
25 result.slack.response = await lib.slack.messages['@0.5.11'].ephemeral.create({
26 channelId: `${event.event.channel}`,
27 userId: `${event.event.user}`,
28 text: `👋 Hello ${result.slack.user.name} ! Welcome to our #${result.slack.channel.name} channel. `,
29 attachments: [],
30 blocks: [],
31 as_user: false
32 });
35 return result;
37};
The first line of code imports an NPM package called “lib” to allow us to communicate with other APIs on top of Standard Library:
const lib = require(‘lib’)({token: process.env.STDLIB_SECRET_TOKEN});
Line 3–7 is a comment that serves as documentation and allows Standard Library to type check calls to our functions. If a call does not supply a parameter with a correct (or expected type) it would return an error.
Line 8 is a function (module.exports) that will export our entire code found in lines 8–37. Once we deploy our code, this function will be wrapped into an HTTP endpoint (API endpoint) and it’ll automatically register with Slack so that every time a member_joined_channel event happens, Slack will send the event payload for our API endpoint to consume.
Lines 24–32 creates and posts your message using the information (parameters) that are passed in: channelId, UserId, Text.
You can read more about API specifications and parameters here
Installation
Click Open in Autocode👇🏼
You will be prompted to sign in or create a free account. If you have a Standard Library account click Already Registered and sign in using your Standard Library credentials.
Link a Slack Account & Deploy your Workflow
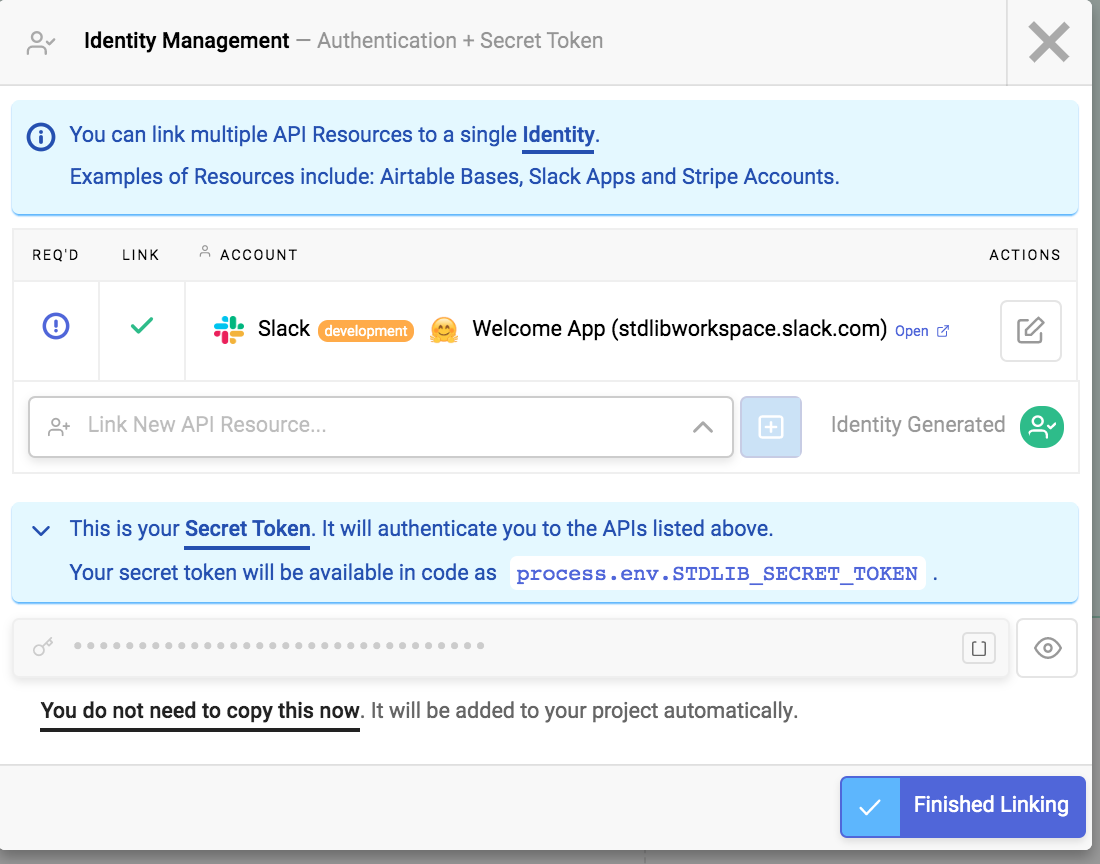
Before we can deploy our code live, we need to link Select the 1 Account Required red button which will prompt you to link a Slack account.
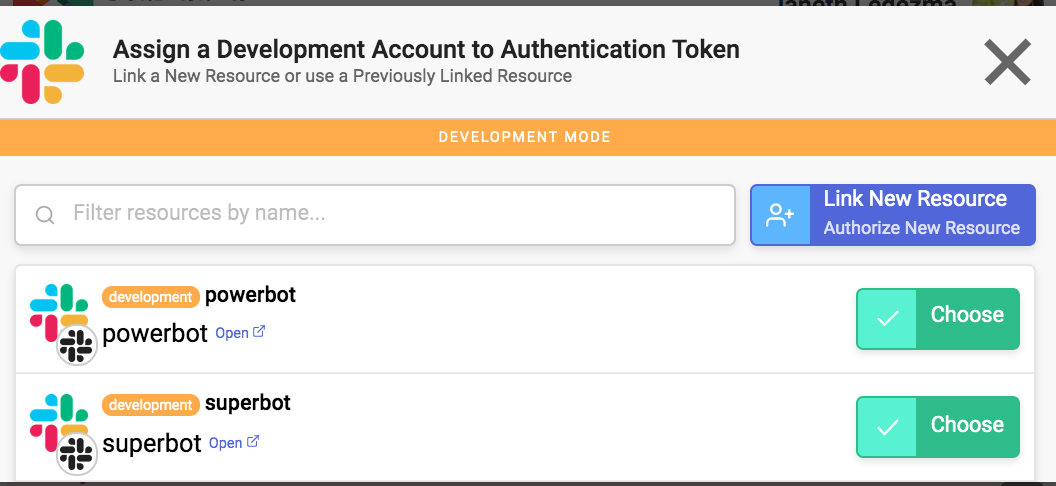
Select Link Resource from the Identity Management Screen

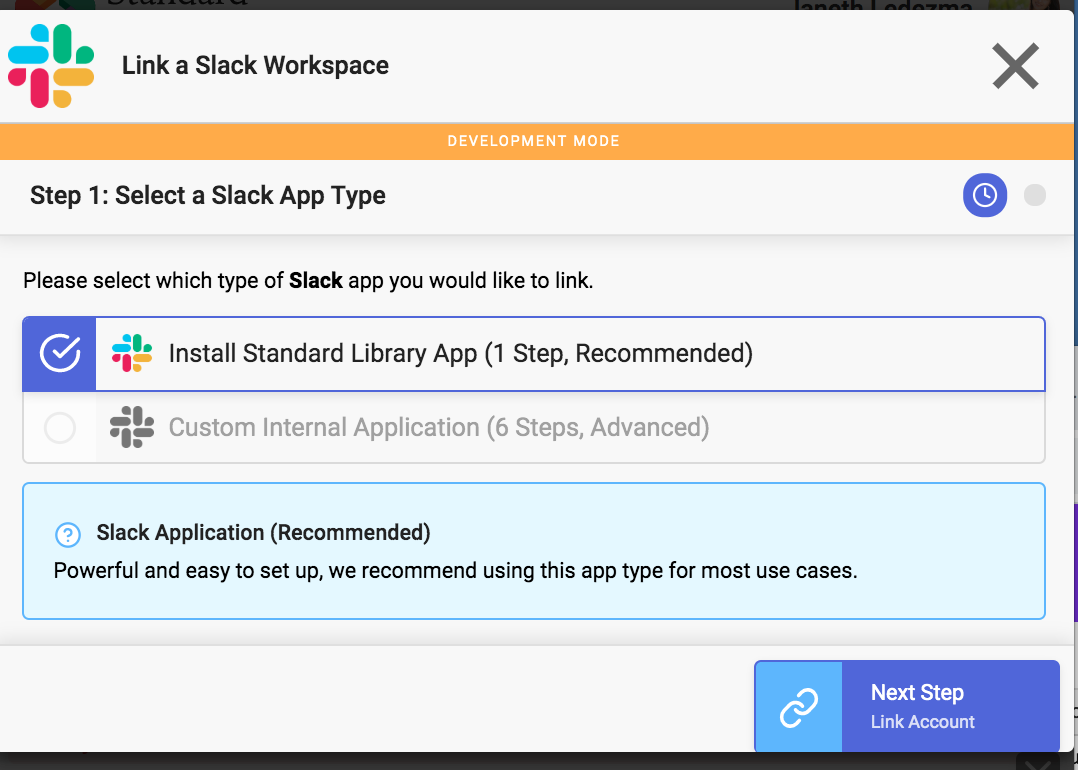
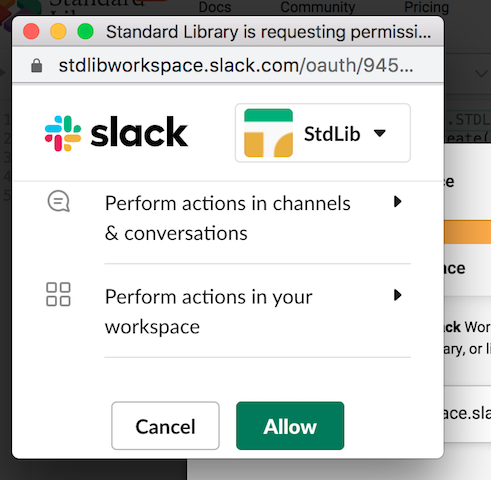
If you’ve built Slack apps with Standard Library, you’ll see existing Slack accounts, or you can select Link New Resource to link a new Slack app.
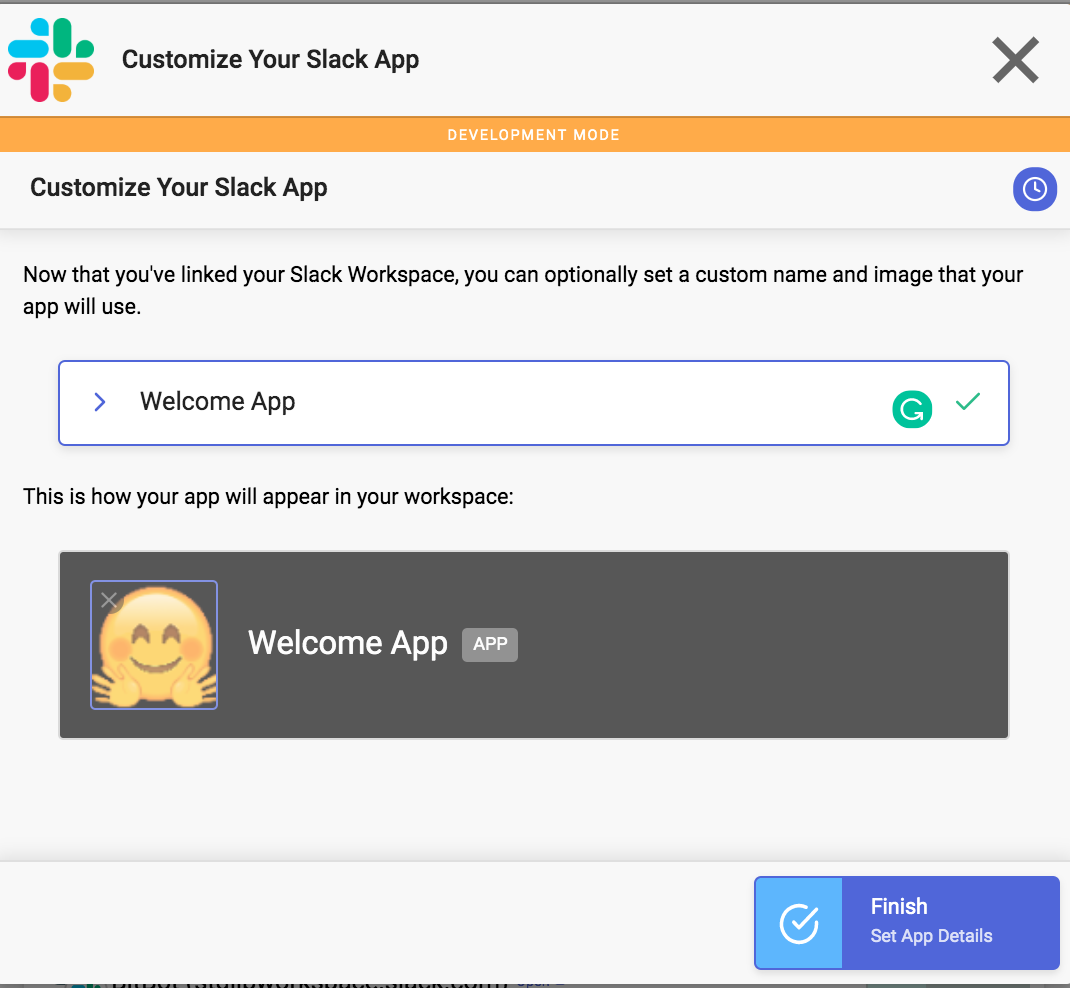
Give your project a name and Save API Project.
Great! You’ve just saved your first project. Autocode automatically sets up a project scaffold to save your project as an API endpoint, but it hasn’t been deployed.
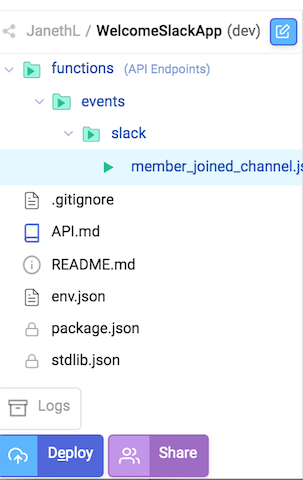
This means your endpoints are not yet live and can’t respond to HTTP requests or events. To deploy your API to the cloud select Deploy API in the bottom-left of the file manager.
Test Your Workflow
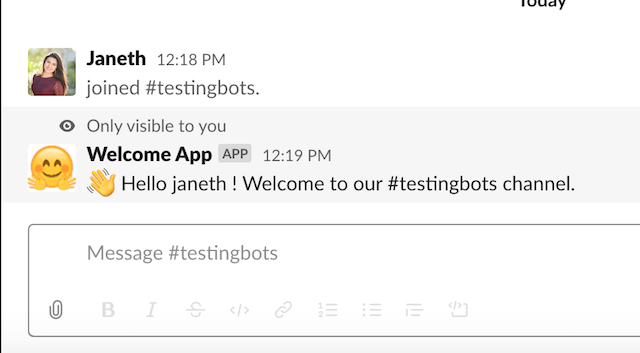
Test your Slack app by joining or leaving any channel in your workspace. If you’ve set everything up properly you should receive a warm welcome from your Slack app.
Making Changes
There are two ways to modify your application. The first is via our in-browser editor, Autocode. The second is via the Standard Library CLI.
via Web Browser
Simply visit autocode.stdlib.com and select dev live API for your project.

Your code is completely accesible to make edits.

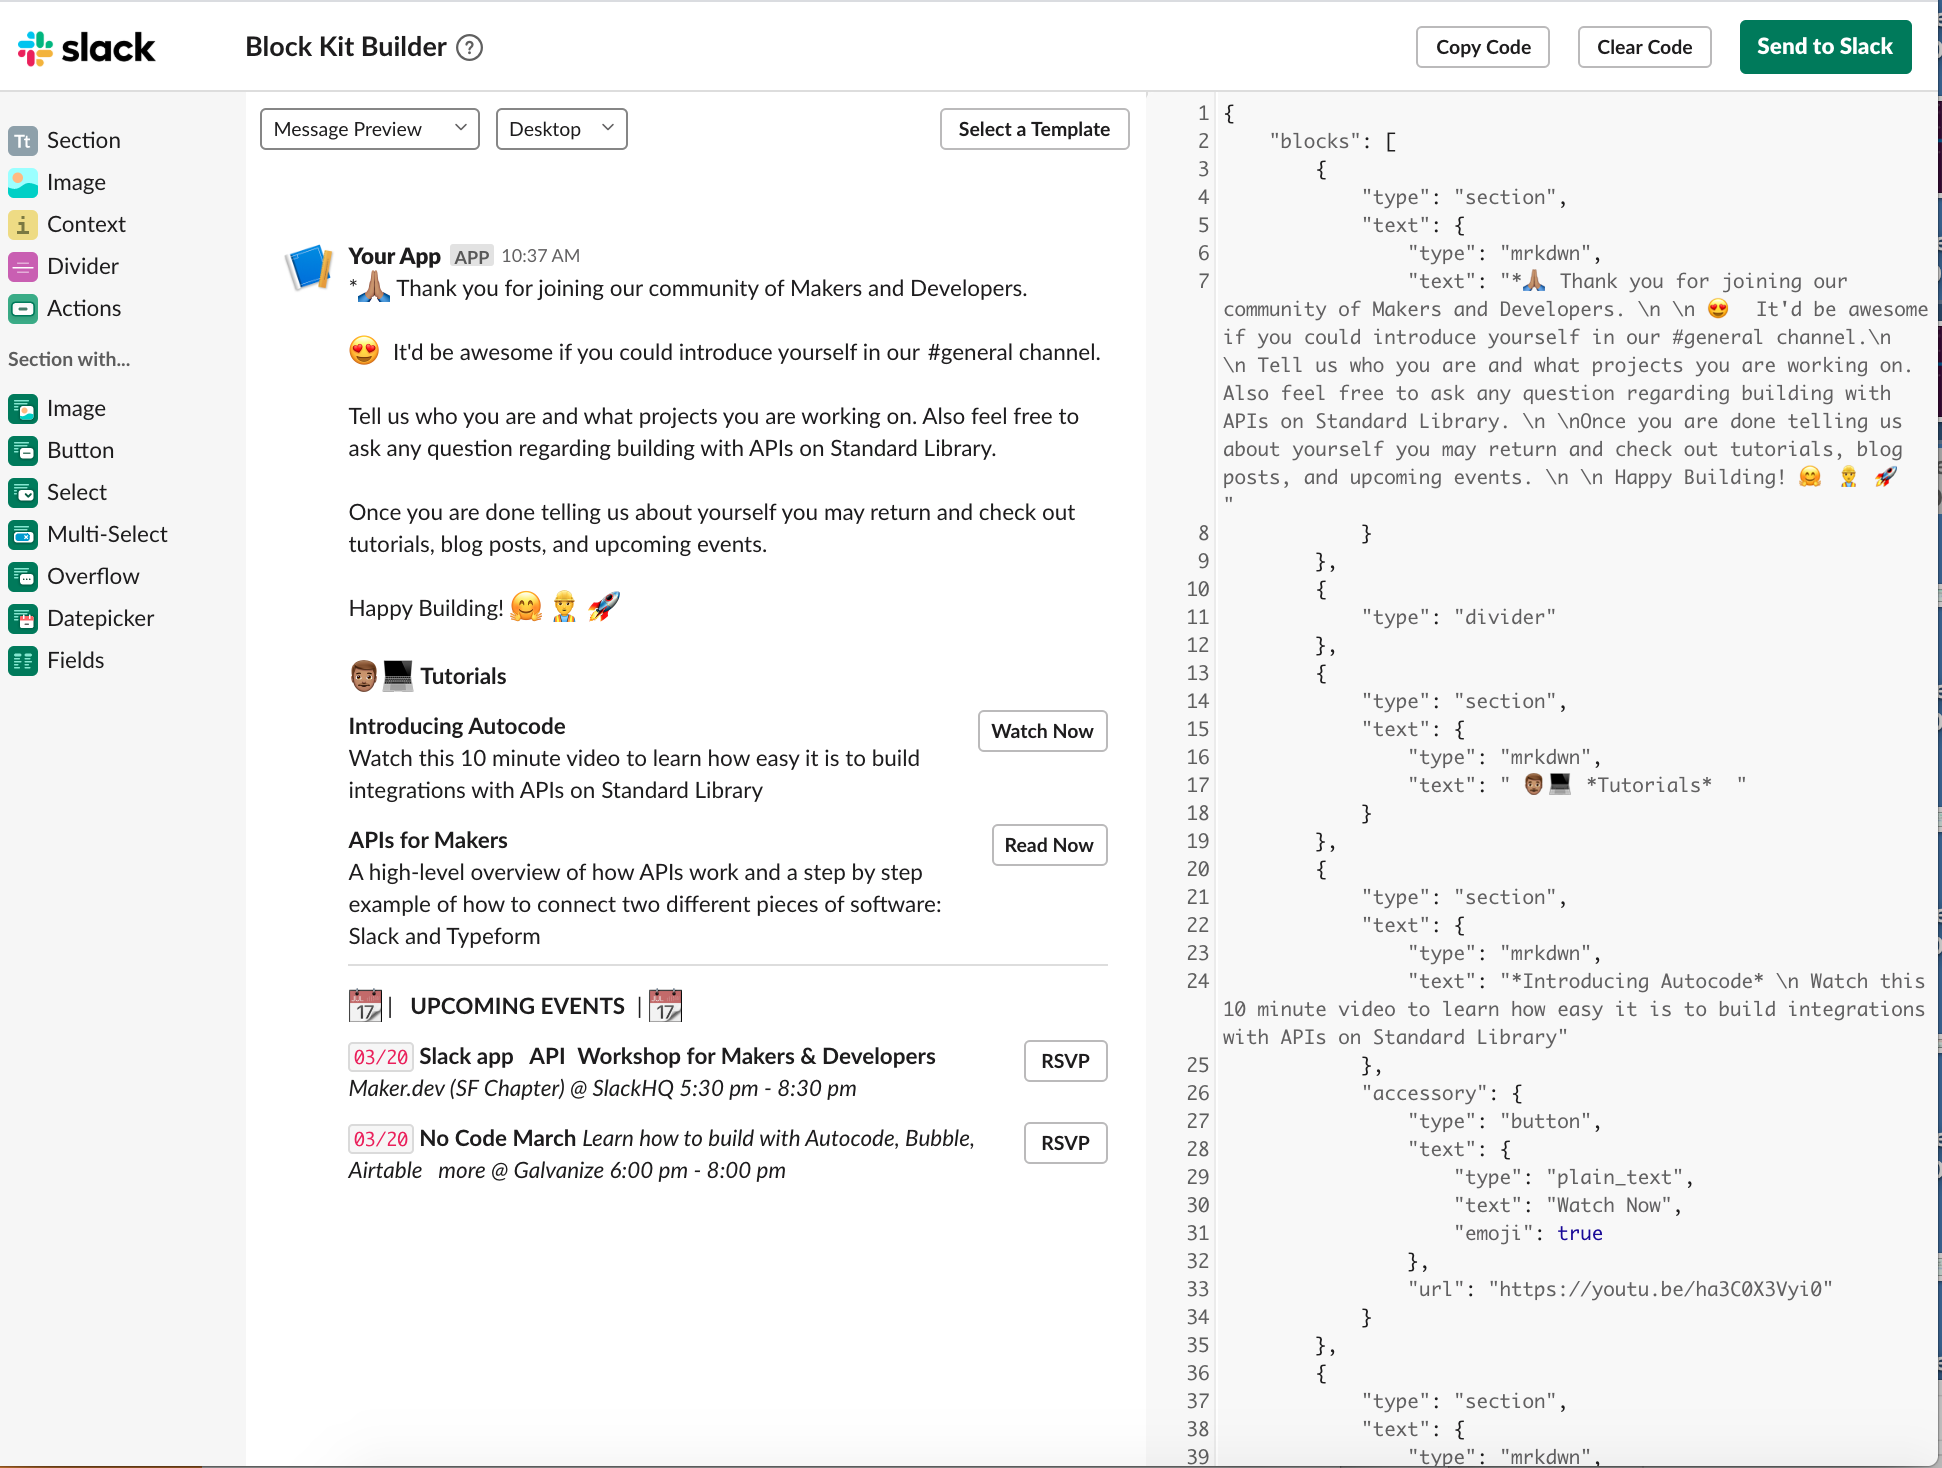
If you like, you can use Block Kit Builder to create a rich and interactive message design in no time, and return to paste your creation inside Autocode.
Block Kit Builder is Slack’s visual prototyping tool that enables Makers to create rich and interactive message designs without having to write code. Makers can choose from pre-built templates and edit the code or use building components. Once a design is ready, copy and paste the JSON into the blocks section of your project on Autocode.
Access my template design by clicking this link You should see a template that looks like this:
Select and copy only the objects inside the brackets [].
Set the objects as the value for theblocks key by pasting the code directly onto Autocode’s interface as I have done below:
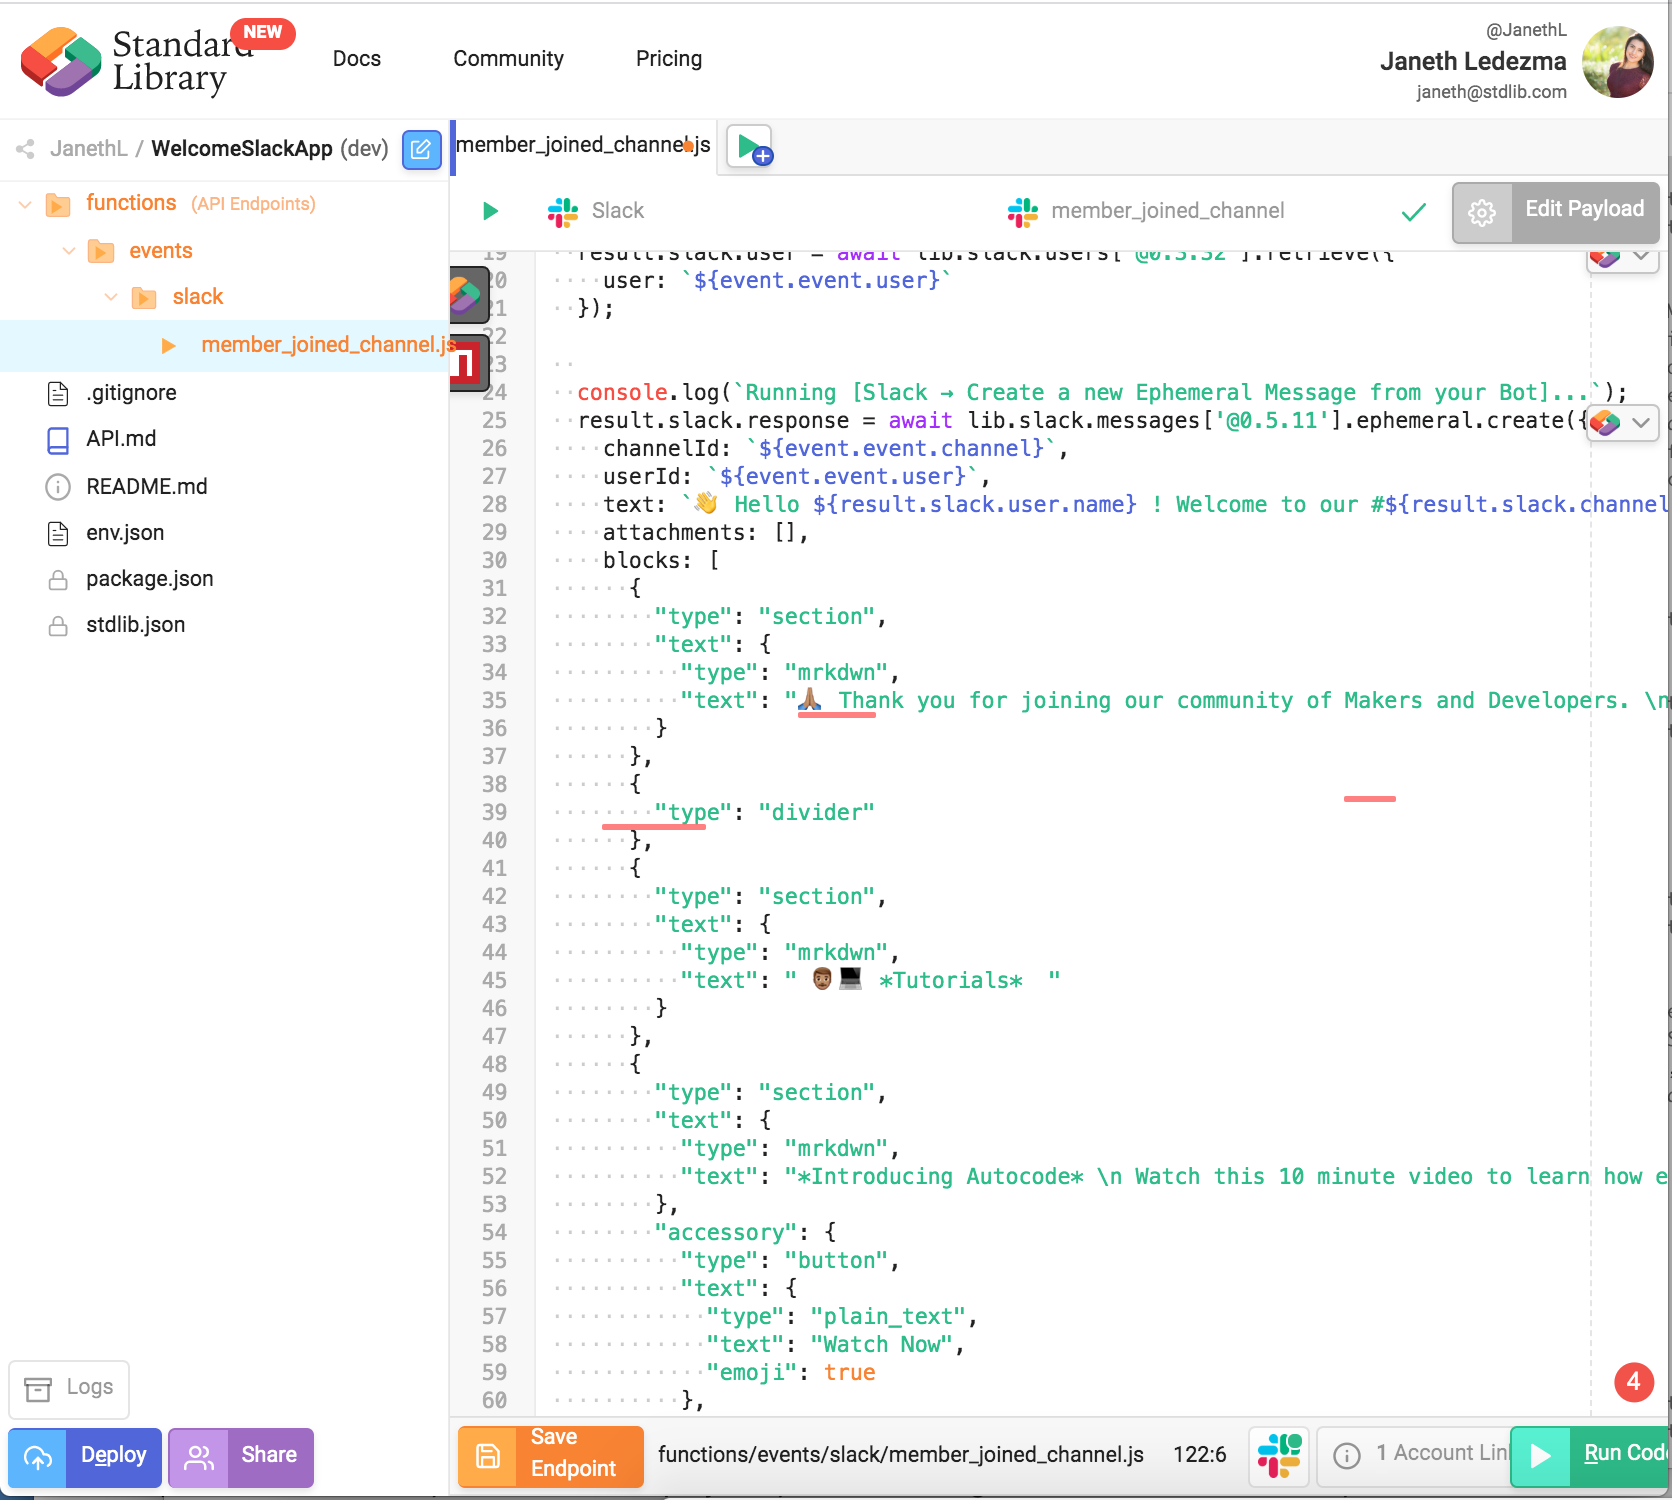
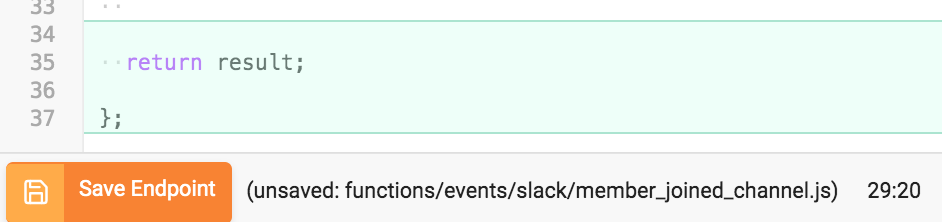
Select Save Endpoint and Deploy buttons to push your changes live
When you test your app you should see the updated welcome message.
You can easily make updates and changes this way, and deploy directly from your browser.
via Command Line
You can install the CLI tools from stdlib/lib to test, makes changes, and deploy.
You can retrieve your package via lib get
lib get <username>/<project-name>@devTo deploy
# Deploy to dev environment
lib up dev
Shipping to Production
Standard Library has easy dev / prod environment management, if you'd like to ship to production,
visit your dashboard on https://build.stdlib.com/,
find your project and select it.

From the environment management screen, simply click Ship Release.
Link any necessary resources, specify the version of the release and click Create Release to proceed.
That's all you need to do!
Support
Via Slack: libdev.slack.com
You can request an invitation by clicking Community > Slack in the top bar
on https://stdlib.com.
Via Twitter: @StandardLibrary
Via E-mail: support@stdlib.com
Acknowledgements
Thanks to the Standard Library team and community for all the support!
Keep up to date with platform changes on our Blog.
Happy hacking!