Hill-Locator
Have you ever wondered what the biggest hills near you are? If you are a runner or a cyclist, you have likely asked yourself this. It`s nice to do hill repeats on a road you are familiar with, but there might be another even better hill just a short drive away. This code answers these questions by labelling hills by height, grade, and difficulty.
- To use this model, you will require QGIS 3, which can be downloaded here https://www.qgis.org/en/site/forusers/download.html
- You will also need a digital elevation model (DEM). Data for the USA can readily be downloaded from https://apps.nationalmap.gov/downloader/#/. I recommend using 1/3 arc-second resolution.
- Additionally, you need a dataset of roads. http://download.geofabrik.de/ provides extracts of OpenStreetMap (OSM) regions. Navigate to a state or state equivalency and download the shapefile.
The suggested way to use this model is to:
- Copy this code to your
QGIS\QGIS3\profiles\default\processing\modelsfolder - In a new QGIS project, add the DEM as a raster layer and the OSM roads as a vector layer
- Locate the model in the Processing Toolbox and run it
- For the
Digital Elevation Modelparameter, select the DEM you added. For theRoadsinput, select the OSM layer. For theRoad Nameinput, select the attribute in theRoadslayer that has the road names. ForProjection, select an appropriate projection in meters for your local area - Run the code
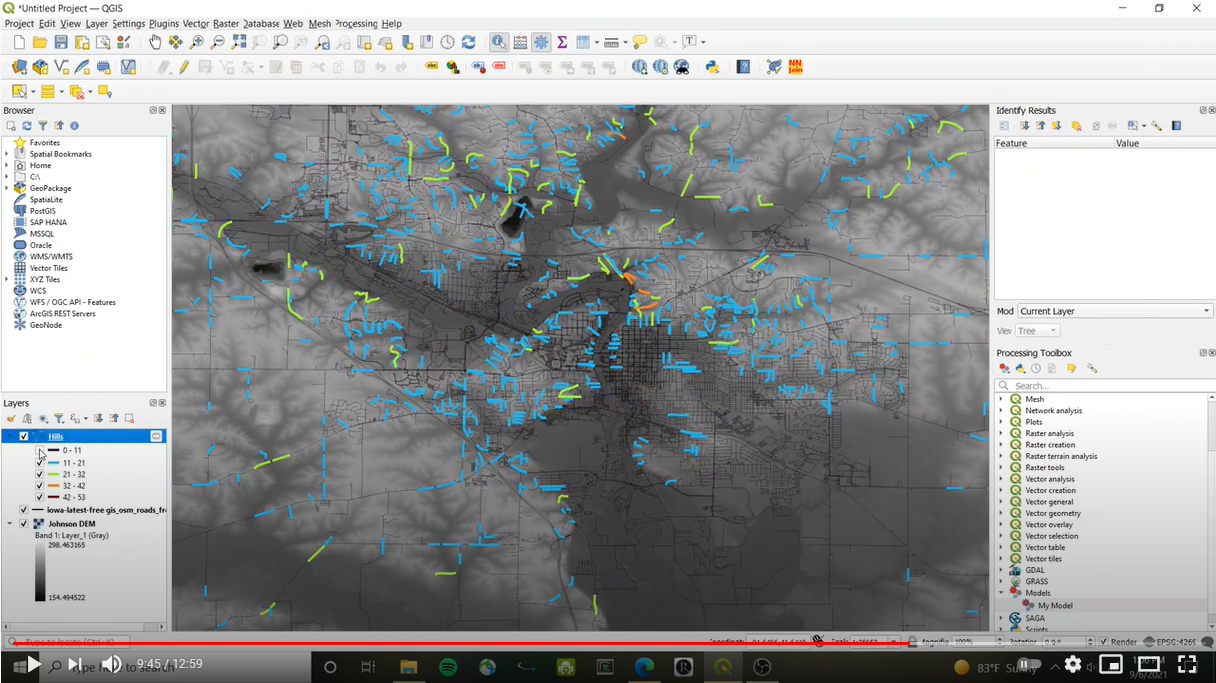
- Use graduated symbology set to either
height,grade_net, orCAT, to visualize where hills are.
Parameters
Digital Elevation Model- This should be a raster DEM. Ideally, the DEM is rectangular. It should represent pixels in space as different heights. The units should be specified in meters.Projection- This should be chosen to be a projection in meters, which is accurate for the area.Minimum Grade- This is the minimum grade that will be thresholded against. The default value is 2.5%. Any hill segment steeper than this value will be retained for analysis in the algorithm. Segments shallower than this will be discarded.Road Name- This is the attribute in theRoadslayer that stores the names of the roadsRoads- This is a vector layer which represents all traversable ways. If OSM data is used, this will also include things like driveways and hiking paths.Buffer scale- This ratio determines what amountof the DEM to use. The default value is 0.999 to prevent issues where roads clipped against the edge of the DEM may still slightly overhang.Remove Short Segments- This T/F value determines whether or not to remove short segments at the end of the algorithm. Short segments are defined as any segment which is shorter than the length specified bySegment Lengths. If this is set to false, some very short segments may be included which will have impossibly high gradesUse Buffer- This T/F value determines whether or not to shrink the extent of the clippedRoadslayer by the amount specified inBuffer scaleDensified Separation- When calculating grade. The roads will be sampled at intervals of this distance. The default of 5.0 meters works well with the 1/3 arc-second scale. If higher resolution DEM is used, this value should be set smaller.Segment Lengths- The roads will be examined averaged over this length. The default is 50 meters. This is long enough to accurately represent the grade of the hill, but not too long that it includes flat sections. If this value is lowered, noise may play a factor. If the value is raised, you may include sections of road which are not actual hills.
Model Diagram
