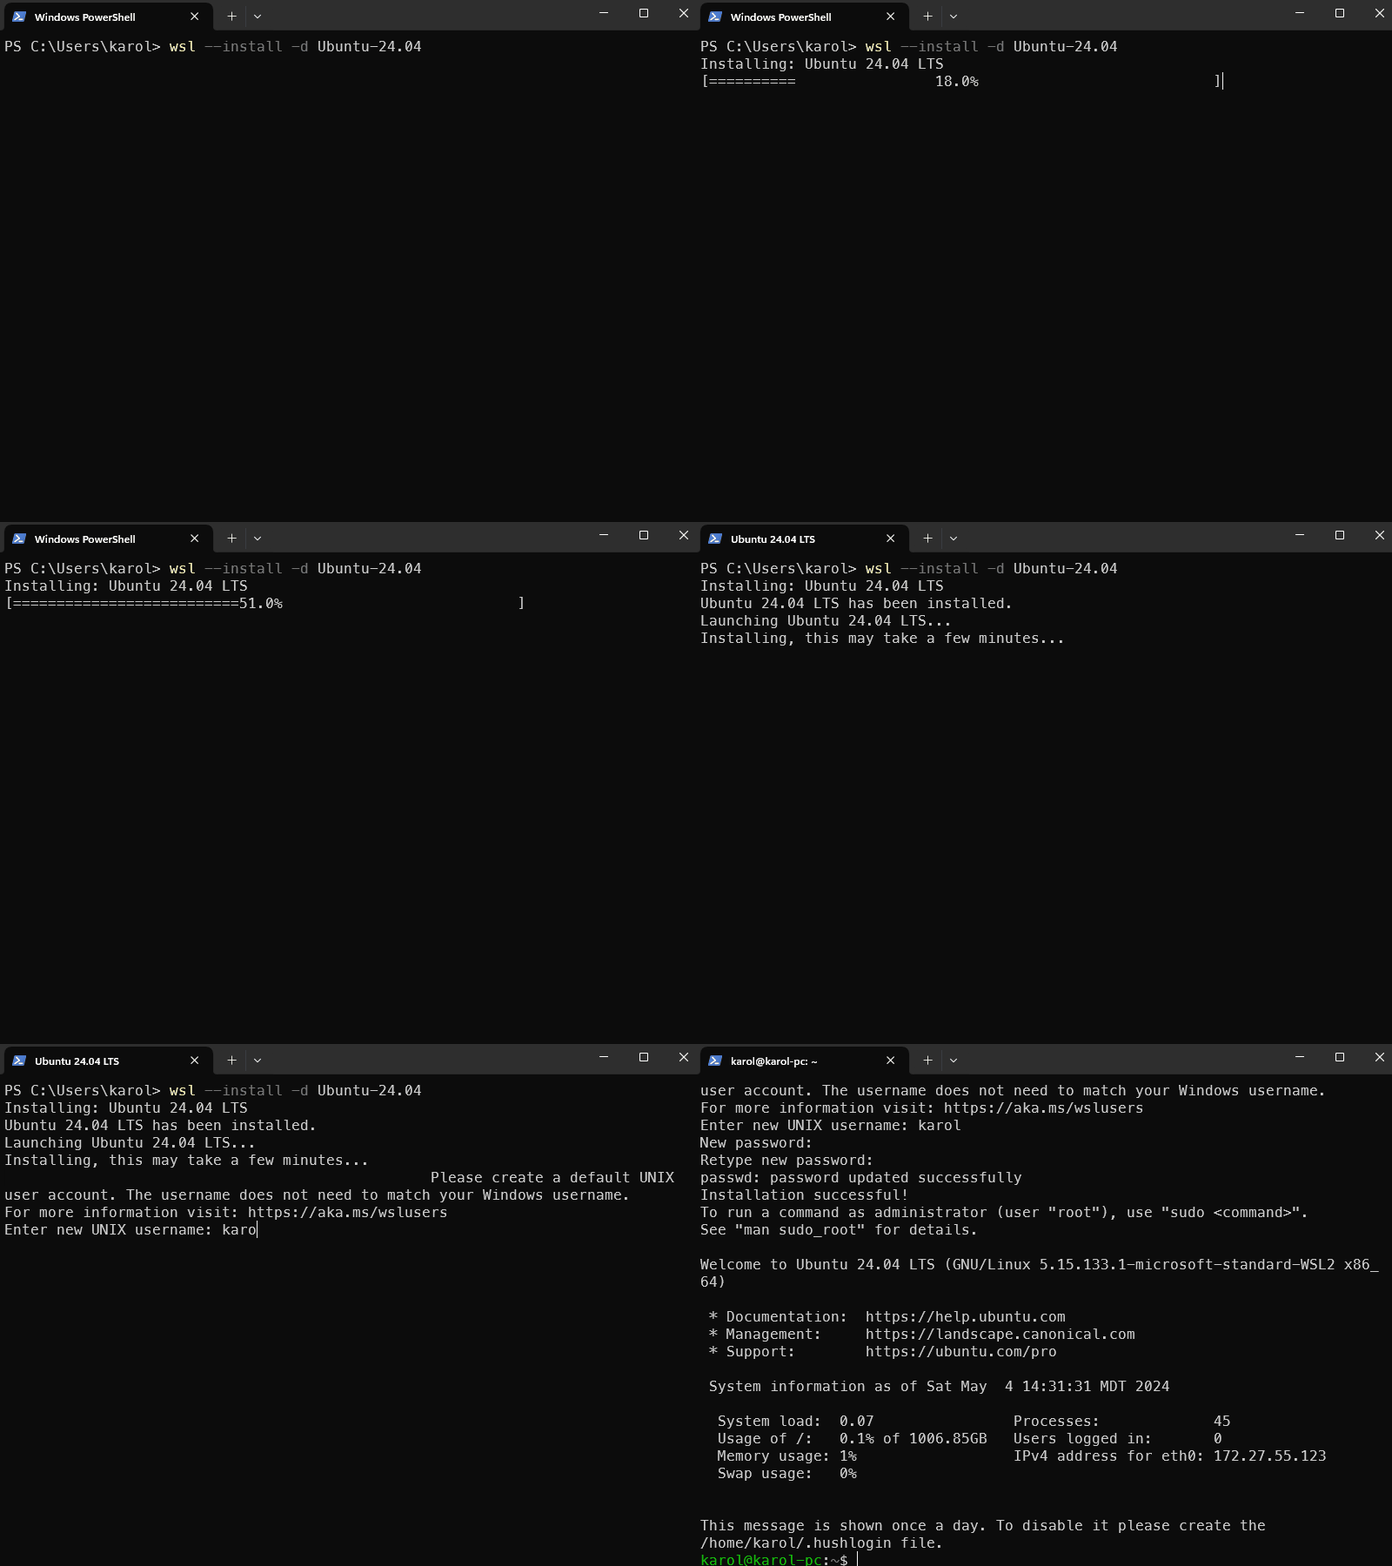
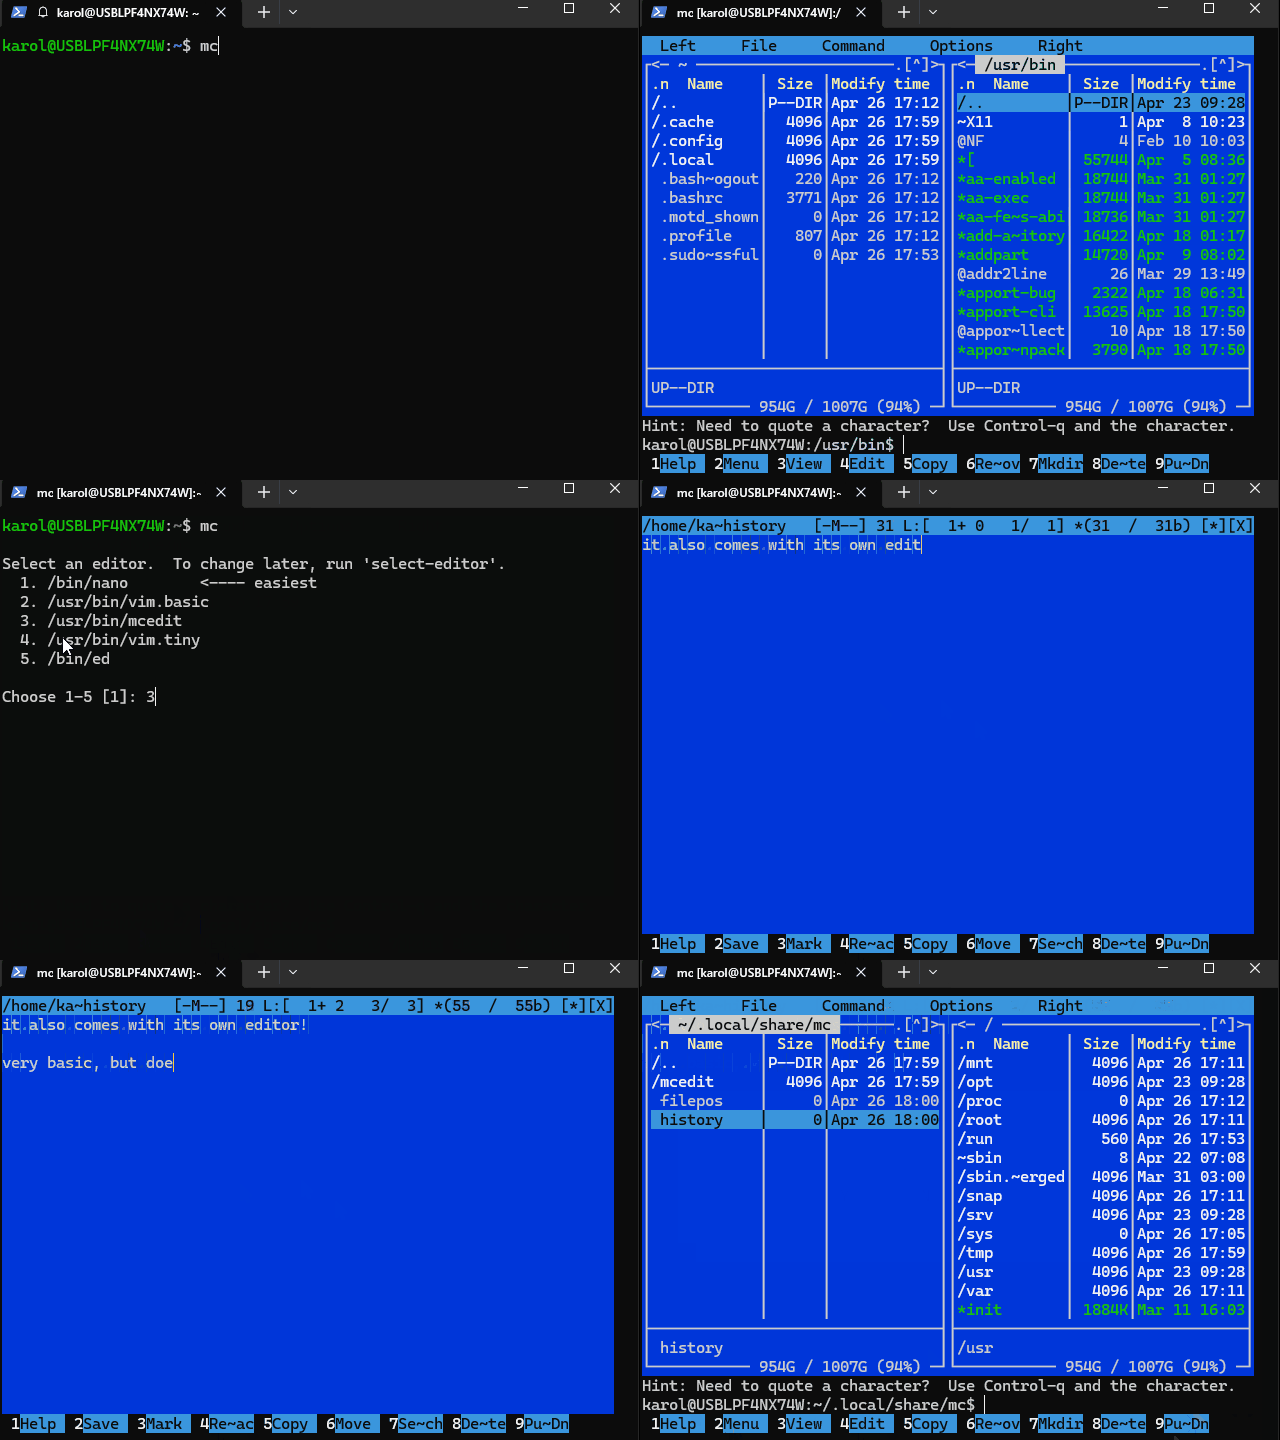
It's not always possible to work on my preferred Operating System of choice, Linux. However, Windows now offers a mid-way point with WSL2 (Windows Subsystem for Linux). WSL2 allows me to run a Linux environment directly on my Windows machine, providing the best of both worlds. One of the advantages of using WSL2 is improved performance on client machines that are heavily monitored by IT tools, which can often slow down the system. With WSL2, I can enjoy the benefits of Linux while still working within a Windows environment.
wsl --set-version Ubuntu-24.04 2wsl --install -d Ubuntu-24.04👉 Make sure to exit the newly created WSL container before executing the next step.
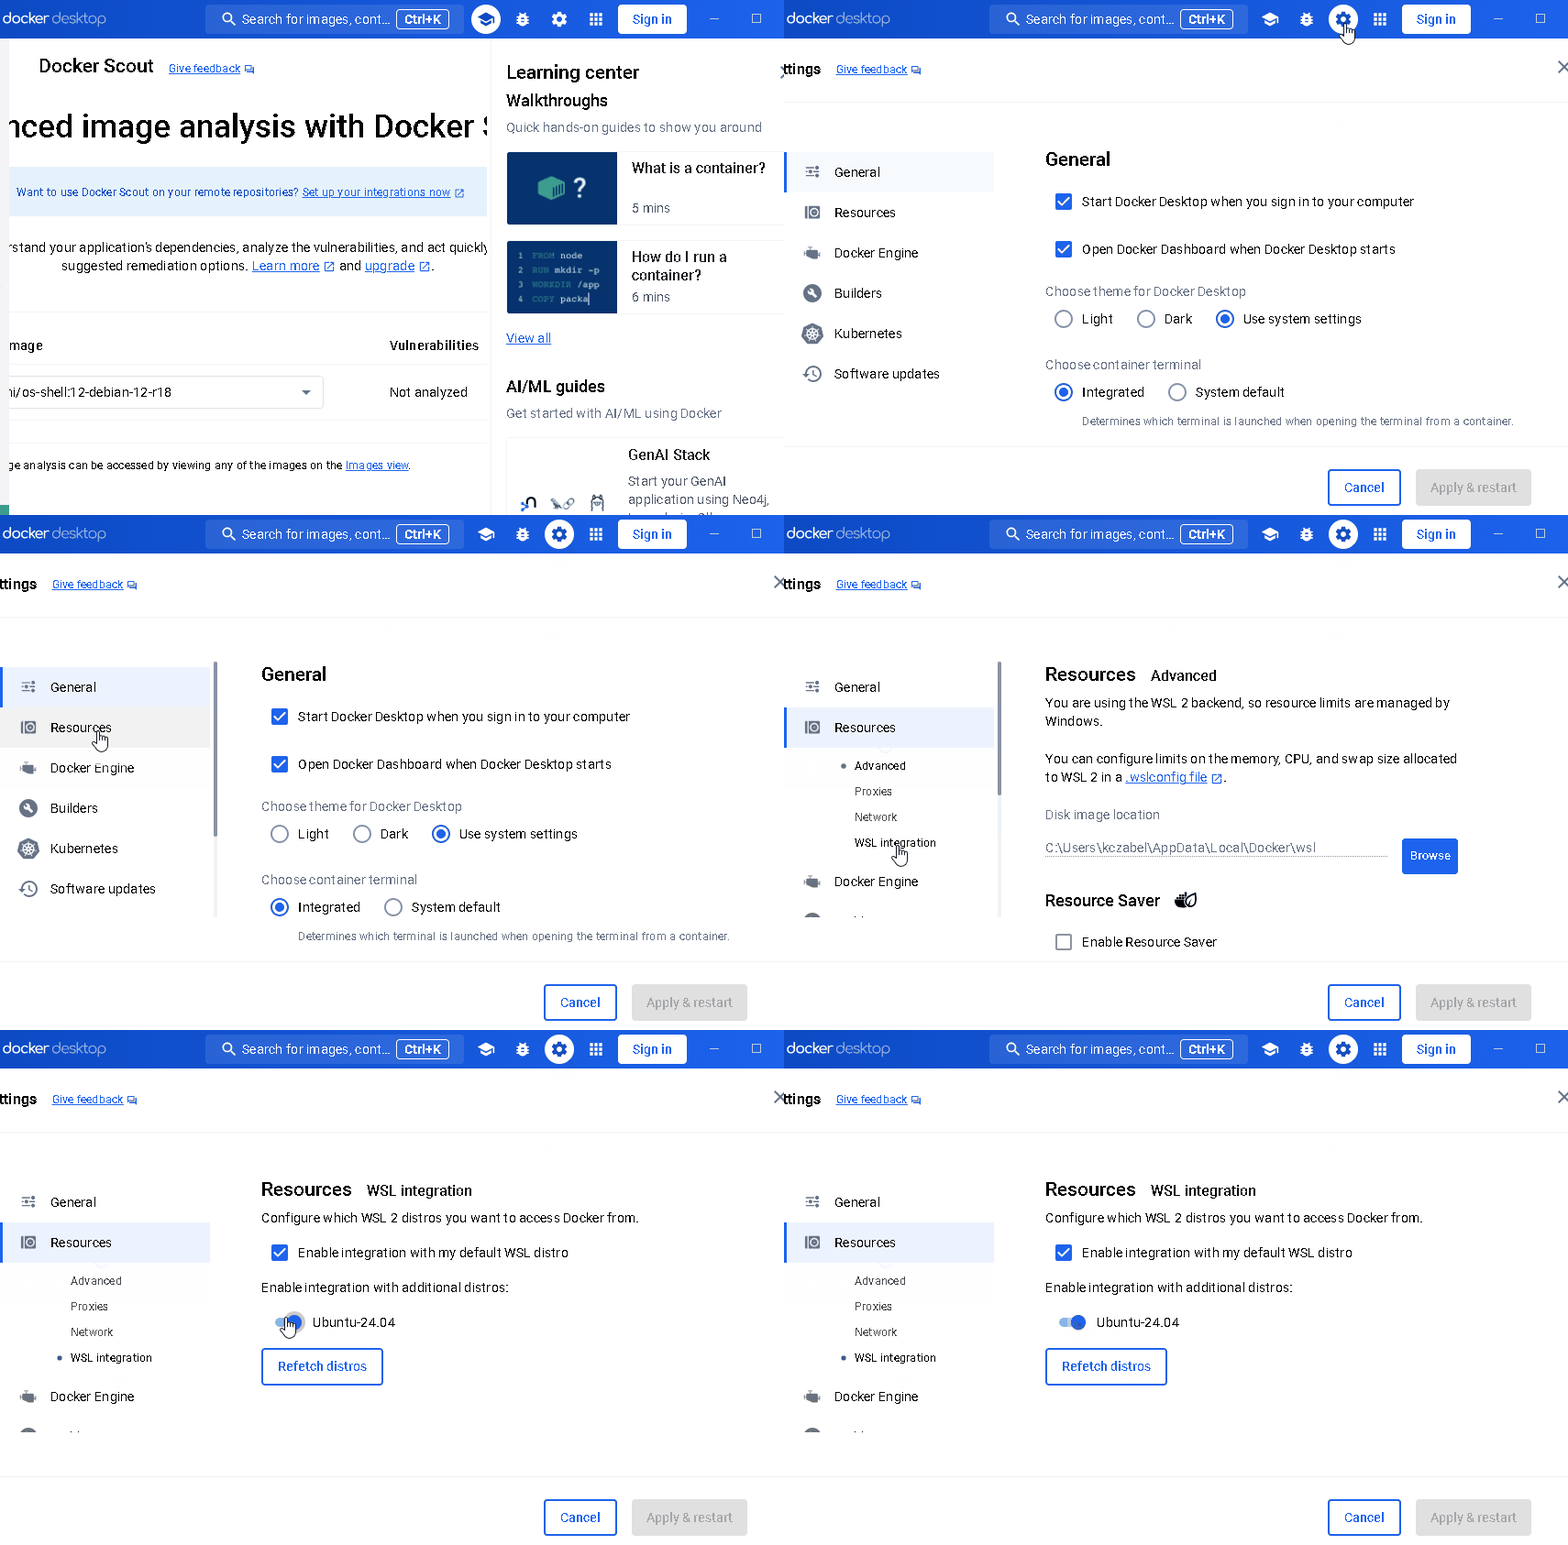
- Open 🐋
Docker Desktop - Click on ⚙️
Settings - Click on 💽
Resources - Click on
WSL Integration - Enable
Ubuntu-24.04integration - Click on
Apply & restart
In this section, we will perform various software installations and configurations to set up Ubuntu 24.04 for optimal development experience. Here are the steps we will cover:
- Set
Ubuntu 24.04as your default profile inWindows Terminal. - Install
.NET 8and.NET 7for .NET development. - Install
Windows Terminalfonts for better visual experience. - Add the current user to
sudoersfor convenient sudo access. - Install
Midnight Commander(mc) for file management. - Add
ZshwithOh-My-Zshfor a powerful shell experience. - Install
LunarVimfor an enhanced Neovim-based editor.
By following these steps, you will have a fully configured Ubuntu 24.04 environment with the necessary tools and settings for efficient software development. Feel free to skip any steps that you don't need or already have installed. Let's get started! 🚀🌟🔧🔨🎉
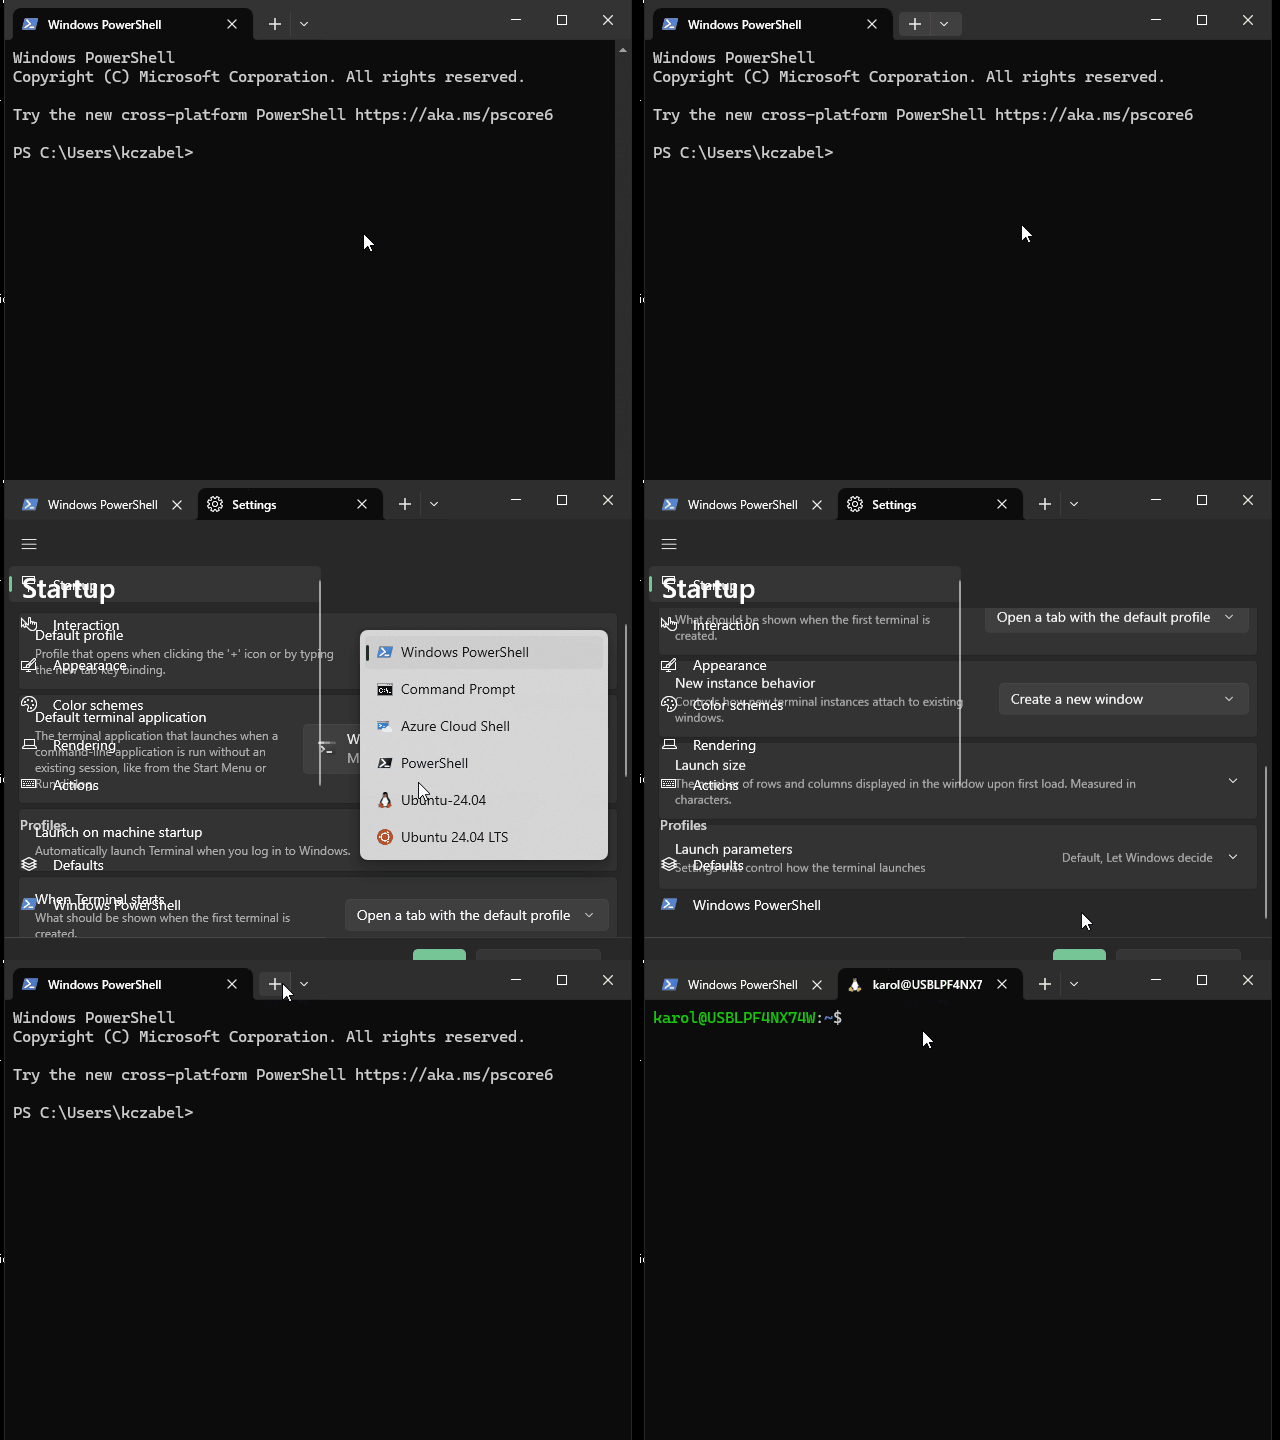
Setting this WSL container as default terminal will ensure that by default, you are opening the most well equipped terminal toolset that will help you in your day-to-day tasks.
-
Open your
Windows Terminal -
Click on
Settings -
in
Startup, make sureDefault ProfileisUbuntu-24.04 -
Apply this setting
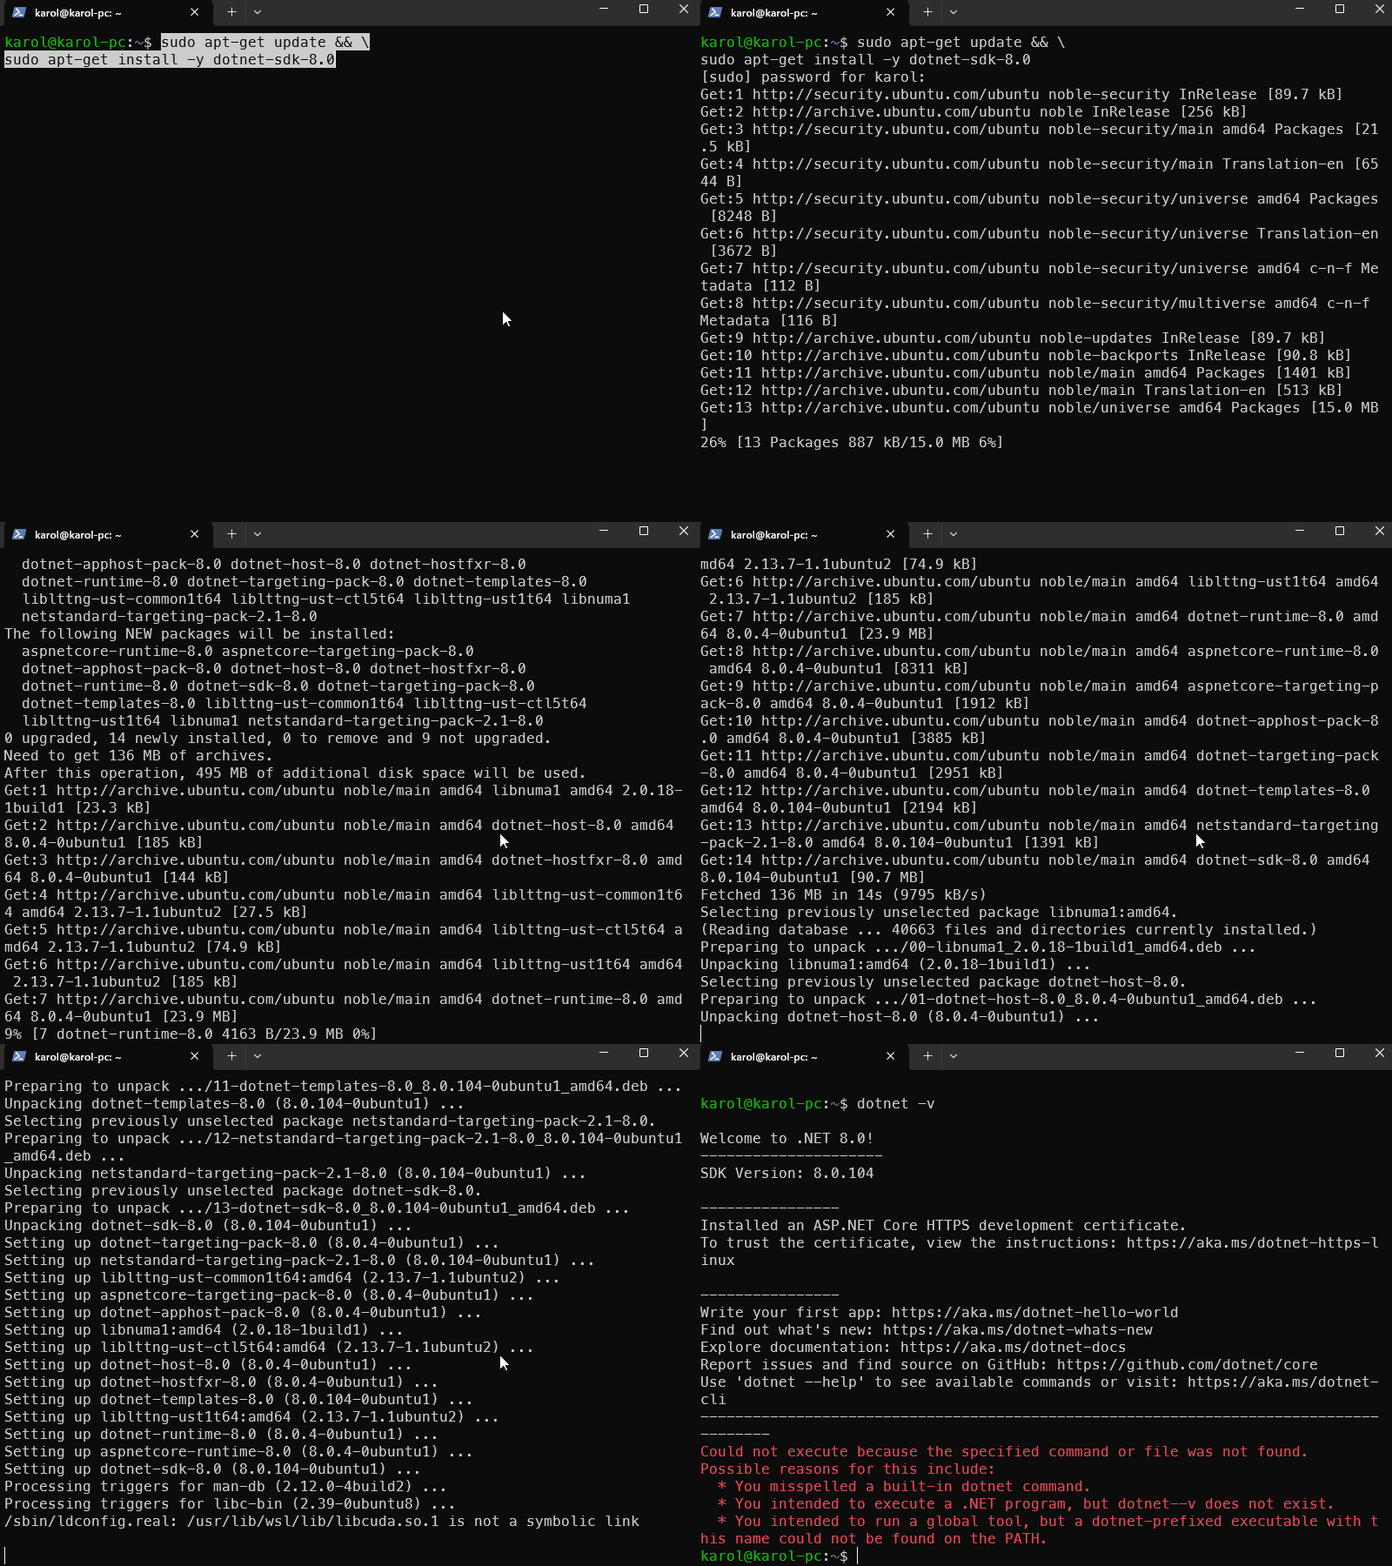
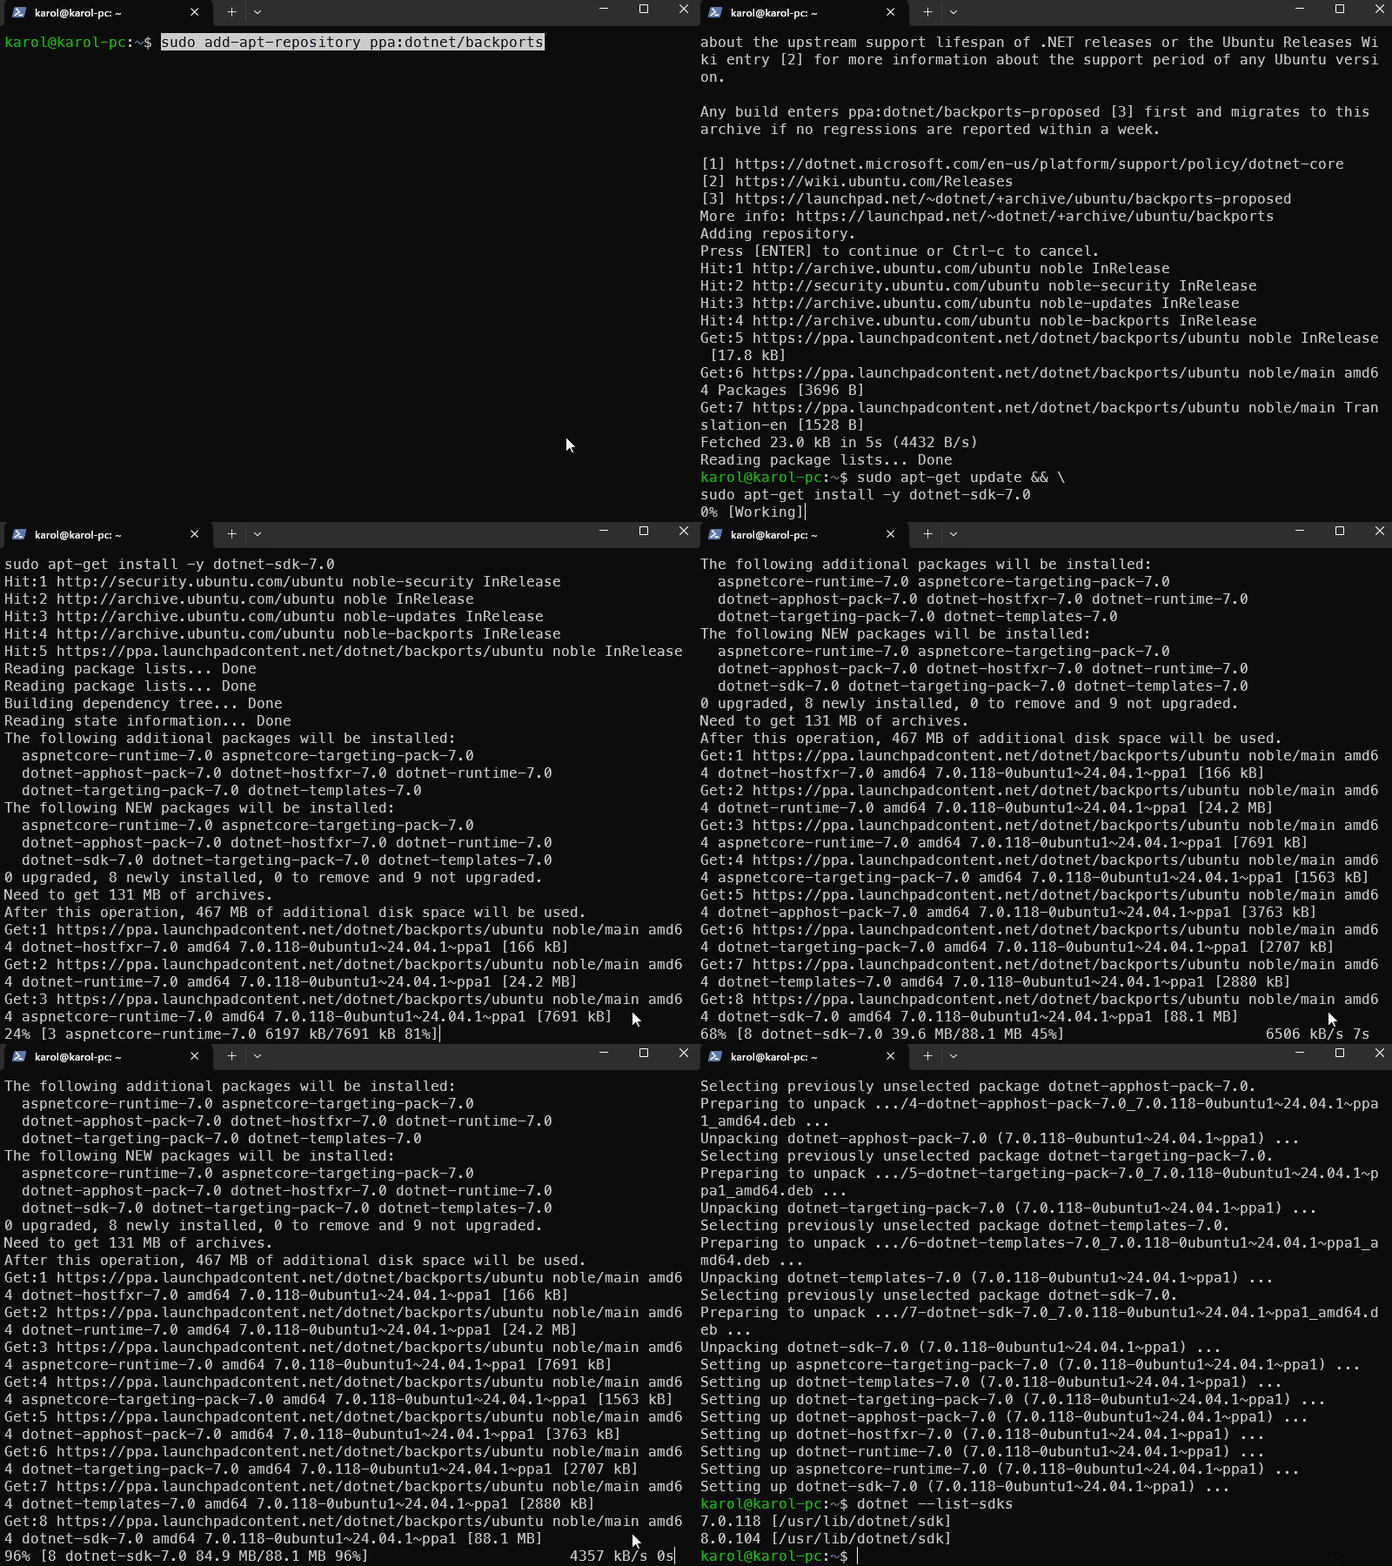
sudo apt-get update && \
sudo apt-get install -y dotnet-sdk-8.0To Install .NET 7 on Ubuntu 24.04 we need to add the backports apt registry.
Execute the following to add the backports apt registry.
The apt package manager will prompt you to press the Enter key.
sudo add-apt-repository ppa:dotnet/backportsExecute the folowing to install .NET 7
sudo apt-get update && \
sudo apt-get install -y dotnet-sdk-7.0Download the following font files:
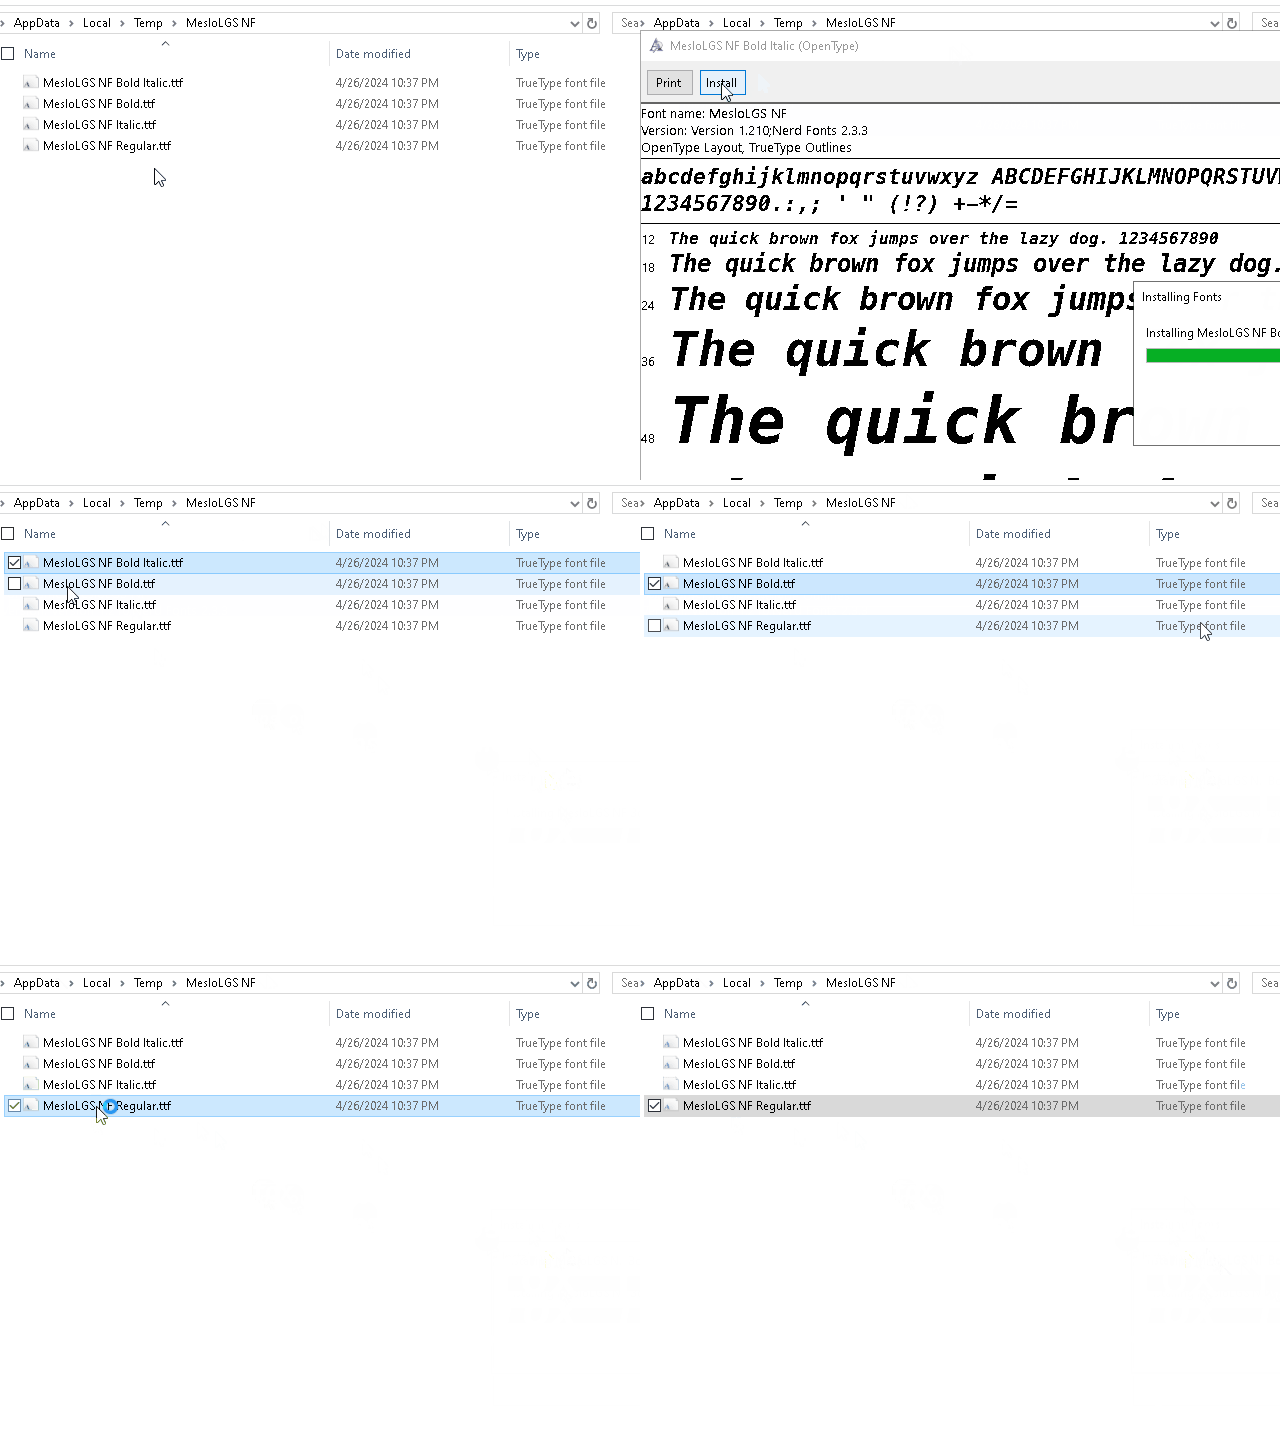
Double click on each of the font files to download them. Once downloaded, locate the font files on your system and double click on each file to install them.
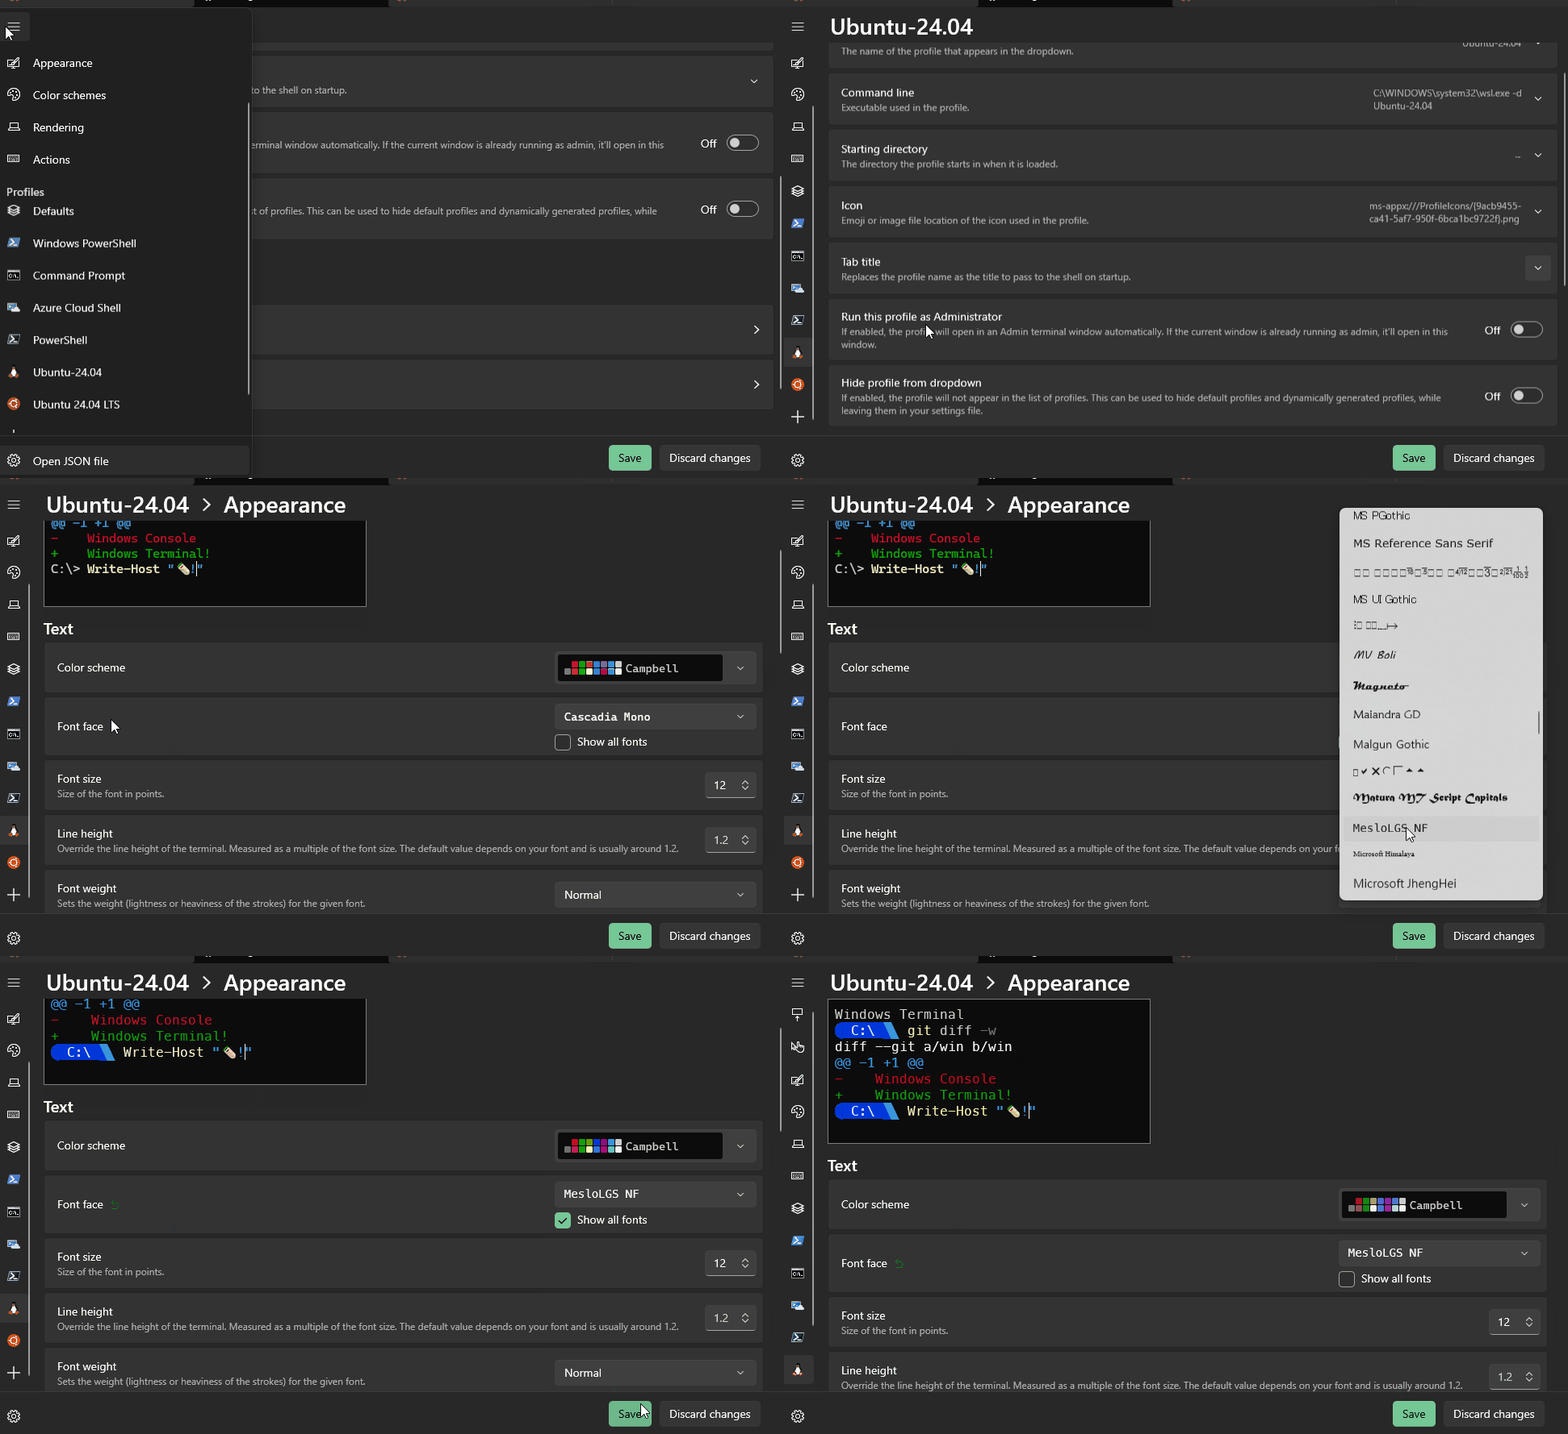
Next, open Windows Terminal and go to the ⚙️ Settings.
On the left-hand side panel, locate Ubuntu-24.04 and click on it.
Scroll down to Additional settings and click on Appearance.
Under Font face, click on Show all fonts and select MesloLGS NF.
Save your changes and enjoy the new font in your terminal! ⏭️
The sudo command in Linux allows users to execute commands with elevated privileges, typically as the root user. It is a powerful tool that grants users the ability to perform administrative tasks and make system-wide changes. However, it must be used with caution. Giving unrestricted sudo access to a user can potentially lead to unintended consequences, such as accidental modification or deletion of critical system files. It is important to carefully consider the level of access granted to users and ensure that only trusted individuals have sudo privileges. Additionally, it is recommended to log and monitor sudo activities to detect any unauthorized or malicious actions.
Controversial, but this is how I roll 🤷
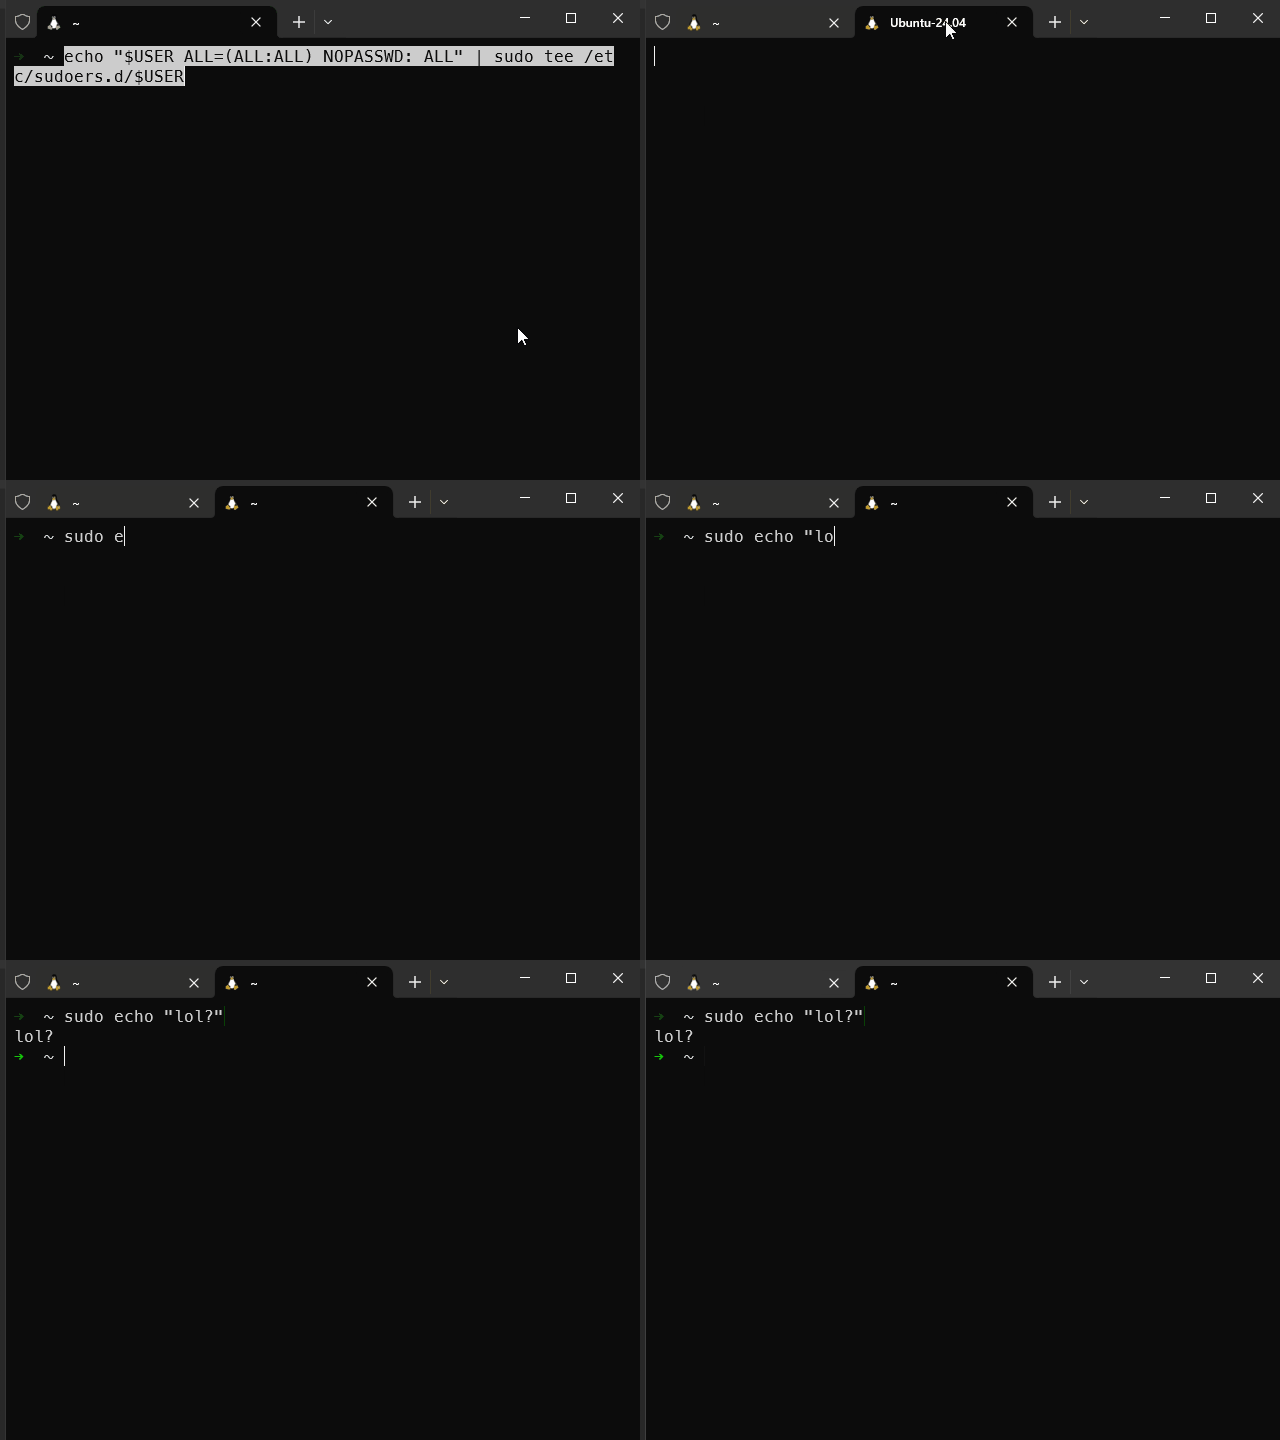
Execute the following to add the user to the sudoers group.
echo "$USER ALL=(ALL:ALL) NOPASSWD: ALL" | sudo tee /etc/sudoers.d/$USERZsh is a powerful shell that offers advanced features and customization options.
Oh My Zsh is a framework for managing Zsh configurations, providing a wide range of plugins and themes to enhance the shell experience.
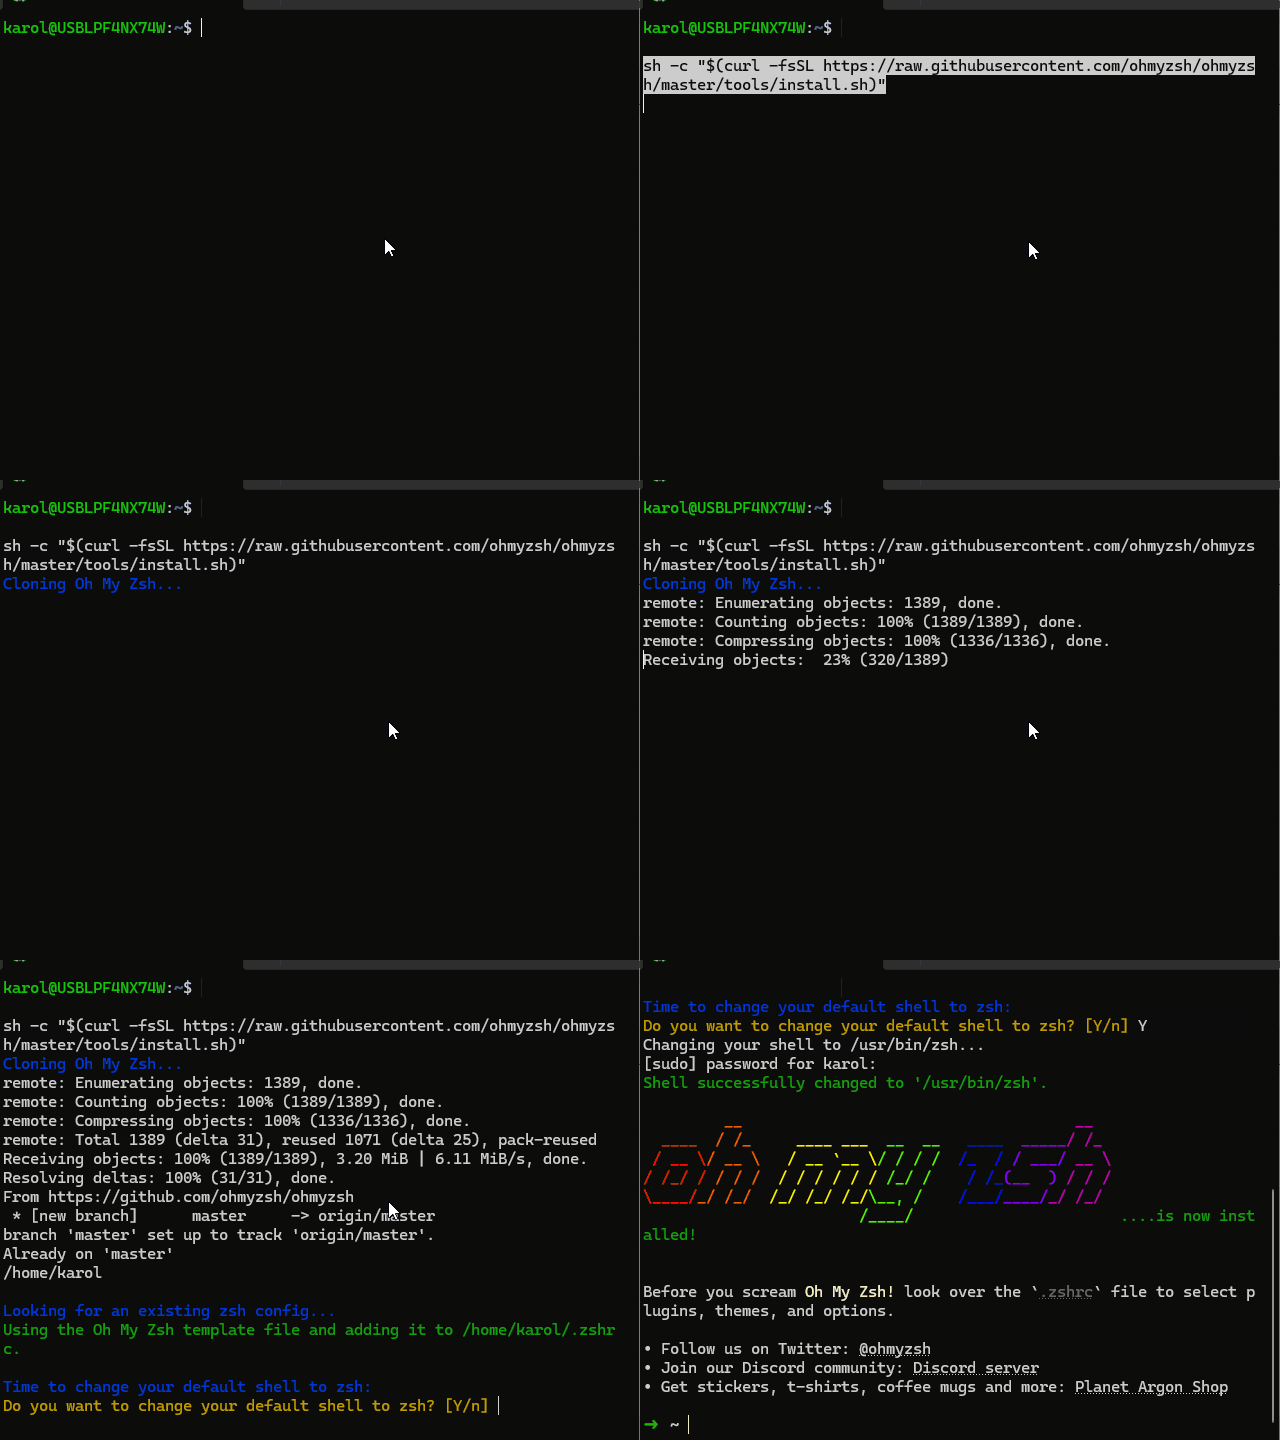
Install zsh
sudo apt update
sudo apt install zsh -y
Install Oh My Zsh, when prompted, change your default shell to zsh
sh -c "$(curl -fsSL https://raw.githubusercontent.com/ohmyzsh/ohmyzsh/master/tools/install.sh)"Next, we will be applying the powerlevel10k theme on top.
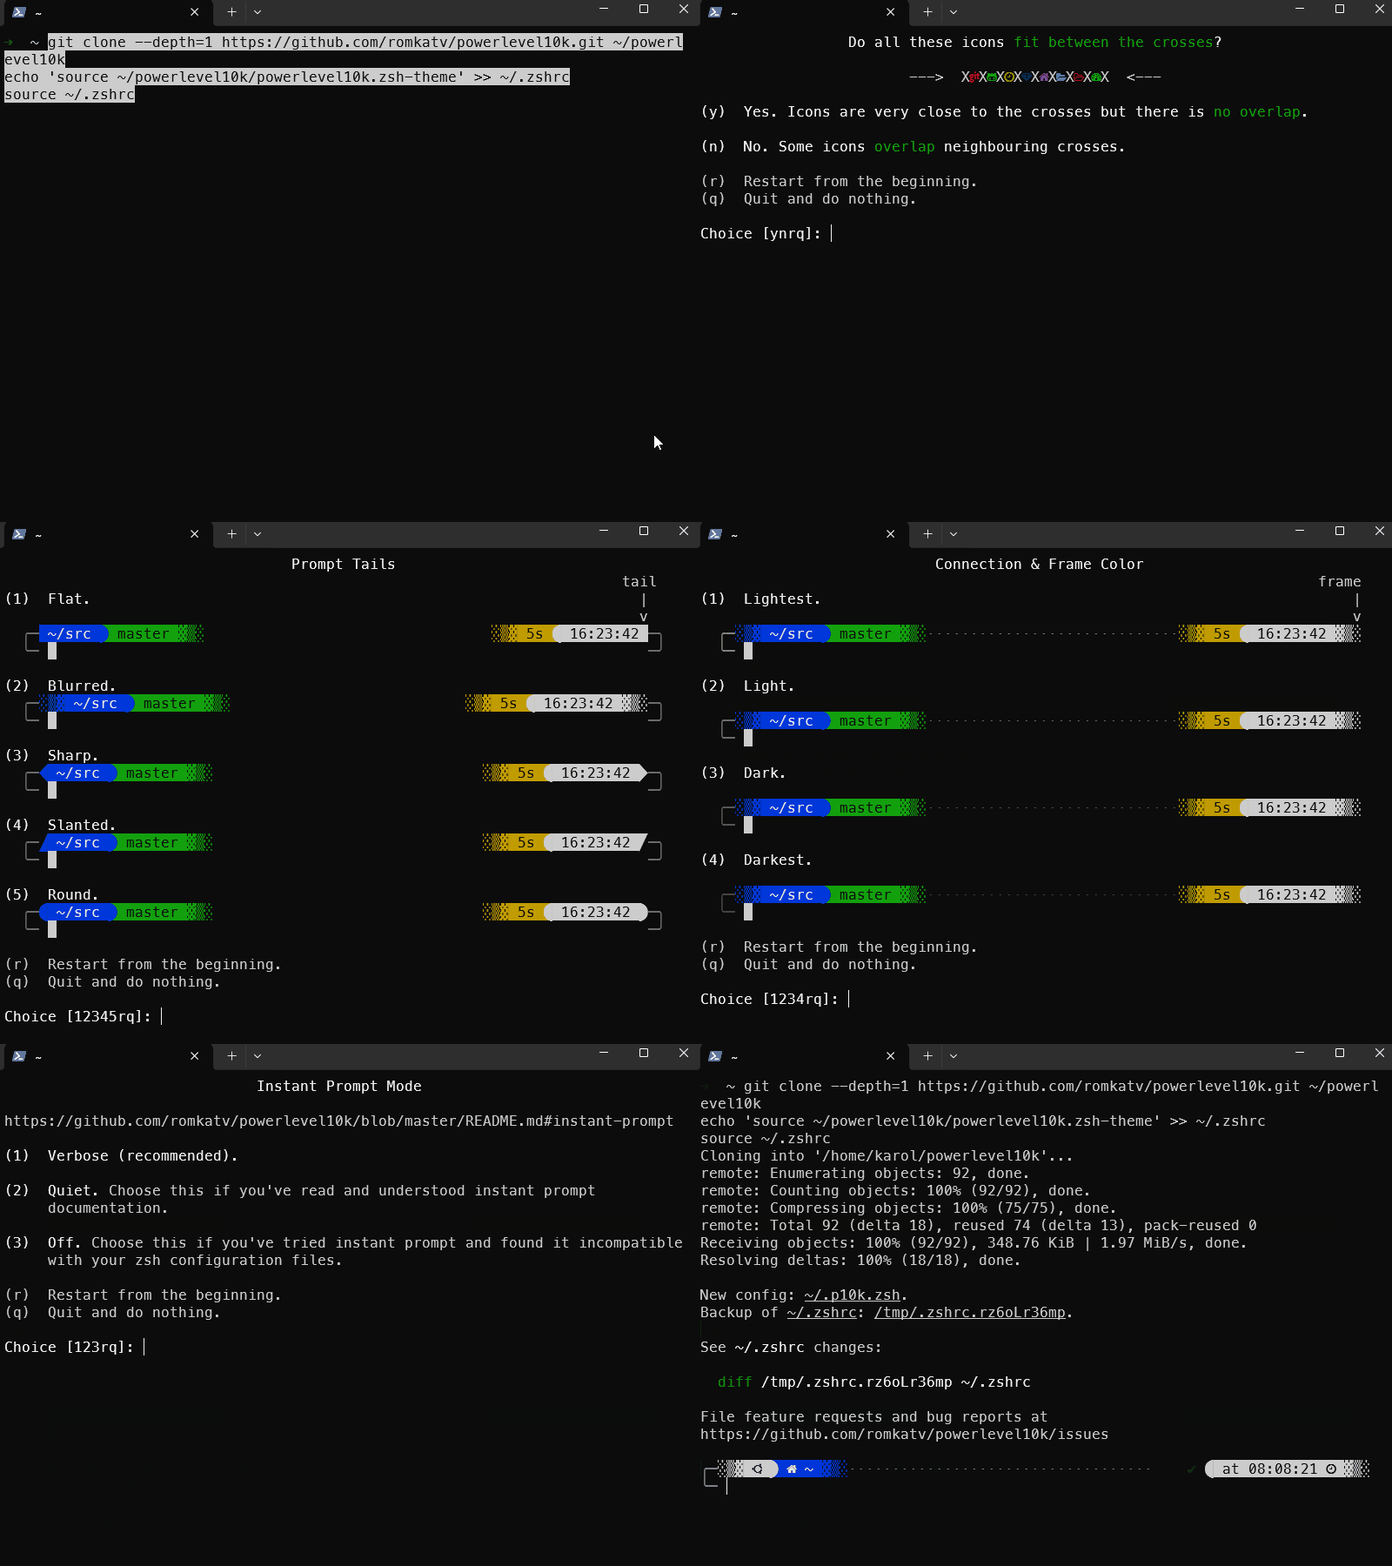
git clone --depth=1 https://github.com/romkatv/powerlevel10k.git ~/powerlevel10k
echo 'source ~/powerlevel10k/powerlevel10k.zsh-theme' >> ~/.zshrc
source ~/.zshrc
Answer the prompts in the terminal and customize your terminal experience.
You can always change the look and feel by running p10k configure in terminal.
LunarVim is an amazing editor that brings the power of Neovim to your fingertips. With LunarVim, you can work in the terminal with the same efficiency as any other GUI IDE. It provides a highly customizable and extensible environment, allowing you to tailor your editing experience to your specific needs. Whether you're a beginner or an experienced developer, LunarVim offers a seamless and productive workflow, making it a top choice for many programmers.
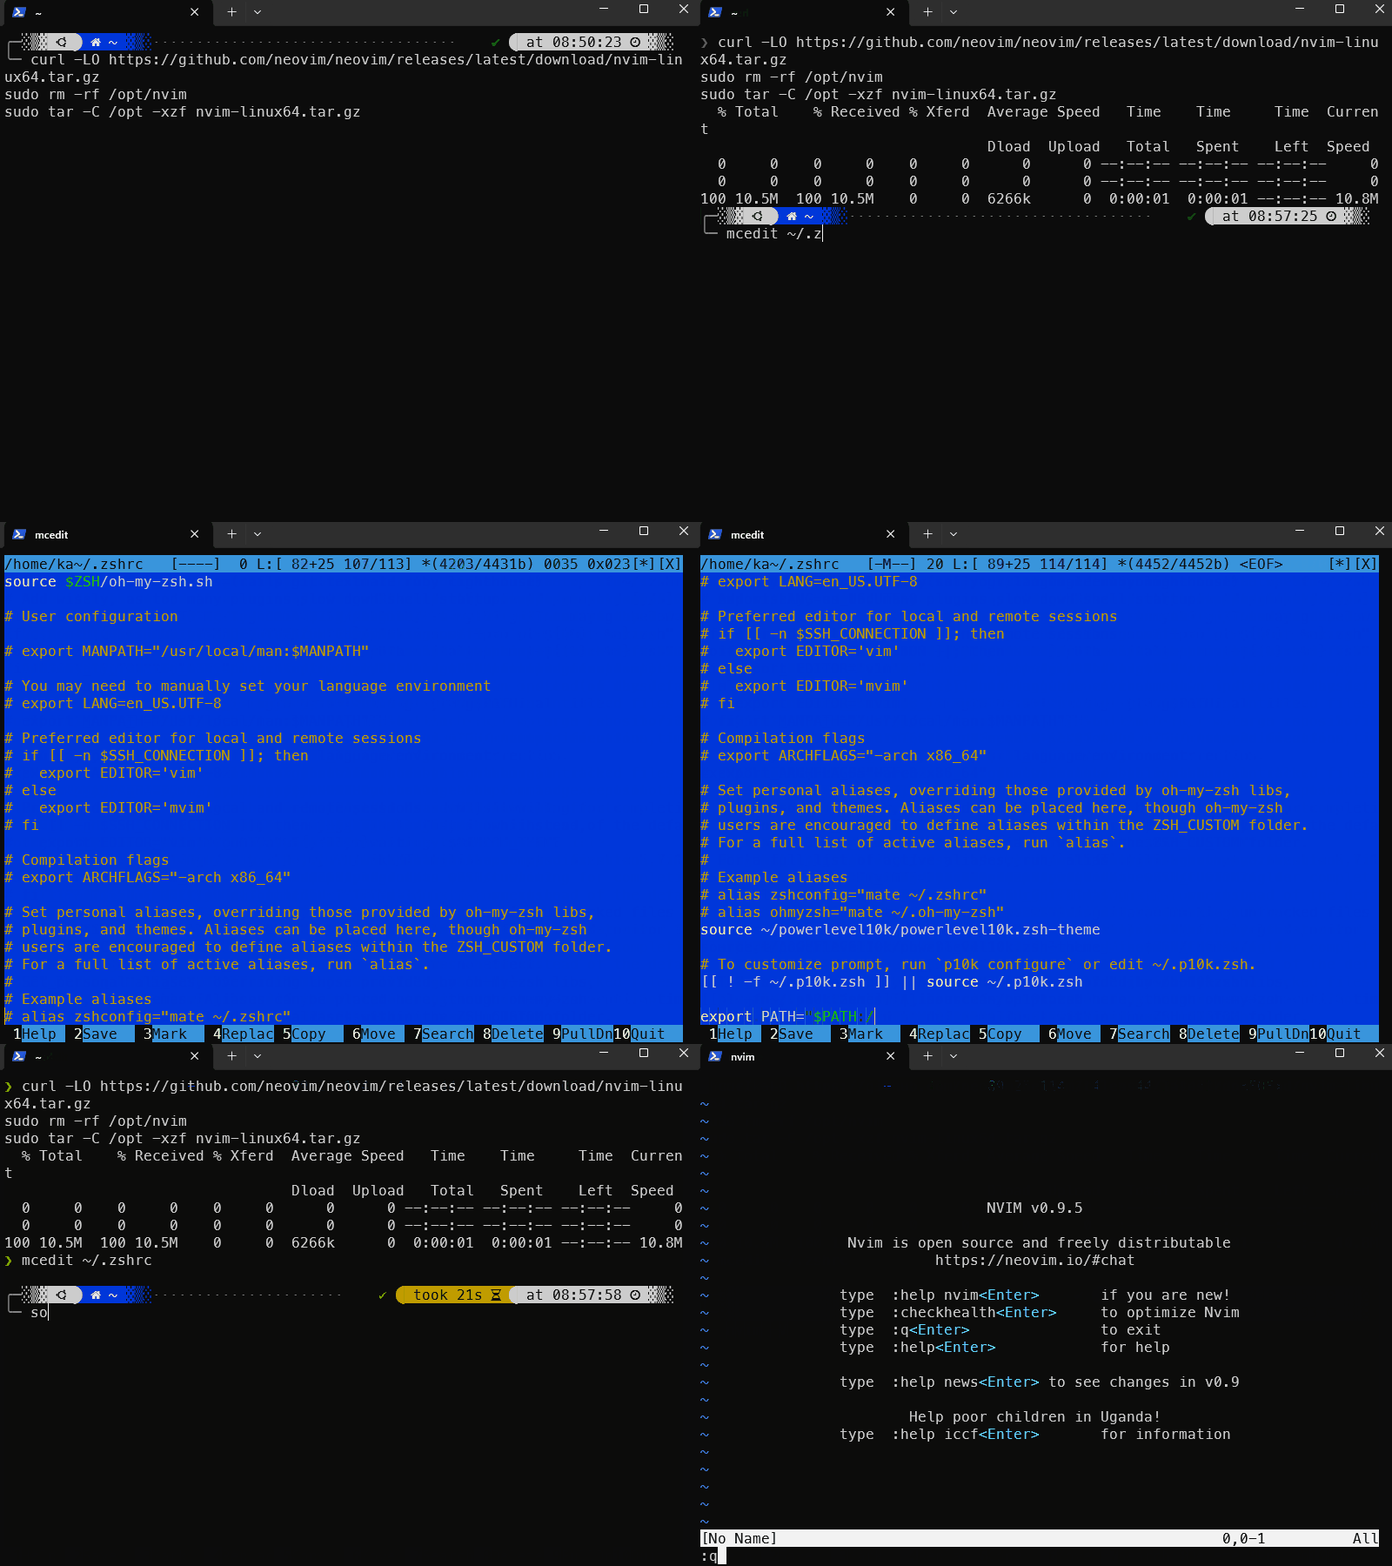
First, we need neovim, the base.
curl -LO https://github.com/neovim/neovim/releases/latest/download/nvim-linux64.tar.gz
sudo rm -rf /opt/nvim
sudo tar -C /opt -xzf nvim-linux64.tar.gz
Add neovim to path. Open ~/.zshrc in any file editor (e.g. mcedit or vim) and add the following at the end of the file
export PATH="$PATH:/opt/nvim-linux64/bin"Re-source your shell
source ~/.zshrcCheck that nvim is available now.
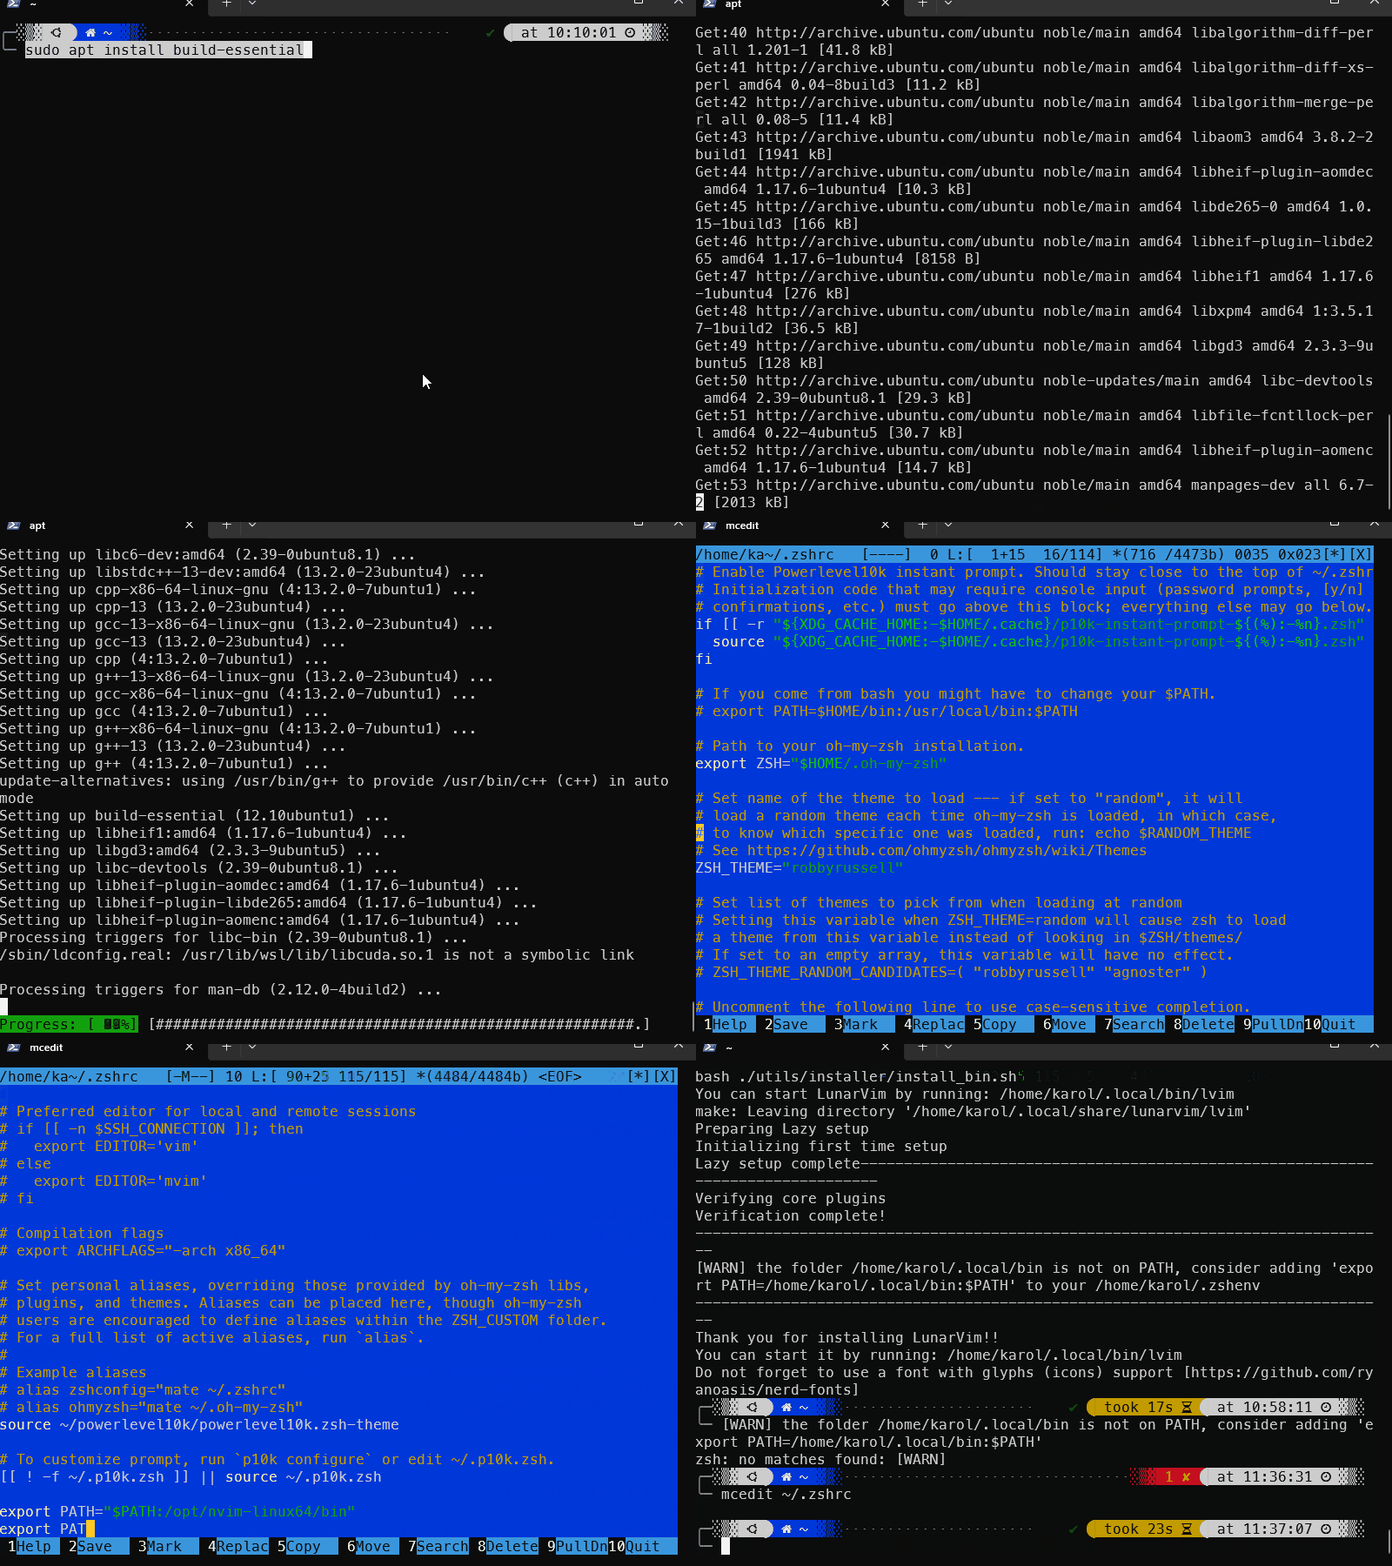
Install build-essential tools.
sudo apt install build-essentialInstall LunarVim. The install process will prompt you about addon choices. I typically choose to install nodejs dependencies and ignore others.
- The installer will ask if you want to install NodeJS dependencies. Answer 'yes' to install them.
- The installer may ask about other dependencies. Answer
noto skip them.
bash <(curl -s https://raw.githubusercontent.com/LunarVim/LunarVim/release-1.3/neovim-0.9/utils/installer/install.sh)The installer will warn you that the PATH variable does not contain the newly created directory for lvim.
The output may be similar to this:
[WARN] the folder /home/karol/.local/bin is not on PATH, consider adding 'export PATH=/home/karol/.local/bin:$PATH'Make sure you change your username from karol to whatever you're using. Add the following to the end of your ~/.zshrc.
export PATH="/home/karol/.local/bin:$PATH"Now, source the rc file and you will have access to lvim.
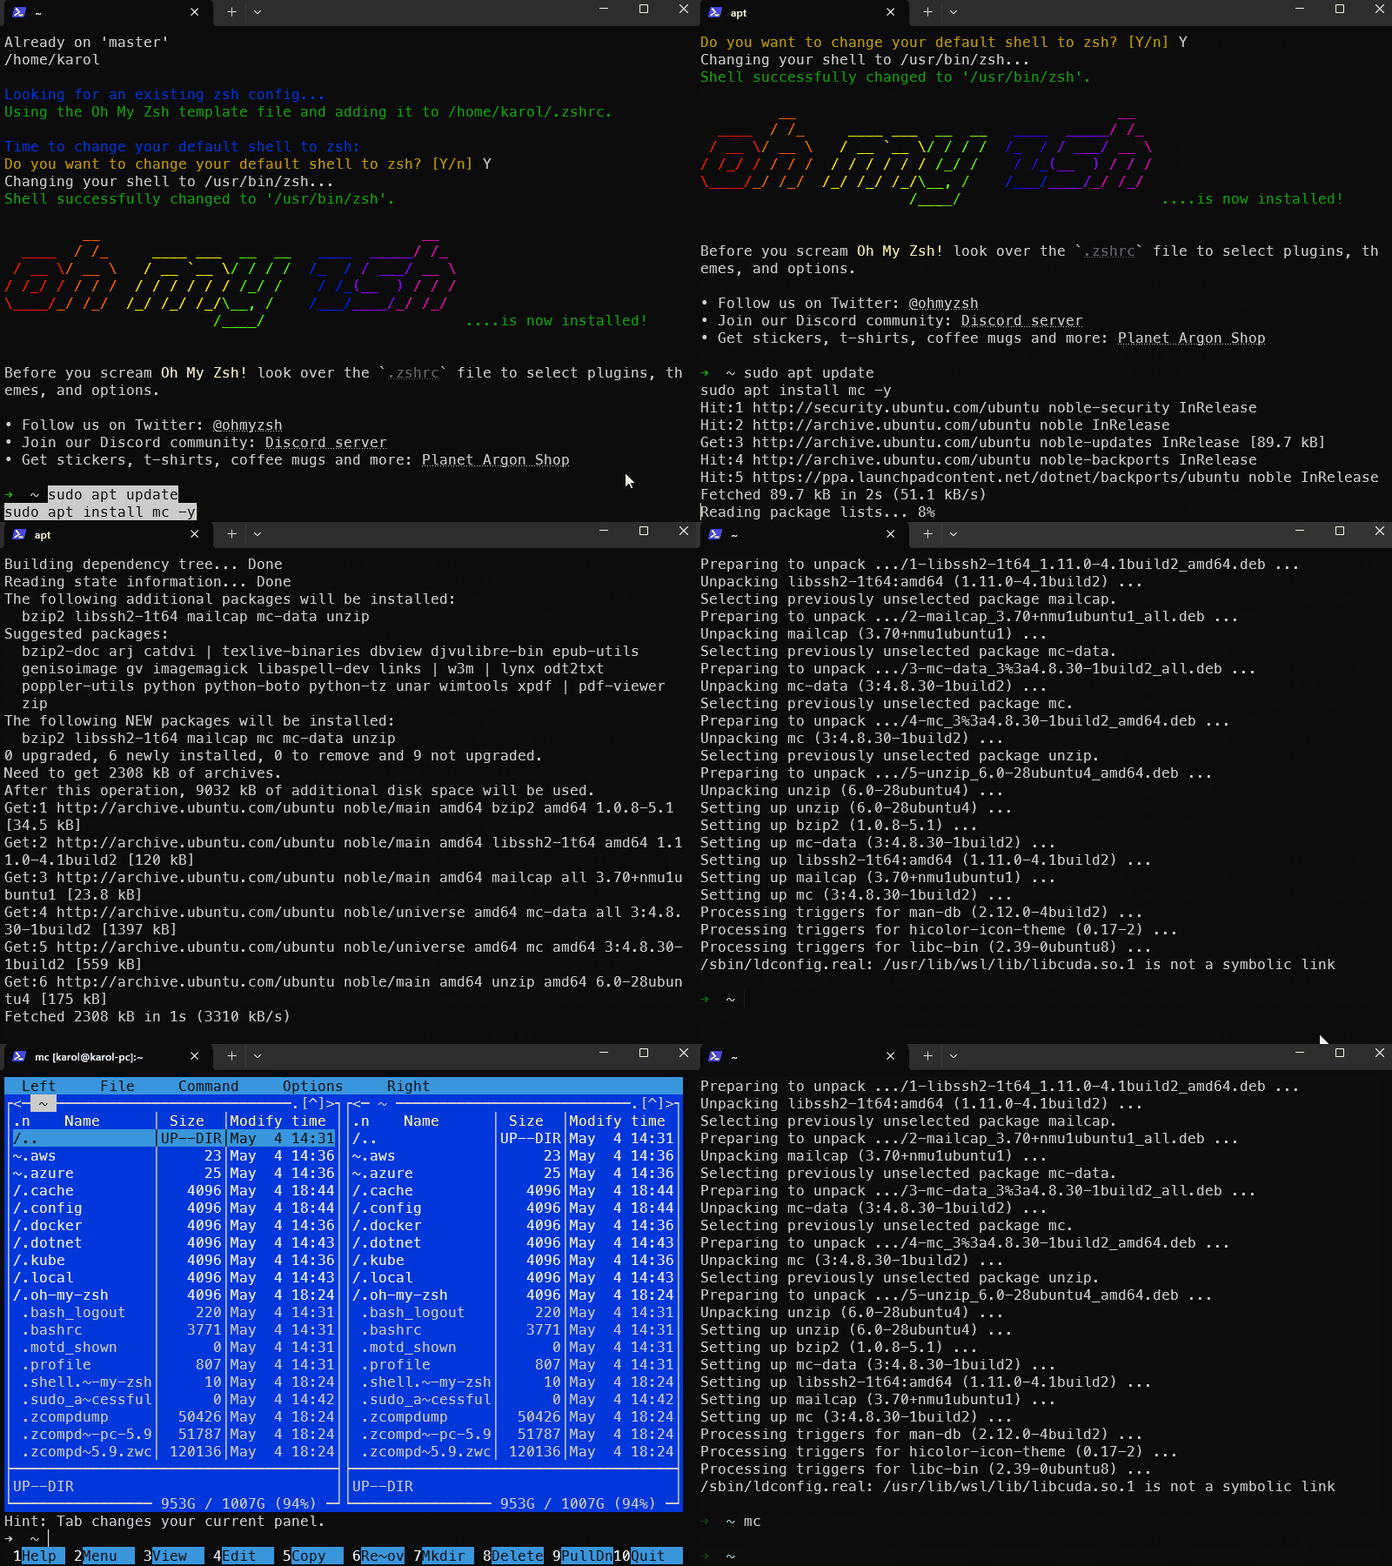
source ~/.zshrc🌒 Midnight Commander (mc) 🌓 is a file manager for the command line that provides a user-friendly interface for navigating and managing files and directories.
It can be useful for tasks such as copying, finding, moving, editing files, as well as performing advanced file operations.
sudo apt update
sudo apt install mc -ytmux is a powerful terminal multiplexer that allows you to manage multiple terminal sessions within a single window. It provides a wayy to create, organize, and switch between multiple terminal sessions, making it easier to work on different tasks simultaneously. With tmux, you can split your terminal window into multiple panes, detach and reattach sessions, and even share sessions with other users.
To install tmux, you can use the following commands:
sudo apt update
sudo apt install tmux -y
Next, we will be modifying the default key bindings.
Create a .tmux.conf file under your user directory
touch ~/.tmux.confEdit the ~/.tmux.conf file and add the following to set it up:
set -g default-terminal "screen-256color"

set -g prefix C-a
unbind C-b

bind-key C-a send-prefix

unbind %
bind | split-window -h

unbind '"'
bind - split-window -v

unbind r
bind r source-file ~/.tmux.conf

set -g mouse on
Save the ~/.tmux.conf file and you can now use the tmux multiplexer.
