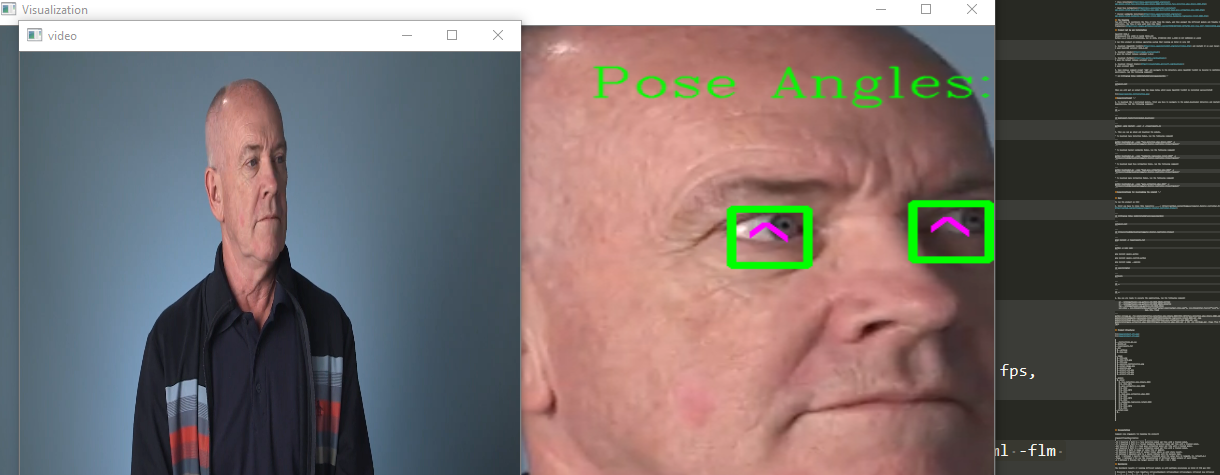
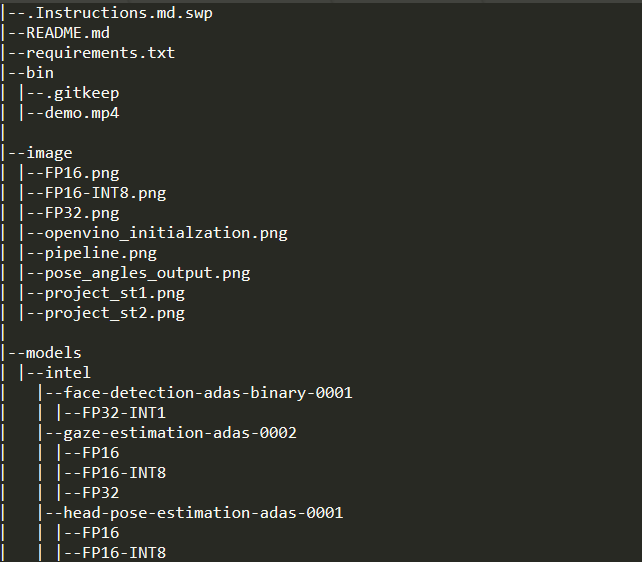
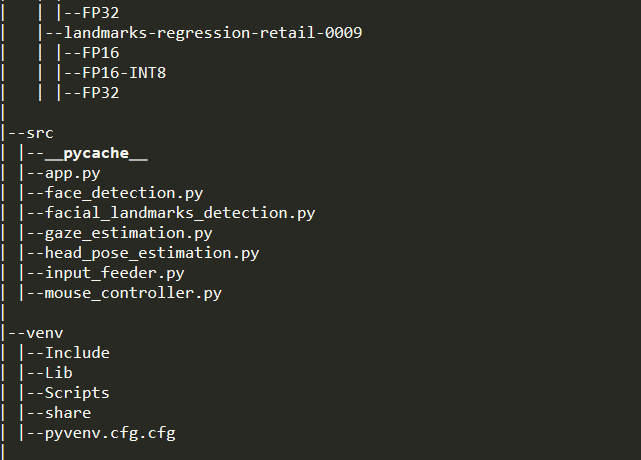
In this project, you will use a gaze detection model to control the mouse pointer of your computer. You will be using the Gaze Estimation model to estimate the gaze of the user's eyes and change the mouse pointer position accordingly. This project will demonstrate your ability to run multiple models in the same machine and coordinate the flow of data between those models.
You will be using the InferenceEngine API from Intel's OpenVino ToolKit to build the project. The gaze estimation model requires three inputs:
The head pose The left eye image The right eye image. To get these inputs, you will have to use three other OpenVino models:
You will have to coordinate the flow of data from the input, and then amongst the different models and finally to the mouse controller. The flow of data will look like this:

I run this project on Windows10 Pro operating system that running on Intel i3 core CUP
1- Download OpenVINO ToolKit and install it on your local machine. I used the latest release version of OpenVINO : 2020.4.287
2- Download Cmake I used the latest release version of Cmake: 3.18.0
3- Download Python I used Python version: 3.6.1
4- Download Visual Studio I used Visual Studio version: 2019
5- Open Windows command prompt cmd and navigate to the directory where OpenVINO ToolKit is located to initilize openvino environment, run the following command:
cd C:\Program Files (x86)\IntelSWTools\openvino\bin
and run the following command:
setupvars.bat
then you will get an output like the image below which means OpenVINO ToolKit is installed successfully!
##Congratulations! _
6- To download the 4 pretrained models, first you have to navigate to the model_downloader directory and install the tools' dependencies, run the following commands:
cd ..
cd deployment_tools\tools\model_downloader
python3 -mpip install --user -r ./requirements.in
7- Then you can go ahead and download the models ----->
- To download Face Detection Model, run the following command:
python downloader.py --name "face-detection-adas-binary-0001" -o "C:\Users\toshiba\Desktop\Computer_Pointer_Controller_Project\models"
- To download Facial Landmarks Model, run the following command:
python downloader.py --name "landmarks-regression-retail-0009" -o "C:\Users\toshiba\Desktop\Computer_Pointer_Controller_Project\models"
- To download Head Pose Estimation Model, run the following command:
python downloader.py --name "head-pose-estimation-adas-0001" -o "C:\Users\toshiba\Desktop\Computer_Pointer_Controller_Project\models"
- To download Gaze Estimation Model, run the following command:
python downloader.py --name "gaze-estimation-adas-0002" -o "C:\Users\toshiba\Desktop\Computer_Pointer_Controller_Project\models"
##Congratulations for downloading the models! _
To run the project on CPU:
1- First you have to clone this repository -----> https://github.com/kalthommusa/Computer_Pointer_Controller_Project.git
2- Then open the command prompt cmd and run the following commands:
cd C:\Program Files (x86)\IntelSWTools\openvino\bin\
setupvars.bat
cd C:\Users\toshiba\Desktop\Computer_Pointer_Controller_Project
pip3 install -r requirements.txt
python -m venv venv
pip install opencv-python
pip install numpy --upgrade
cd venv/Scripts/
activate
cd ..
cd ..
3- Now you are ready to execute the application, run the following command:
python src\app.py -fcm models\intel\face-detection-adas-binary-0001\FP32-INT1\face-detection-adas-binary-0001.xml -flm models\intel\landmarks-regression-retail-0009\FP16\landmarks-regression-retail-0009.xml -hpm models\intel\head-pose-estimation-adas-0001\FP16\head-pose-estimation-adas-0001.xml -gzm models\intel\gaze-estimation-adas-0002\FP16\gaze-estimation-adas-0002.xml -d CPU -inv bin\demo.mp4 -flags ffcm fflm fhpm fgzm
Command Line Arguments for Running the project:
| Argument | Type | Description |
|---|---|---|
| -fcm | Required | Path to .xml file of Face Detection model. |
| -flm | Required | Path to .xml file of Facial Landmark Detection model. |
| -hpm | Required | Path to .xml file of Head Pose Estimation model. |
| -gzm | Required | Path to .xml file of Gaze Estimation model. |
| -inv | Required | Path to video file or enter cam for webcam. |
| -l | Optional | Absolute path to a shared library with the kernels impl. |
| -prod | Optional | Specify confidence threshold which the value here in range(0, 1), default=0.6 |
| -d | Optional | Provide the target device: CPU / GPU / VPU / FPGA |
| -flags | Optional | for see the visualization of different model outputs of each frame. |
I ran the benchmarks test on my Toshiba laptop with: Intel Core i3 The Benchmark performance were run on different models precisions (all models except the Face Detection model were available in three precisions: FP32, FP16, INT8)
The results were as shown in the images below ----->
- FP16 :
- FP16-INT8 :
- FP32 :
The FP16 gives us the best model loading time compared with the FP32-INT8 and FP32 models, while the FP32-INT8 shows the best inference time comapred with the FP16 and FP32 models.


