Tested with Raspbian GNU/Linux 10 (buster)
Filesctructure in /src❗
- Raspberry Pi & 3.5" TFT & Chromium as Kiosk
- To Do
- Setup Kiosk
- 1. Prepare Raspberry Pi
- 2. Use privided Repository
- 3. Configure Boot overlays
- 4. Configure command line
- 5. Reboot the Raspberry Pi
- 6. Enable Interfaces
- 7. Install GUI components and Chromium
- 8. Edit Openbox config
- 9. Edit Openbox env
- 10. Configure X server to start on boot
- 11. Configure Xorg
- 12. Configure Cronjob for scheduled reboot
- Setup lighttpd web server
- X. References
- Test
/usr/share/X11/xorg.conf.d/99-fbturbo.conffor unnecessary lines - As Container (Docker) (undocumented)
- Local web-server
- Lighttpd
- + PHP
- Install as?
- Bare metal (kiosk will use localhost)
- FTP-Server
- Using sftp (ssh)
- Lighttpd
- Cron Reboot every day
- (Optional) Add good powersaving options (screen only)
-
Install Raspbian Lite
- Make sure SSH is enabled
- Create an empty file named ssh in the
bootpartition
- Create an empty file named ssh in the
- Make sure SSH is enabled
-
Connect via SSH with the username pi - the standard password is "raspberry"
-
Update
sudo apt-get update && sudo apt-get upgrade- Install Git
sudo apt-get install -y git- Git Clone GoodTFT/LCD-show
  git clone https://github.com/goodtft/LCD-show.git
cd LCD-show- Copy boot overlays
sudo cp ./usr/tft35a-overlay.dtb /boot/overlays/tft35a.dtboUse sudo raspi-config and navigate to 5 Interfacing Options and enable:
- P4 SPI
- P5 I²C (may not be needed)
- P6 Serial (may not be needed)
- Open
/boot/config.txtwith a text editor (e.g. vi or nano) and add the following at the end:
  #Adjust Rotation if needed
  dtoverlay=tft35a:rotate=270
- Adjust Overscan:
  # uncomment this if your display has a black border of unused pixels visible
  # and your display can output without overscan
  disable_overscan=0

  # uncomment the following to adjust overscan. Use positive numbers if console
  # goes off screen, and negative if there is too much border
  #overscan_left=16
  #overscan_right=16
  #overscan_top=16
  #overscan_bottom=16
- Also add the following if needed:
  # Interface options
  dtparam=spi=on
  dtparam=i2c_arm=on
  enable_uart=1
- Open
/boot/cmdline.txtwith a text editor (e.g. vi or nano) and add the following at the end of the line:
fbcon=map:10 fbcon=font:ProFont6x11
sudo reboot-
Use
sudo raspi-configand navigate to3 Boot Options-
Go to
B1 Desktop / CLI- Select
B2 Console Autologin
- Select
-
-
When asked to reboot, select Yes.
This may take some time!
sudo apt-get install -y --no-install-recommends xserver-xorg x11-xserver-utils xinit openboxsudo apt-get install -y --no-install-recommends chromium-browserFrom Raspberry Pi Touchscreen Kiosk Setup | desertbot.io:
The Openbox window manager will be used to launch the Chromium browser.
When Openbox launches at startup it will run two scripts in the
/etc/xdg/openboxfolder. The first, environment will setup any environment variables, etc. The second, autostart will setup and launch whatever app you specify.
- Open
/etc/xdg/openbox/autostartwith a text editor (e.g. vi or nano) and add the following at the end of the file:
  xset -dpms       # turn off display power management system
  xset s noblank   # turn off screen blanking
  xset s off       # turn off screen saver
- Open
/etc/xdg/openbox/autostartwith a text editor (e.g. vi or nano) and add the following at the end of the file:
  # Remove exit errors from the config files that could trigger a warning
  sed -i 's/"exited_cleanly":false/"exited_cleanly":true/' ~/.config/chromium/'Local State'
  sed -i 's/"exited_cleanly":false/"exited_cleanly":true/; s/"exit_type":"[^"]\+"/"exit_type":"Normal"/' ~/.config/chromium/Default/Preferences
- Using the env-var
$KIOSK_URL- Will be created in the next step
  chromium-browser --noerrdialogs --disable-infobars --incognito --touch-events --kiosk $KIOSK_URL
#chromium-browser --noerrdialogs --disable-infobars --incognito --touch-events --disable-translate --disable-features=TranslateUI --kiosk $KIOSK_URL- Open
/etc/xdg/openbox/environmentwith a text editor (e.g. vi or nano) and add the following at the end of the file:
export KIOSK_URL=https://google.com- (Optional) Create a symbolic link to the env-var file in the home directory for easy editing
ln -s /etc/xdg/openbox/environment ~/env-var- Create
.bash_profilein the/home/pidirectory if it's not existing
touch ~/.bash_profile- Open
~/.bash_profilewith a text editor (e.g. vi or nano) and add the following at the end of the file:
  if [ -f ~/.bashrc ]; then
        . ~/.bashrc
  fi

  [[ -z $DISPLAY && $XDG_VTNR -eq 1 ]] && startx -- -nocursor
- Validate the file
source ~/.bash_profile- Reboot if no errors occured
sudo reboot- Create
99-fbturbo.confin the/usr/share/X11/xorg.conf.ddirectory if it's not existing
touch /usr/share/X11/xorg.conf.d/99-fbturbo.conf- Open
/usr/share/X11/xorg.conf.d/99-fbturbo.confwith a text editor (e.g. vi or nano) and add the following at the end of the file:
Section "InputClass"
   Identifier "calibration"
   MatchProduct "ADS7846 Touchscreen"
   # Hat trick to get the pen to work properly on the touch screen, rotate 90 degrees clockwise:
   Option "TransformationMatrix" "0 -1 1 1 0 0 0 0 1"
   # Touch screen rotation by 90deg
   #Option "TransformationMatrix" "0 1 0 -1 0 1 0 0 1"
   # Don't use libinput but evdev for the touch screen and the pen so calibration works:
   Driver "evdev"
   Option "Calibration"   "3936 227 268 3880"
   Option "InvertY" "true"
   #Option "InvertX" "true"
   # Right mouse button is long press with pen:
   Option "EmulateThirdButton" "1"
   Option "EmulateThirdButtonTimeout" "750"
   Option "EmulateThirdButtonMoveThreshold" "30"
EndSection

Section "Device"
   # WaveShare SpotPear 3.5", framebuffer 1
   Identifier "uga"
   driver "fbdev"
   # Switch to /dev/fb0 for default output (usually hdmi)
   Option "fbdev" "/dev/fb1"
   Option "ShadowFB" "off"
EndSection

Section "Monitor"
   # Primary monitor. WaveShare SpotPear 480x320
   Identifier "WSSP"
EndSection

Section "Screen"
   Identifier "primary"
   Device "uga"
   Monitor "WSSP"
EndSection

Section "ServerLayout"
   Identifier "default"
   Screen 0 "primary"
EndSection
- Install the evdev driver
sudo apt-get install -y xserver-xorg-input-evdev- Reboot the Raspberry Pi
The Raspberry basic configuration ends after the reboot. In the next steps a local webserver will be installed, so it doesn't rely on an internet connection.
-
Open the root crontab with
sudo crontab -e -
Add the following entry in a new line of the file
  # m h dom mon dow user command
  30 3 * * * sudo /sbin/shutdown -r now
- Exit the editor to automatically install the new crontab-file
Alternative variant:
- Create a cron file
scheduledrebootsin/etc/cron.d/touch /etc/cron.d/scheduledreboots
- Open
/etc/cron.d/scheduledrebootswith a text editor (e.g. vi or nano) and add >the following:# m h dom mon dow user command 30 3 * * * sudo /sbin/shutdown -r now
- The Raspberry will now restart every night at 3:30am
- Reboot the Raspberry Pi to make sure Cron picked up the new job file.
sudo reboot
- The Raspberry Pi basic configuration ends after the reboot. In the next steps a local webserver will be installed, so it doesn't rely on an internet connection.
- Update
sudo apt-get update && sudo apt-get upgrade- Make sure to remove apache
sudo apt-get remove apache2- Install lighttpd
sudo apt-get install lighttpd- Create
index.htmlin the/var/www/html/directory if it's not existing
touch /var/www/html/index.html- Open
/var/www/html/index.htmlwith a text editor (e.g. vi or nano) and add the following code for testing purposes:
<h1>This is a TEST!</h1>-
Get your hostname or ip adress
- IP Adress: Look for
eth0orwlan0
ip a
- Hostname
hostname -I
- IP Adress: Look for
-
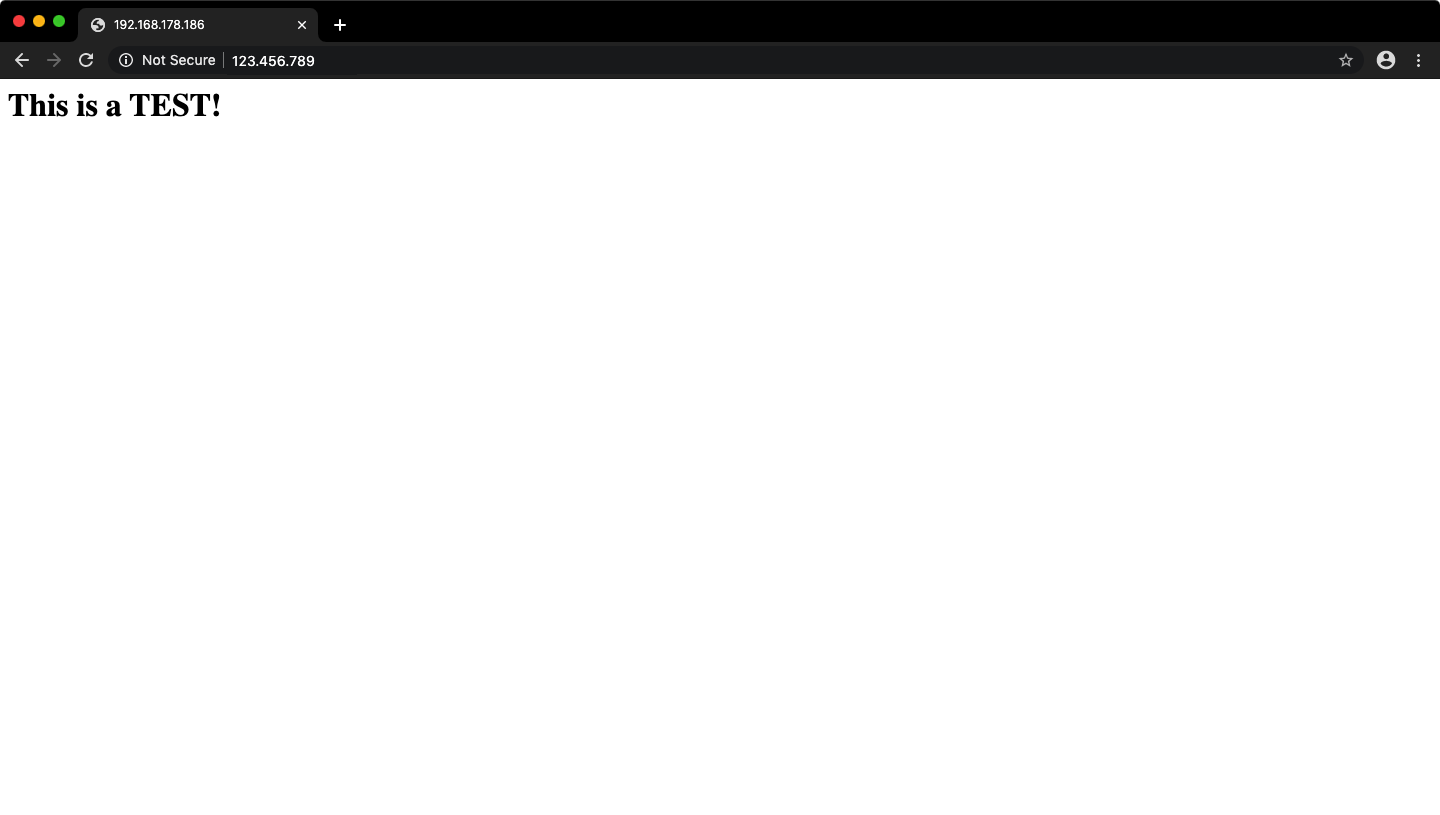
Access that host/ip via a web browser from a device in the same network and hope it's showing the
This is a TEST!-Heading 🙏
- Adjust rights for
/var/www/html/so pi-user can edit files via sftp
  sudo groupadd www-data
  sudo usermod -G www-data -a pi
  sudo chown -R www-data:www-data /var/www/html
sudo chmod -R 775 /var/www/html- Reload lighttpd (may not be required)
sudo service lighttpd force-reload- Install:
sudo apt-get install -y php7.3-fpm php7.3-mbstring php7.3-mysql php7.3-curl php7.3-gd php7.3-curl php7.3-zip php7.3-xml php7.3-soap- Enable mods in lighttpd
  sudo lighttpd-enable-mod fastcgi
sudo lighttpd-enable-mod fastcgi-php-
Edit the lighttpd fastcgi config
- Open
/etc/lighttpd/conf-available/15-fastcgi-php.confwith a text editor (e.g. vi or nano) and replace the contents with:
# -*- depends: fastcgi -*- # /usr/share/doc/lighttpd/fastcgi.txt.gz # http://redmine.lighttpd.net/projects/lighttpd/wiki/Docs:ConfigurationOptions#mod_fastcgi-fastcgi ## Start an FastCGI server for php (needs the php5-cgi package) fastcgi.server += ( ".php" => (( "socket" => "/var/run/php/php7.3-fpm.sock", "broken-scriptfilename" => "enable" )) ) - Open
-
Reload the lighttpd service
sudo service lighttpd force-reload- Rename the
.htmlfile toindex.php
sudo mv /var/www/html/index.html /var/www/html/index.php- Open
/var/www/html/index.phpwith a text editor (e.g. vi or nano) and place the following in a new line:
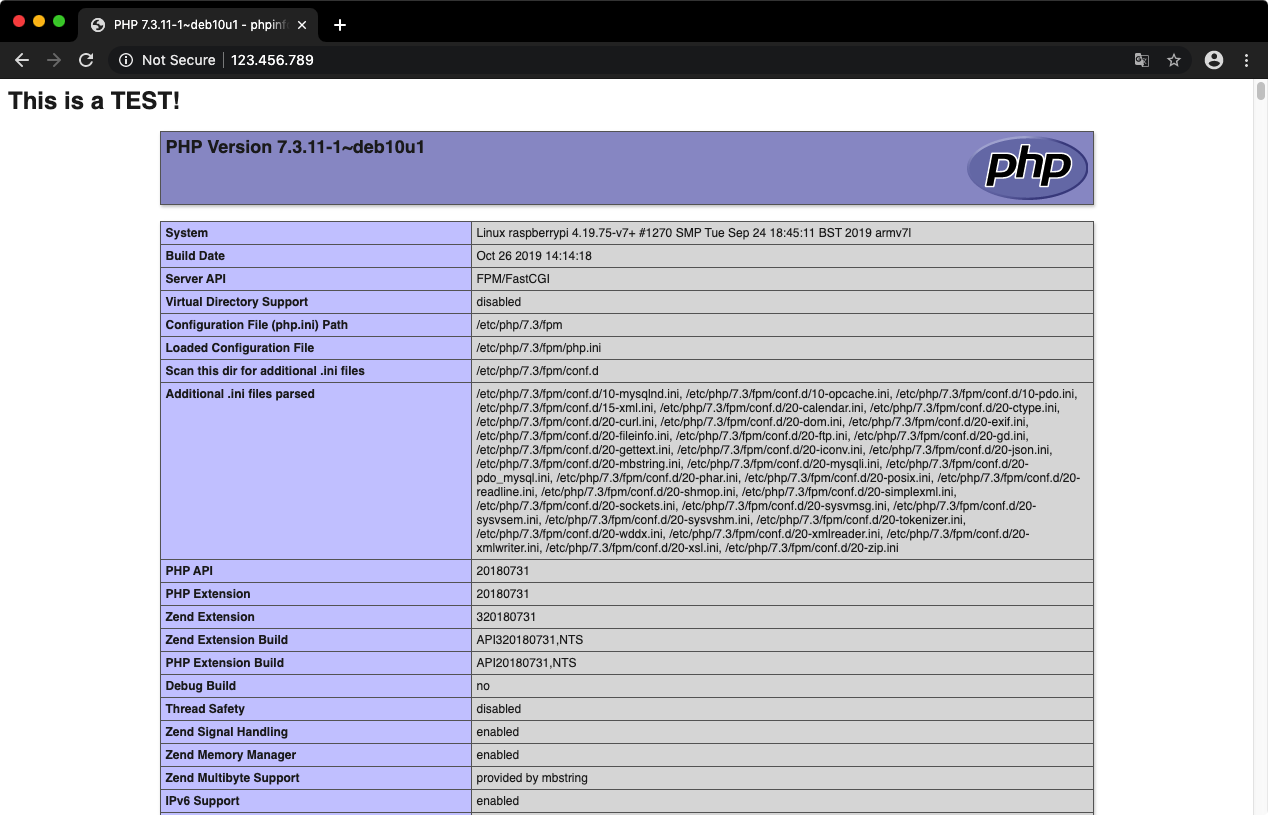
<?php phpinfo(); ?>- The file should now look like this:
  <h1>This is a  TEST!</h1>
<?php phpinfo(); ?>- Access that host/ip via a web browser from a device in the same network and hope it's showing the the php-info 🙏
- Open
/etc/xdg/openbox/environmentwith a text editor (e.g. vi or nano). If the symlink is present it can be used:
sudo nano ~/env-var- Change the value of the last uncommented line, the env var for openbox, to see the local webserver on the raspberry pi's touchscreen. It should look like this:
  # Probably some comments
  # More comments

export KIOSK_URL=localhost- Setting up an LCD screen on the Raspberry Pi, 2019 edition
- Raspberry Pi Touchscreen Kiosk Setup | desertbot.io
- GoodTFT 3.5" screen from Aliexpress - Raspberry Pi Forums
- How to setup Raspberry Pi Lighttpd - Pi My Life Up
(Used in that order)

