by Jens Scheidtmann
Christian Buit created a Do-It-Yourself 3D-print spectroheliograph, see its presentation and build instructions here: http://www.astrosurf.com/solex/sol-ex-presentation-en.html.
This build-log reports on my attempt at building it in the form of a diary. I hope this will be useful for others, so that my experience will help others.
This work is licensed under the Creative Commons Attribution-ShareAlike 4.0 International License. See file LICENSE for details.
The Shelyak kit arrived: Got the lenses, the diffraction grating, the slit and additional items for building a Star'ex. It's the kit from Shelyak.
M3 and M4 Screws are on the way. I ordered sets of M3 and M4 screws from 4 mm length up to 40 mm length and some additional larger washers. Mold insert nuts are M3 and M4 from Ruthex. Unfortunately I couldn't find a bill of material on the original site.
Hopefully one roll of PETG black filament from dasfilament is enough.
Note: Later on it turned out that a two 50mm M4 screws are necessary.
Read the DADOS Tutorials by Bernd Koch available here on Baader's site (in German, english version available [here](https://www.unitronitalia.com/schede/Baader-Dados-tutorial.pdf - very slow download). Ordered a MegaMan lamp for callibration purposes.
Ordered two helical ZWO focusers and a T2-1.25" adapter.
Conducted first prints with the PETG filament on a Flashforge Finder. The PETG is much more prone to warping, i.e. a raft and glue is mandatory. Hopefully I can print the large spectrometre body parts with-out too much warping.
These are the settings I used in FlashPrint 5.2.1:
- Extruder Temp: 230°C
- Shells: 3
- Infill: 60%
- Infull-Type: Hexagons
- Activate Raft: Yes (used the other default settings)
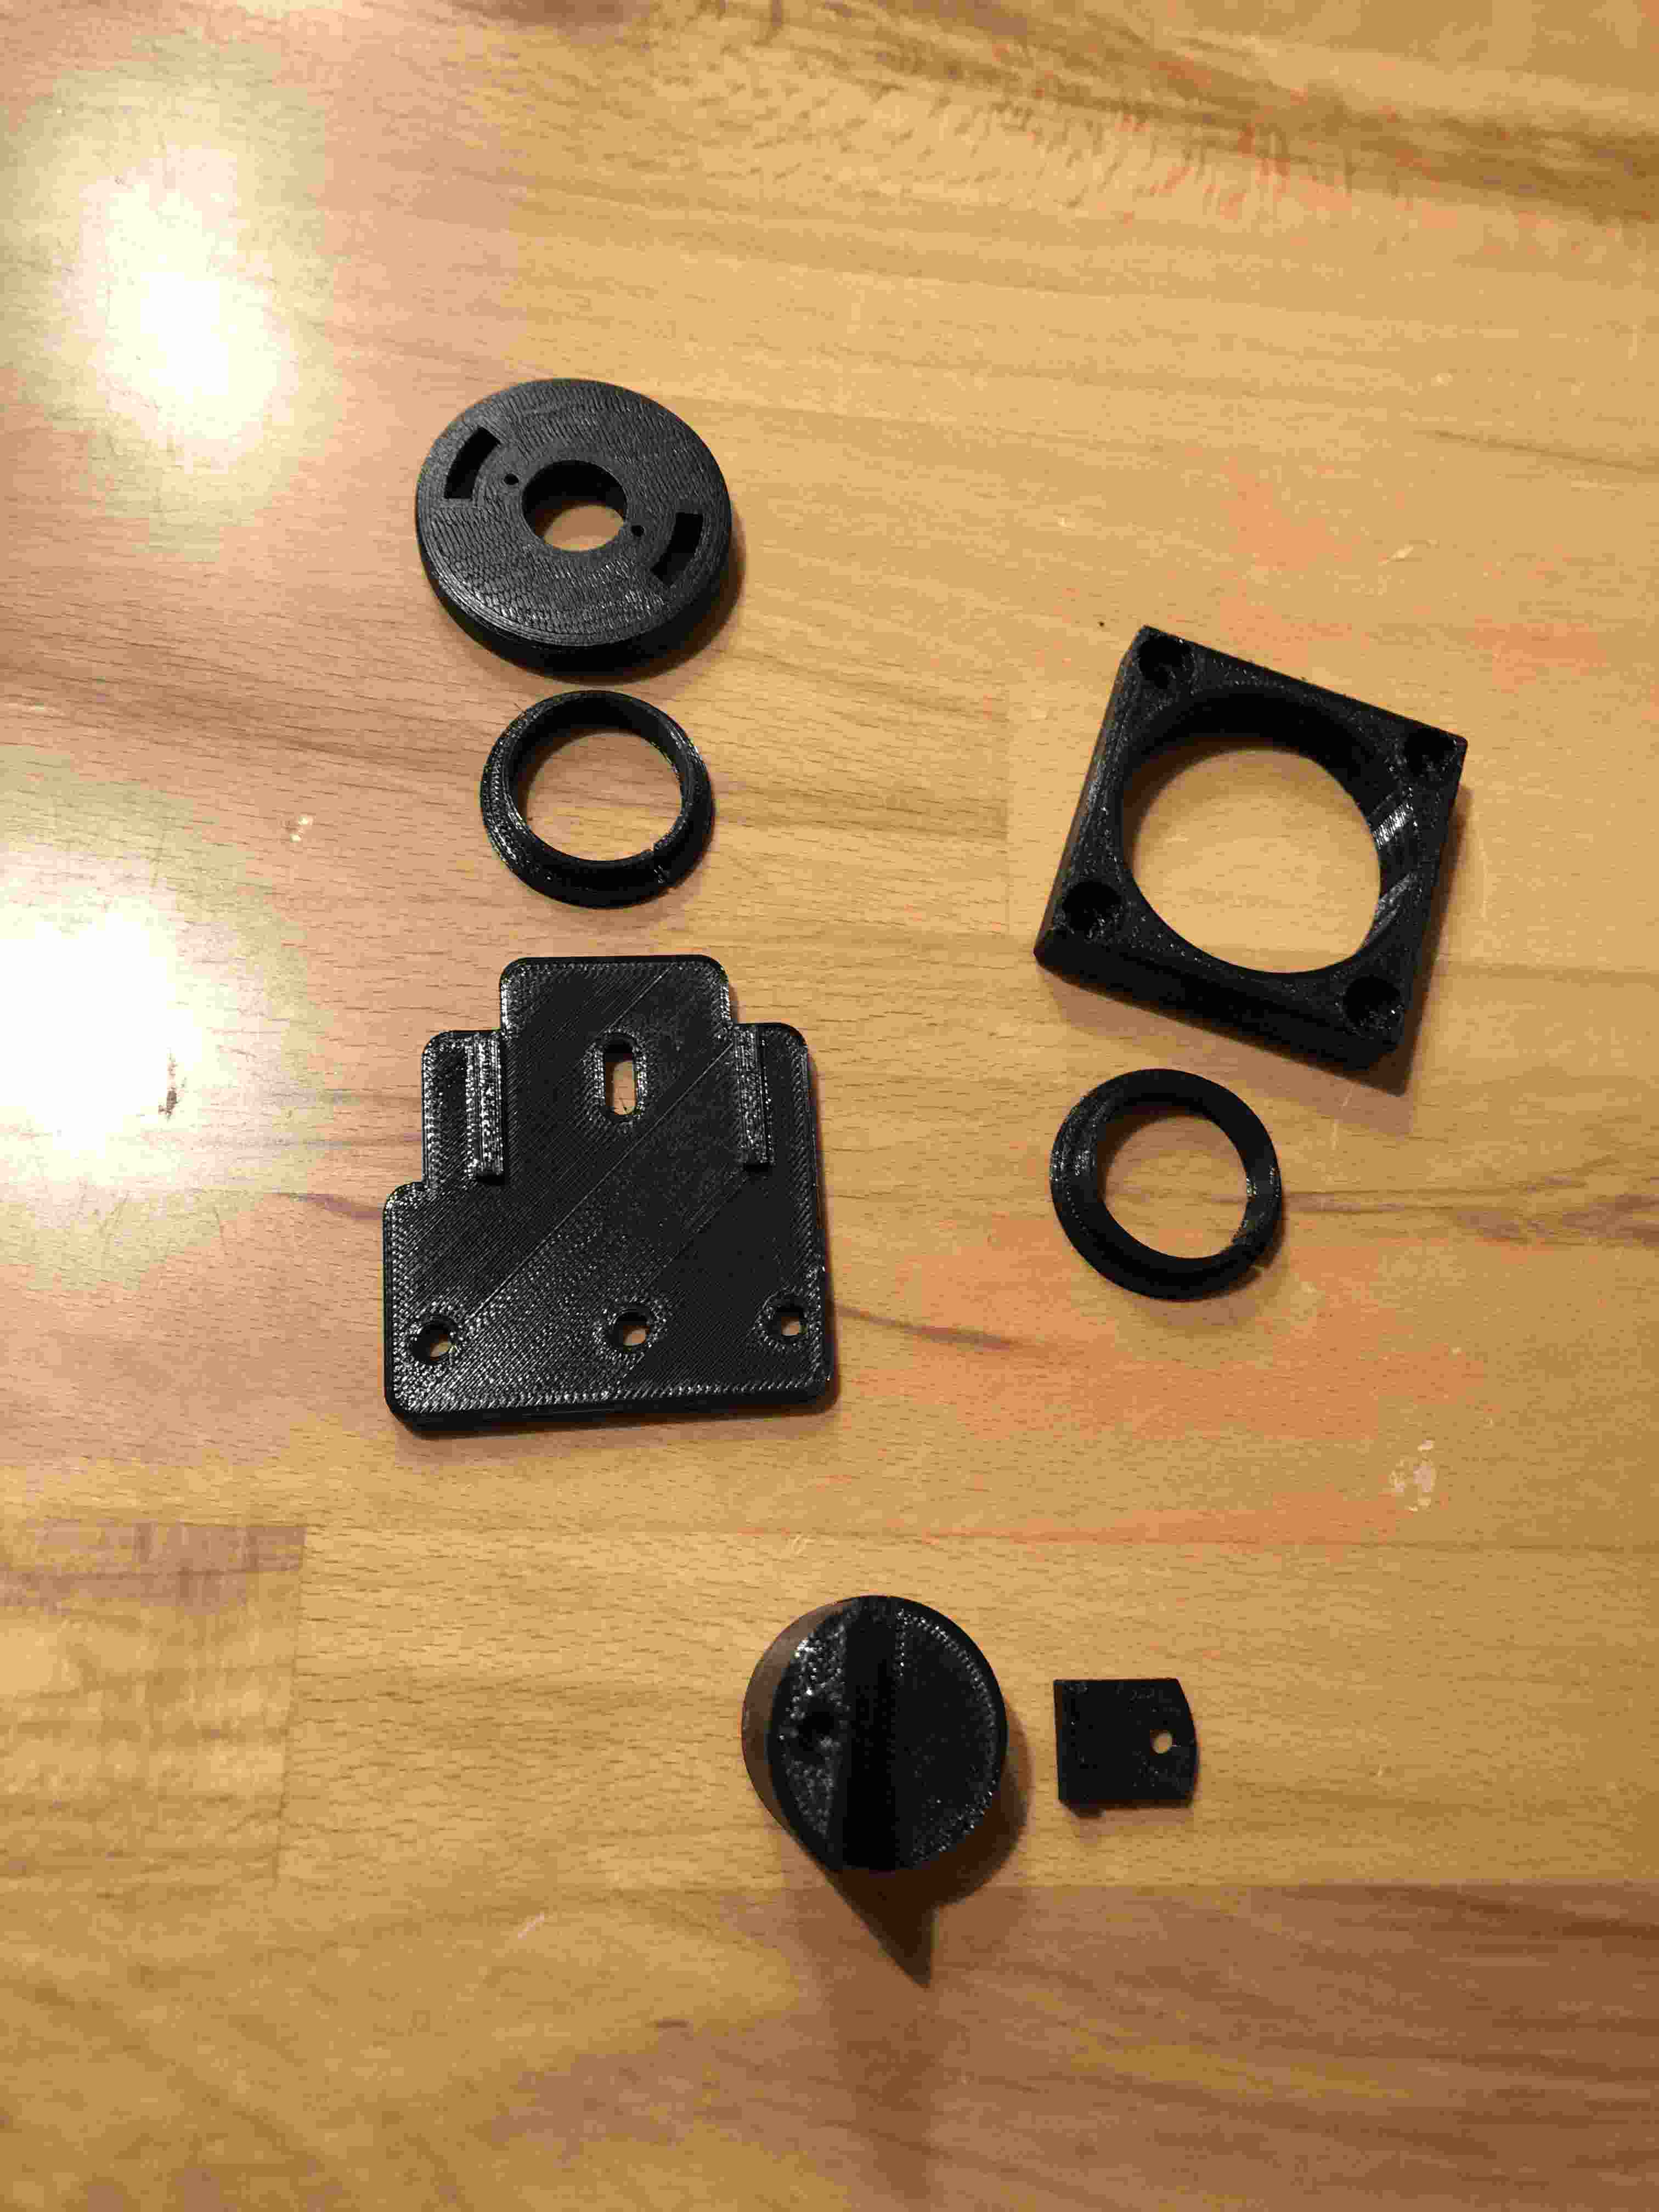
Today's printed parts (named as given in this picture):
- Interface tel. #1 (My T2-1.25" adapter fits snuggly, even on the first warped print)
- Support fente #2
- Bague collimateur #5
- Support réseau #9
- Patte réseau #10
- Bague objective #11
- Bague épaisseur #13
- Raidisseur #14
Here's a picture of the parts:
We will see, if I need to reprint the rings (#5 and #11) as they have a little bit of warping.
The STL-files are available on github and there are some extensions available in subdirs:
- motorisation_fichiers, move the diffraction grating with a motor
- cache_parasite, avoid scattered light in the sprectrometre body
- vernier_reseau, a dial for more visually selecting the color that is centered in the cam. Couldn't find the print-out for that, yet.
There is also a mailing list (french mostly): https://groups.io/g/Solex-project, on which new developments/extensions are reported.
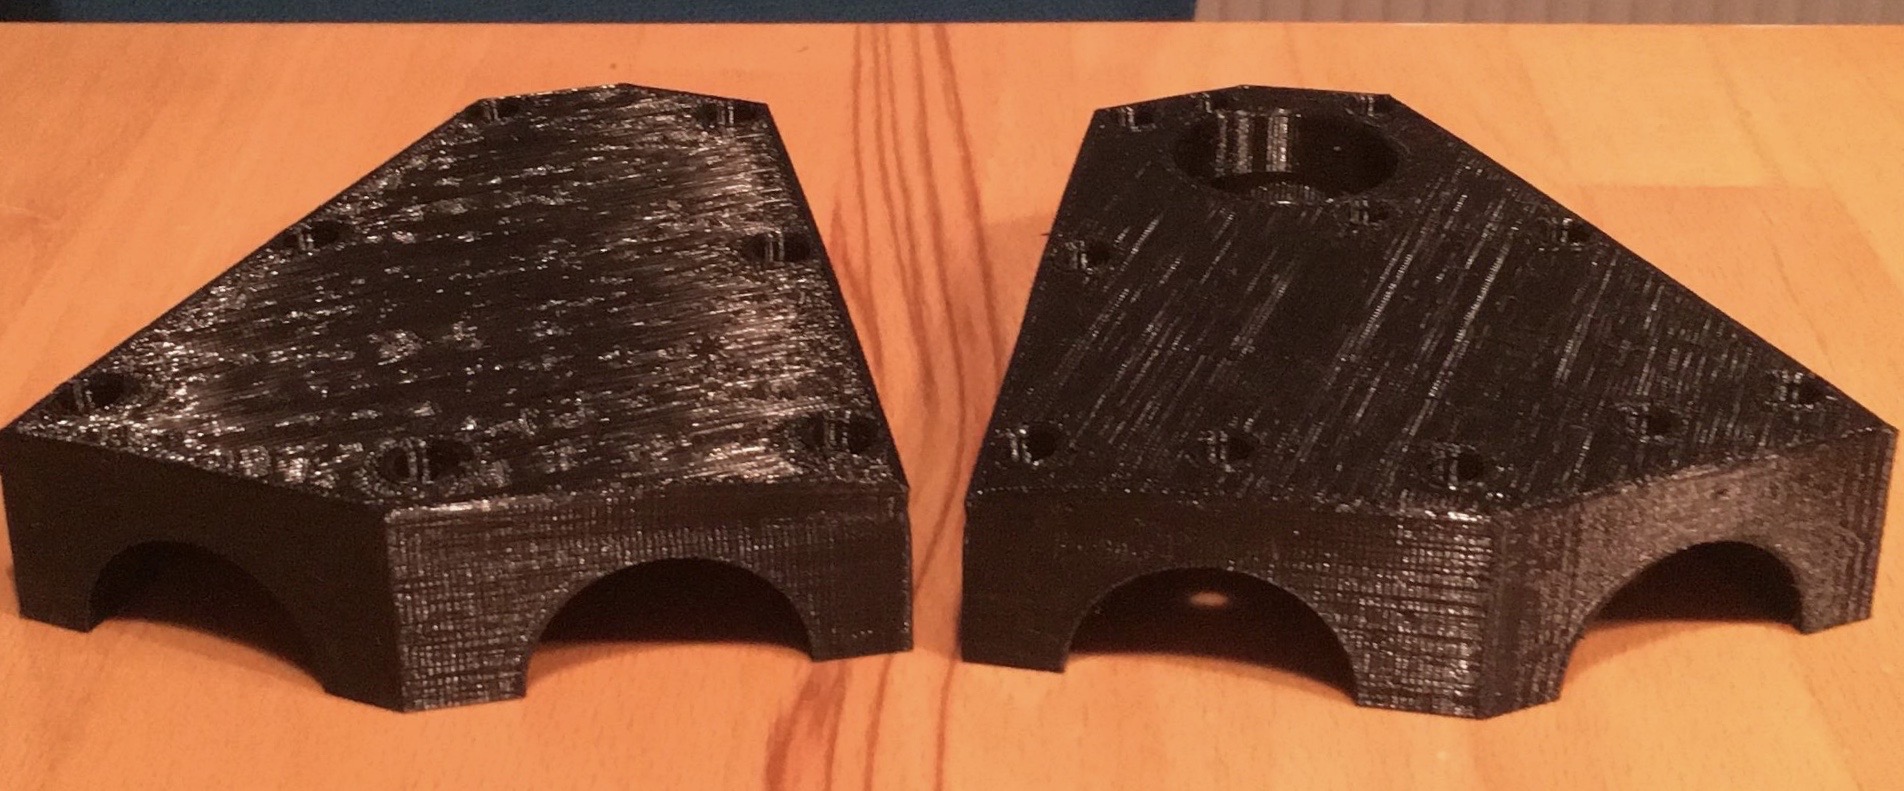
Printing the upper body part. Unfortunately this large element experienced some warping. Fortunately, the body is large enough, so that the optical path is not affected by the warping.
Printing the lower body part. I made especially sure that a good layer of glue is present on the 3D-printing bed. 4 hours into the printing, one edge of the body had disconnected from the bed and warping developed, which is similar to the upper body part printed yesterday. Hopefully I am able to account for the warping with the screws. If needed, I will have to print something so that the "Radisseur" (stiffener) plate is at its expected position.
Here are pictures of both parts, so you can see the warping:
Printed the two tubes (#4 and #12) and the collimator block (#3). The helical focusers and the T2-adapter arrived. Now everything is there to finish the Sol-ex.
The grating holder did not fit into the body part, so I had to sand the opening and the grating holder. I also sanded the body parts where they are in contact, in order get a tight fit. The T2-adapter fits nicely into the interface (#1). I printed it with-out raft (and it had no warping) and with normal layer thickness.
So far I was unable to fit the focuser on the respective tube (#12). I should have printed it in "fine" setting, but did use the normal setting, as the T2 adapter fitted perfectly in part #1. The problem is that the tube-thread does not grip the thread in the focuser. Or when it does, it's only one side of the tube and the tube gets stuck after a couple of degrees. I will reprint this one using "fine" layer thickness and probably use another slicer that randomizes the start point of outer layers. Hopefully this will be finished tomorrow. I will not use a raft, but then may have some elefant foot, which I should be able to cure with a bit of sanding.
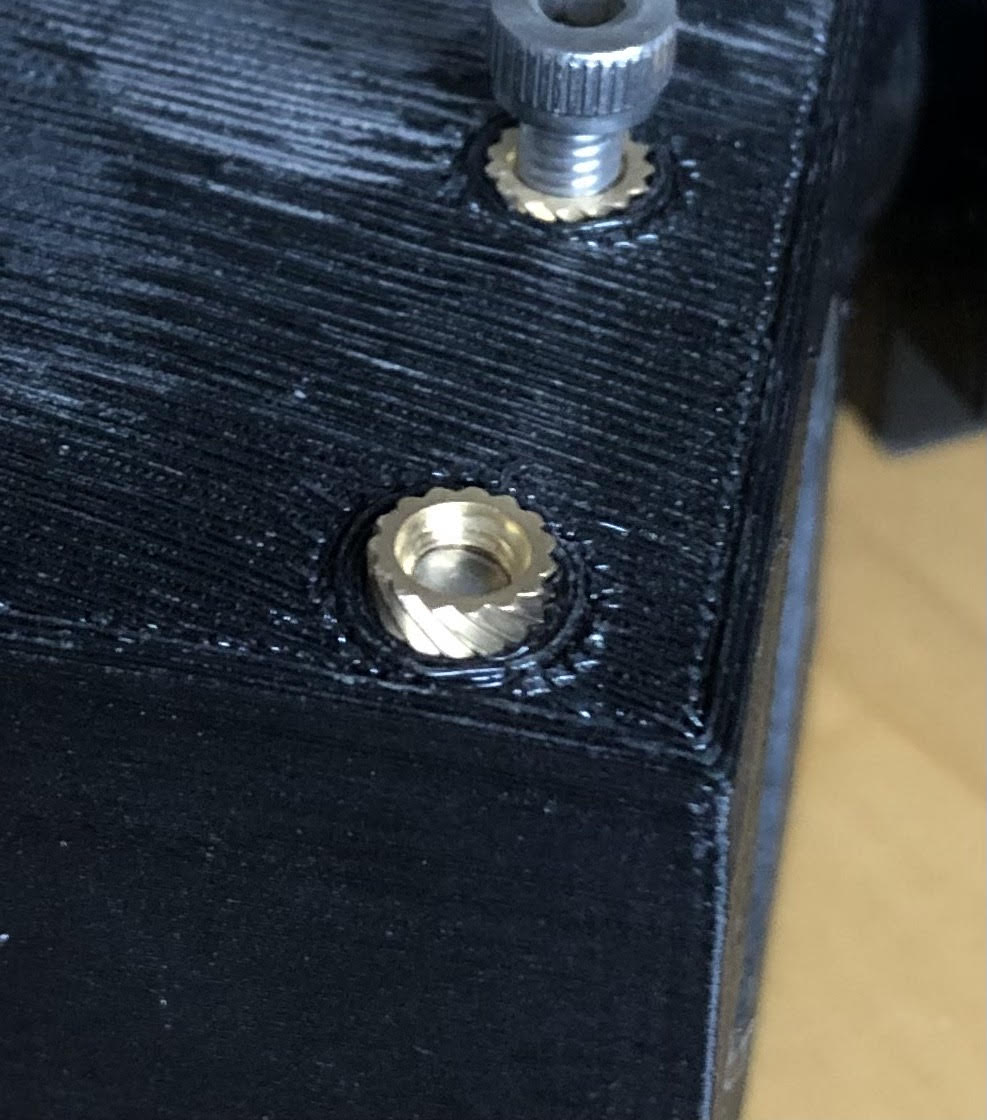
Using the candle method I installed all Ruthex M4 and M3 threaded inserts in the body parts. A few seconds in the candle was enough. Some screws in the area where warping occurred could not be pushed fully in. As the screws are anyway pulling them further in, probably no problem.
The collimator block needs a tad more sanding on the telescope side, as a slight warping is present. I also need to sand the tube to make it fit in the openinig of the collimator block. The slit holder will need the same treatment.
Assembled the grating. The holder is a snug fit for the grating: I had to apply quite some force to fully place it on the holder. I had to press a bit to get it down all the way.
Printed the tube for the camera end: no raft, fine layer setting. Did not randomize start points. I tried to print the disk to rotate the grating (#8). Unfortunately the infill set-up has been destroyed (or there's a bug in the slicer or, worst case, there's some dirt in the nozzle) and the disk has been printed with-out infill. So will need to repeat that tomorrow.
Sanded collimator block and slit holder. Now they fit easily into each other. Mounted the slit on the holder and the holder in the collimator block. I first tried using washers, but that didn't work out well. I should have watched the video, where no washers are present.
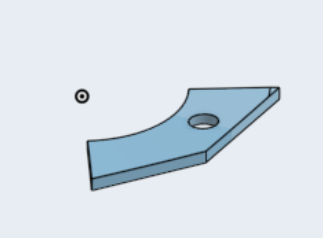
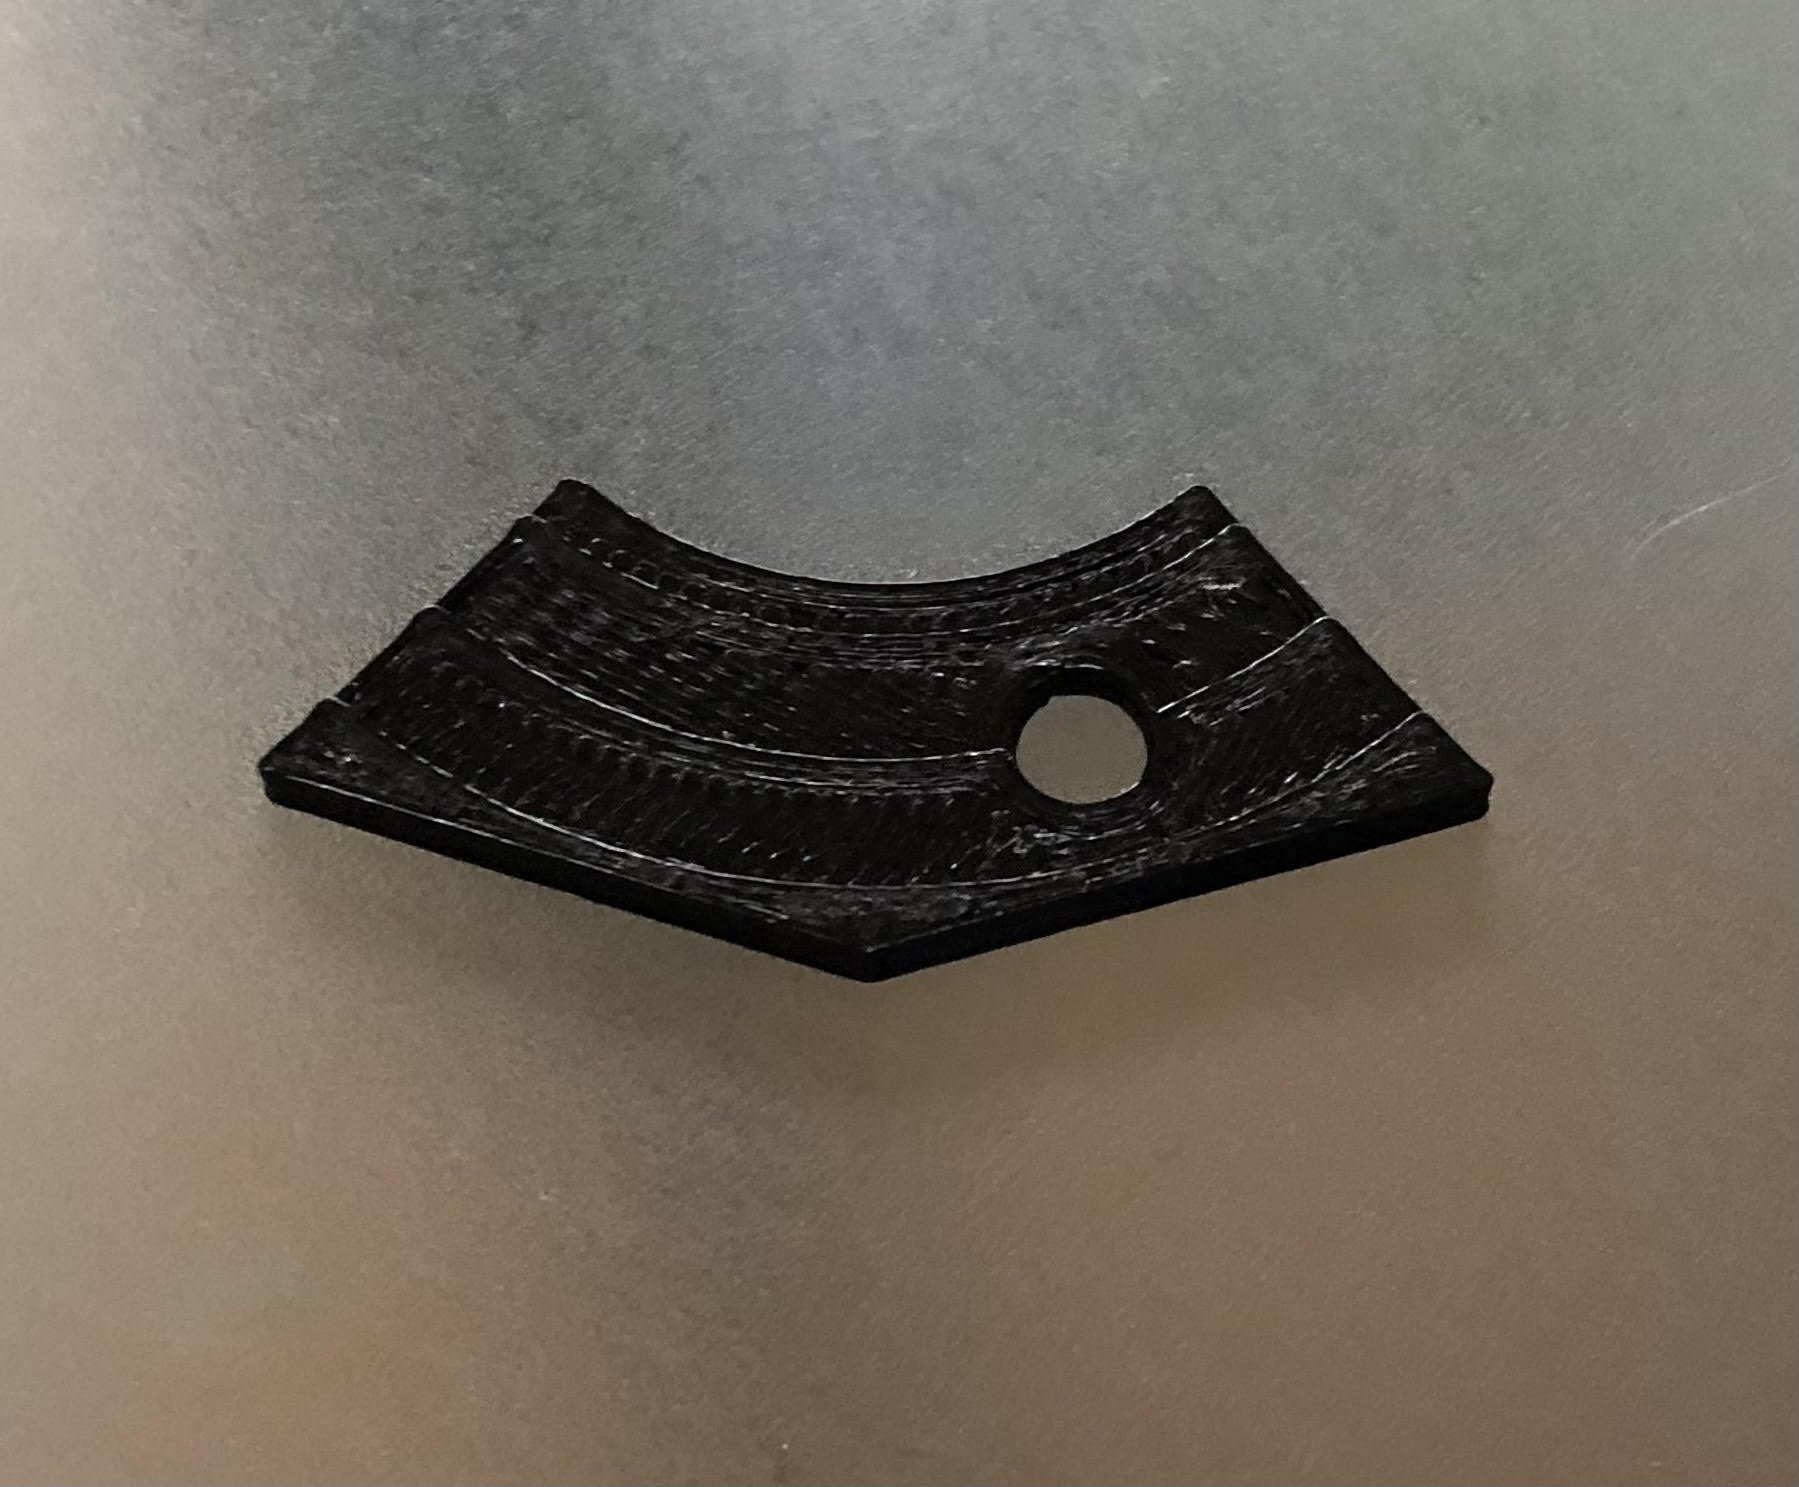
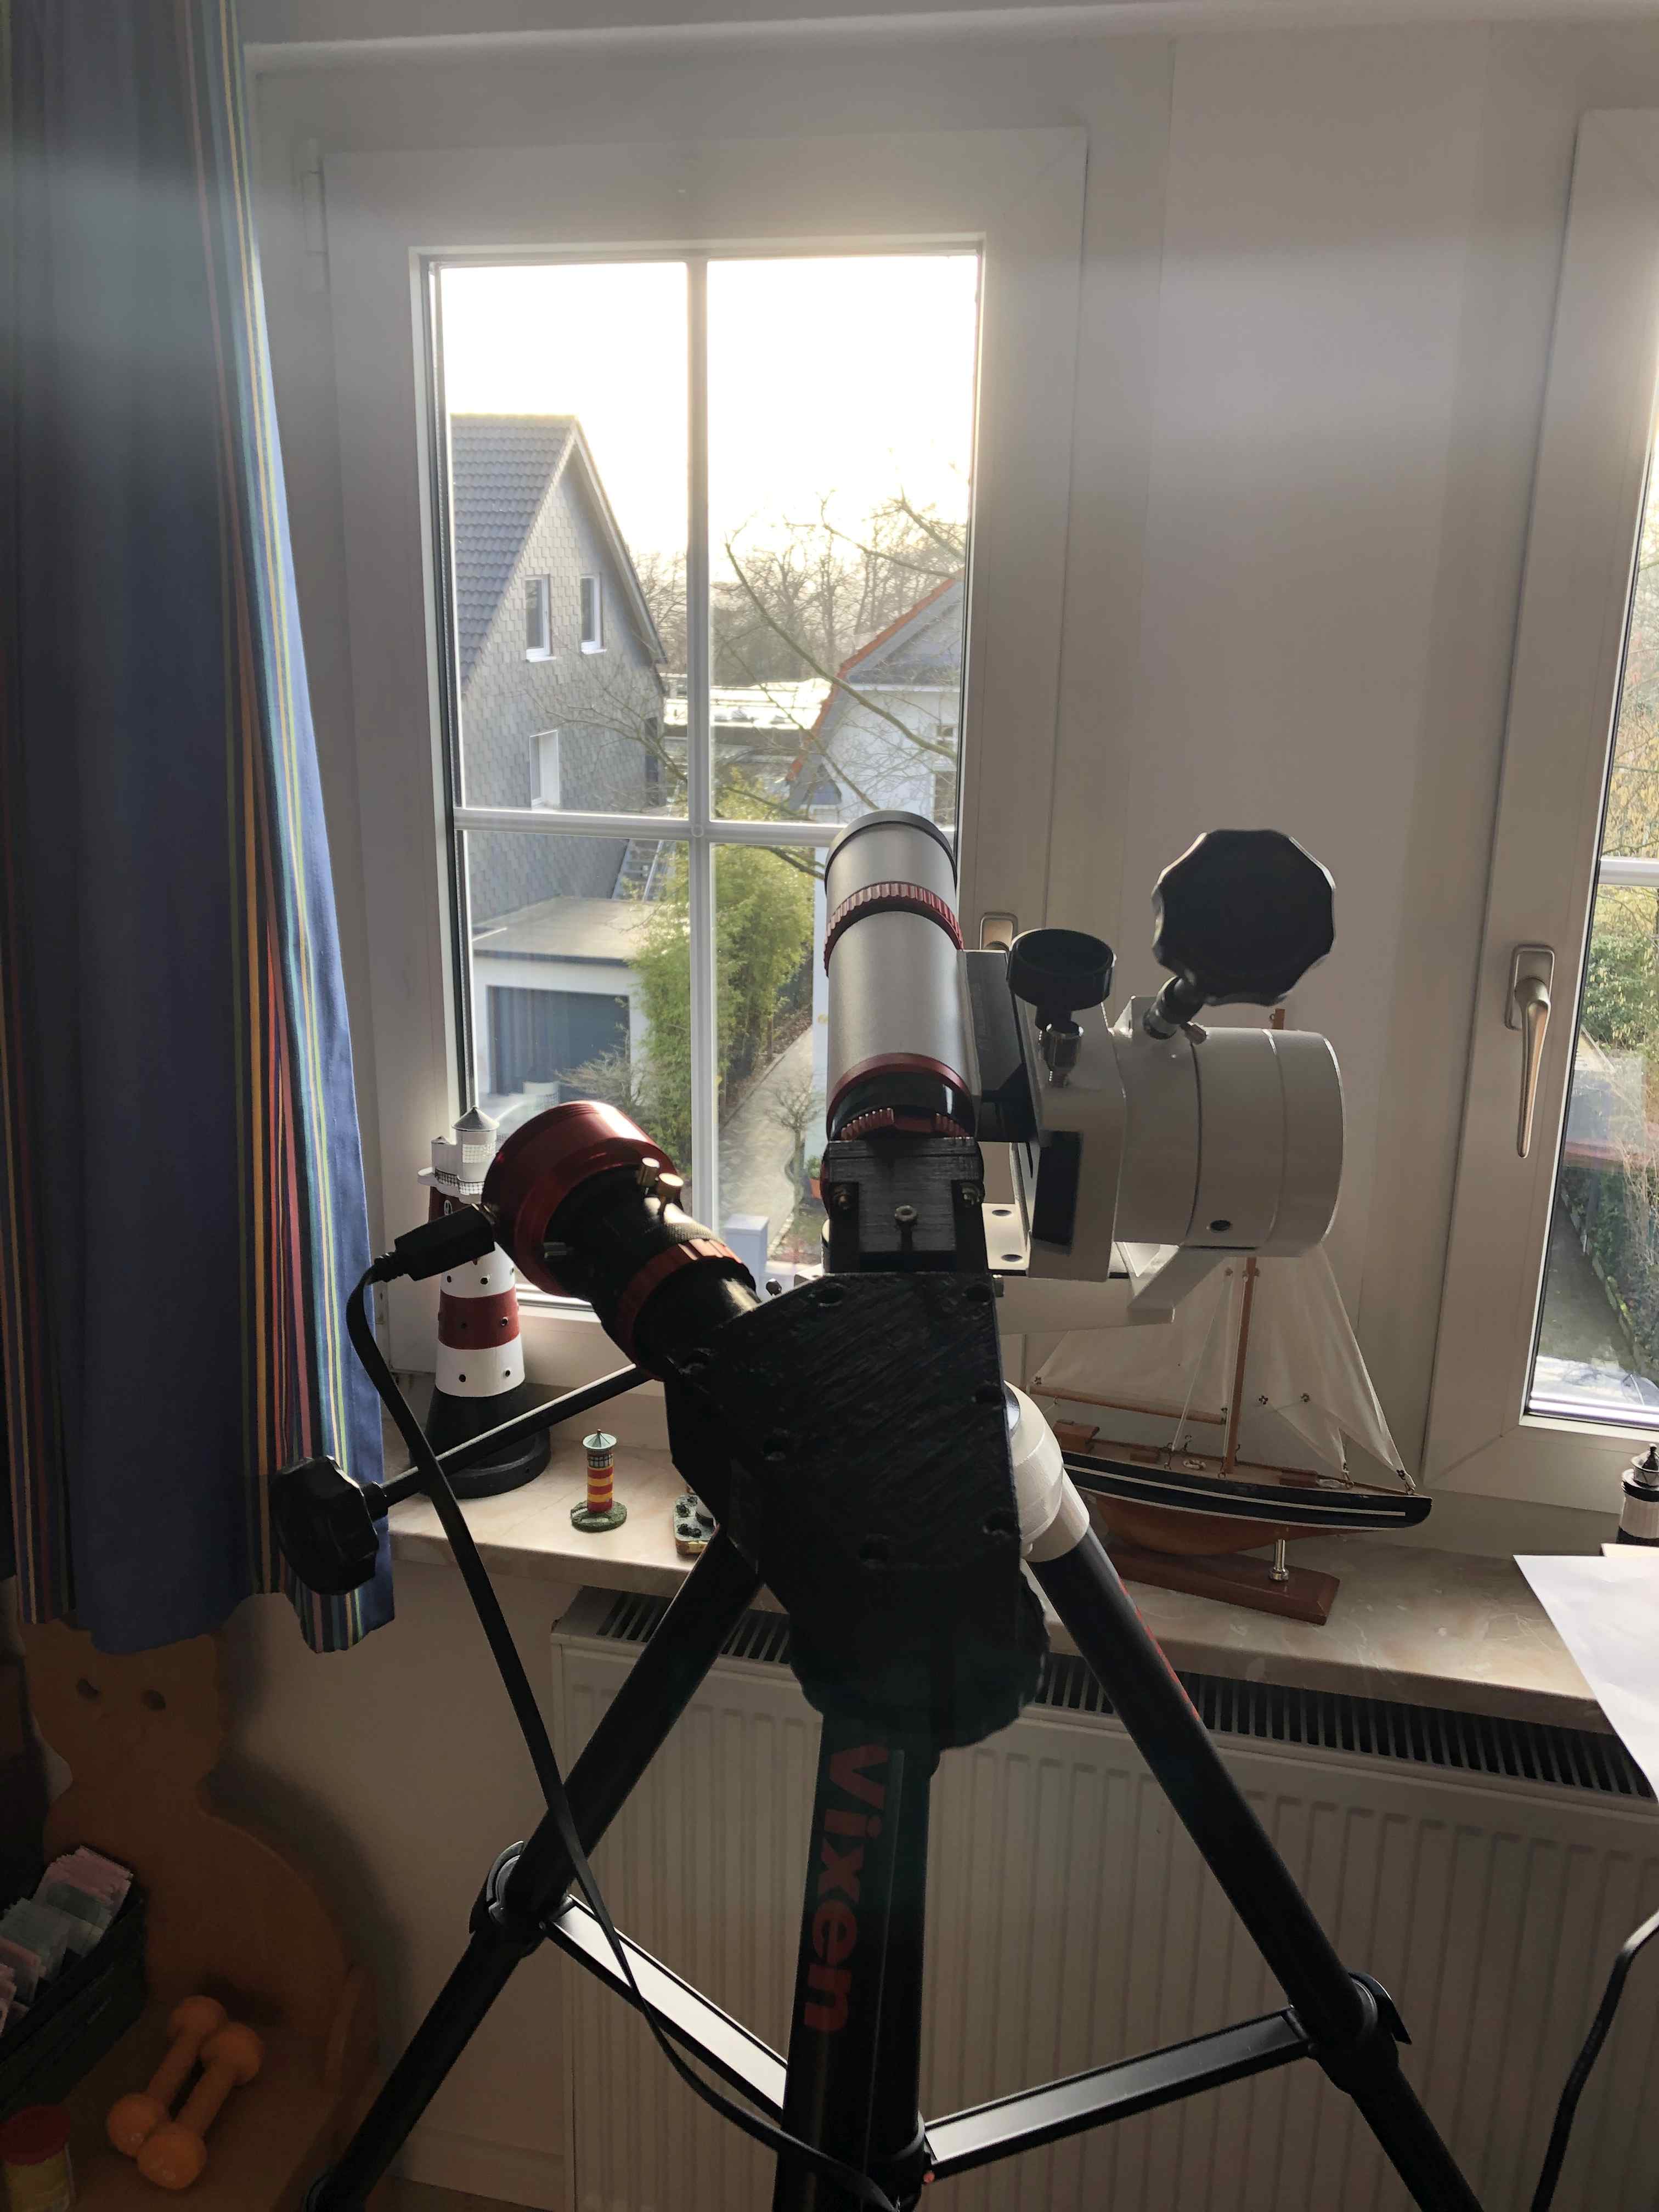
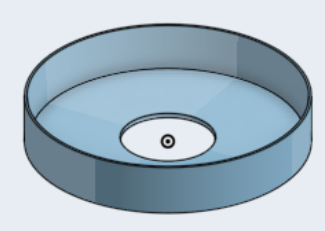
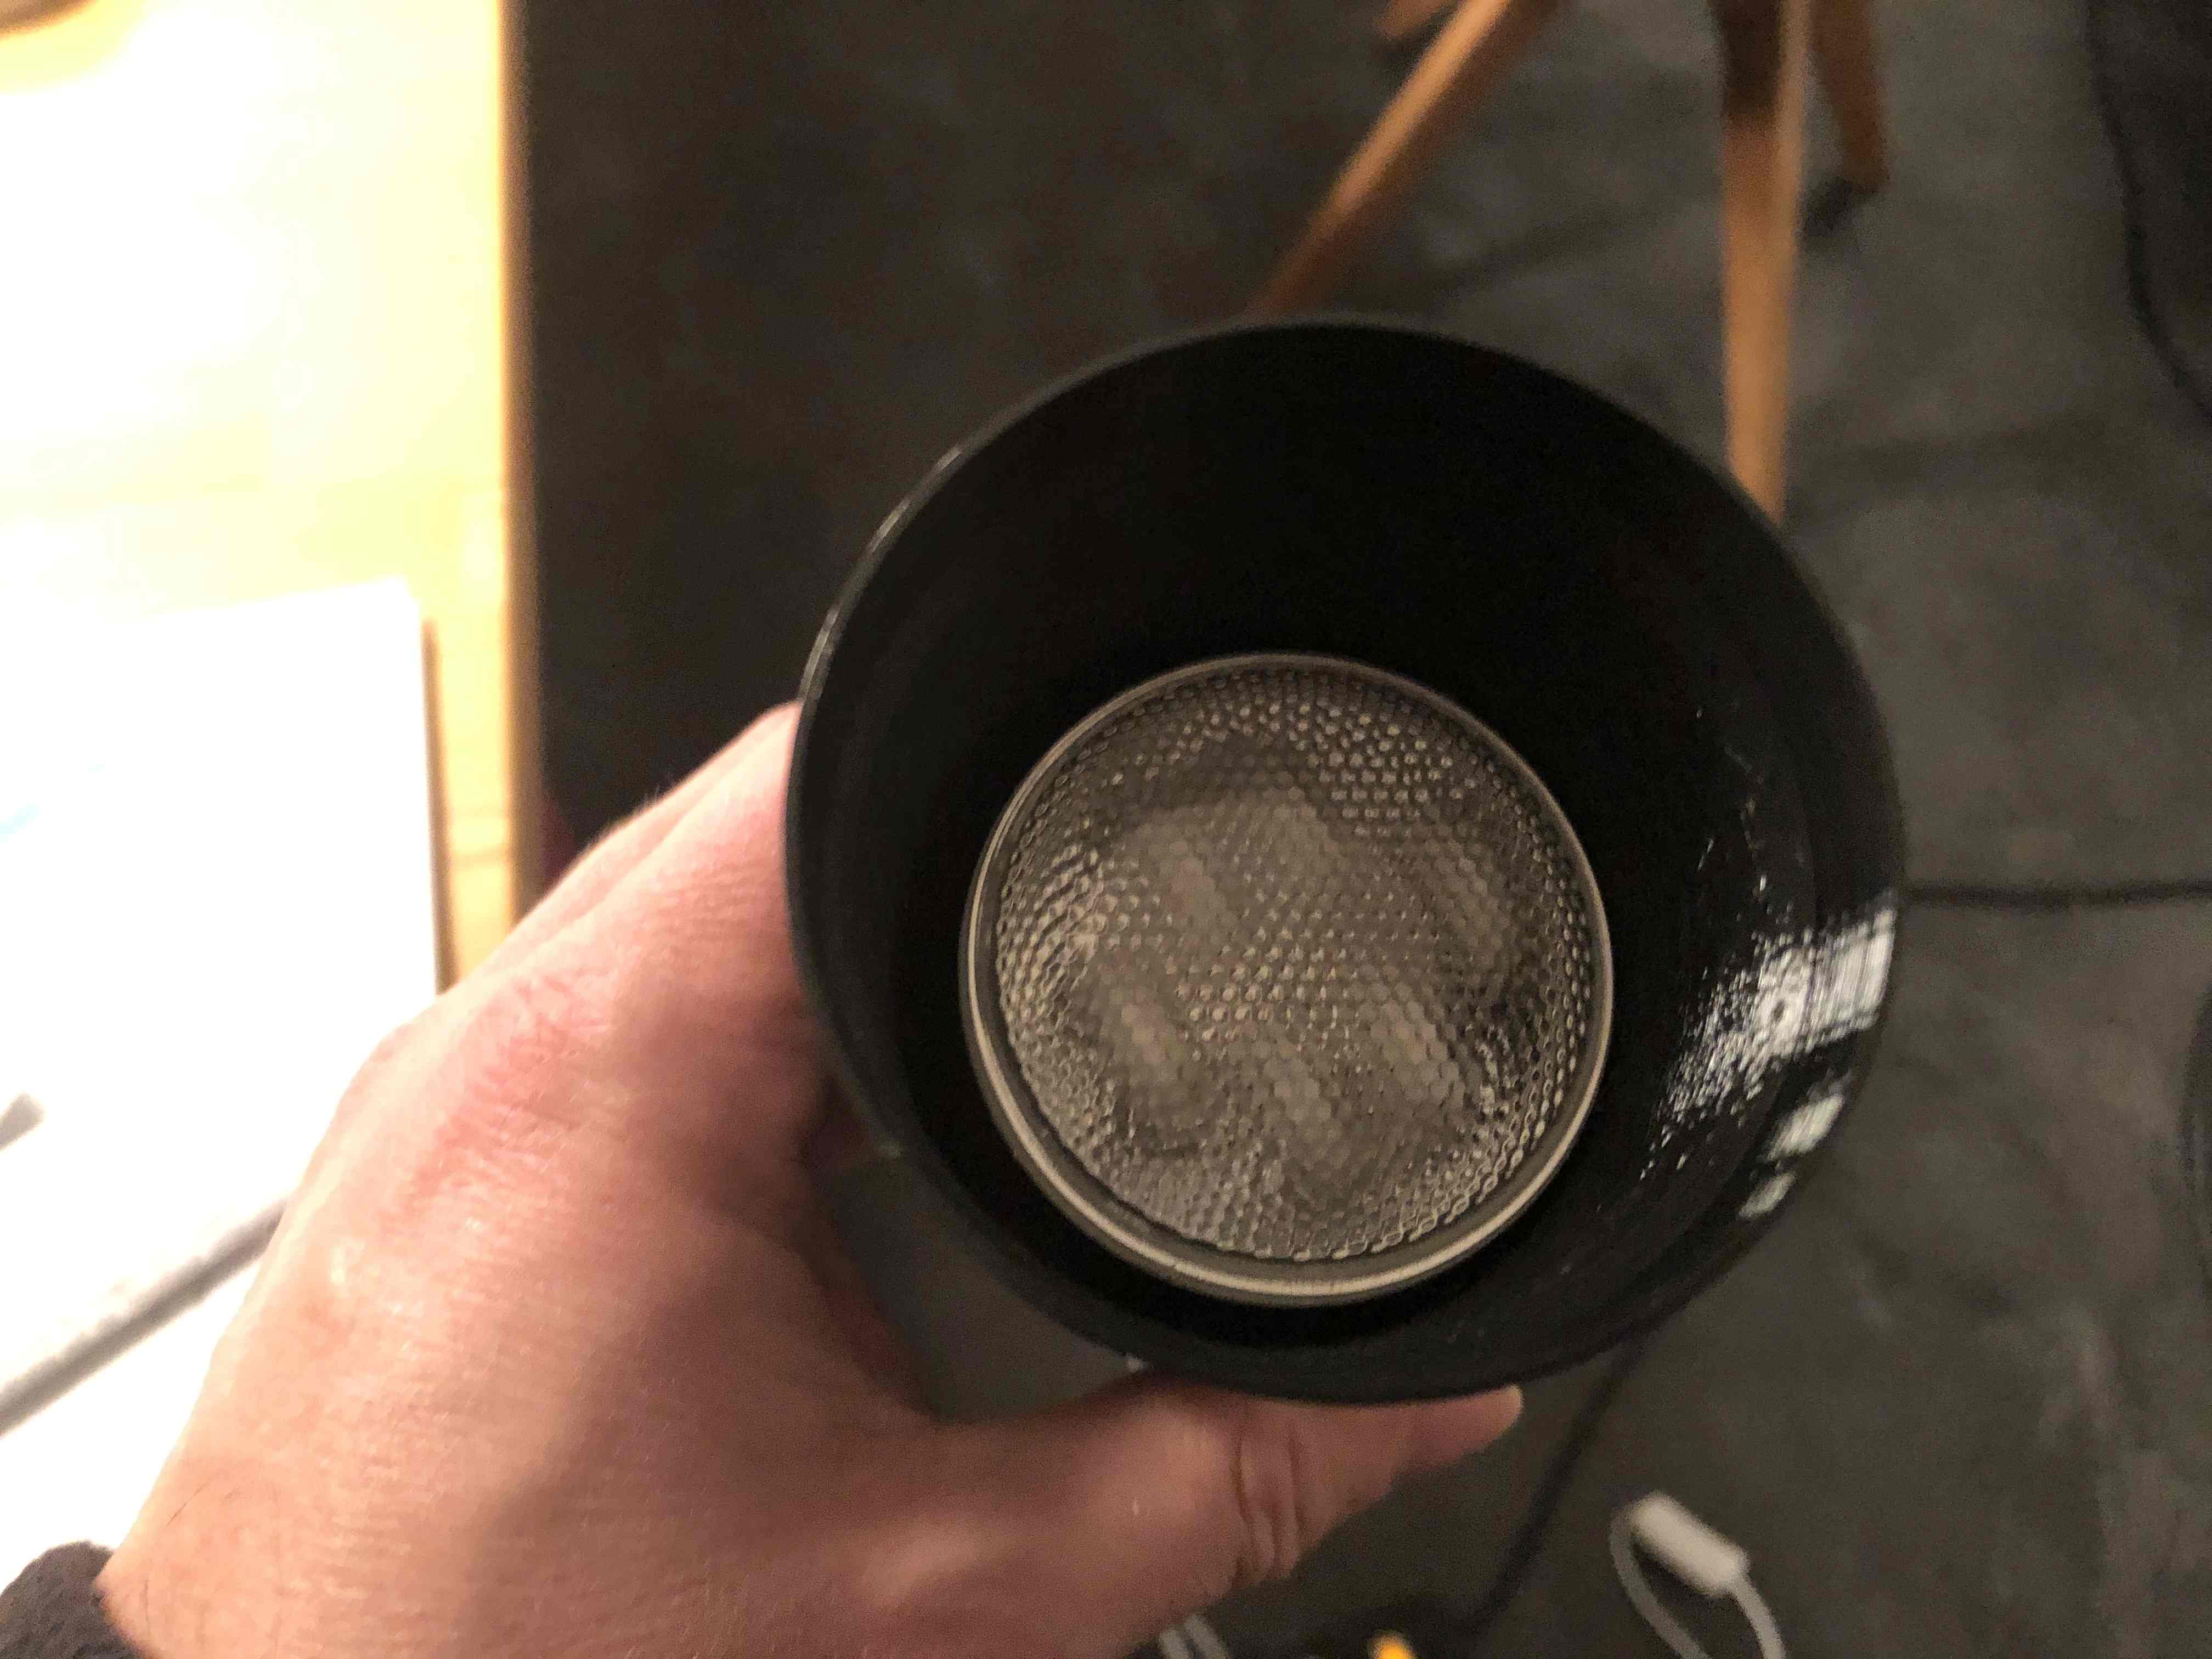
The tube for the camera still does not fit nicely into the thread of the helical focuser. After half an hour of trying to get the tube in, I printed a centering piece (click to download STL) to contrain the axis and get it easier on the focuser (3D model is here, original is here on onshape - you need an account).
Place the centering piece in the hole of the optical tube, then fix it to the tube with a piece of wood and a screw long enough (see picture). Then place this in the ZWO helical focuser and the thread of the tube is constrained to be parallel to the focuser's thread. Or put differently: The optical tubes axis and focuser axis will be held parallel by the centering piece. Apply some force to get the threads grip each other and then screw it in. In the end I used a pipe wrench to screw it all in, because it was really slippery in my hands and I was not able to create the needed torque. Then remove the screw with the wood and remove the centering piece (this is the state the picture shows). In my case, I did not make the 1.25" inch part long enough and it started turning in the focuser. I fixed that using two nails (note: the STL has been fixed to be longer, so you can grip it by hand or with a wrench).
Looks like a "first light" is possible tomorrow. Keep your fingers crossed.
Printed the disk for turning the grating. Assembled the lenses into the tubes. Used my 20mm cross-hair eye piece for collimating the slit-side. Unfortunately there's fog outside and I could not use objects from a real distance for fixing the focus. I therefore may need to repeat the procedure when the weather is better.
The picture of the slit is completely off-axis. Turns out, that the warping is much heavier than expected.
Weather is still foggy but got a bit better than yesterday. So 1-2 km has to be infinite enough for the moment.. Recollimated the device using this setting.
Determined the warping: Taking the surface, where the two body parts touch each other as a reference line, the height of the wall on the telescope side has a difference of approximately 1.2mm and the wall thickness of the hole differs by another 0.3mm. I decide to print a wedge, that I'll glue on the body part under the turning wheel. That way the image slit should be centered again. As the turning wheel will have 3 points it is resting on, this should be stable, once the position of the grating is fixated using the screws.
I printed 5 of these wedges with different heights and settled on the slimest one. Looks good now in the crosshair eye piece (sorry, taken with cell phone, the cross-hair center should be roughly at the middle of the slit):
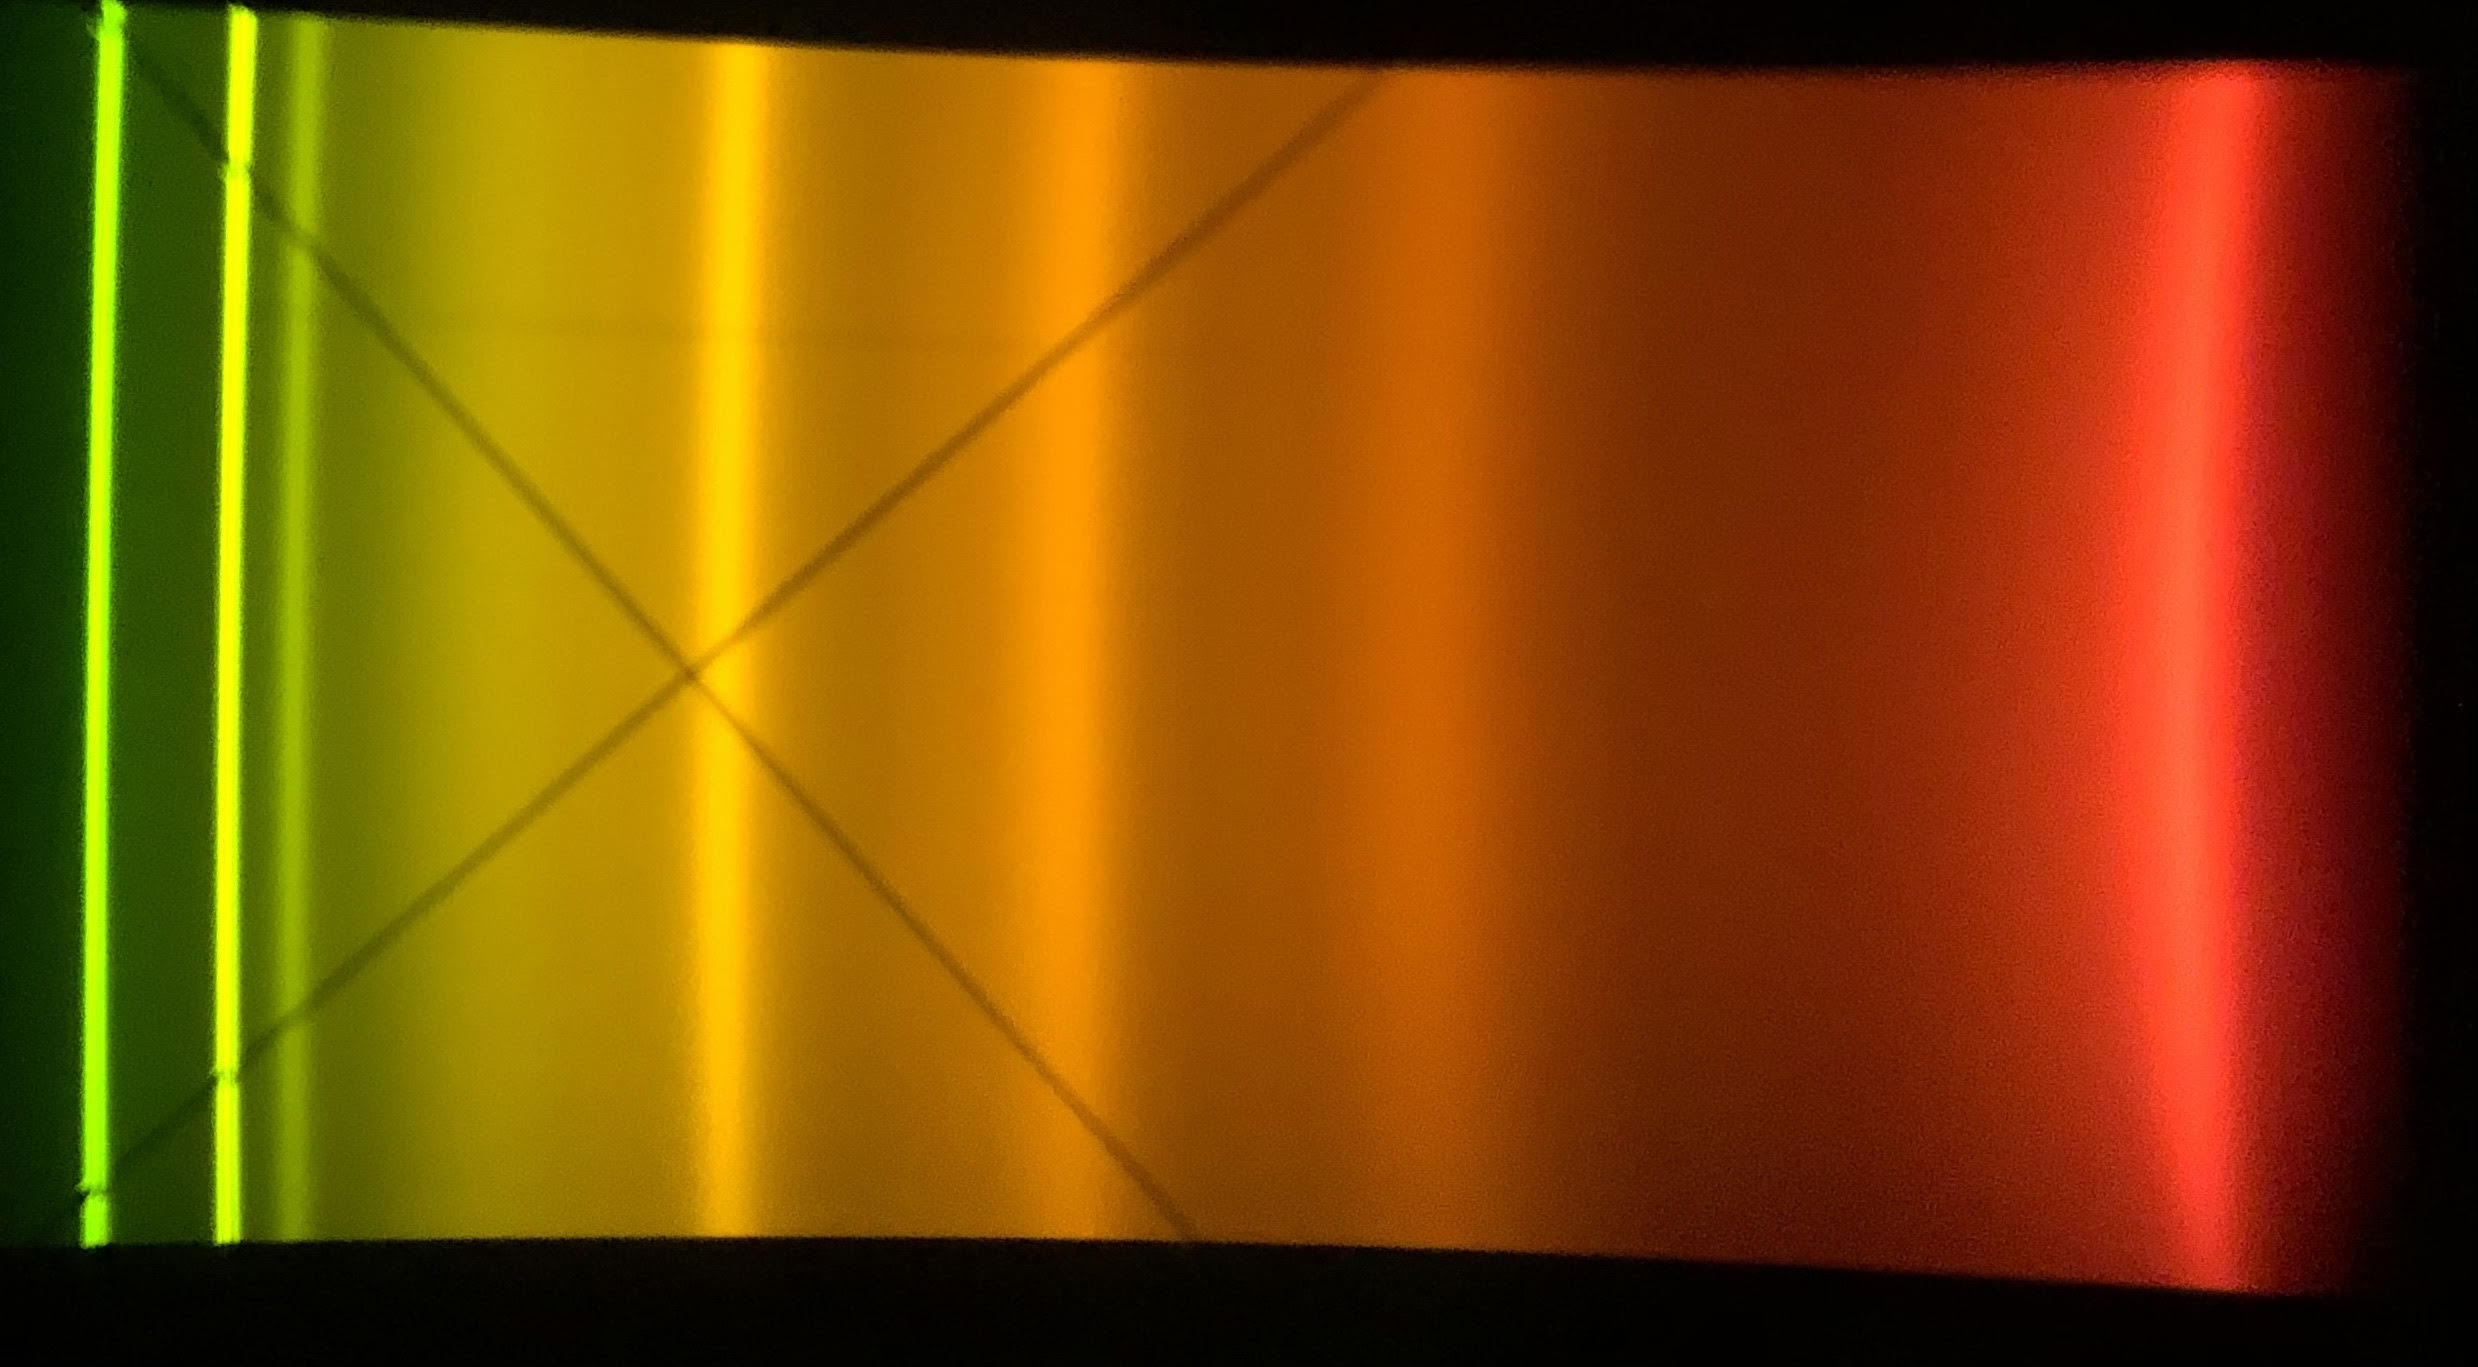
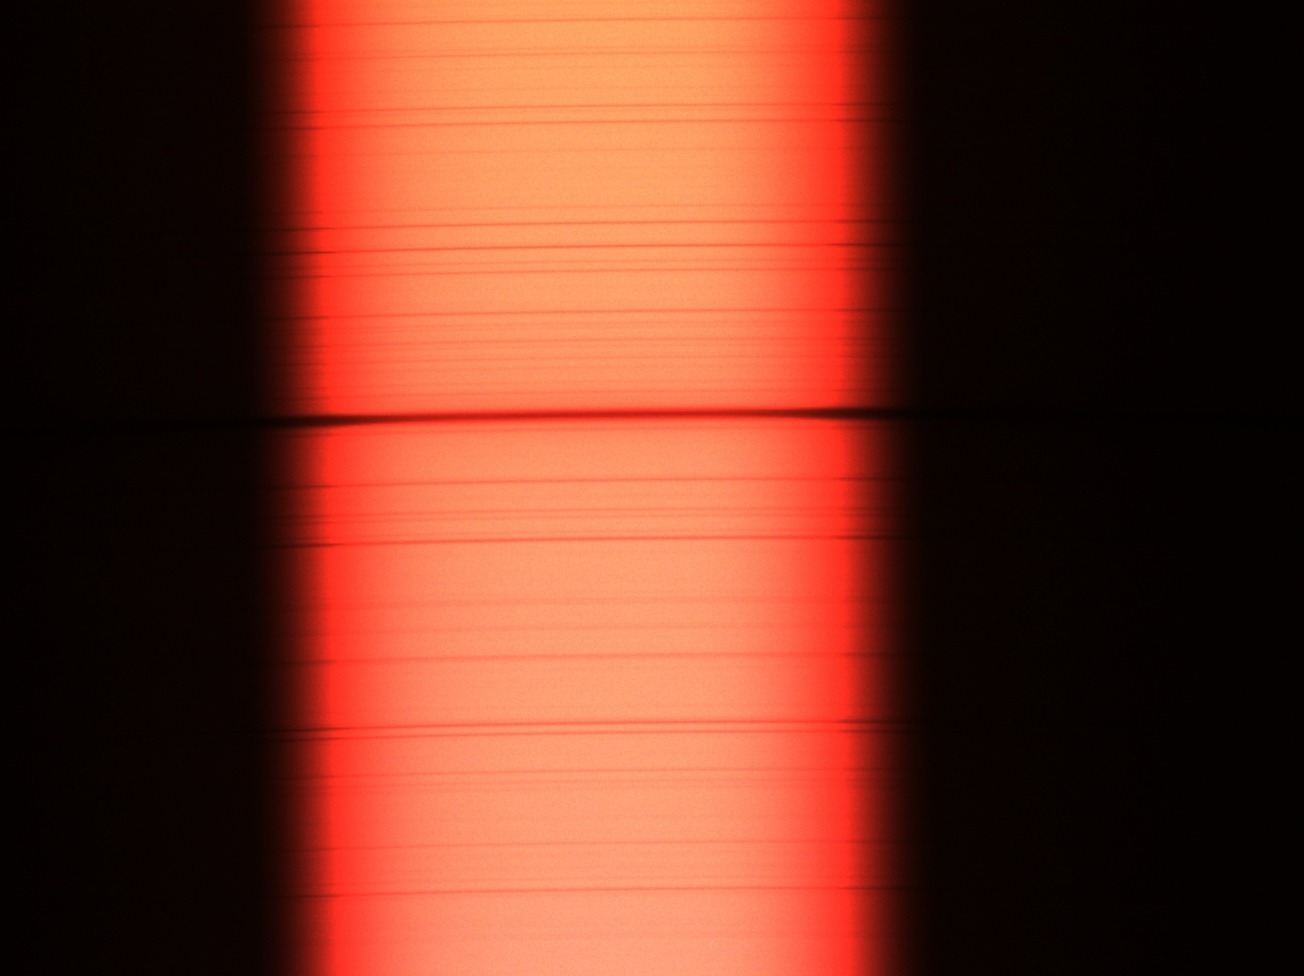
My ASI224mc now gets some high resolution images of the Na-doublet(?):
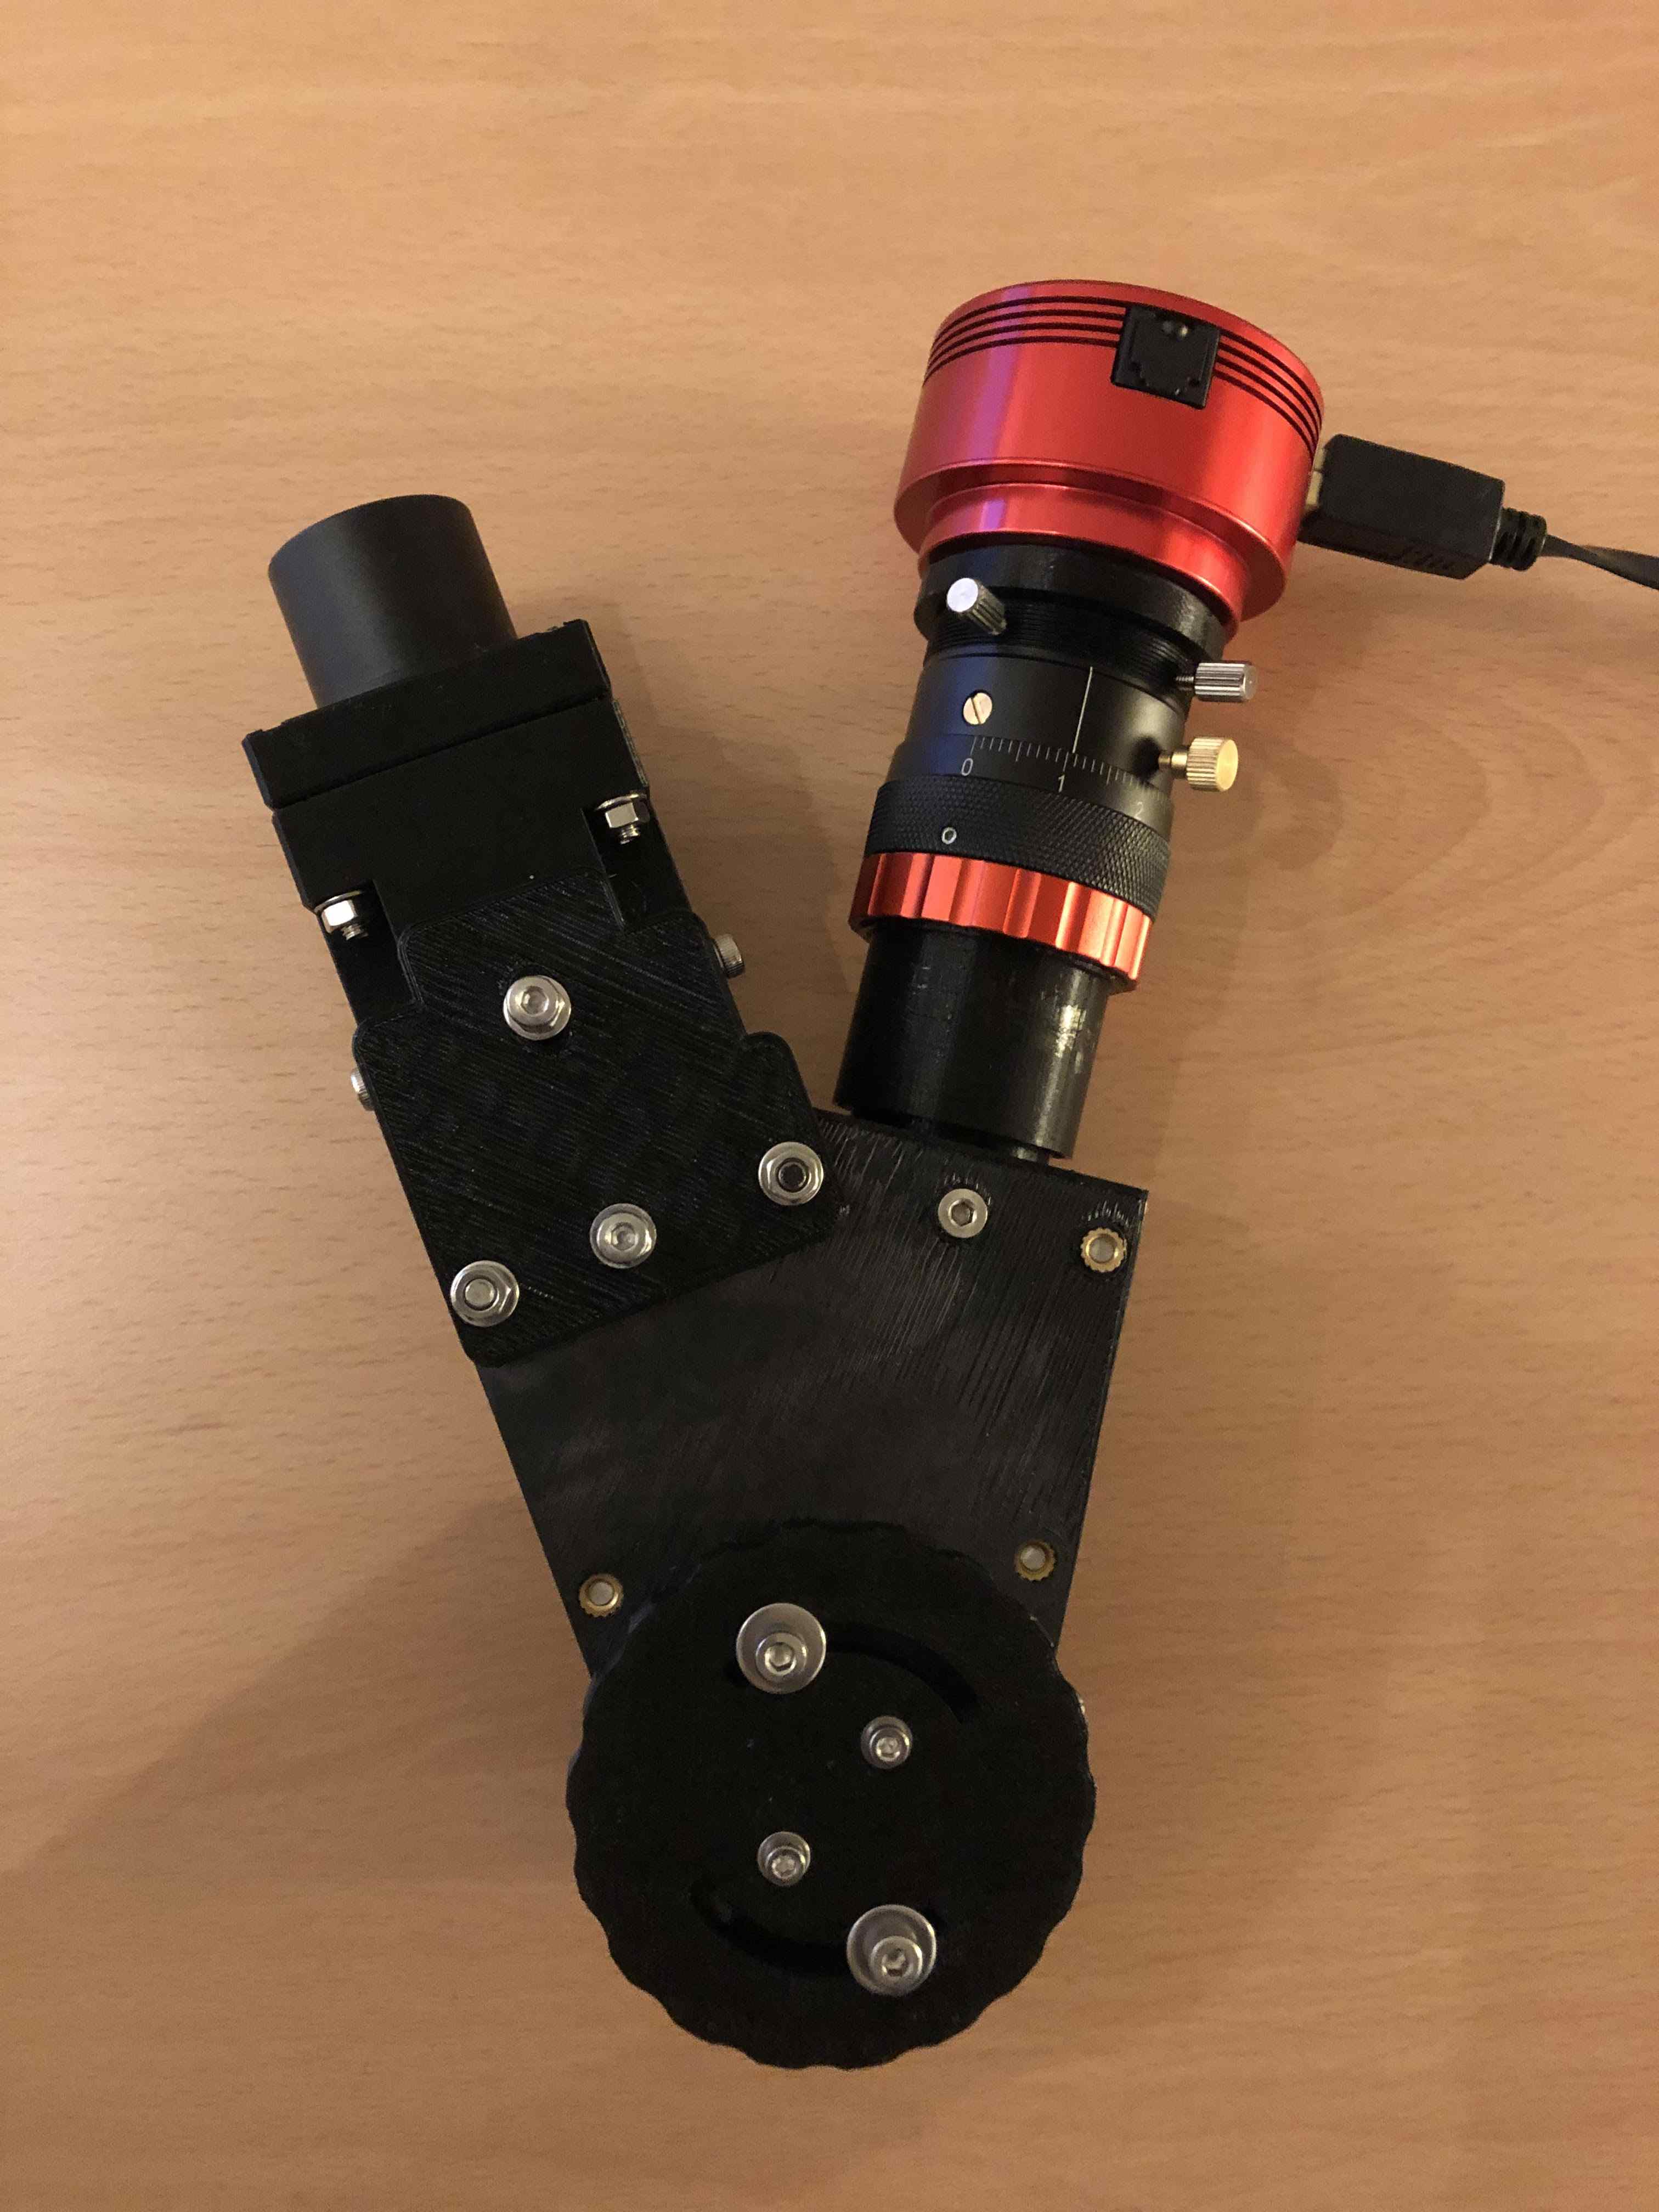
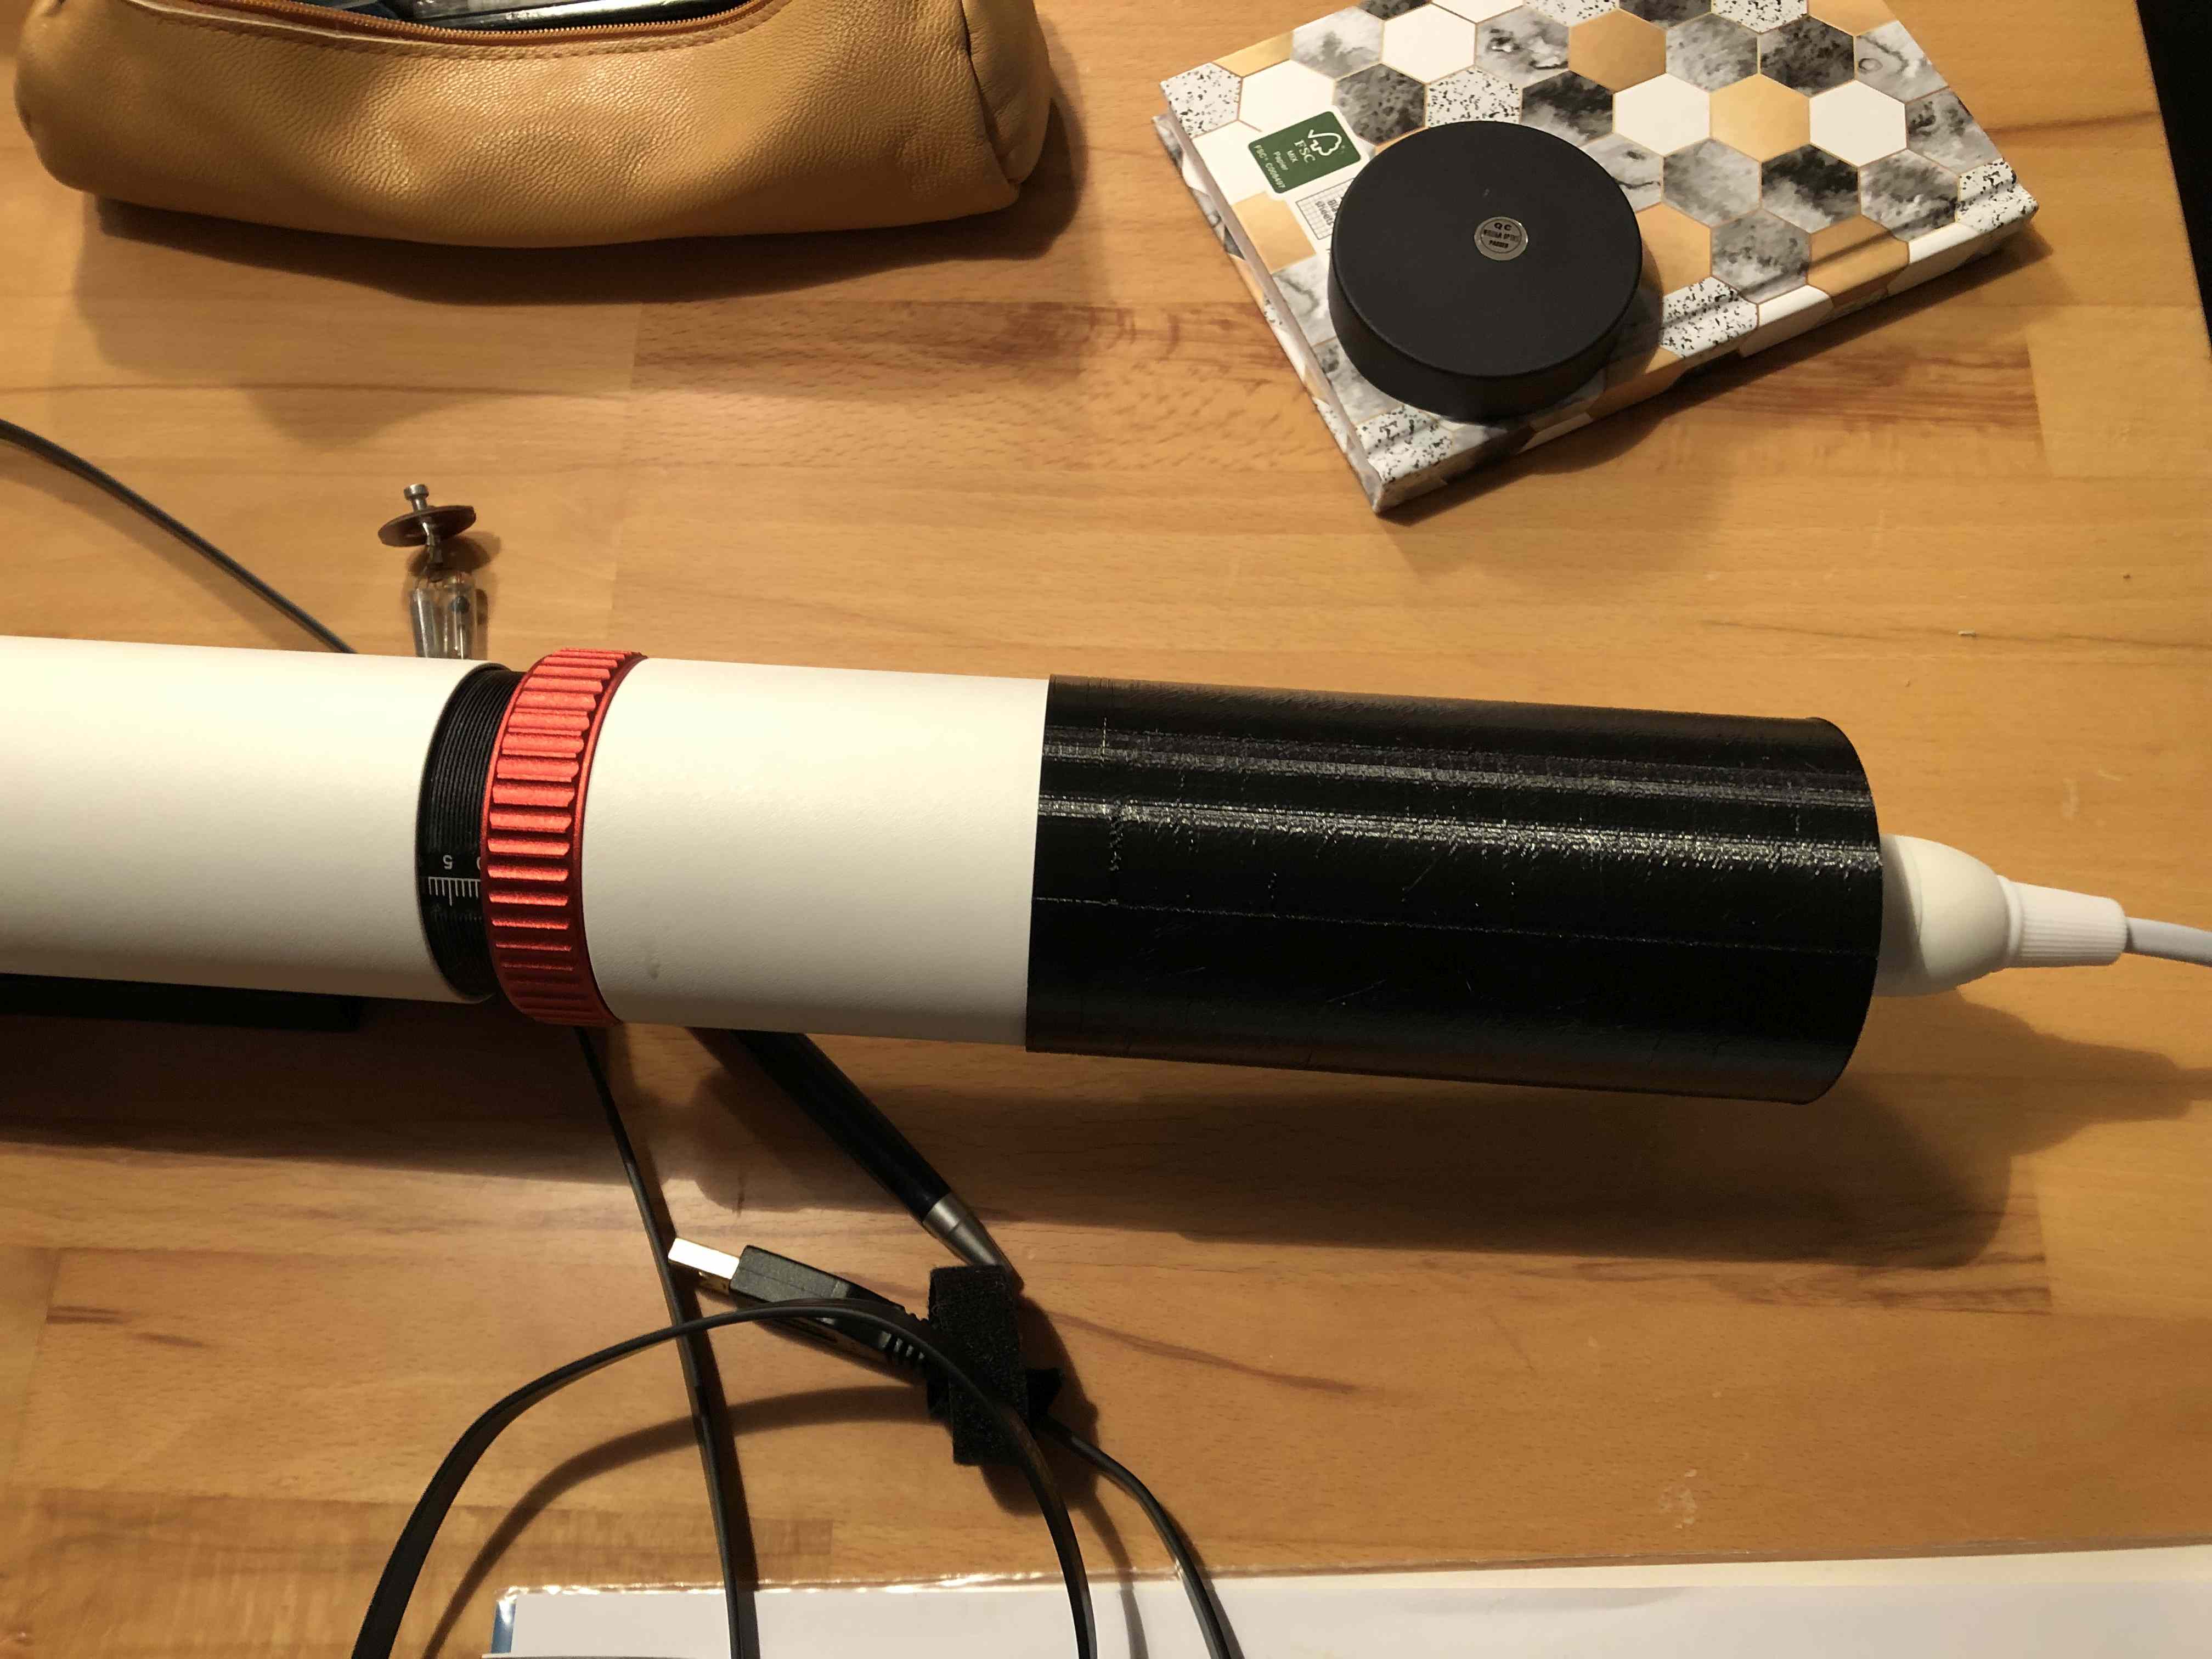
This is the device built, it weights 750g (including camera):
┏(--)┛┗(-- )┓┗(--)┛┏(--)┓
TODO:
- Re-Check collimation when the weather is better.
- Re-Check orientation of slit and camera.
- Capture a solar video and try INTI.
This is a summary of the cameras, sensor sizes and recommended focal lengths, summed up from the construction page:
| Camera | Sensor | Sensor Size | Sensor Dimensions / mm² | Pixel Size / µm | Resolution / Å/px | Max Focal Length / mm | Slit/Cam Limited | Tube mod |
|---|---|---|---|---|---|---|---|---|
| ASI178mm | Sony IMX178 | 1/1.8" | 7.5 x 5.0 | 2.4 | 0.0626 | 480 | ideal | No |
| ASI290mm | Sony IMX290 | 1.3" | 5.6 x 3.2 | 2.9 | 0.0726 | 380 | Cam | No |
| ASI174mm | Sony IMX174 | 1/1.2" | 11.3 x 7.1 | 5.86 | 0.1440 | 480 | Slit | No |
| ASI183mm | Sony IMX183 | 1" | 13.2 x 8.8 | 2.4 | 0.0626 | 480 | Slit | No |
| ASI294mm | Sony IMX294 | 4/3" | 19.1 x 13.0 | 4.63 | 0.0604 | 480 | Slit | No |
| ASI6200mm | Sony IMX455 | full frame | 36 x 24 | 3.76 | 1.028 | 480 | Slit | Yes (short) |
| Sony Alpha DLSR | Sony | full frame | 36 x 24 | 8.7 | -/- | -/- | -/- | Yes (APN) |
| ASI224mc | Sony IMX224 | 1/3" | 4.9 x 3.7 | 3.75 | -/- | 300? | Cam | No |
Note: The entrance slit is 4.5mm long. See: https://en.wikipedia.org/wiki/Crop_factor for a comparison of sensor formats
I recollimated the camera side with an object on the horizon and across the city (4 km). Now when trying to collimate the slit-side, it turns out that the collimator block needs to go in a few more millimeters. I use Forstner drills to remove a bit of the outer layers and then are able to get it in focus/collimation. My Sol'Ex is not collimated and ready to go.
I add a print-out of the colors on the Sol'Ex body: You can download a png file for the 2400 l/mm grating here: https://groups.io/g/Solex-project/topic/81036290#433
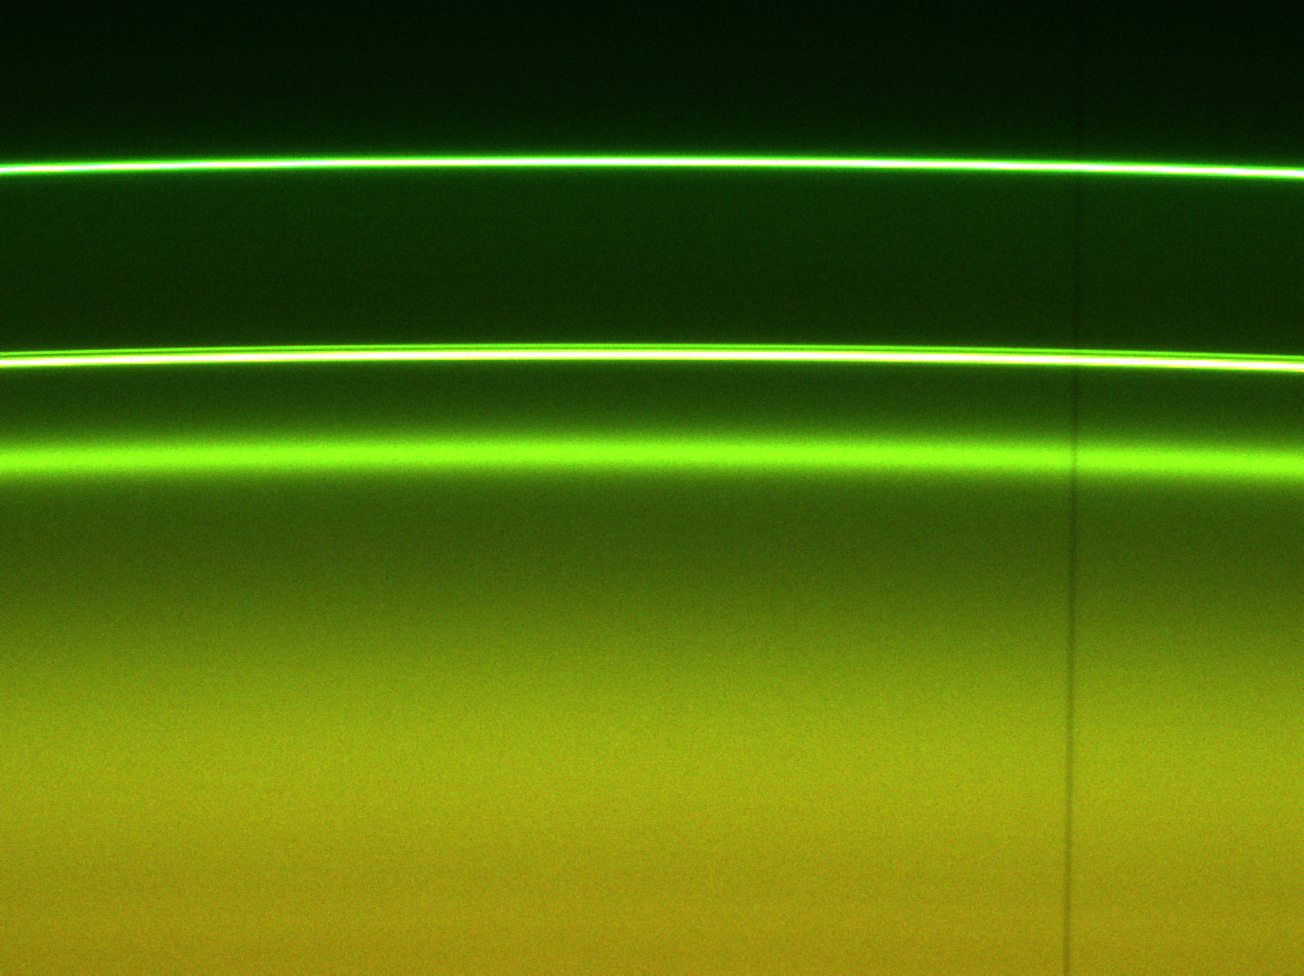
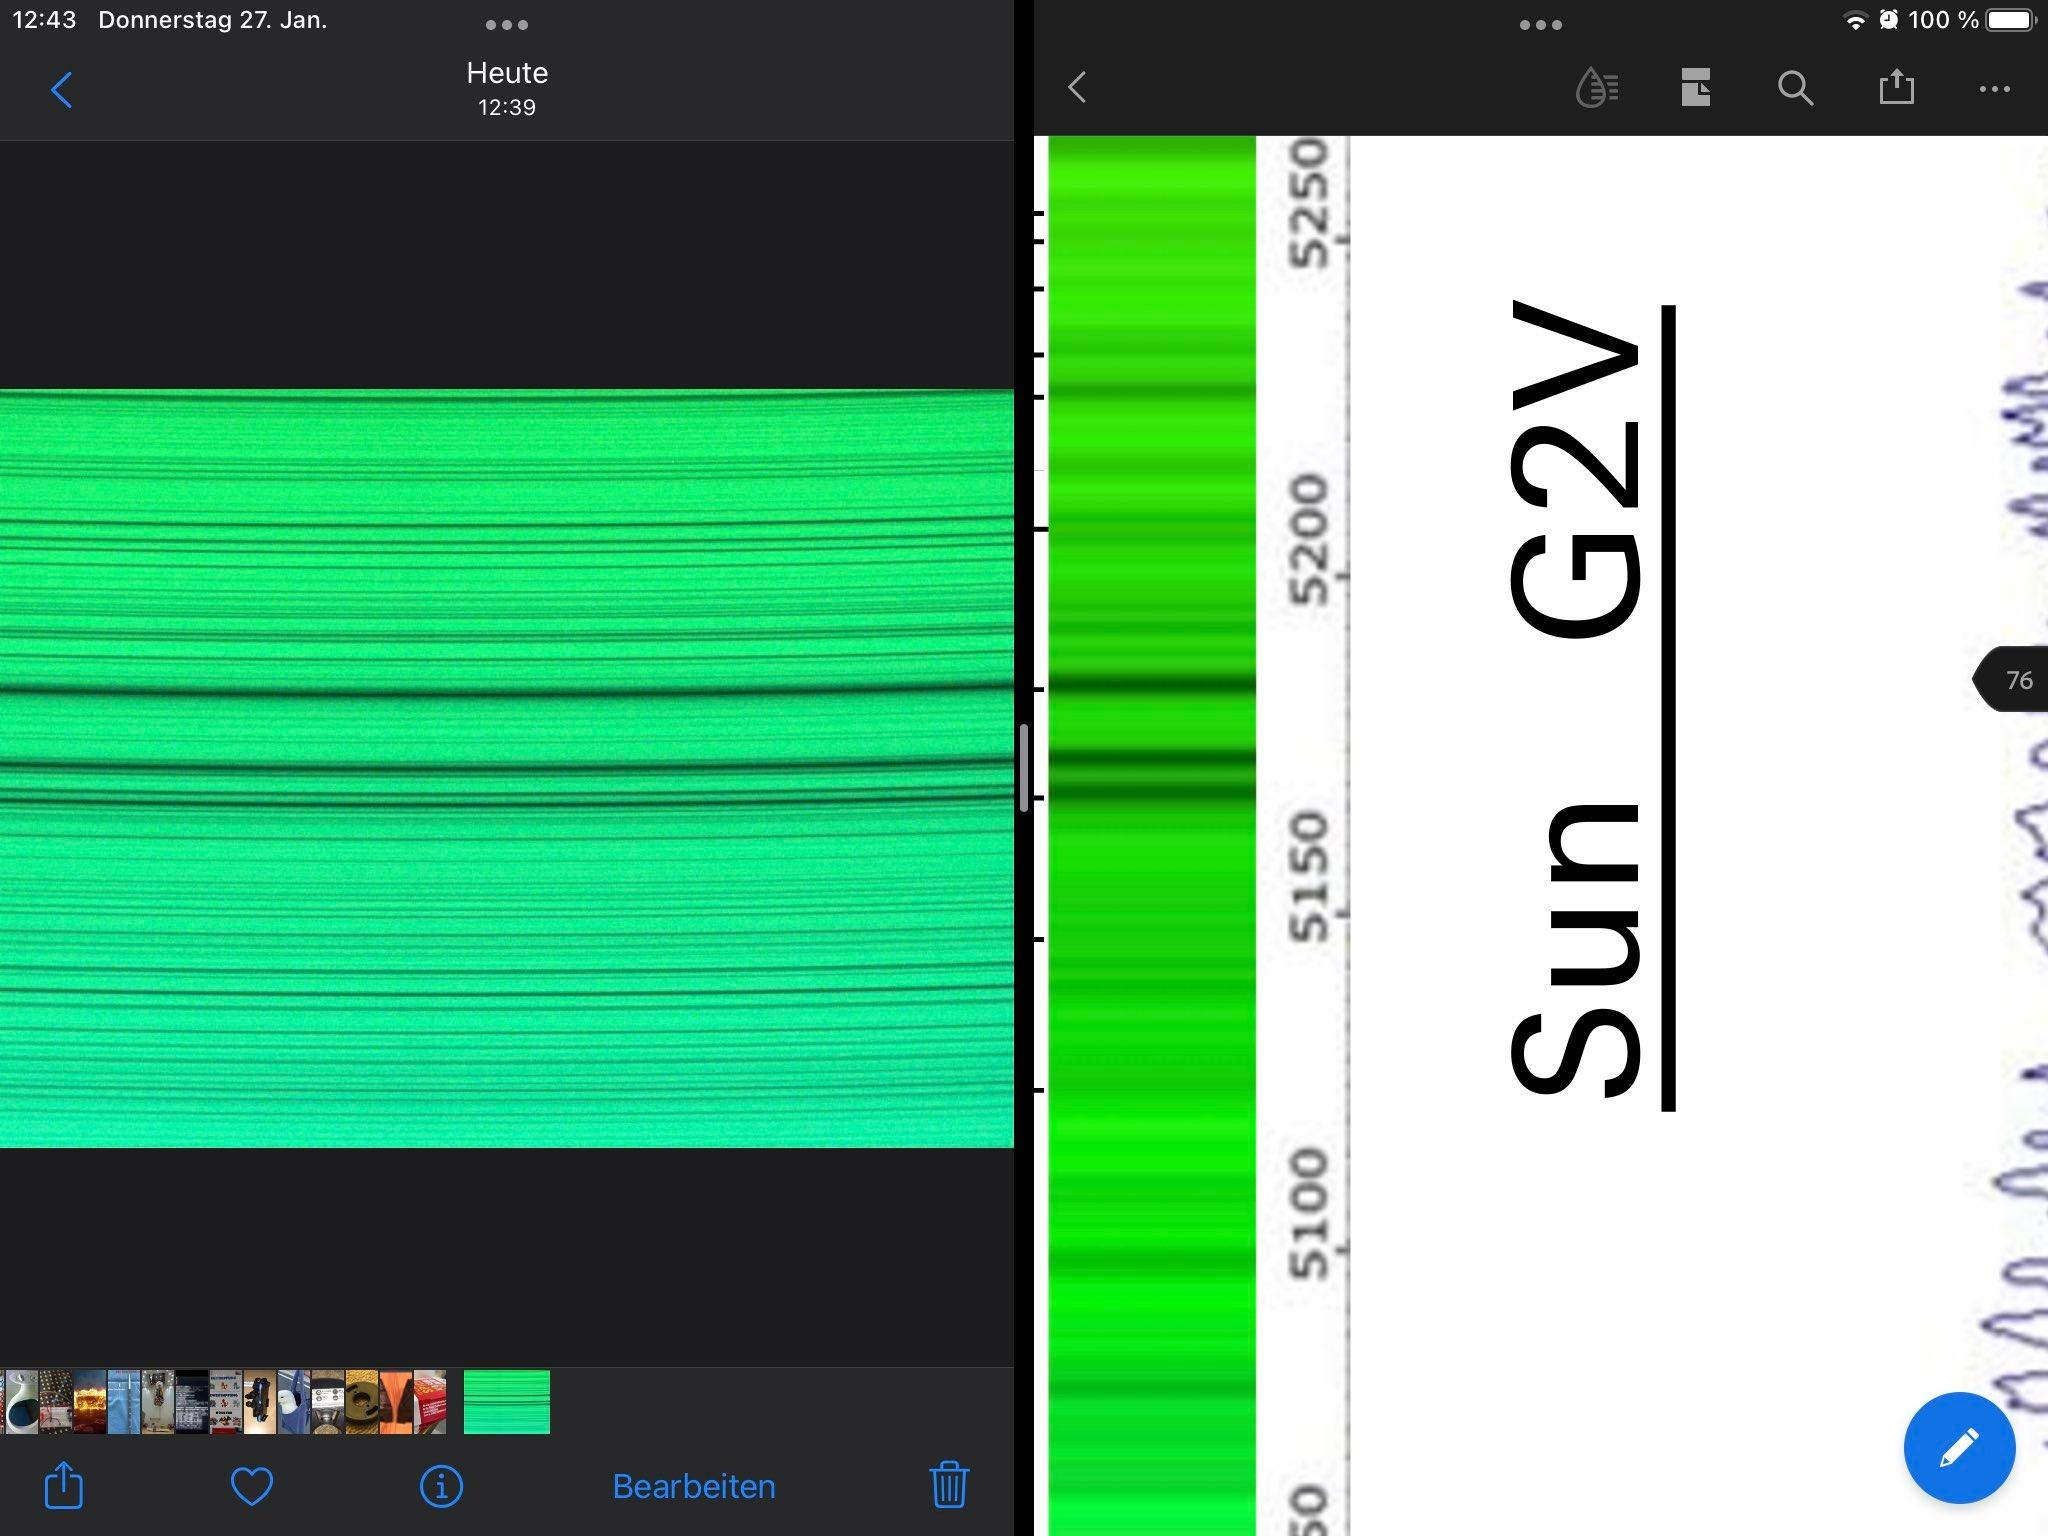
Using long exposure times, I collect an example spectra of Mg triplet lines (with clouds):
The spectral resolution is awesome!
I read a bit on the Sol'Ex groups.io and discover an Excel/Calc sheet for the geometry. It can be downloaded from this link into the groups.io archive: https://groups.io/g/Solex-project/topic/80304988?p=Created%2C%2C%2C20%2C2%2C0%2C0 It is called: "SimSpec_SHG V1.3"
I attach my Sol'Ex to a William Optics "Uniguider" 50/200 (f/4) and use this to capture my first image of the sun. It turns out that I have to use the smallest exposure times that my ASI224mc is capable of. I recognize too late, that Christian uses a Herschel wedge in his videos. Fortunately my cam and the Sol'Ex are not damaged.
I am not able to focus the telecope correctly, as after 30 min clouds come in.
I create a sun screen from Baader AstroSolar® Safty Film 5.0 with 50mm diameter, but it turns out, that this is too much intensity reduction and one cannot get acceptable exposure times.
I design and print a diaphragm, that stops down to f/10:
Due to bad weather, I am not able to test it out.
The last few week's weather has been awful: Mostly cloudy, sun not even visible, only a few days with a few hours of sun (and then fast moving clouds). Going outside with the family took precedence. Yesterday and today Europe is hit by storms.
In between I printed a holder/adapter for the calibration lamp:
