This repository contains KiCad pcbnew Action Plugins()
All plugins have been tested on Kicad 5.1.x on Windows7/Windows10. You need to have KICAD_SCRIPTING_WXPYTHON enabled. They should also work on GNU/Linux distributions and MacOS even with Python3.
The plugins don't work with 5.99! Non supported version of Replicate_layout plugin working with 5.99 is available under 5.99 branch. Kindly supplied by Albertas Mickėnas.
The plugins have been developed as a complex plugin according the Python Plugin Development for Pcbnew guide.
To install the plugin copy relevant folder into 'scripting/plugins' subfolder of the KiCad configuration folder:
on Windows:
%APPDATA%\scripting\plugins (which most commonly translates to C:\Users\username\AppData\Roaming\kicad\scripting\plugins)
on GNU/linux:
~/.kicad/scripting/plugins or
~/.kicad_plugins
on MacOS:
~/Library/Application Support/kicad/scripting/plugins or on newer versions
~/Library/Preferences/kicad/scripting/plugins
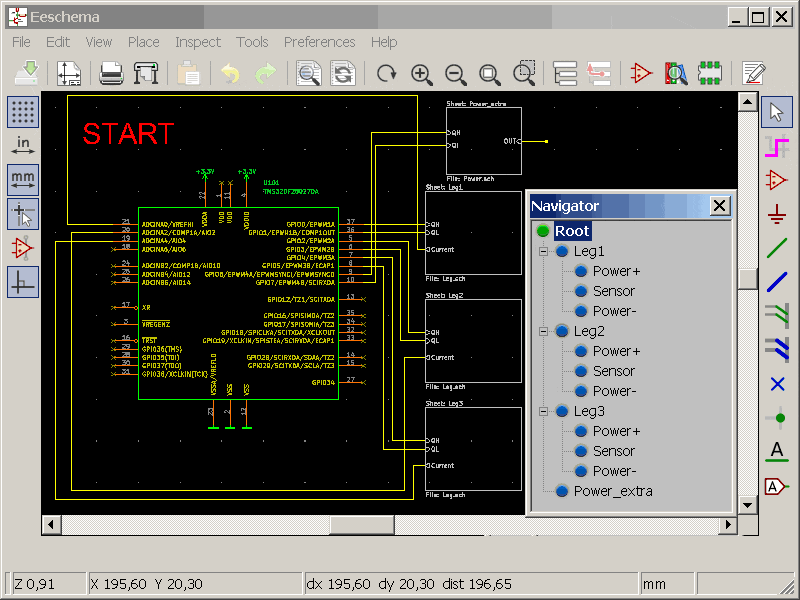
The purpose of this plugin is to replicate layout sections. The replication is based upon hierarchical sheets in eeschema. The basic requirement for replication is that the section to be replicated (source) is completely contained within a single hierarchical sheet, and replicated sections (destination) are just copies of the same sheet. Complex hierarchies are supported therefore replicated sheet can contain subsheets. The plugin replicates footprints, zones, tracks, text adn drawings.
After the section for replication (source section) has been laid out (footprints, tracks, text objects and zones placed) you need to:
- Place the anchor footprints for the destiantion sections you want to replicate. This defines the position and orientation of replicated sections. You can use [Place footprints] action plugin for this.
- Select the same anchor footprint within the source section.
- Run the plugin.
- Choose which hierarchical level you wish to replicate.
- Select which sheets you want to replicate (default is all of them)
- Select whether you want to replicate also tracks, zones and/or text objects.
- Select whether you want to replicate tracks/zones/text which intersect the pivot bounding box or just those contained within the bounding box.
- Select whether you want to delete already laid out tracks/zones/text (this is useful when updating an already replicated layout).
- Hit OK.
By default, only objects which are fully contained in the bounding box constituted by all the footprints in the section will be replicated. You can select to also replicate zones and tracks which intersect this bounding box. Additionally, tracks, text and zones which are already laid out in the replicated bounding boxes can be removed (useful when updating). Note that bounding boxes are squares aligned with the x and y axis, regardless of section orientation.
Example replication of a complex hierarchical project. Replicating inner sheet first, then outer.

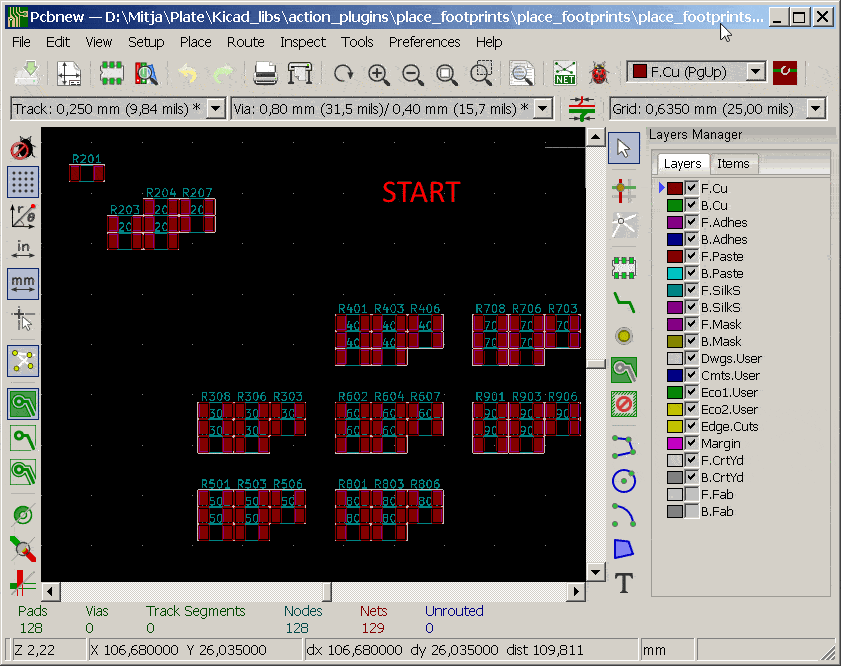
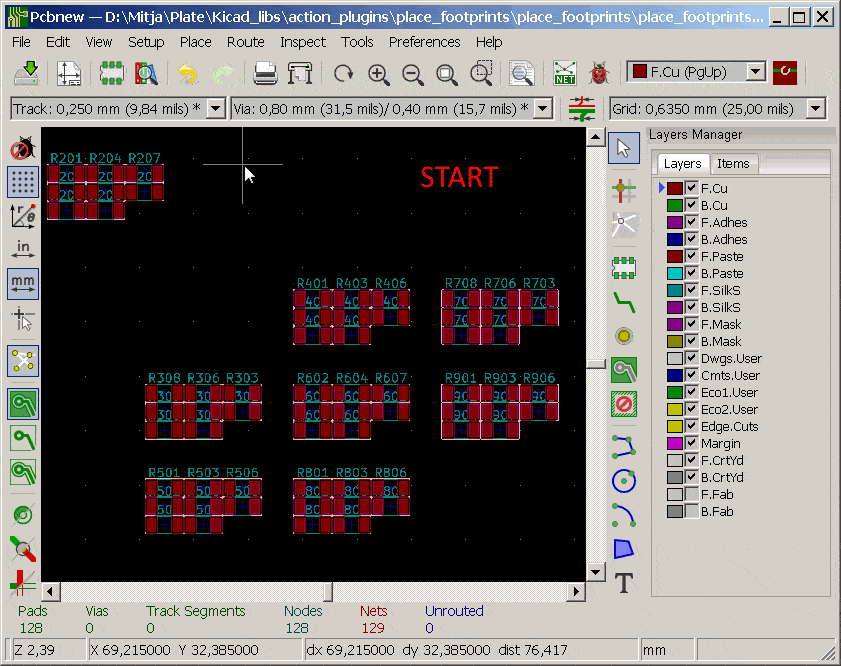
This plugin will place footprints in:
- in line
- circular
- in square matrix
The plugins for placement are selected either by consecutive reference numbers or by same ID on different hierarchical sheets.
If you want to place the footprints by consecutive reference numbers you have to
- select a footprint which is first in the sequence to be placed
- run the plugin
- select which place by reference number
- choose which footprint in the sequence you want to place
- select the arrangement (linear, matrix, circular)
- select place dimension (step in x and y axes in linear and matrix mode and angle step and radius in circular mode)
- run the plugin
If you want to place the footprints by same ID with
- select a footprint which is first in the sequence to be placed
- run the plugin
- select the hierarchical level by which the footprints will be placed (in complex hierarchies)
- choose from which sheets you want the footprint to place
- select the arrangement (linear, matrix, circular)
- select place dimension (step in x and y axes in linear and matrixc mode and angle step and radius in circlar mode)
- run the plugin
Example of place by reference number
Example of place by sheet ID
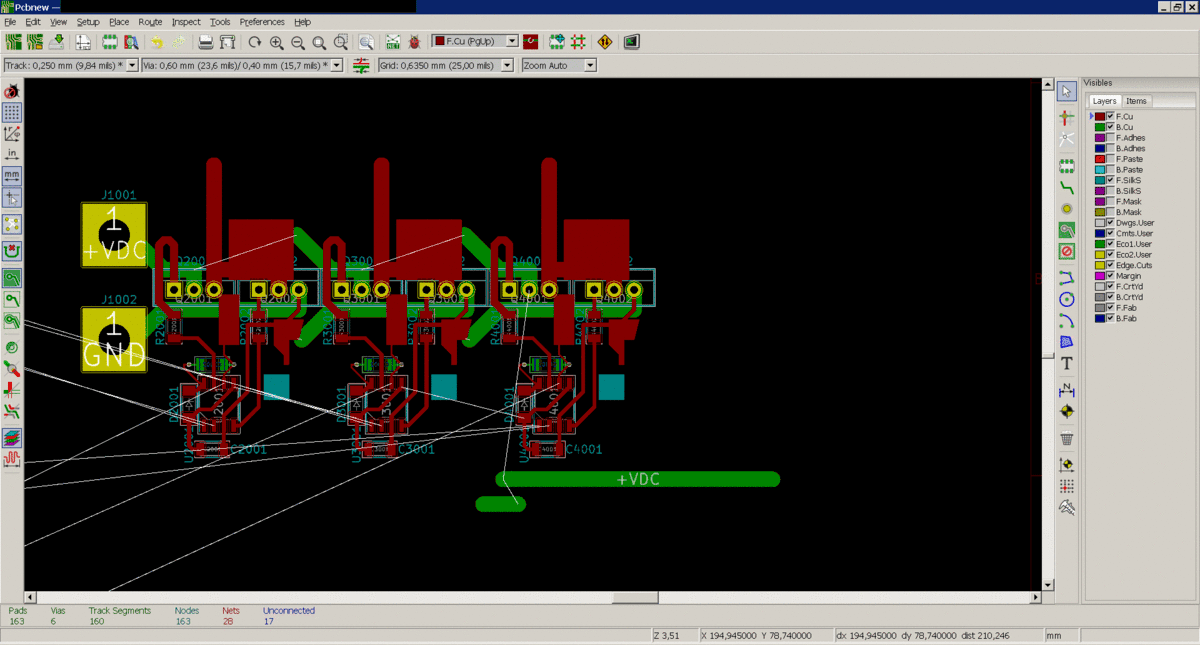
This plugin deletes selected items. Items can be: zones and/or tracks and/or footprints. The main intention is to delete selected tracks in order to redo parts of the layout.
To run the plugin:
- Select items you want to delete (note that in KiCad it is different if you start your selection box from left or right)
- Run the plugin
- Select what you want to delete
- Hit OK
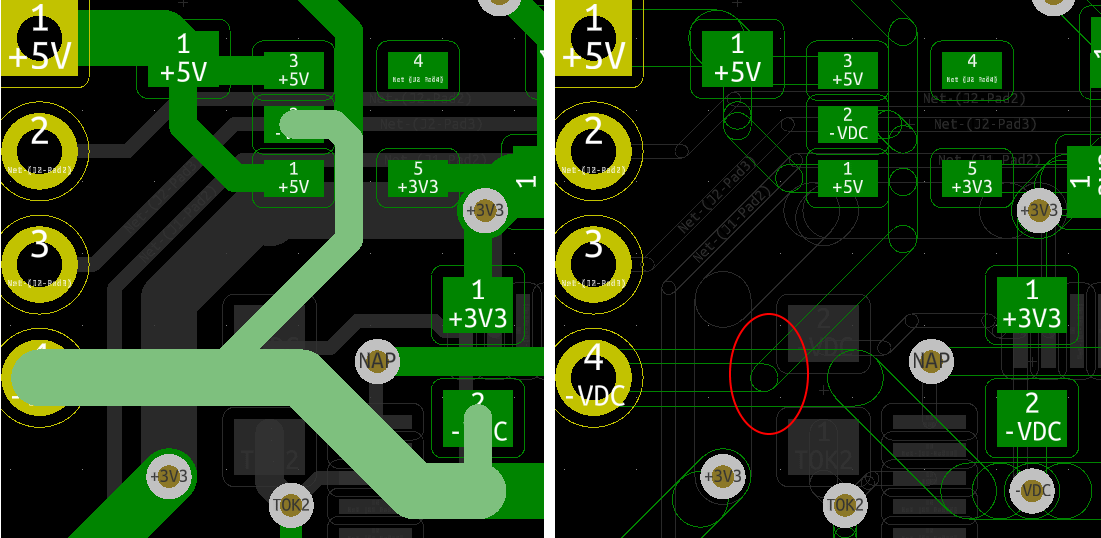
This plugin calculates the shortest distance between two pads. Use with caution because the result is not always correct as the algorithm follows the track layout. Also, the Via distance is not accounted for. The following picture shows an example where the distance is not correct. Here, the algorithm calculates the distance from the first pad to pin #4 and then to the other pad. It does not consider the connection between the two tracks at the encircled area where they actually branch off making the measured distance longer than it actually is.
For complex tracks (GND, Supply rails) the calculation can take quite some time.
To run the plugin:
- Select two pads to measure the distance between
- Run the plugin
- Select what you want to delete
- Hit OK
This plugin calculates the shortest distance between two tracks on different nets. To use, select one pad on first net and one pad on second net and run the plugin.
This plugin archives the project thus making it portable.
The schematics archive is achieved via the project cache library. The project cache library is copied to project-archive.lib which is modified and added to the project symbol library table (if the table does not exist it is created). Also the links to the symbols within the schematics are modified so that they point to the symbols within the archive library. Afterwards, the cache library is deleted. Eeschema will recreate a correct cache library the next time the schematics are edited.
The archiving of the pcb and its footprints is already implemented within pcbnew.
The 3D models archive is placed in "shapes3D" subfolder where all 3D models are copied. Then, the links to the models within the layout (.kicad_pcb) file are modified so that they point to the archived 3D models with a path relative to the project folder.
The plugin is run from pcbnew. When the plugin is run, eeschema has to be closed. If the plugin finished successfully, it automatically closes pcbnew. This behaviour is expected and required to perform the operation.
If the project is modified later it should be archived again in order to stay portable. If a symbol of a unit has to be replaced, all units with the same symbol have to be deleted.
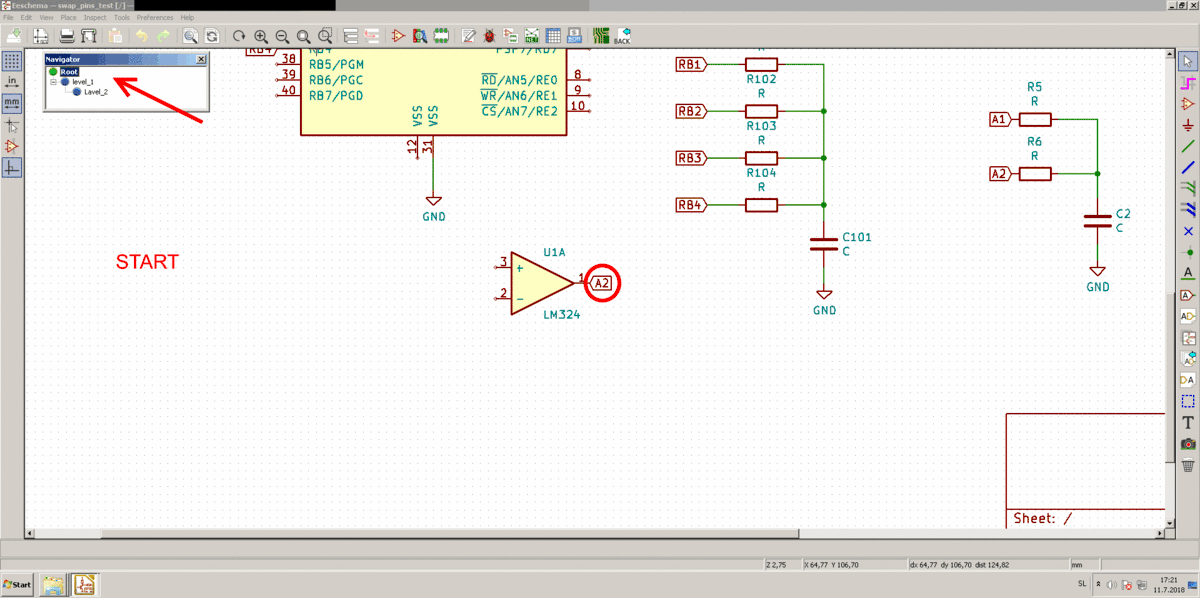
This plugin swaps two pads (in layout) and their corresponding pins (in schematics). The pins in the schematics have to be connected to a local or global label or hierarchical label either directly or through a short wire segment. The plugin also works across multi-unit parts and/or across different hierarchical levels.
Only one pin can be connected. Currently "no connection" flags are not supported. Eeschema has to be closed when the plugin is executed in pcbnew. Once the plugin is done, you should save the layout. Note that using undo will only undo the change in the layout, but not the change in the schematics. To reverse the operation, you can run the plugin again.
Example of pin swapping
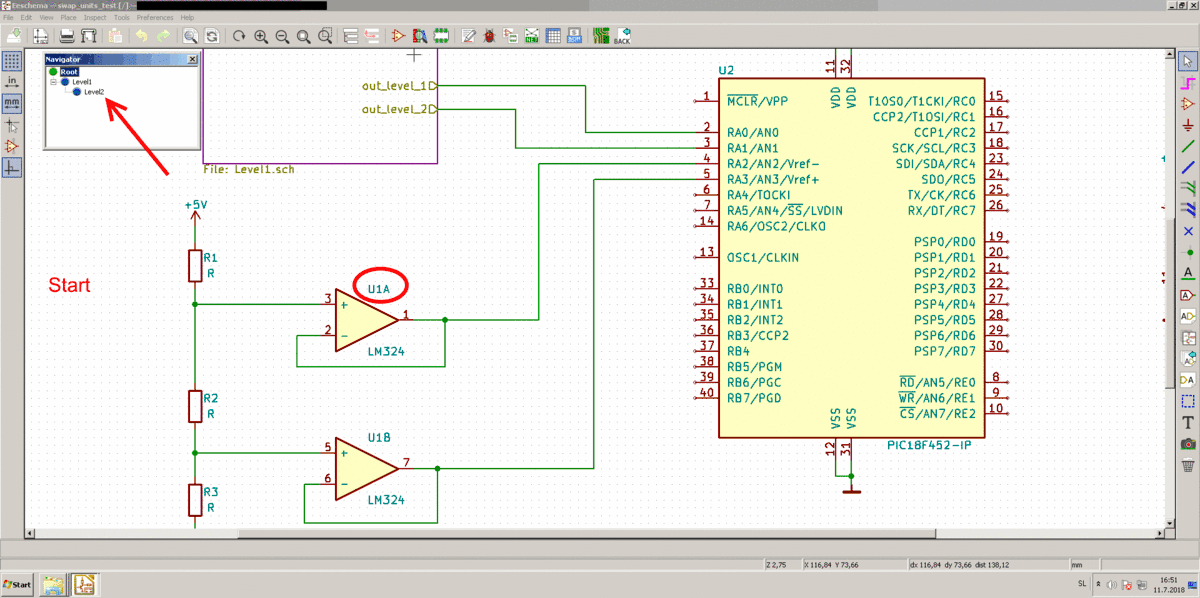
This plugin swaps two units (in layout) and r units (in schematics). Eeschema has to be closed when the plugin is executed in pcbnew. Unit swapping work across hierarchical pages. Note that using undo will only undo the change in the layout, but not the change in the schematics. To reverse the operation, you can run the plugin again.
Example of unit swapping
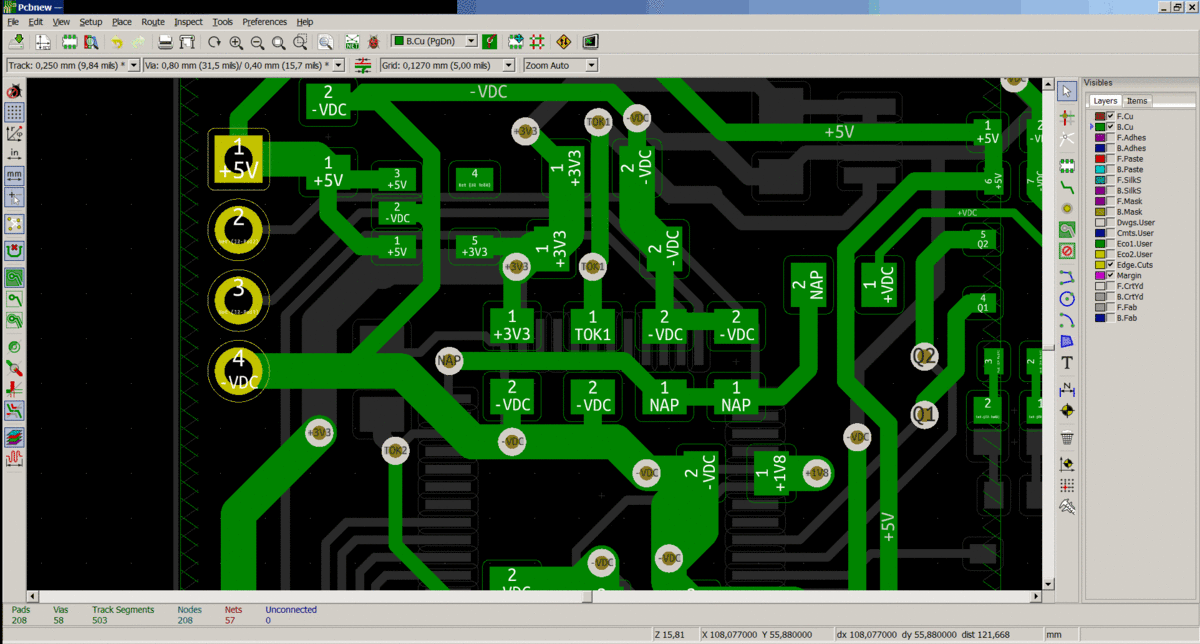
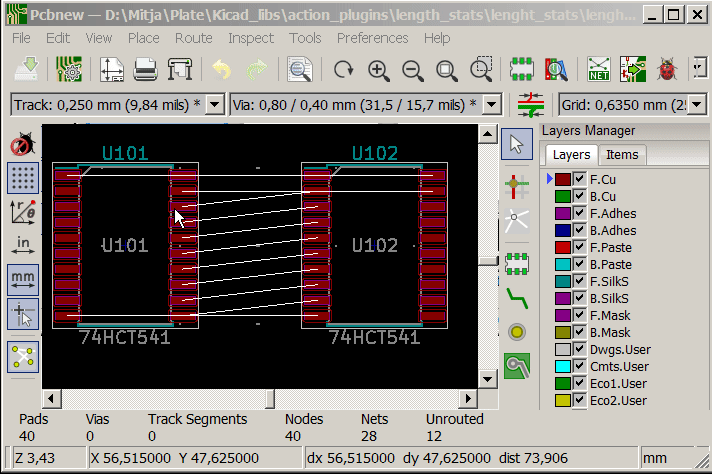
This plugin displays length of all tracks on selected nets. This can be used for length matching.
Workflow:
- Select tracks or pads on nets you want the length displayed. You can also select a footprint(s)
- Run the plugin. You can remove redundant nets
- Lay the tracks
- Close the track length window
Example:
This plugin saves the partial layout of a selected pcb (only specific hierarchical level is saved). This layout can be imported into another pcb, if it is based upon the same hierarchical subsheets. The equality is tested and checked.
Workflow:
- Select one footprint which is in the hierarchy that you want to save the layout for.
- Run the plugin and choose "Save layout"
- Select into which file should the layout be saved
- Create a new project. Copy the chosen .sch files used for hierarchy to the project folder and link it into schematics
- Create a new layout.
- Place and select the anchor footprint. This defines the position and orientation of restored layout.
- Run the plugin.
- Choose "Restore layout" 9: Select in which file is tha layout data stored
- Voila, observe restored layout
Example: