This project will serve as a local Node.js based Proxy server that will forward requests to an Salesforce Commerce Cloud OCAPI instance. This can be used for purposes such as testing 3rd party apps using OCAPI as well as integration for mobile/browser apps. The configuration of site_id, client_id are configured at the proxy level rather than in the app directly.
Edit the config.json to match the server you are using. If you are using a service such as https://ngrok.com you may need to add the url to your Business Manager allowed origins.
NOTE: This package only forwards OCAPI requests from one point to another. The main purpose is for routing data around CORS and is typically useful for Mobile Applications. x-dw-client-id as a header attribute must be used instead of client_id as a url parameter.
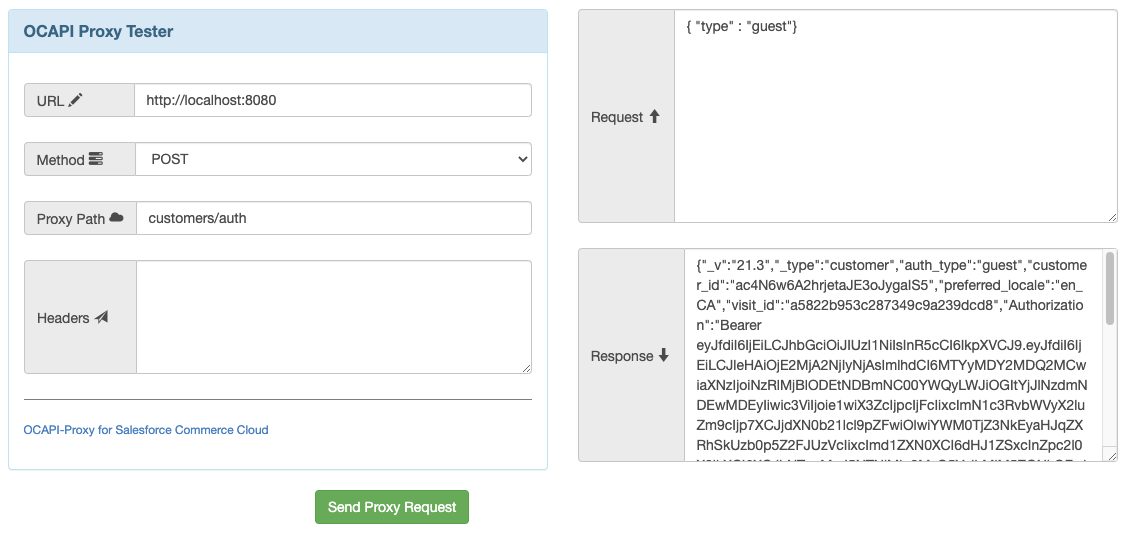
Updated UI Interface with Request and Response sections. Removed Autolaunch of UI. Cors changes to express have been added. UI can be compltely disabled in config.json as well as Google Anaylrics by making the value "" Errors will now return a json format if the SFCC instance can be reached. This will resolve issues with Postman not getting back a json result and aid in debugging.
Required:
    Node.js
    Salesforce Commerce Cloud Sandbox - Configured for OCAPI

Optional:
    Postman or another rest API tool.
    ngrok - If you need to get a public url to your localhost
npm install ocapi-proxy
From the command line:
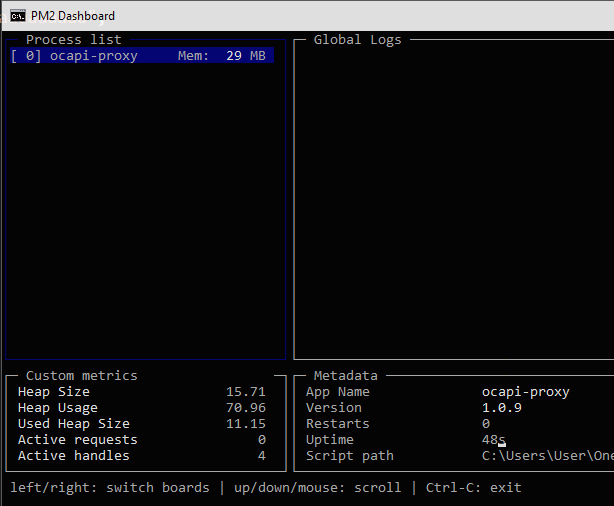
npm start or node ocapi-proxy.js
Example:
npm start ocapi-proxy.js
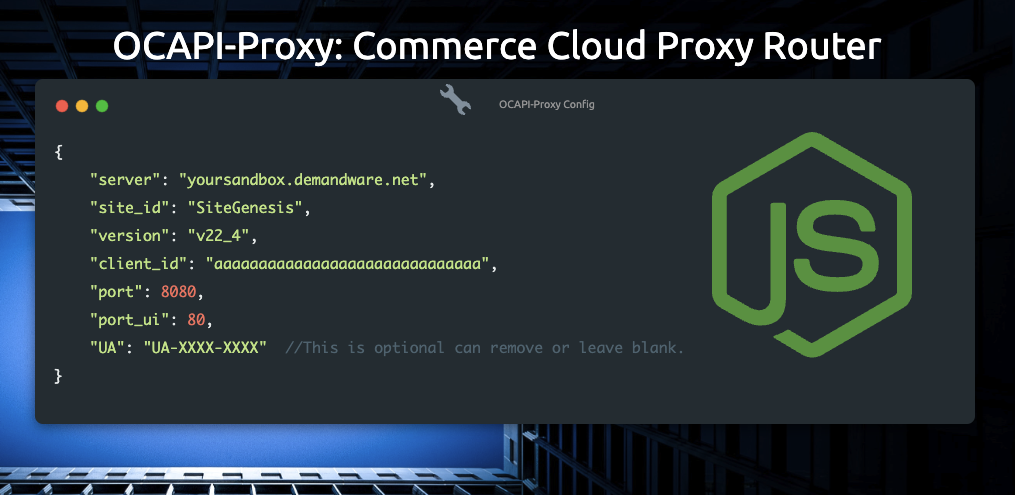
You will need a config.json (one will be generated on first launch) To edit the port, domain, etc.. modify the config.json file. server: your Salesforce Commerce Cloud server (currently all calls are https) site_id: SFCC Site ID version: SFCC OCAPI Version port_ui: Port for browser testing requests. port: Port that proxy listens for requests.
Example:
{
    "server": "yoursandbox.demandware.net",
    "site_id": "SiteGenesis",
    "version": "v23_2",
    "client_id": "aaaaaaaaaaaaaaaaaaaaaaaaaaaaaa",
    "port": 8080,
    "port_ui": 80,
    "UA": "UA-XXXX-XXXX",  //Optional: Universal Analytics ID
    "rate_limit": "",  //Optional: 15 minutes default
    "rate_max": "",  //Optional: number of calls that can be made
    "windowMs": limit, // 15 minutes or config file entry
    "max": max, // Limit each IP to 100 requests per `window` (here, per 15 minutes)
}
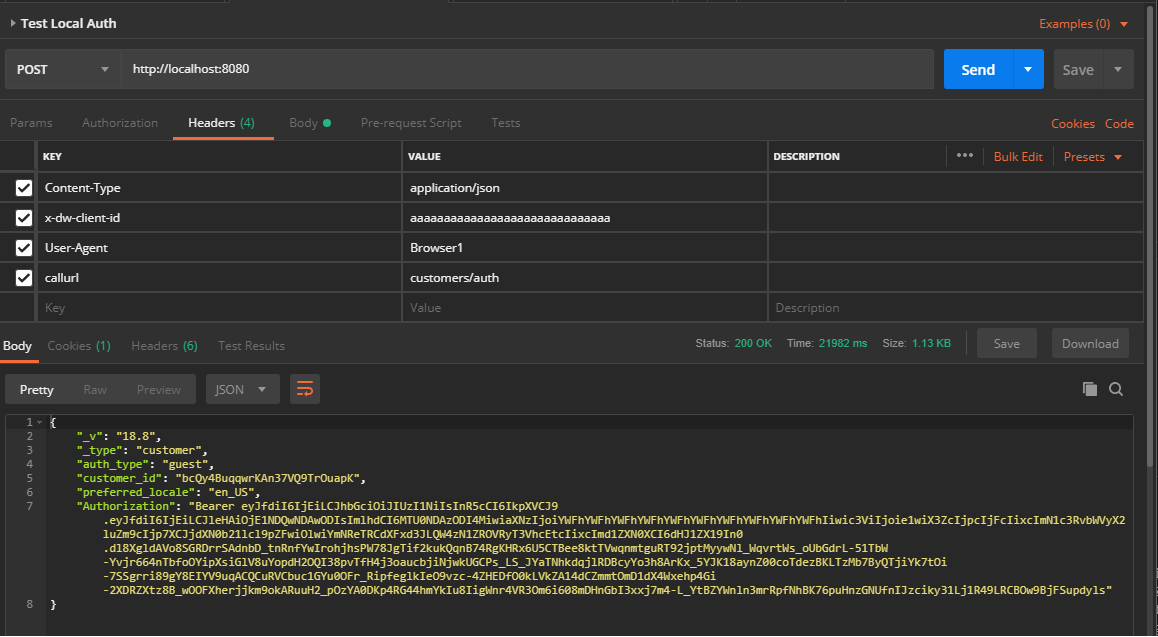
You can send OCAPI commands to your local proxy. Specify the host to make the call. Send the endpoint as the callurl header attribute. All other attributes can be sent similar to a direct OCAPI call. This ensures that the Proxy communicates with OCAPI as middleware.
Example:
This is currently a work in progress. Please report any issues you find. Latest: Fixes to logging added dates to log files. Updated contact info for Github and Twitter.
Currently Authorization and ETag headers are returned into the body from the output proxy rather than in the header. These are not needed in 19.X+
The Proxy will communicate with Google Universal Analytics if a "UA" attribute is found in the config file. You may leave this attribute blank or remove it from the config. Currently all UA requests are send as a event tag with the url of the Commerce Cloud Instance.
NEW Proxy UI for testing from a web browser interface. Config attribute "port_ui" added to config.json
Within the download you'll find the following directories and files:
|-- Root
    |-- .gitignore
    |-- .npmignore
    |-- build.js
    |-- config.json
    |-- ecosystem.config.js
    |-- libProxy.js
    |-- LICENSE.md
    |-- ocapi-proxy.js
    |-- package-lock.json
    |-- package.json
    |-- README.md
    |-- sample-config.json
    |-- SECURITY.md
    |-- .vscode
    |   |-- launch.json
    |-- examples
    |   |-- diagram-middleware.png
    |   |-- OCAPI-Proxy-Tester.png
    |   |-- OCAPI-Proxy.postman_collection.json
    |   |-- pm2-example.png
    |   |-- postman-example.png
    |-- html
    |   |-- index.html
    |-- logs
The Proxy will generate logs where the current proxy has been executed in the logs directory.
- Node.js
- Express - Minimalist Web Framework for Node.js
- jsonfile - read/write JSON files in Node.js
- universal-analytics - Google Universal Analytics
- open - Open (NPM)
- Mddir - Mddir (NPM)
See the LICENSE.md file for details


