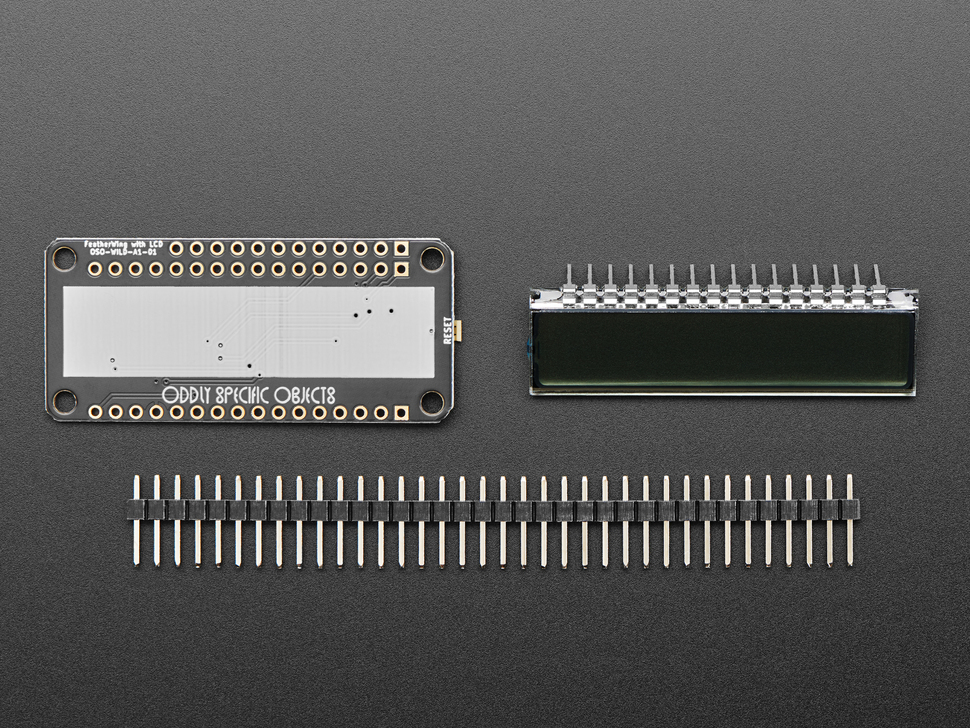
FeatherWing with Liquid Crystal Display
Click here to purchase one from the Adafruit shop
This repository contains design files for the LCD FeatherWing — available at both Adafruit and the Oddly Specific Objects shop — and the LCD FeatherWing test jig.
PLEASE NOTE: The FeatherWing schematics and PCB designs, as well as the test jig and even the LCD data sheet and artwork are all open source hardware covered by the CC-BY-SA 4.0 license. You should feel absolute freedom to remix and change them, or even make these objects on your own for any commercial or noncommercial purpose.
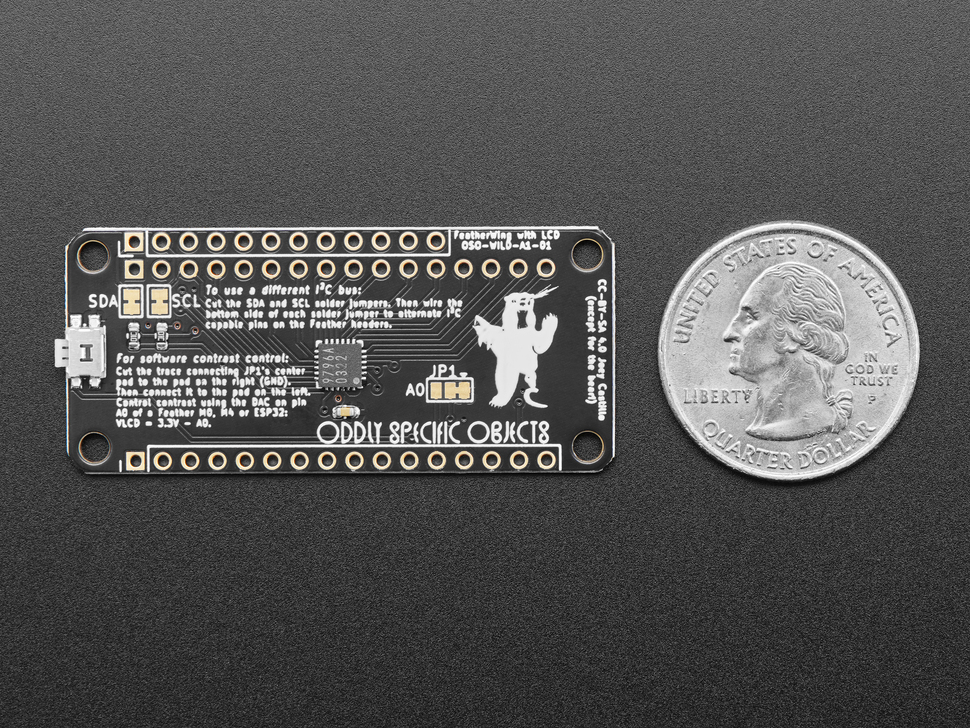
The only exceptions are the Oddly Specific Objects trade marks, including the Oddly Specific Objects typography and the lazer bear artwork. If you want to make these boards and sell them, feel free to do so, and to credit OSO as inspiration! I just ask that you remove the branding from the boards if you're going to sell them on your own.
Please don't steal the bear.
OSO-WILD-A1
This folder contains KiCad schematics and board designs for revision 01 of the LCD FeatherWing. The BOM couldn't be more simple:
- 1x BU9796AMUV-E2 48-segment LCD controller
- 1x 732-7057-6-ND tactile switch
- 2x 10K resistors (0805)
- 1x 100nF capacitor (0805)
You will also need some very basic 0.1 inch breakaway header, and one of the custom LCDs described in the next section:
OSO-WILD-A2
This folder contains designs for the liquid crystal display glass, as sent to my LCD manufacturer. If you were to design your own 48-segment LCD, the dimensions, pinout and pin spacing in the datasheet document would ensure compatibility with the FeatherWing. In addition, these files should give you an idea of the kinds of information an LCD fabricator would need to realize your design.
OSO-WILD-A3
This folder contains a KiCad board design for revision 00 of the LCD FeatherWing tester. There is no schematic or BOM for this, but it just uses some Feather headers at the top, some pogo pins in the middle and one of the aforementioned LCDs at the bottom, plus some M2.5 standoffs.
The test procedure is pretty straightforward: load a script onto the Feather — preferably one that exercises each segment individually — and then place the wing in the test jig. Press the reset button on the wing (which confirms that the reset button is functional) and then watch the LCD on the tester. If the expected output appears, the board passes!
If segments appear incorrectly, check for bridged pins or bad joints on the one QFN part. If nothing displays at all, check on that as well as the two resistors by the reset button.