Work in Progress
##What
Sencha Ext JS is a development environment for building web apps with a scalable MVC architecture. The Sencha Cmd tool makes it easy to start your application development and carry you through your development cycle.
Node.js allows JavaScript developers to quickly create API middle-tier servers that bind directly to databases, proxying between disparate data sources, and building full server side applications.
##Why Ext JS and Node
The Node.js platform and StrongLoop node packages make it easy to not only serve your Sencha App and services but also create the API backend that binds to a database like MongoDB or Oracle.
In addition to Sencha Ext JS MVC-architecture the framework provides cross-platform capability plugin-free charting, and a rich inventory of UI widgets.
The benefit of using Sencha Cmd for creating your Ext JS web application is the CLI tool make it easy to conform to the recommended MVC-architecture allows you to add models and views to your project with a command like `sencha generate view MyNewView’ keeping projects organized and applications scalable.
The combination makes for a powerful developer workflow for a best in class HTML/JS client application and the power of JavaScript on the server with Node.
##Getting Started
To build Sencha applications on your desktop machine you will need to install the following tools and SDK’s:
- Install Sencha-cmd
- Install Sencha-SDK
- Sencha Cmd requires Java Run-time Environment 1.6 or above if your not already up to date.
To build and run your LoopBack Node middle tier you will need to have node and npm installed on your local machine. Additionally you will need to install the StrongLoop CLI strong-cli to run the $slc commands for scaffolding, monitoring and debugging your node app.
- Install Node and npm.
- Confirm node and npm :
node -vandnpm -v - Install Strong-cli
sudo npm install -g strong-cli - Confirm slc Strong-cli install
slc version
Full source for the sample can be found on github at connecting-sencha-extjs-node.
You can run this sample by simply cloning to your local machine compiling the Sencha app and then running the node application.
git clone git@github.com:mschmulen/connecting-sencha-xtjs-node.git
cd connecting-sencha-xtjs-node
cd public
sencha app build
slc run app.js
slc is a simple command line helper for node applications you can install it on your system by installing it to your global npm cache by running npm install -g strong-cli from the terminal.
###Initializing StrongLoop LoopBack and Sencha Ext JS
Using the slc command line and Sencha Cmd it’s very easy to scaffold a Node server with a Sencha Ext JS boilerplate application.
- Create your node application with slc
slc lb project strongloop-server cd strongloop-server- Optionally you can configure Node.js application monitoring and management by configuring strong-ops
slc strongops --register - Enable instant JSON REST access to backend data by adding a model to the project
slc lb model product - Create a public folder to host your Sencha extjs app
mkdir public - Update the node app.js file to enable http access to your public folder by commenting out line 121
//app.get('/', loopback.status());. Routing homepage requests to the Sencha App. - Change your directory to the newly created public folder
cd public - Scaffold your sencha app with the sencha cli
sencha -sdk /Users/matt/acorns/extjs/ext-4.2.1.883 generate app mySenchApp ./ - Build your Sencha app
sencha app build - Step back to your main project folder
cd ../ - Run your node server
slc run app.js.
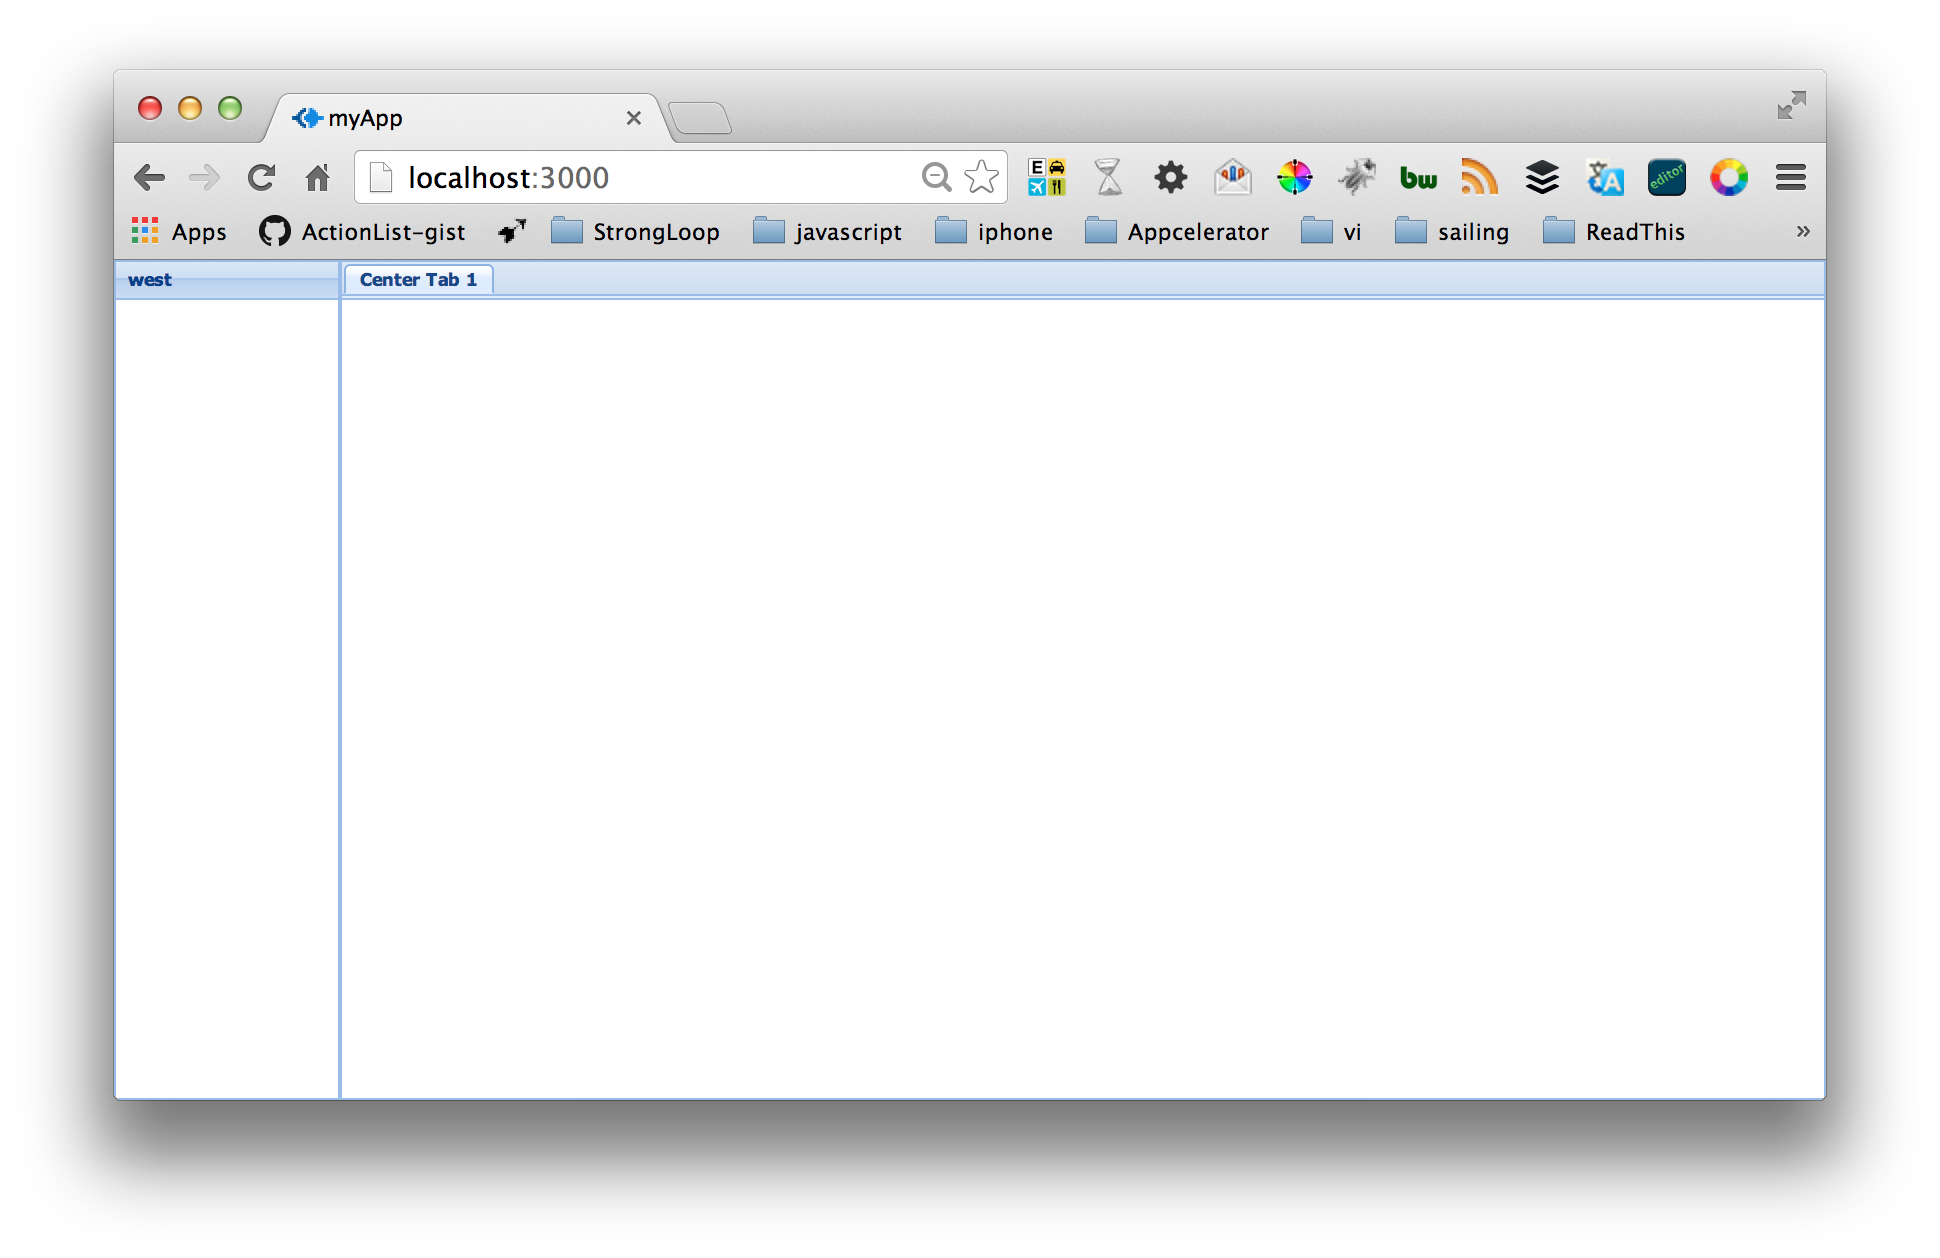
Lets make sure we configured the scaffolding correctly by opening up a browser to http://localhost:3000/ and you will see the default application running.
###Extend the Ext JS web app to connect to a Node.js data source
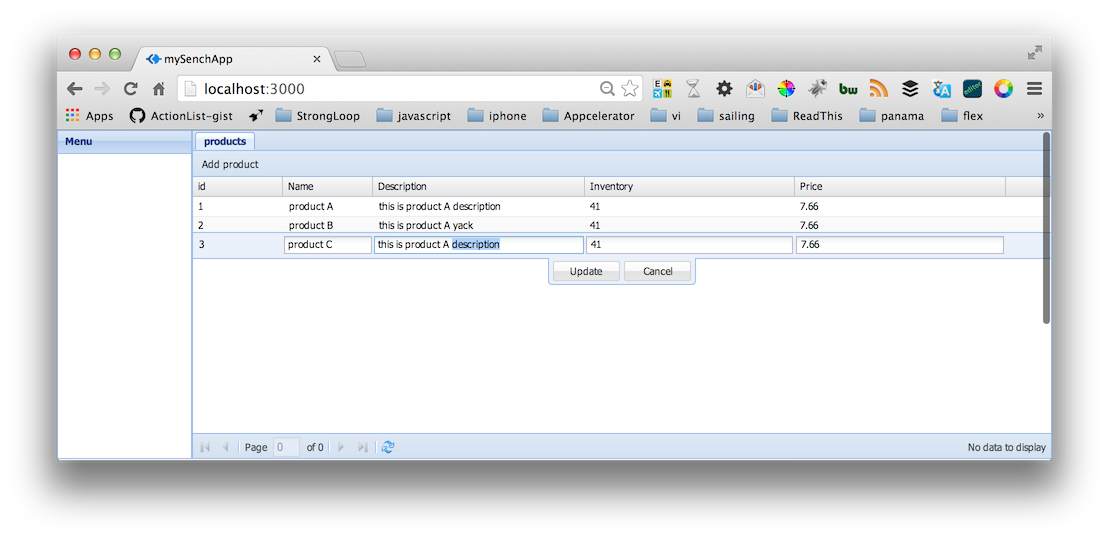
Lets extend our Sencha Application to show an editable live DataGrid of our LoopBack model data for a custom 'products' model type.
First we need to generate our Controller, Models and Views using the Sencha cmd tool.
From within the ~/strongloop-server/public folder run the following commands to scaffold the supporting Sencha MVC files.
sencha generate controller ProductController
sencha generate model ProductModel name:string
sencha generate view products.list
sencha generate view products.add
mkdir store
touch ./store/ProductStore.js
sencha app build
####Customizing the Model, View and Controller to work with our Node API server.
Now that we have the sencha EXT JS app scaffold in our Node application we can fill out the Model, Views and Controller to complete the data grid editor of our Products Model.
Starting with the Model and Store.
####Configuring Model and Store
To edit the Model to support our StrongLoop Node REST endpoints open the ~/strongloop-server/public/model/ProductModel.js file and replace the boiler plate code:
Ext.define('mySenchApp.model.ProductModel', {
    extend: 'Ext.data.Model',

    fields: [
        { name: 'id', type: 'int' }
    ]
});
With our specific field, proxy and listener definitions.
Ext.define('mySenchApp.model.ProductModel', {
    extend: 'Ext.data.Model',

    proxy: {
        type: 'rest',
        url : 'http://localhost:3000/api/products',
		  	headers: {
		    	'Accept': 'application/json'
		    },
				callbackKey: 'callback',
				    callback: function( data ) {
				    	console.log("callback" + data);
				},
        reader: {
            type: 'json'
        }
    },
    listeners: {
        write: function(store, operation){
            var record = operation.getRecords()[0],
                name = Ext.String.capitalize(operation.action),
                verb;
						if (name == 'Destroy') {
                record = operation.records[0];
                verb = 'Destroyed';
            } else {
                verb = name + 'd';
            }
            Ext.example.msg(name, Ext.String.format("{0} user: {1}", verb, record.getId()));

        }
    },

    fields: [
    	{ name: 'id', type: 'int', defaultValue: null },
        { name: 'name', type: 'string' },
        { name: 'description', type: 'string' },
        { name: 'inventory', type: 'int' },
        { name: 'price', type: 'string' },
    ]
});
We also need to create an Ext.data.Store object to load data via a Proxy. We manually created the empty ProductStore.js file since Sencha Cmd does not have a 'sencha generate store' command.
Add the following to ProductStore.js.
Ext.define('mySenchApp.store.ProductStore', {
    extend: 'Ext.data.Store',
    model: 'mySenchApp.model.ProductModel',
    autoLoad: true,
    autoSync: true,
    remoteFilter: true
});
####Configuring the Ext JS Views
Now that we have our Model and Store defined we can go to the Views. For this data viewer and editor we will need 2 views: products.add and products.list.
The add.js file will show the listing of Product records and the add.js will give us a modal dialog to create new Product records.
Update the products/add.js file to add.js and the products/list.js to list.js. Once that is complete we need to make sure the controllers are updated to bind to the model data with the new views.
In addition to the new View files you will also need to update Main.js to call your 'products-list' type.
    initComponent: function () {
        var me = this;

        this.items = [
            {
                region: 'west',
                xtype: 'panel',
                title: 'Menu',
                width: 150
            },
            {
                region: 'center',
                xtype: 'tabpanel',
                items: [
                    {
                      xtype: 'products-list'
                    }
                ]
            }
        ]

        //parent
        this.callParent(arguments);
    }
####Configuring the Sencha Controller
/public/app/controller/ProductController.js will facilitate the configuration of our View representations with our Model and Store components.
Replace the template code that was created earlier with this ProductController.js file
####Updating Application.js
Finally update the main Sencha Application.js located at /public/Application.js file to include the dependencies and initialize our VTypes for the new record form.
requires: [
	'mySenchApp.lib.form.field.VTypes',
    'mySenchApp.lib.form.field.override.Text'
],

views: [
	'products.list',
	'products.add'
],

controllers: [
  'ProductController'
],

launch: function(){
     Ext.create('mySenchApp.lib.form.field.VTypes').init();
},
Since this demo leverages libraries for adding new records to the backend you will also need to copy the lib folder into /strongloop-server/public/lib.
One important note regarding the Sencha workflow. If you add or significantly modify MVC Sencha files you need to run the Sencha-cmd build command sencha app build to compile the client JavaScript application.
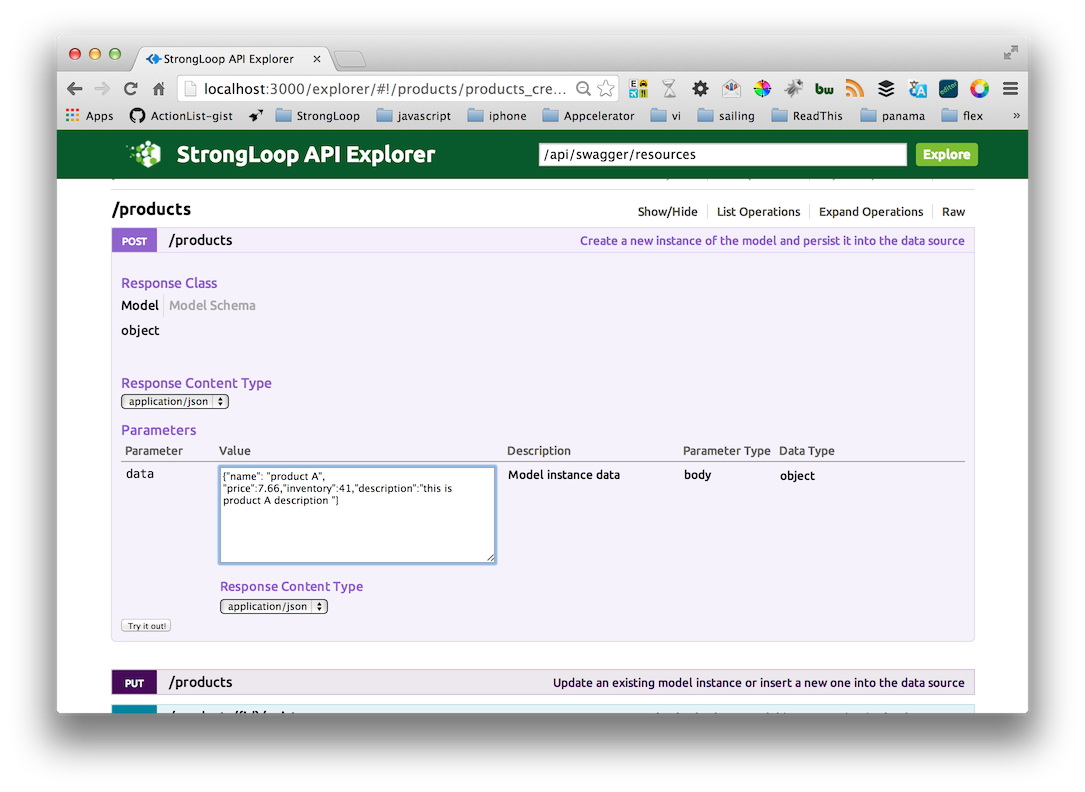
###Add some data with LoopBAck Explorer
With your node application running slc run app.'s open your browser to the LoopBack explorer at http://0.0.0.0:3000/explorer. Expand the 'products' row http://localhost:3000/explorer/#!/products
and enter in some default data such as:
{"name": "product A", "price":7.66,"inventory":41,"description":"this is product A description "}
into the post and press the "try it out!" button.
##Summary
Now that we have integrated our Sencha ExtJS app with one of our LoopBack REST endpoints we can extend the integration and support multiple model bindings easily add additional Sencha web UI widgets such as charts and tables.
When Ext JS applications use Node they can build fast, scalable supporting API tiers in JavaScript. They have access to over 50,000 npm components for rapid access to a variety of connector’s features on a platform that can run on a developer’s host machine, and be deployed on premise or in the cloud.
Since we are using LoopBack as our Mobile API middle tier we can also easily bind our data to MongoDB, MySQL or Oracle. Additionally we can use StrongLoops native mobile SDK's for iOS and Android for a full native mobile experience.
We can also use Strong-Ops to manage and measure our Node applications performance when we deploy the Node server into production.
##Next Steps
Get LoopBack installed via npm Check out the LoopBack Documentation Browse the LoopBack API Documentation


