-
Have administrators post up topics. Have visitors post comments with Disqus.
-
Content shall be presented aesthetically.
-
Boom. That's it.
-
View video below to see a demo of Simple DiscussDB.
-
Pull Requests & Issues are welcomed.
-
Markdown Support for body field.
-
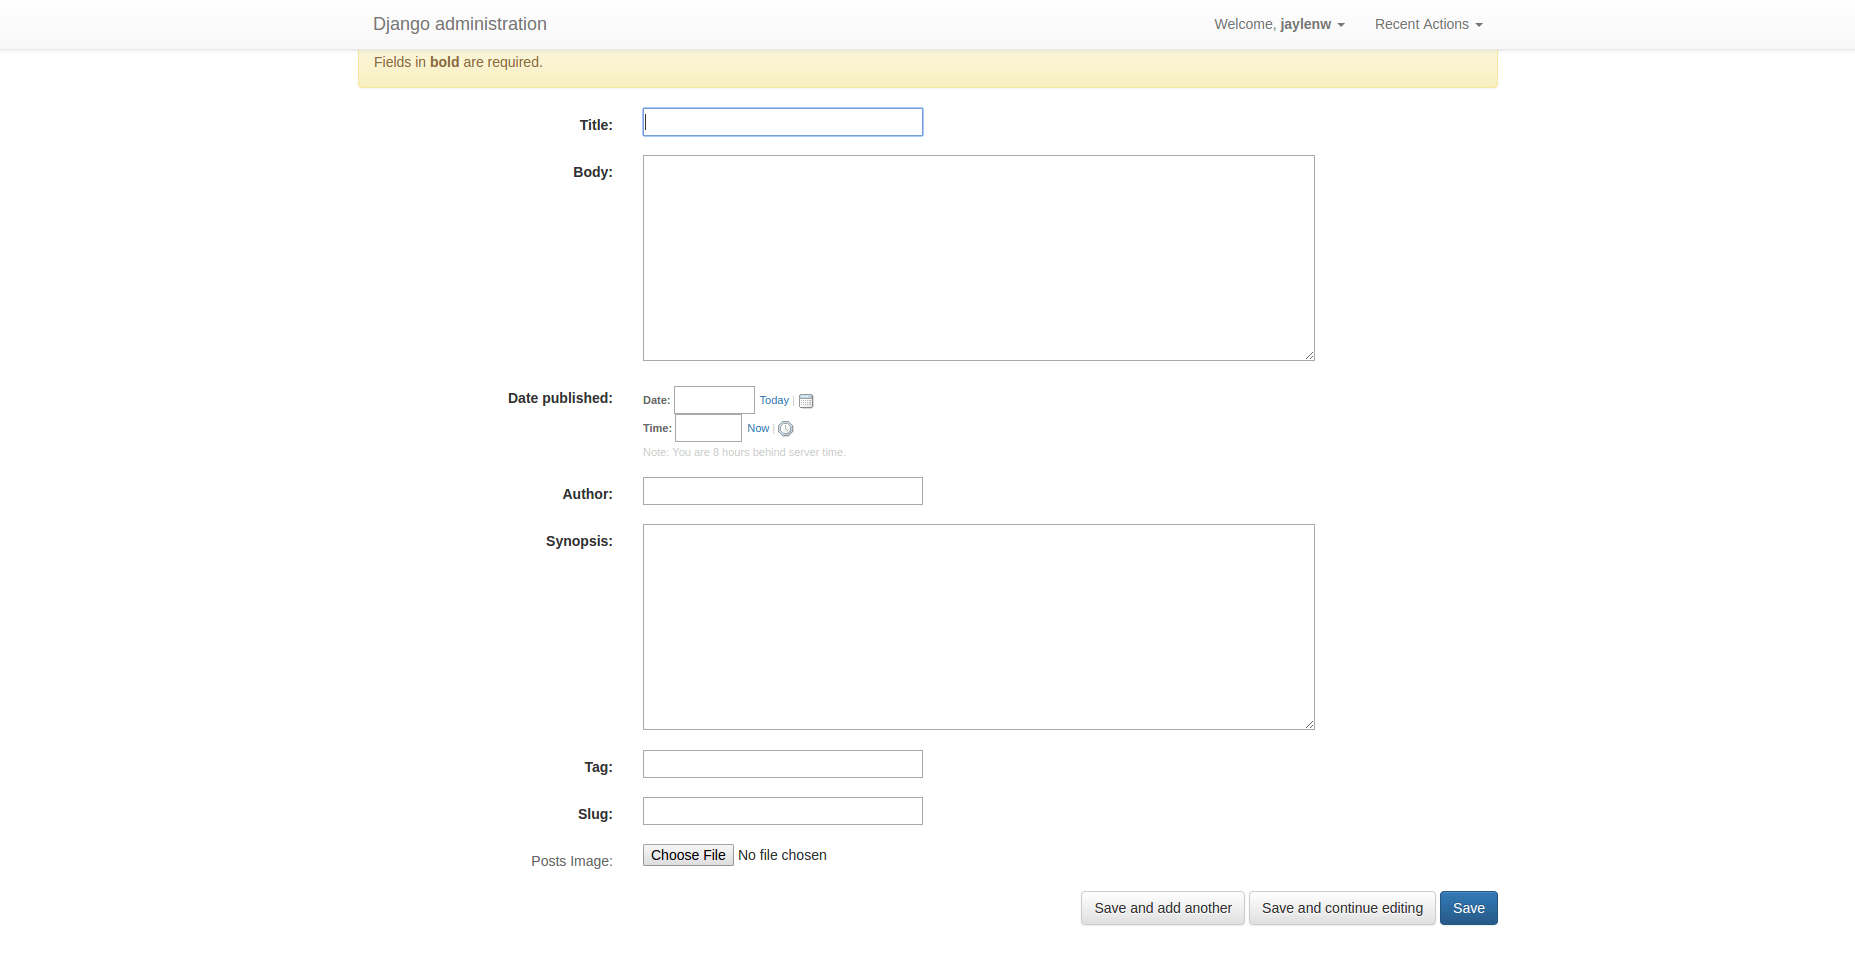
Easy upload of images for posts.
-
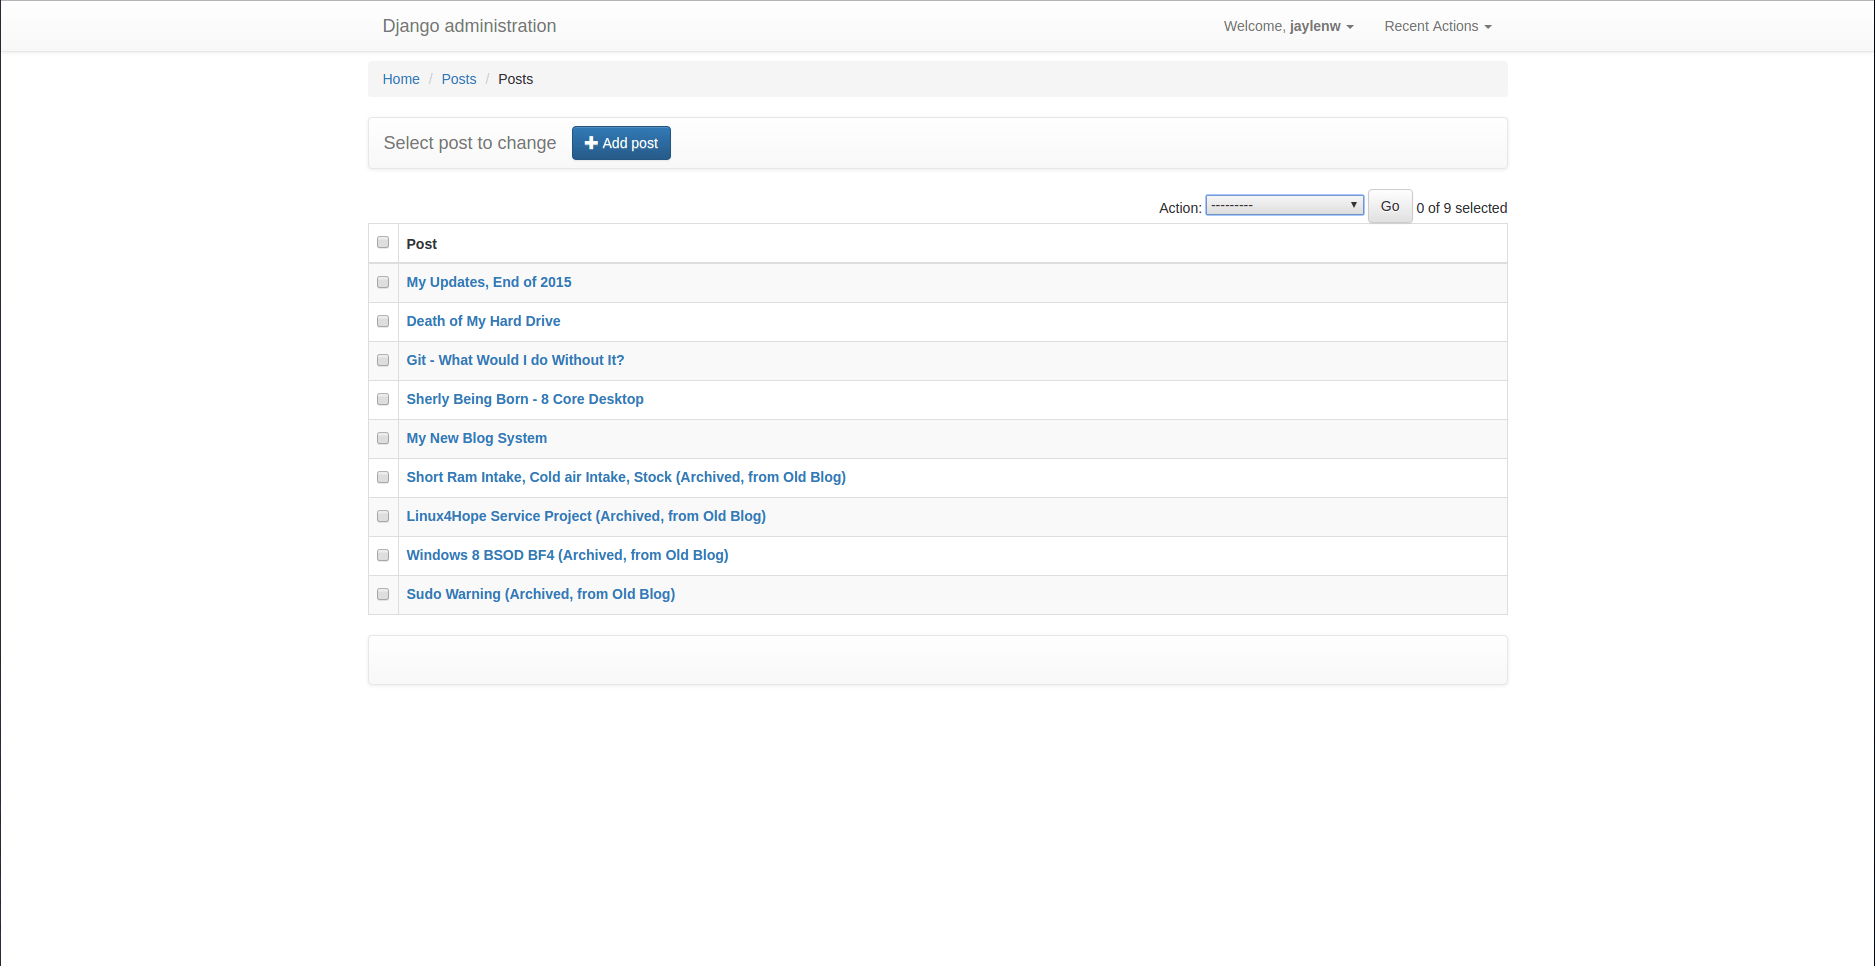
Simple Administration (Create, Add, Delete Users & Posts).
-
Mobile Friendly.
-
Easy theme color customization (change, add, delete css properties in app.css).

Assuming running on GNU/Linux
-
First download the git repository.
-
Globally, need to have python-dev (debian specific) and python-setuptools, python-pip installed.
sudo apt-get install python-pip build-essential python-dev python-setuptools -
Creating a directory for our project and then cd into it.
-
In our new directory, run
sudo pip install setuptools
sudo pip install virtualenv
sudo pip install virtualenvwrapper

virtualenv env
you should now see a directory appear named env
-
Now to activate our virtual environment, run
source env/bin/activate -
Now that we got our virtual environment running we can install the software we need. Copy the requirements.txt file from the repository files you downloaded into the same directory and the folder env. Then run,
pip install -r requirements.txt -
Now that our software we need is installed, we must run the following command to setup our own django project. Run,
django-admin startproject oursitethis created our new site and project. You should see an 'oursite' directory.
-
In the repository you downloaded our project site is called mysite, for us it is called oursite. This is the time where you compare, copy, and make additions to the files in our 'oursite' directory. Note: don't replace anything that says mysite to 'oursite', just use the repository's code as guide for changes you must make to 'oursite'. You should be able to safely copy everything but the settings.py file for security reasons. You will then compare and copy the necessary lines of code to your settings.py file in 'oursite'. Don't change the 'oursite' security key. Make sure you have the url patterns correct under oursite/urls.py, compare with mysite/urls.py.
-
Lets now get this site fired up. We will be creating our database and a super user we can use to login to the admin portion of site. cd into 'oursite' directory. You should now see a file that says manage.py. Run in that directory,
python manage.py migrate python manage.py createsuperuser -
It is now time to fire up the built in developer server. Sign into the admin site with the superuser you created. Run,
python manage.py runserver -
Go to the browser and enter in the address bar 127.0.0.1:8000/admin Login, create a post. Log out, and visit 127.0.0.18000, thats the home page.
-
You are done. :)
Note: If you ever have to add fields to models.py after creating your database, run,
    python manage.py makemigrations

    python manage.py migrate
-
Assuming you have done the steps above!
-
Run,
pip install gunicornGunicorn is a Python WSGI HTTP server will be using in replacing Django's built in development server.
-
In settings.py of 'oursite', add the line,
STATIC_ROOT = os.path.join(PROJECT_PATH,'django_collected_static')This line will create a directory of all of our static files we will serve with another webserver.
-
In the same directory where you see manage.py, run
python manage.py collectstaticThe directory django_collected_static is now created with our files.
-
In settings.py now change the following,
DEBUG = False

TEMPLATE_DEBUG = False

ALLOWED_HOSTS = ['127.0.0.1','localhost', '.example.com',]
Where example.com is the domain you will be using to point to your website. .example will catch all subdomains as well.
-
The following instructions can now be done in multiple ways, but of course this is one way.
-
Make sure django_collected_static folder is in same directory as manage.py. Copy admin, bootstrap, and endless_pagination folders from django_collected_static into your static folder.
-
Next, if not already installed, install nginx. And read the documentation if needed to become familiar with it. Because I am cool, I will provide an example of an extremely basic configuration file.
server { listen 80; #listening on port 80 server_name example.com; #our domain name root path; #path to your project, should see env folder keepalive_timeout 5; #to serve to proxy, gunicorn that is running on port 8000; location / { proxy_pass http://127.0.0.1:8000; } #to serve static files location /static/ { autoindex on; alias path/static/; #your path plus addition to static directory } location /media/ { autoindex on; alias path/media/; #your path plus addition to media directory } } -
Make sure you save and restart nginx for configuration to be active.
-
Now back to the directory of our project where manage.py sits, we can now launch our project. Gunicorn runs our project like this, gunicorn test_project.wsgi:application , for our case, run,
gunicorn oursite.wsgi:applicationGunicorn should be running, and now we are all set!
-
If you have your domain name pointing to your server, entering it to the address bar should result in your Django site! Congratulations! :)
-
To make your life easier, and don't want to start you django site manually after server reboots, create a bash script. Lets name it startdjango.sh . In it add,
#!/bin/bash

echo "Taking actions to start up Django Site"

echo "Starting our virtual environment"

cd pathtositedirectory

source pathtositedirectory/env/bin/activate

echo "Ran command to activate virtual environment"

echo "Changing directories to access our application..."

cd pathtositedirectory/oursite

echo "Starting our Django Application"

gunicorn oursite.wsgi:application
Save it. Then run it by
source startdjango.sh -
In an event you need to kill gunicorn, run,
pkill gunicorn -
Last but not least! Your visitors need a way to comment! Follow Disqus instructions on how to add Disqus comments to your site. You should be able to embed code to the file detail.html. The code should look similar to what is shown below. Now you are done!
<div id="disqus_thread"></div>
<script type="text/javascript">
/* * * CONFIGURATION VARIABLES: EDIT BEFORE PASTING INTO YOUR WEBPAGE * * */
var disqus_shortname = '<example>'; // Required - Replace '<example>' with your forum shortname

/* * * DON'T EDIT BELOW THIS LINE * * */
(function() {
   var dsq = document.createElement('script'); dsq.type = 'text/javascript'; dsq.async = true;
   dsq.src = '//' + disqus_shortname + '.disqus.com/embed.js';
   (document.getElementsByTagName('head')[0] || document.getElementsByTagName('body')[0]).appendChild(dsq);
   })();
</script>
<noscript>Please enable JavaScript to view the <a href="https://disqus.com/?ref_noscript">comments powered by Disqus.</a></noscript>
Information on Disqus Universal Embed Code can be found here Embed Code Installation Instructions
Below is an example of css tags that you may want to add to app.css to quickly customize the finer parts of Simple DiscussDB. Change to where you see fit! :)
    body {
      background: #32303D;
      color: #green;
    }

    h1, h2, h3 {
      color: red;
    }

    h4 {
      color:#fff;
      } /* used by author in detail.html*/

    .reveal-modal, dialog { /* customize the drop down menu*/

      background: #32303D;
      color: #fff;

    }