  _____                     _       _           _         ____            _
 | ____|__ _ ___ _   _     / \   __| |_ __ ___ (_)_ __   / ___| _   _ ___| |_ ___ _ __ ___
 |  _| / _` / __| | | |   / _ \ / _` | '_ ` _ \| | '_ \  \___ \| | | / __| __/ _ \ '_ ` _ \
 | |__| (_| \__ \ |_| |  / ___ \ (_| | | | | | | | | | |  ___) | |_| \__ \ ||  __/ | | | | |
 |_____\__,_|___/\__, | /_/   \_\__,_|_| |_| |_|_|_| |_| |____/ \__, |___/\__\___|_| |_| |_|
                 |___/                                          |___/
- Easy Admin System v4 - CMS focused on easy use
- Version: 4.0
- Backend core with RESTful API using Node.js, Express, TypeScript, MySQL, Sequelize ORM
- Author & Maintainer: Jan Elznic – Homepage – Github – GitLab – LinkedIn
- REST API
- MVC model (model, view, controller, services)
- HTTP Bearer authentication strategy authenticates users using a bearer token
- TypeScript as Language
- Framework: NestJS
- Database: MySQL server 8.0
- Sequelize ORM (object-relational mapping)
- Linting and formatting code using TSLint & Prettier
- EditorConfig for maintain consistent coding style
- Jest unit tests framework
- Using the last ECMAScript 8 (2017) features as
async-await - nodemon build tool with monitoring for any changes in source code
- Swagger UI for API documentation preview and requests testing
- You need to install MySQL server either on your local machine.
- Create manually a new database (preferably with charset
utf8mb4and collationutf8mb4_unicode_ci).
-
Clone git repository:
git clone git@github.com:janelznic/easyadmin-core.git -
Go to repository directory easyadmin-core:
cd easyadmin-core -
Prepare config file and import MySQL database files
npm run prepare -
Install all the module dependencies:
npm installornpm i
- Start HTTP server with
npm start - Go to:
http://localhost:3000/
├── LICENSE
├── README.md
├── bin
|  ├── _get_source_dir.sh
|  ├── backup_db.sh
|  └── install.sh
├── config
├── db
|  └── mysql
|     └── install
|        ├── data.sql
|        └── structure.sql
├── doc
|  └── users.md
├── nodemon-debug.json
├── nodemon.json
├── package-lock.json
├── package.json
├── package.json.bak
├── src
|  ├── app.module.ts
|  ├── config.ts
|  ├── consts
|  |  └── app.config.ts
|  ├── db
|  |  └── mysql
|  |     └── mysql.ts
|  ├── main.hmr.ts
|  ├── main.ts
├── test
|  ├── app.e2e-spec.ts
|  └── jest-e2e.json
├── tsconfig.json
├── tsconfig.spec.json
├── tslint.json
└── webpack.config.js
backup:db- Backup database structure and data into the filebuild- Transpile TypeScript to ES2017dev- Run the development server without transpile to ES2017format- Prettier code formatterlint- Lint your TS codeprepare- Prepare config file and import MySQL database filesreinstall- Reinstallstart- Run the transpiled applicationstructure- List contents of directories in tree-like formattest- Run unit teststest:cov- Show unit tests coveragetest:e2e- Run e2e teststest:watch- Watch all files and run unit tests when changes occureduninstall- Uninstall (only node_modules, not MySQL DB)
Requests authentication is performed using HTTP bareer token in headers. The component temporarily retrieves a list of tokens from a constant provided by the SessionModule.
curl --header "Authorization: Bearer Ynzyo9YNn1OAQ19rak90hXCIQh3Mj12Q" http://localhost:3000/users/list-users/- .editorconfig plug-in compatible editor (http://editorconfig.org)
Please use npm run lint command before every commit and fix all your errors and warnings!
- master - Production, always stable
- test - Test (to be merged with develop branch), RC versions only
- develop - Development branch (always make feature branches from this)
- hotfix/* - Hotfixes (to be merged with develop and test branch)
- feature/* - Feature branches (to be merged with develop branch only)
IMPORTANT NOTE: Always make pull requests only from your feature branch to develop branch, NOT to master branch!
You can use built-in development server that will monitor for any changes in your source and automatically restart your server with monitoring for any changes in source code.
- Start development server with
npm run dev - Go to:
http://localhost:3000/
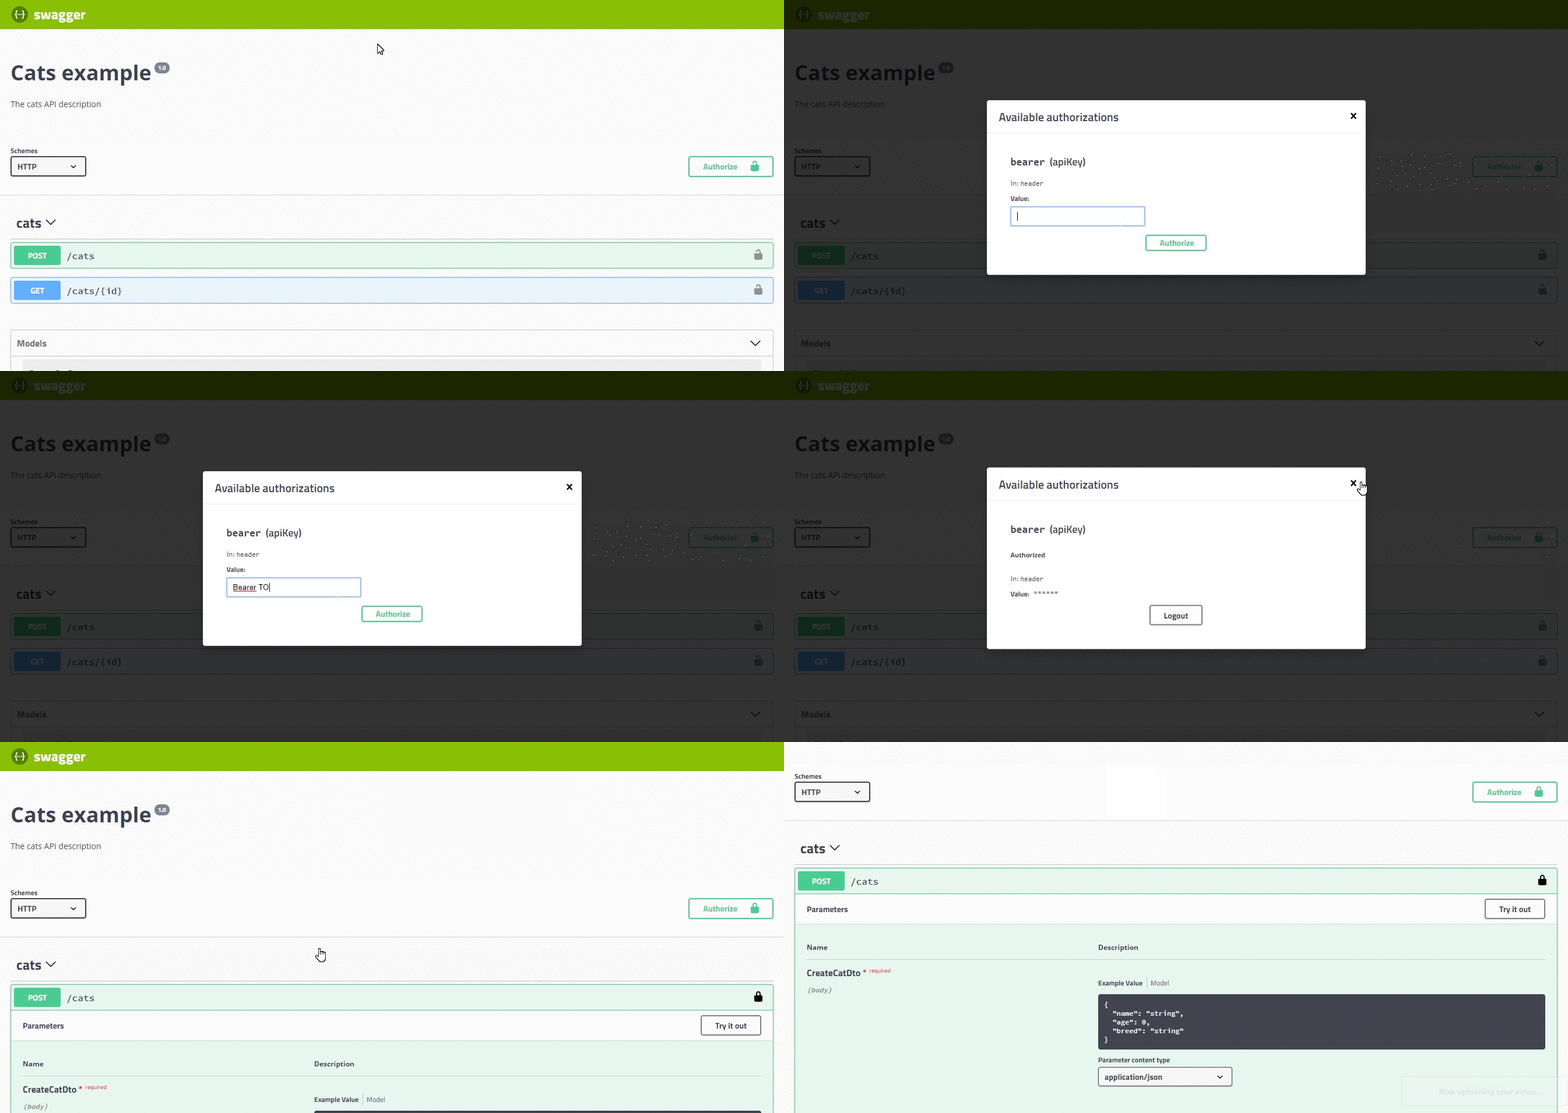
- Swagger UI is available on
http://localhost:3000/swagger/ - How to authenticate:
