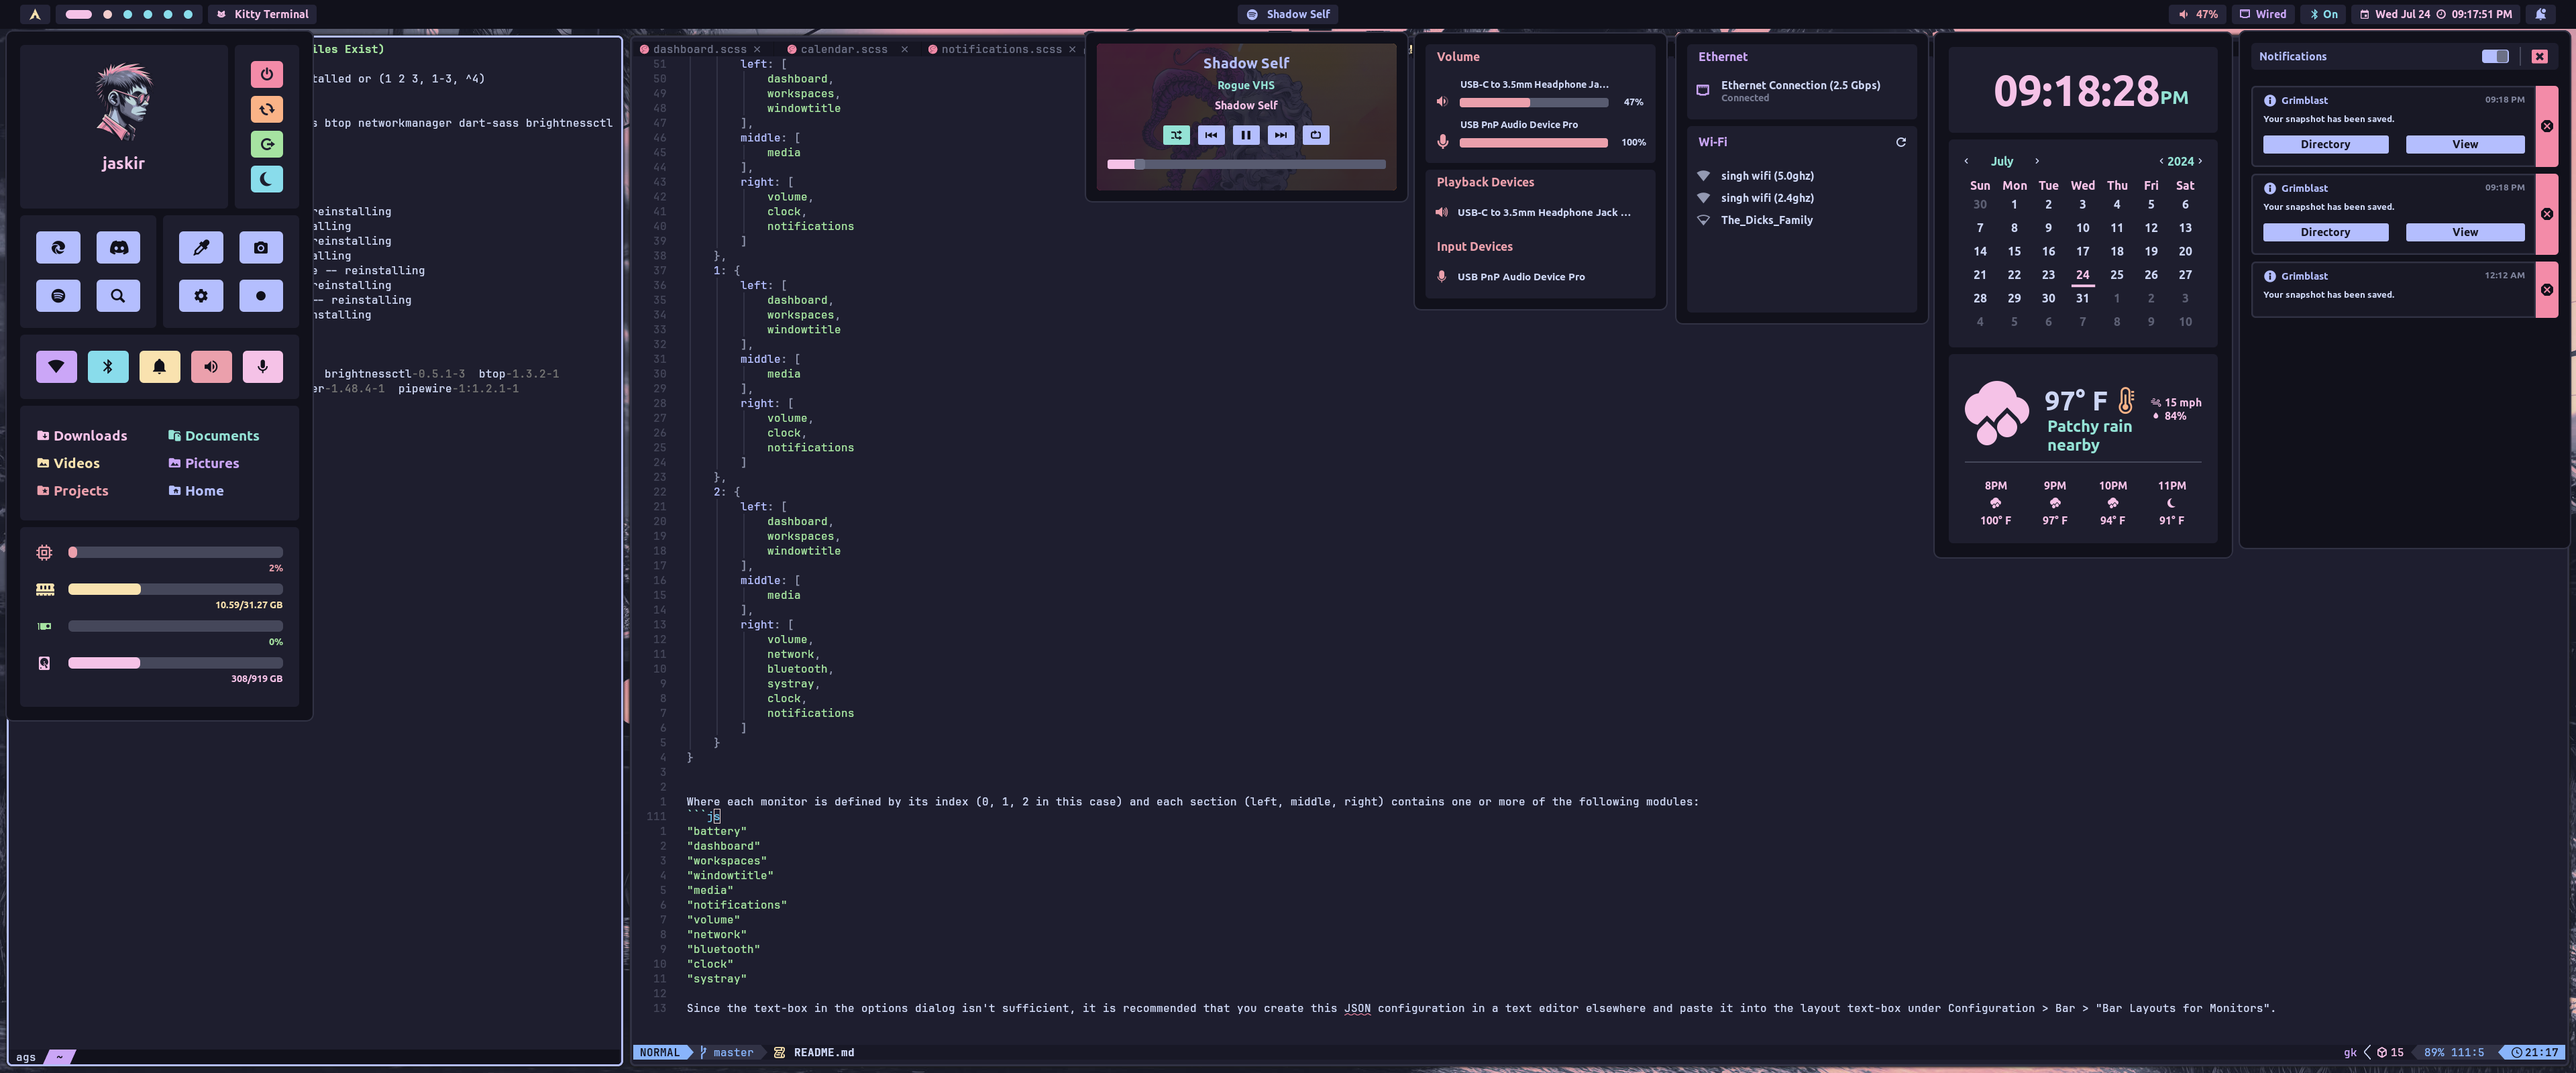
A panel built for Hyprland with Aylur's Gtk Shell
Bun
curl -fsSL https://bun.sh/install | bash && \
  sudo ln -s $HOME/.bun/bin/bun /usr/local/bin/bun
Additional dependencies:
pipewire
bluez
bluez-utils
grimblast
gpu-screen-recorder
hyprpicker
btop
networkmanager
matugen
wl-clipboard
swww
dart-sass
brightnessctl
gnome-bluetooth-3.0
Optional Dependencies:
## Used for Tracking GPU Usage in your Dashboard (NVidia only)
python
python-gpustat
Arch (pacman):
sudo pacman -S pipewire bluez bluez-utils btop networkmanager dart-sass wl-clipboard brightnessctl swww python gnome-bluetooth-3.0Arch (AUR):
yay -S grimblast-git gpu-screen-recorder hyprpicker matugen-bin python-gpustat aylurs-gtk-shell-gitFor NixOS/Home-Manager, see NixOS & Home-Manager instructions.
Once everything is installed you need to put the contents of this repo in ~/.config/ags.
If you already have something in ~/.config/ags, it's recommended that you back it up with:
mv $HOME/.config/ags $HOME/.config/ags.bkupOtherwise you can use this command to install the panel:
git clone https://github.com/Jas-SinghFSU/HyprPanel.git && \
ln -s $(pwd)/HyprPanel $HOME/.config/agsAdditionally, you need to ensure that you have a Nerd Font installed for your icons to render properly.
Afterwards you can run the panel with the following command in your terminal:
agsOr you can add it to your Hyprland config (hyprland.conf) to auto-start with:
exec-once = agsAlternatively, if you're using NixOS and/or Home-Manager, you can setup AGS using the provided Nix Flake. First, add the repository to your Flake's inputs, and enable the overlay.
# flake.nix

{
  inputs.hyprpanel.url = "github:Jas-SinghFSU/HyprPanel";
  # ...

  outputs = { self, nixpkgs, ... }@inputs:
  let
    # ...
	system = "x86_64-linux"; # change to whatever your system should be.
    pkgs = import nixpkgs {
	  inherit system;
	  # ...
	  overlays = [
        inputs.hyprpanel.overlay.${system}
	  ];
	};
  in {
    # ...
  }
}
Once you've set up the overlay, you can reference HyprPanel with pkgs.hyprpanel as if it were any other Nix package. This means you can reference it as a NixOS system/user package, a Home-Manager user package, or as a direct reference in your Hyprland configuration (if your configuration is managed by Home-Manager). The first three methods will add it to your $PATH (first globally, second two user-only), however the final will not.
# configuration.nix

# install it as a system package
environment.systemPackages = with pkgs; [
  # ...
  hyprpanel
  # ...
];

# or install it as a user package
users.users.<username>.packages = with pkgs; [
  # ...
  hyprpanel
  # ...
];


# home.nix

# install it as a user package with home-manager
home.packages = with pkgs; [
  # ...
  hyprpanel
  # ...
];

# or reference it directly in your Hyprland configuration
wayland.windowManager.hyprland.settings.exec-once = ''
  # ...
  ${pkgs.hyprpanel}/bin/hyprpanel
  # ...
'';HyprPanel handles notifications through the AGS built-in notification service. If you're already using a notification daemon such as Dunst or Mako, you may have to stop them to prevent conflicts with HyprPanel.
NOTE: If your system is in a language other than English, the resource monitor in the dashboard may not work properly.
The HyprPanel comes with a configuration menu which is available by opening the Dashboard menu (click the button in the bar with the default - Arch - icon) and then clicking the Gear icon.
The panel is automatically scaled based on your font size in Configuration > General.
To specify layouts for each monitor you can create a JSON object such as:
{
    "0": {
        "left": [
            "dashboard",
            "workspaces",
            "windowtitle"
        ],
        "middle": [
            "media"
        ],
        "right": [
            "volume",
            "clock",
            "notifications"
        ]
    },
    "1": {
        "left": [
            "dashboard",
            "workspaces",
            "windowtitle"
        ],
        "middle": [
            "media"
        ],
        "right": [
            "volume",
            "clock",
            "notifications"
        ]
    },
    "2": {
        "left": [
            "dashboard",
            "workspaces",
            "windowtitle"
        ],
        "middle": [
            "media"
        ],
        "right": [
            "volume",
            "network",
            "bluetooth",
            "systray",
            "clock",
            "notifications"
        ]
    }
}
Where each monitor is defined by its index (0, 1, 2 in this case) and each section (left, middle, right) contains one or more of the following modules:
"battery"
"dashboard"
"workspaces"
"windowtitle"
"media"
"notifications"
"volume"
"network"
"bluetooth"
"clock"
"systray"
Since the text-box in the options dialog isn't sufficient, it is recommended that you create this JSON configuration in a text editor elsewhere and paste it into the layout text-box under Configuration > Bar > "Bar Layouts for Monitors".
If you have an NVidia GPU, you can track your GPU usage in your Dashboard by going to your Settings > Configuration > Dashboard Menu > Track GPU and turning it on.
