


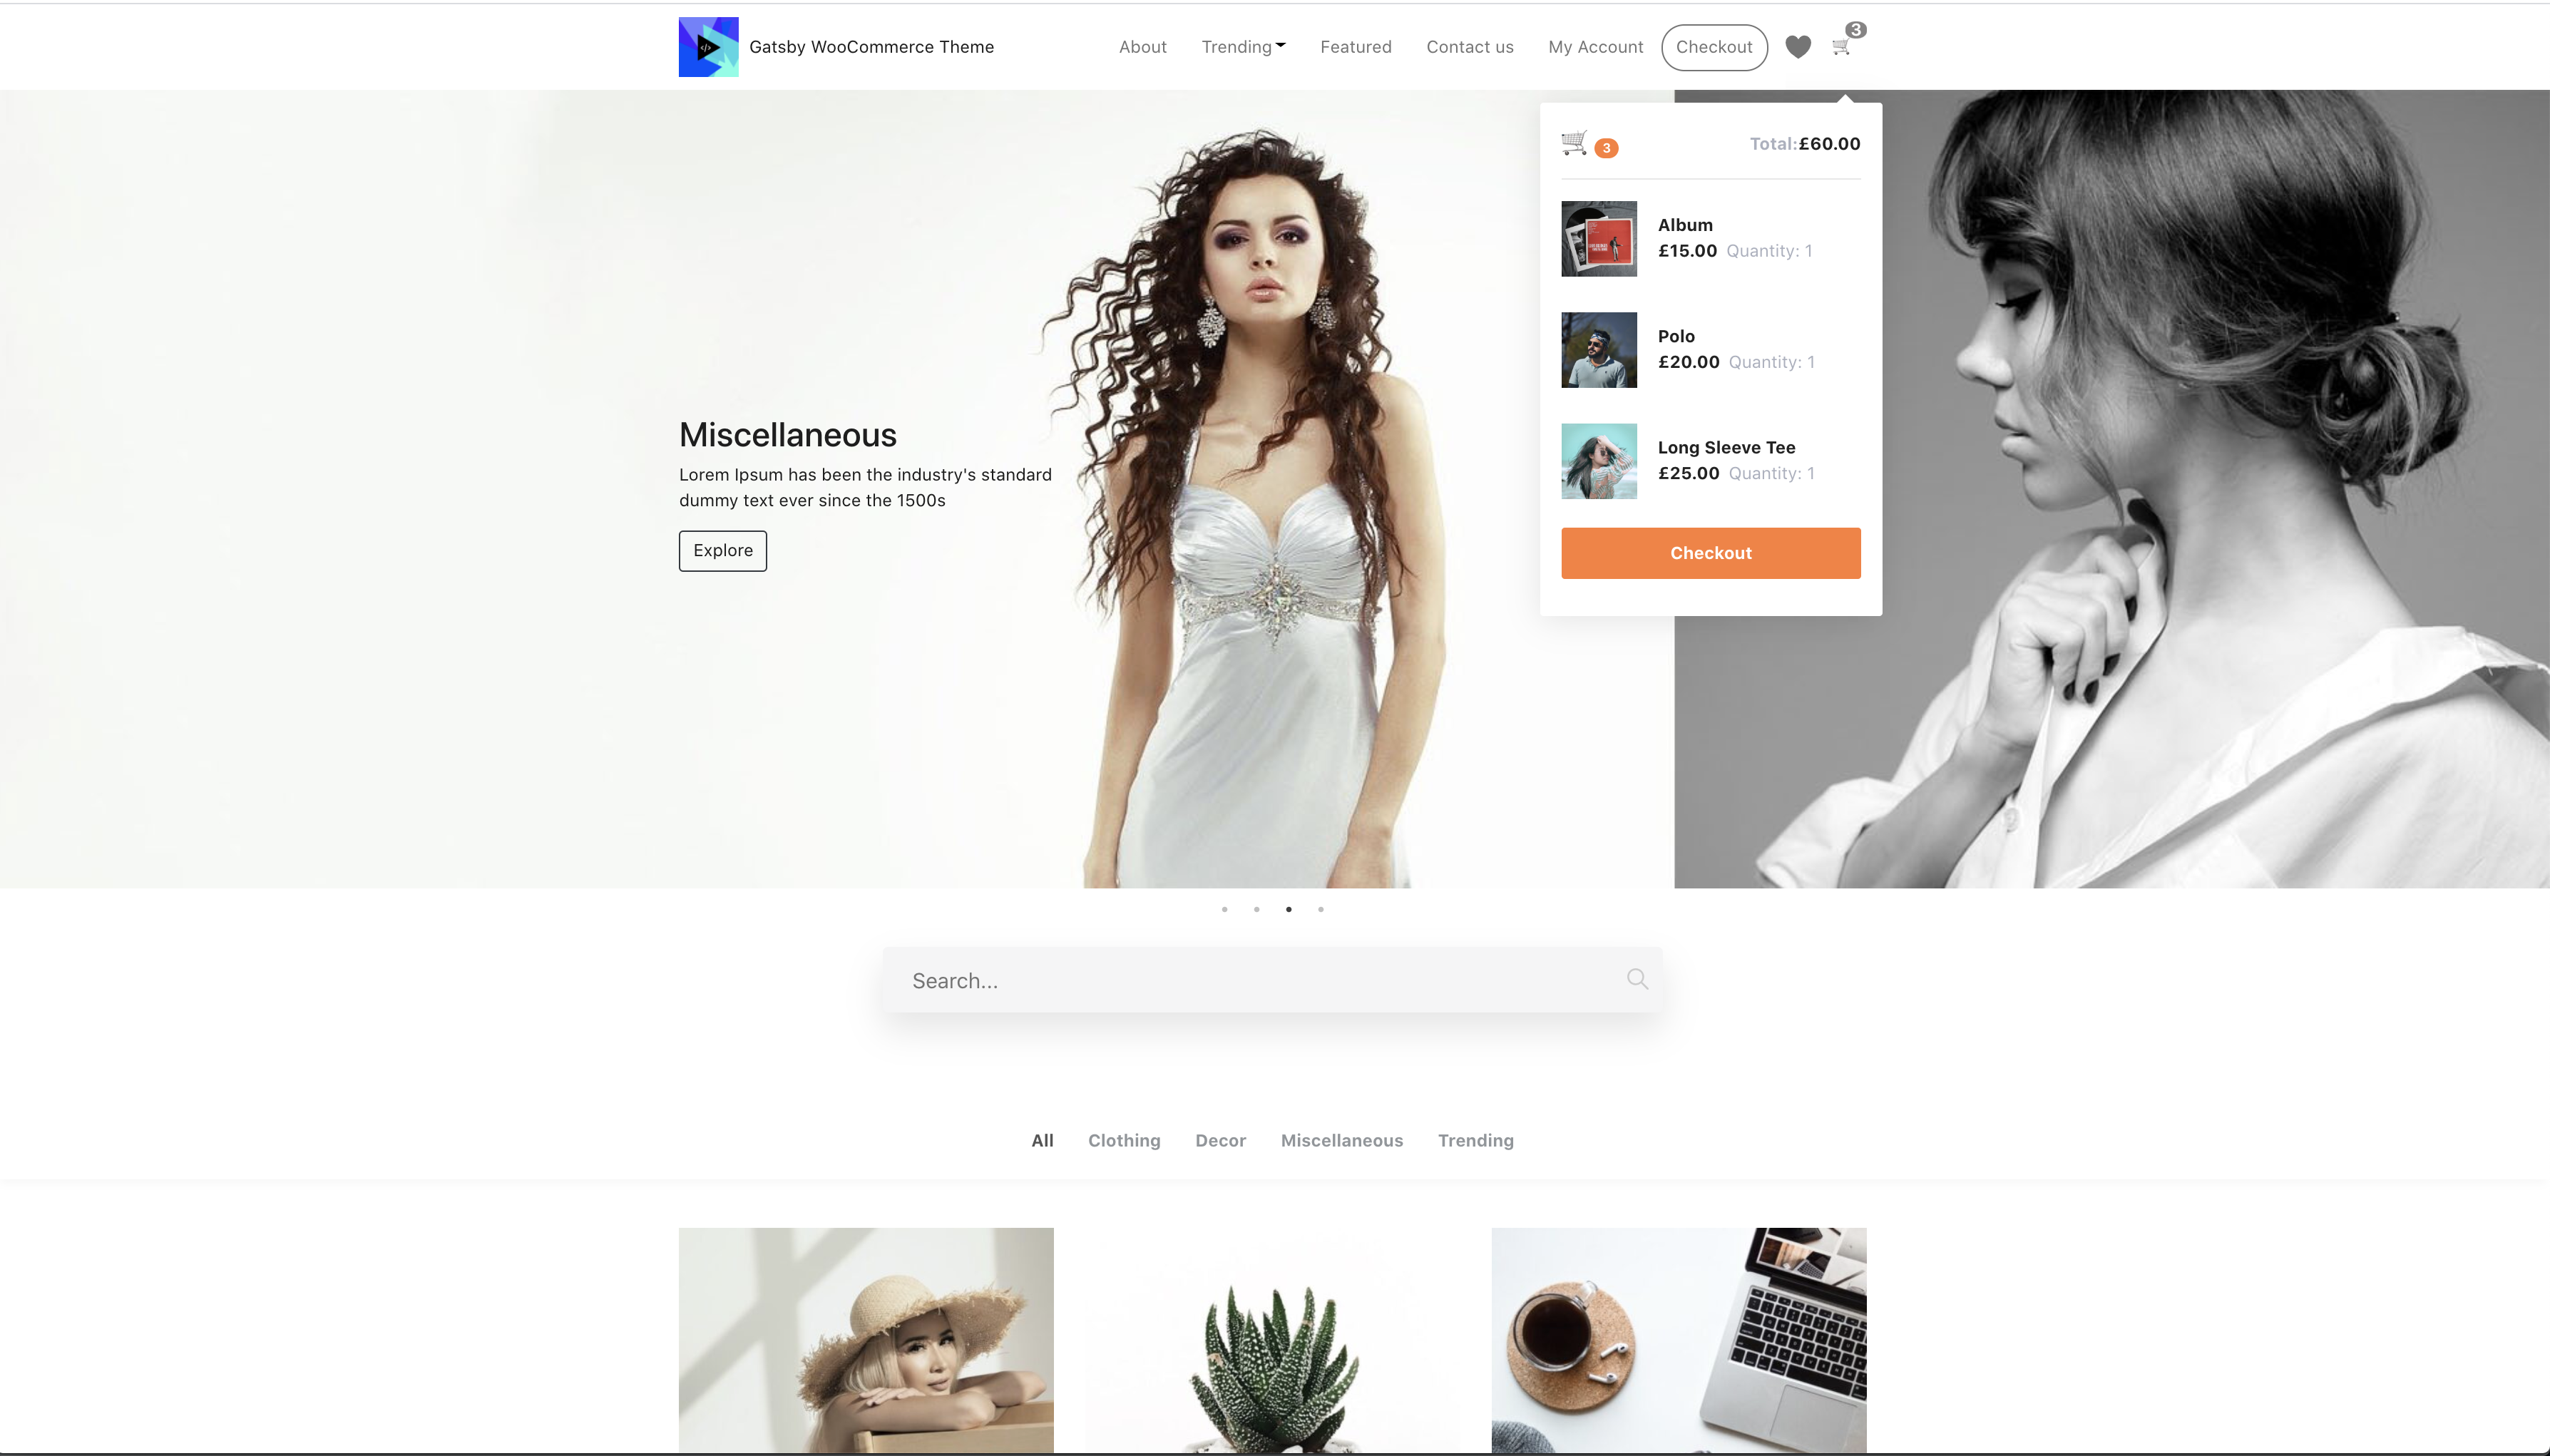
- A Gatsby theme for WooCommerce, using Decoupled Architecture
- Front end in React
- Backend in WordPress.
This theme uses gatsby-source-wordpress@v4 BETA
*** 👨💻 Please star my repo to support my work 🙏 ***
- Uses React with Gatsby ( Blazing Fast )
- PWA ( Works Offline )
- Image Optimization ( blur effect )
- GraphQL ( with wp-graphql on WordPress )
- Custom Widgets, Menus, Social elements.
- WooCommerce store
- Google Analytics feature
- Yoast SEO supported ( with og tags )
- Product Search with pagination ( even works offline )
- Product pagination
- Archive pages.
- Authentication with JWT
- My Account page ( with Login and Registration )
- Create an account on checkout.
- Social share.
- Product Carousel.
- Add to wishlist( even works offline )
| Name | Github Username |
|---|---|
| Imran Sayed | @imranhsayed |


- Fork/clone the repo
- yarn install
- Server Side Enviromnent Variables.
Create a file called
.envtaking example from.env-exampleand add the following intositedirectory :
WORDPRESS_SITE_URL=https://example.comGATSBY_SITE_URL=https://example.comGOOGLE_TAGMANAGER_ID=xxxFB_APP_ID=xxx
- Client Side Environment Variables.
Create two more files called
.env.development.env.productionand into 'site' directory and add your WordPress site url liks so.
GATSBY_WORDPRESS_SITE_URL=https://example.comEnv variables from these file will be consumed by Apollo client on client side.
- On your WordPress site, download, Upload and activate all the plugins from wordpress/plugins folder of this repo, into your WordPress Site.
a. Headless CMS
b. woocommerce
c. wp-graphql - tested on ( v1.0.0 )
e. wp-gatsby
f. Yoast-SEO
h. wp-graphql-jwt-authentication
- You can follow the readme to setup https://github.com/wp-graphql/wp-graphql-jwt-authentication#install-activate--setup
-
- Set Header menu as
HCMS Header Menu

- Set Footer menu as
HCMS Footer Menu
- Set Header menu as
-
You can also set text widgets in #HCMS Footer #1 and #HCMS Footer #2 under Appearance > Widgets in WordPress.
-
Create a Home Page ( if there isn't one already )and make sure you have a home page and Location rule is set to Home page.
-
If isn't already set your site title, description and logo from WordPress customizer.
-
Setup WooCommerce:


- Make sure WooCommerce Plugin is active in WordPress and the payment modes have been set from its settings.
- You can also import default wooCommerce products that come with wooCommerce Plugin for development ( if you don't have any products in your WordPress install )
WP Dashboard > Tools > Import > WooCommerce products(CSV): The WooCommerce default products csv file is available at wp-content/plugins/woocommerce/sample-data/sample_products.csv
- For home page carousel please upload same size product category images of dimensions
1900x600
- Navigate into site’s directory.
yarn install      # Run this for the first time.
npm run dev      # During development.
npm run build    # When ready for production.
** For development **
Your site is now running at http://localhost:8000!
_Note: You'll also see a second link: http://localhost:8000/___graphql. This is a tool you can use to experiment with querying your data.
For Storybook:
cd package/gatsby-wooocommerce-themenpm run storybook

yarn workspace site add package-name
yarn workspace site remove package-name
yarn workspace gatsby-wooocommerce-theme add package-name
yarn workspace gatsby-wooocommerce-theme remove package-name
A quick look at the top-level files and directories you'll see in a Gatsby project.
.
├── node_modules
├── demos
├── packages
├── src
├── .gitignore
├── .site
├── gatsby-browser.js
├── gatsby-config.js
├── gatsby-node.js
├── gatsby-ssr.js
├── package-lock.json
├── package.json
└── README.md
-
/node_modules: This directory contains all of the modules of code that your project depends on (npm packages) are automatically installed. -
/src: This directory will contain all of the code related to what you will see on the front-end of your site (what you see in the browser) such as your site header or a page template.srcis a convention for “source code”. -
.gitignore: This file tells git which files it should not track / not maintain a version history for. -
.prettierrc: This is a configuration file for Prettier. Prettier is a tool to help keep the formatting of your code consistent. -
gatsby-browser.js: This file is where Gatsby expects to find any usage of the Gatsby browser APIs (if any). These allow customization/extension of default Gatsby settings affecting the browser. -
gatsby-config.js: This is the main configuration file for a Gatsby site. This is where you can specify information about your site (metadata) like the site title and description, which Gatsby plugins you’d like to include, etc. (Check out the config docs for more detail). -
gatsby-node.js: This file is where Gatsby expects to find any usage of the Gatsby Node APIs (if any). These allow customization/extension of default Gatsby settings affecting pieces of the site build process. -
gatsby-ssr.js: This file is where Gatsby expects to find any usage of the Gatsby server-side rendering APIs (if any). These allow customization of default Gatsby settings affecting server-side rendering. -
LICENSE: Gatsby is licensed under the MIT license. -
package-lock.json(Seepackage.jsonbelow, first). This is an automatically generated file based on the exact versions of your npm dependencies that were installed for your project. (You won’t change this file directly). -
package.json: A manifest file for Node.js projects, which includes things like metadata (the project’s name, author, etc). This manifest is how npm knows which packages to install for your project. -
README.md: A text file containing useful reference information about your project.
- Setting workspaces with yarn for theme development
- Installing a gatsby theme and setting it up.
-
Signup on vercel.com
-
Click on Import Project and then add the configurations.

-
On vercel, make sure you add these evn vars from settings of the project:


-
npm i -g vercel -
Now in the project root run
vercel -
Add the following configurations
- build command:
npm run build - output directory:
site/public - development command:
npm run dev - root directory:
/
https://www.npmjs.com/package/gatsby-woocommerce-theme Follow its readme on npm.js