Krita is a raster graphics editor based on Qt 5 and the KDE Frameworks 5. Krita is designed to be a digital painting application distributed under the GPLv2 license.
G'MIC is a full-featured open-source framework for image processing, distributed under the CeCILL license.
By combining these two, you can get a nice alternative to PhotoShop, even if it gets less fully automatized tools, you can do everything with quite a user-friendly and complete interface. I'll introduce here the various (only one for now) works I did with this tool set.
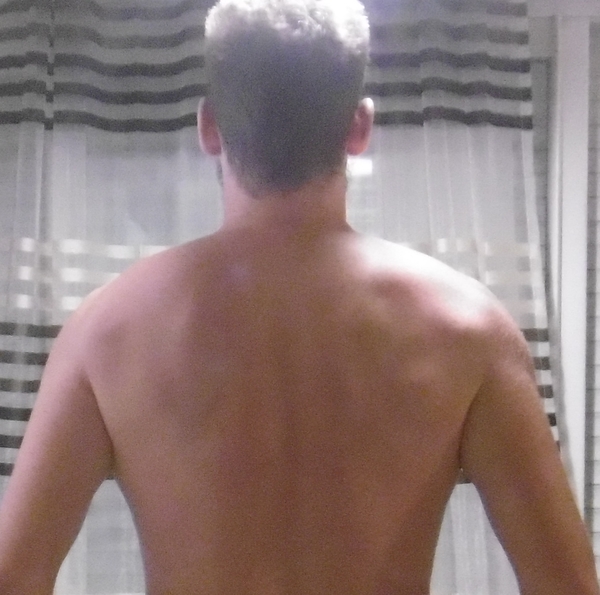
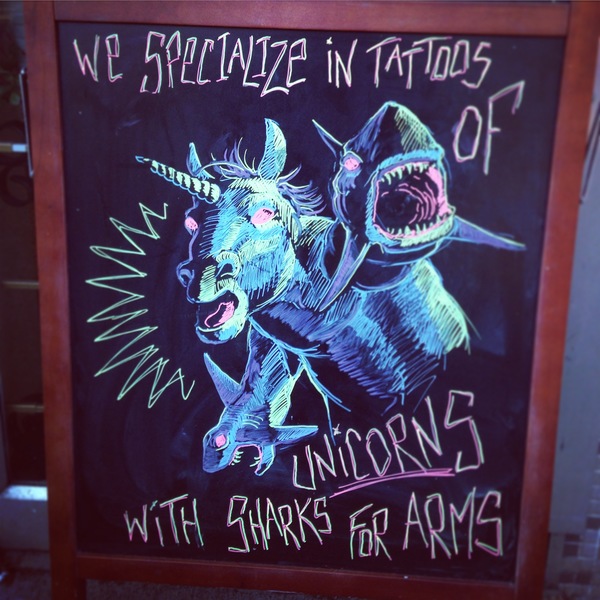
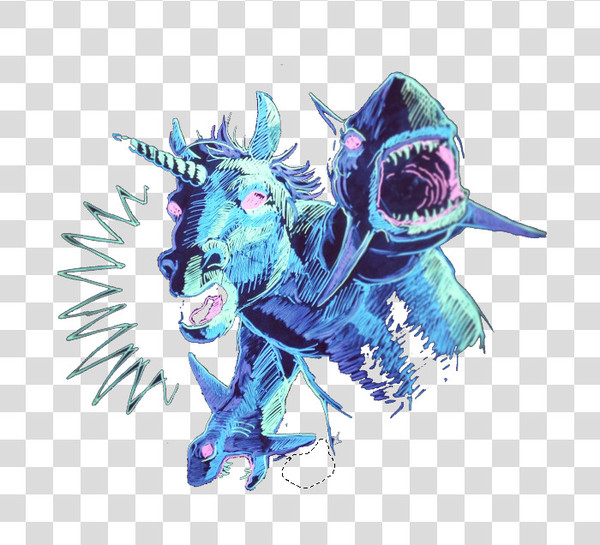
This tutorial describes how to use krita to make appears a tattoo on the skin. Useful to get a preview, or to do some stupid jokes. In this example we will start with two pictures: the tattoo original image and a photo of a back:
This is the basics, one of the first things we try when we want to play with pictures editing.
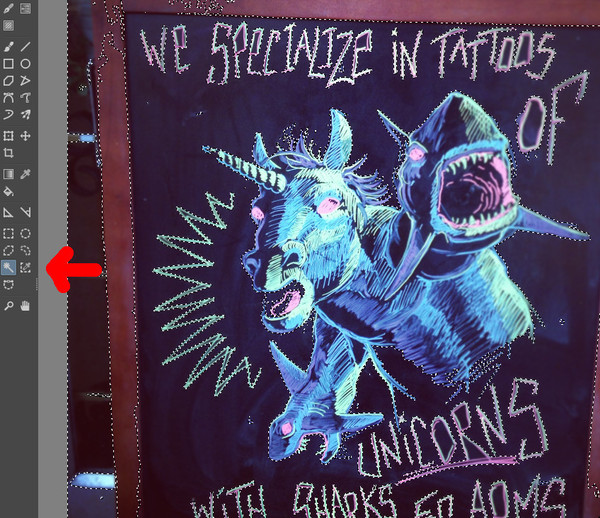
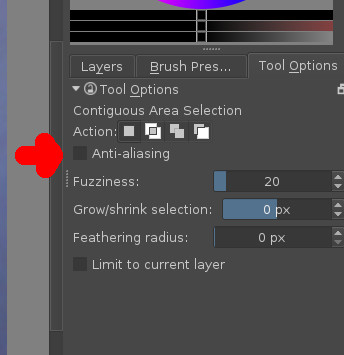
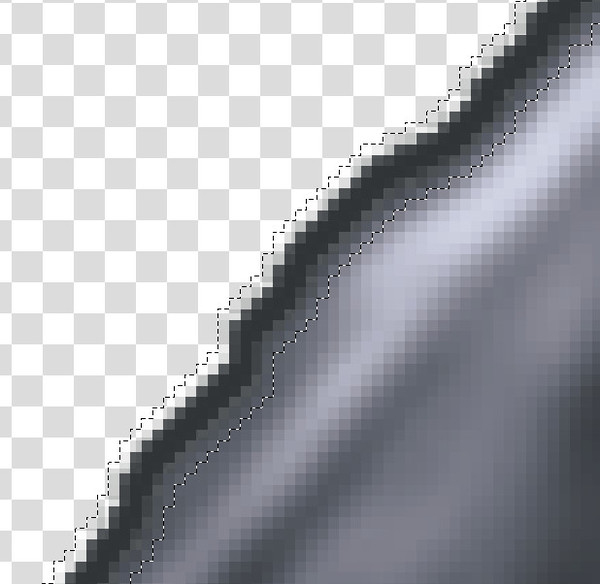
Select the contiguous selection tool (the magic wand) and try to select the background board and everything you want to remove. Do not forget to deselect the anti-aliasing option in the "tool options" tab. Then push the "supr" key, a checkerboard should appear. It represents the alpha layer which figures transparency in the current layer. Remove everything useless until you have a picture similar to the shown one below.
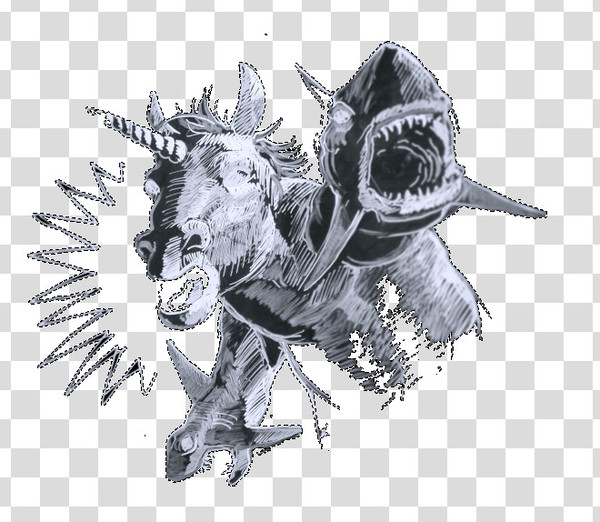
There are a lot of tools to make this draw black and white, and the example here might not be applicable to every draw. But G'MIC offer so many possibilities that you should find out the best for you.
First of all, you have to select only the draw you want to put black and white (some tools turn the alpha layer to black or white). The easiest way to do it is to select the alpha layer background with the magic wander, then menu->invert selection.
The tool I generally use, and that always gave me satisfaction for this kind of work, is in Filter->G'MIC menu->Colors->Metallic look. Play with the strength and smoothness to get a satisfying result. For this example I used simply strength=0 and smoothness=0.
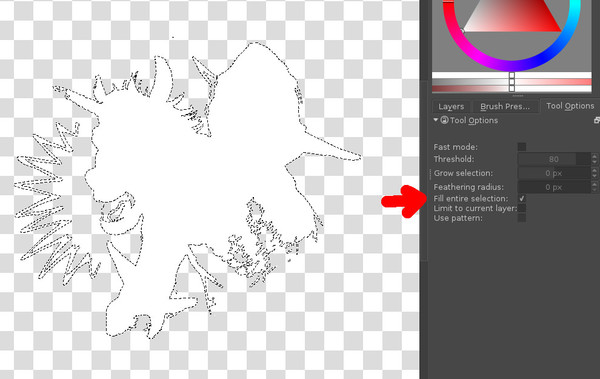
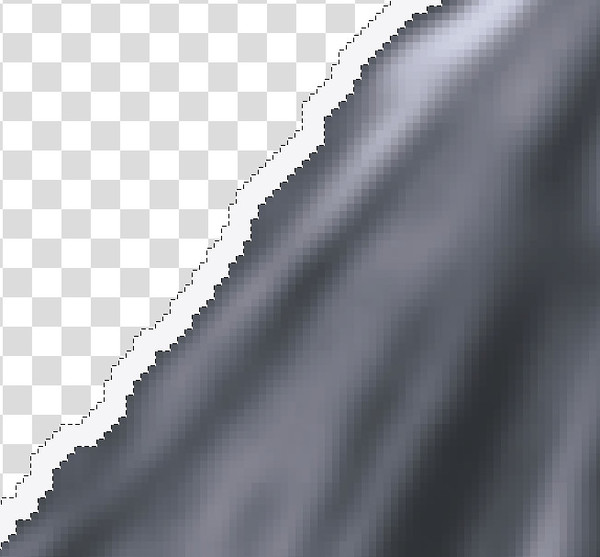
To do a tattoo, first of all, the artist does the contour, then he fills it up. In the current result we have quite a thin (even nonexistent) contour. So we will improve it a bit. First of all, create a new layer on the bottom right of the window. Then Select the Layer 1. With the magic wander, select the background then invert the selection to select the draw only. Then grow it by few pixels: menu Select->Grow Selection (2 in this example). Then select the Layer 2 and fill the selection in white with the fill tool. You have to select the "Fill entire selection" in the Tool Options.
Return to the Layer 1 and select again the draw (select the alpha, invert selection), go back to the Layer 2 and suppress the selection. You should have only the contour.
Select the darkest point in the draw with the Color Selector Tool and fill the new contour with it.
It's better, but this contour is too distinct. We have to blur it a bit. Select the contour only again, grow the selection by few pixels (the order of magnitude of the overall natural draw blur), then menu Filter->Blur->Gaussian blur, and select about half of the selection grow done before. Repeat the operation until you get a satisfying result. When finished, select both the layers, right click and Merge with layer below.
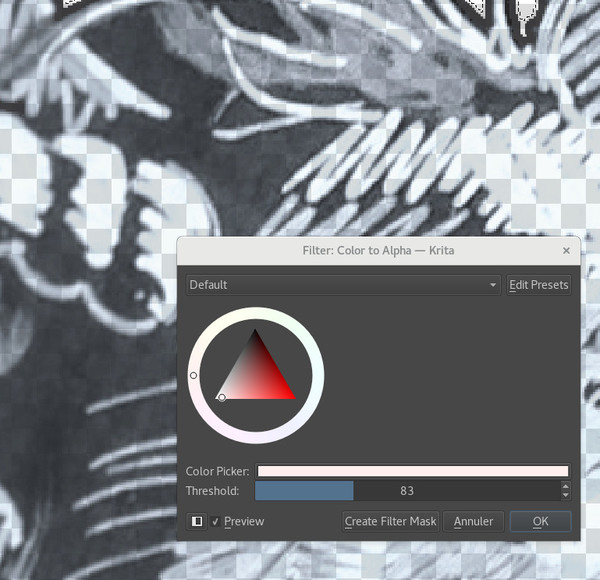
Now we need that this draw seems directly applied on the skin. The fake tattoo is done with dark ink, so the white is the skin. Menu Filter->Colors->Color to alpha. Select the color that is the lightest (the color selection tool can help) and the threshold that makes the dark part a bit transparent but not too much. And validate.
To make it seem that the tattoo was done recently we will add some red skin effects.
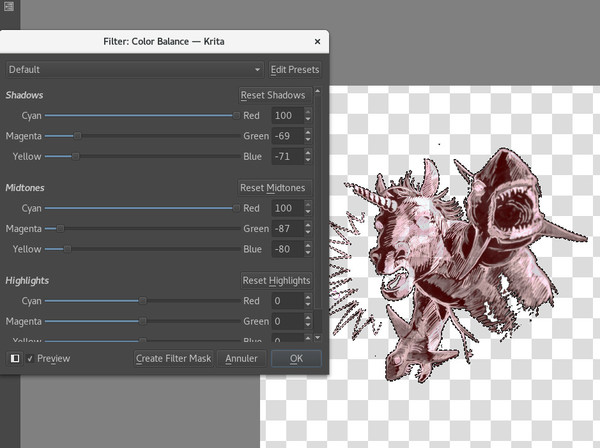
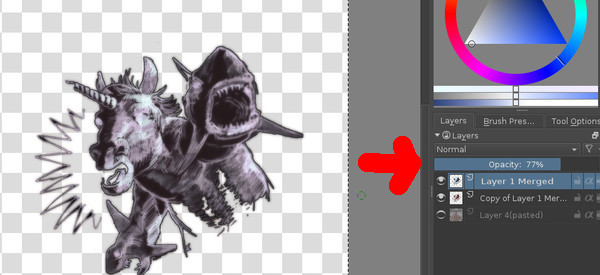
Right click on Layer 1 and duplicate the layer. Select the "Copy of Layer 1" layer, menu Filter->Adjust->Color Balance, increase the Red and decrease the other colors for the shadows and mid-tones to get a dark red color. Then blur it for some pixels (20 to 40 in the example). Then adjust the two layers opacity to get a dark result tending to the red.
Duplicate again the Layer 1. Select the draw (select the alpha then invert the selection). Grow the size by several pixels (50 pixels in the example) and fill it with a dark red (dry blood color). You can improve it with some noisy effect thanks to G'MIC if you want. Then blur it a couple of times (100 pixels in this example). To finish adjust the different layers opacity to get a satisfying result (for the next step, if you find out that it's too dark or light, you can go back and adjust it again).
Almost there!!
Open the photo in which there is the skin surface to apply the tattoo. Copy the three tattoo layers and paste them on the back photo. Then merge the three layers (select them, right click, merge). Adjust the size and position of the new merged layer thanks to the Move Tool and Transform tools (keep the shift key to keep the scaling proportional).
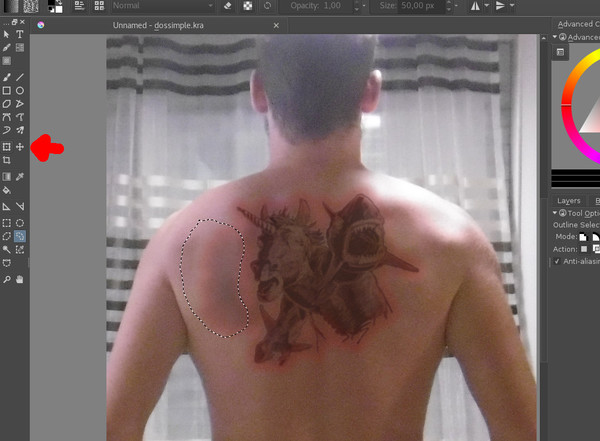
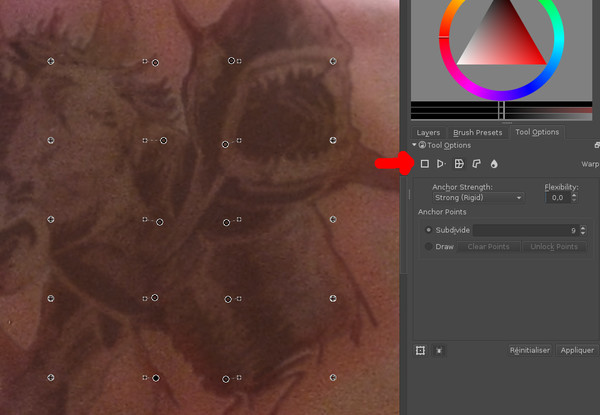
The very last and important step before the "post-production" is to adjust the draw surface to the skin surface. To do so, select the draw with a rectangle and use the "Transform a Layer or a Selection" tool. First of all, you have to apply the perspective. Select "Perspective" in the Tool Options tab. In the example there's almost nothing to do, but the principle is to have the same perspective as the skin applied to the draw. Then the next step is to have a draw that follows the skin shape. Always in the transform tool, select Wrap in the Tool options. Then increase the subdivide to get a precise transformation. In the example we wrap the draw to follow the backbone. Use it also to follow the shoulder shape and other. That's it! The next step is for the final picture production.
Until this point we should not have blurred or degraded the quality of the photo nor the draw. It should be kept for the very last step, with an as conservative as possible policy for both the layers.
First of all, we need to get harmonization between the original draw and photo blurs. To do so just zoom in to determine which one is the most blurred, then select the other layer, menu Tools->Blur->Gaussian Blur and adjust to get the same blur level.
Then, if the photo has some noisy pixels (photo taken in the dark), select the draw layer, then only the draw itself, "menu->Filter->Other->Random Noise" and adjust to get the same level as the photo (G'MIC get some nice tool to do an even thinner work).
Finally, export the picture. Export it in JPG and put the quality at the limit to degrade the photo, it will degrade the tattoo draw to make it even more naturally integrated.
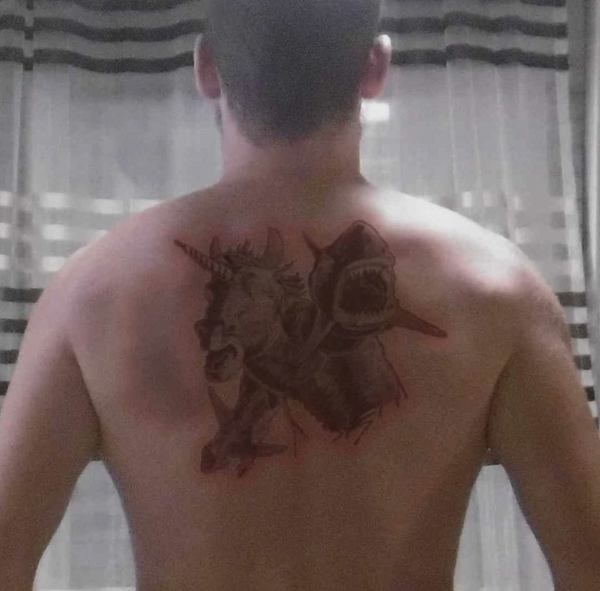
That's it! A shark armed unicorn on my back!!!!
If you look at pictures with fresh tattoo, you see a small volume around the main contour stroke. In particular when it's close to a strong light. In the example the light is up, and should produce this effect. As training you can try to reproduce it. Hints: The procedure is close to the one used to create the contour, except that it should be an "internal" contour. Then you put in white and blur it. To finish, just shift it (up in the example) and adjust the opacity to get the wanted effect.
