strapi_nextjs_template is a template boilerplate that combines the power of Strapi and Next.js to help you quickly build SEO-friendly and internationalized web applications. With Strapi as the headless CMS and Next.js for server-side rendering and app routing, you can create dynamic and optimized websites with ease.
-
🔍 SEO Optimization: The template is designed with SEO best practices in mind, allowing you to optimize your website's metadata, page titles, and URLs for improved search engine visibility.
-
🌍 Internationalization (i18n): Build multilingual applications by leveraging Strapi's internationalization features. Easily manage and translate content to provide a localized experience for your users.
-
⚙️ Strapi 4.9: The latest version of Strapi is integrated into the boilerplate, providing a powerful and user-friendly headless CMS to manage your content and API.
-
⚡ Next.js 13.4: Utilize Next.js for server-side rendering, enabling faster page loads and improved performance. Take advantage of Next.js app routing to create dynamic and interactive user experiences.
-
🖥️ Server-Side Rendering (SSR) Support: Next.js SSR support allows your pages to be rendered on the server before being sent to the client, providing a smooth initial page load and enhanced SEO capabilities.
-
🎨 Tailwind CSS: Customize the visual styling of your application effortlessly with Tailwind CSS. Tailwind's utility-first approach and extensive class library make it easy to create responsive and beautifully designed interfaces.
-
⚡ Frame Motion: Bring your website to life with Frame Motion. Create stunning animations and transitions to enhance the user experience and add that extra touch of interactivity.
- Clone the repository locally:
git clone https://github.com/hoangnhatfe/strapi_nextjs_template.git- Run
setupcommand to setup frontend and backend dependencies:
yarn setup- Next, navigate to your
/backenddirectory and set up your.envfile. You can use the.env.examplefile as reference:
HOST=localhost
PORT=1337
APP_KEYS="toBeModified1,toBeModified2"
API_TOKEN_SALT=tobemodified
ADMIN_JWT_SECRET=tobemodified
JWT_SECRET=tobemodified
TRANSFER_TOKEN_SALT=tobemodified- Start your project by running the following command:
  yarn build
  yarn develop
You will be prompted to create your first admin user.
Great. You now have your project running. Let's add some data.
We are going to use our DEITS feature which will alow to easily import data into your project.
You can learn more about it in our documentation here.
In the root of our project we have our seed-data.tar.gz file. We will use it to seed our data.
-
Open up your terminal and make sure you are still in you
backendfolder. -
Run the following command to seed your data:
yarn strapi import -f ../seed-data.tar.gzThis will import your data locally. Log back into your admin panel to see the newly imported data.
Here is a quick video covering initial setup and data seeding.
seed-data-demo.mp4
Next we need to switch to our /frontend directory and create our .env file and paste in the following.
NEXT_PUBLIC_STRAPI_API_TOKEN=your-api-token
NEXT_PUBLIC_PAGE_LIMIT=6
NEXT_PUBLIC_STRAPI_FORM_SUBMISSION_TOKEN=your-form-submission-token
NEXT_PUBLIC_STRAPI_API_URL=http://localhost:1337
Before starting our Next JS app we need to go inside our Strapi Admin and create two tokens that we will be using for form submission and displaying our content.
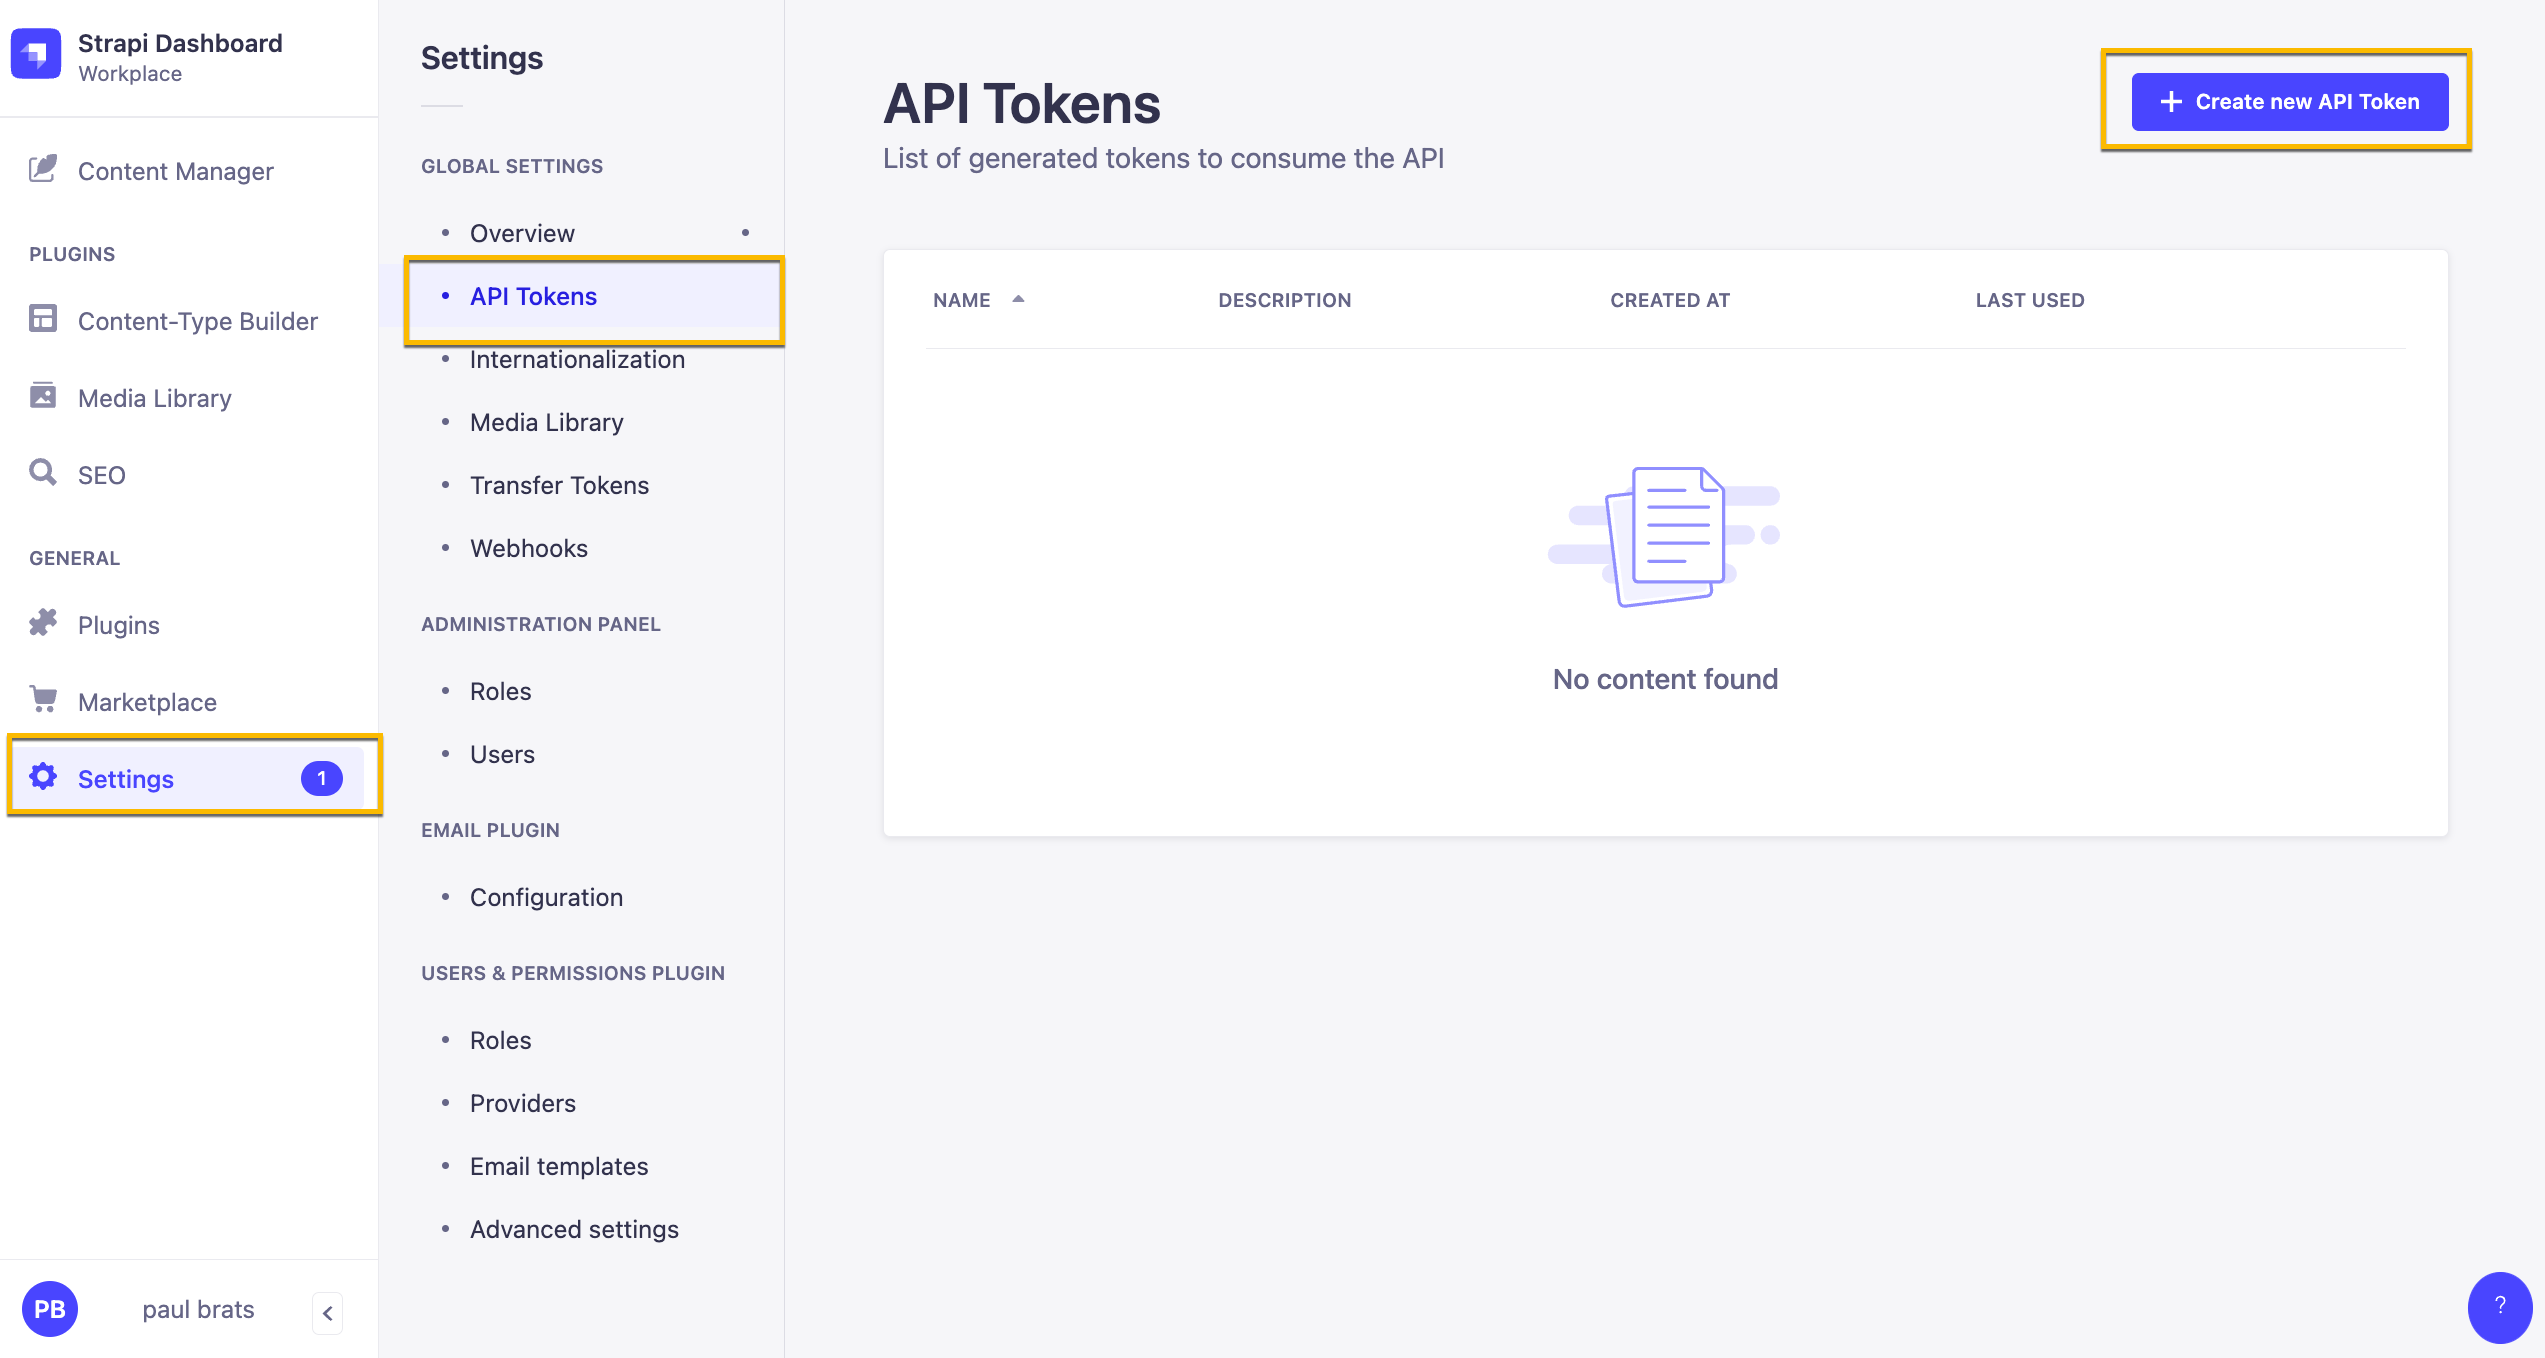
Inside your Strapi Admin Panel navigate to Settings -> API Tokens and click on the Create new API Token.
Here are our Token Settings
Name: Public API Token Content Description: Access to public content. Token duration: Unlimited Token type: Custom
In Permissions lets give the following access.
| Content | Permissions |
|---|---|
| Article | find and findOne |
| Author | find and findOne |
| Category | find and findOne |
| Global | find |
| Page | find and findOne |
| Product-feature | find and findOne |
Once you have your token add it to your NEXT_PUBLIC_STRAPI_API_TOKEN variable name in the .env file.
Alternatively: you can create a READ only Token that will give READ permission to all your endpoints.
In this particular project this is not an issue. Although the above is the recommended way, just wanted to show you this option here as well.
When creating a Token, just select the Read-only option from token type drop down.


