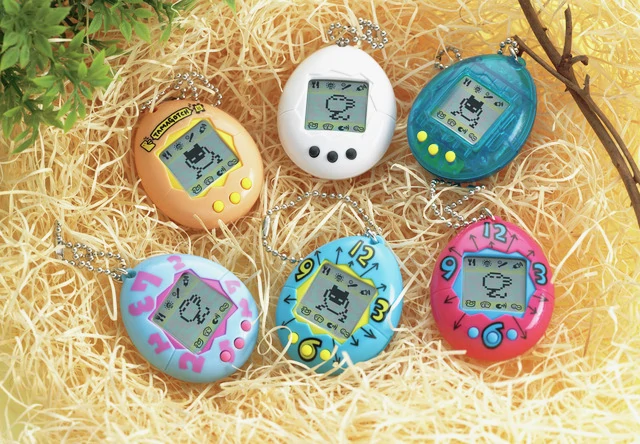
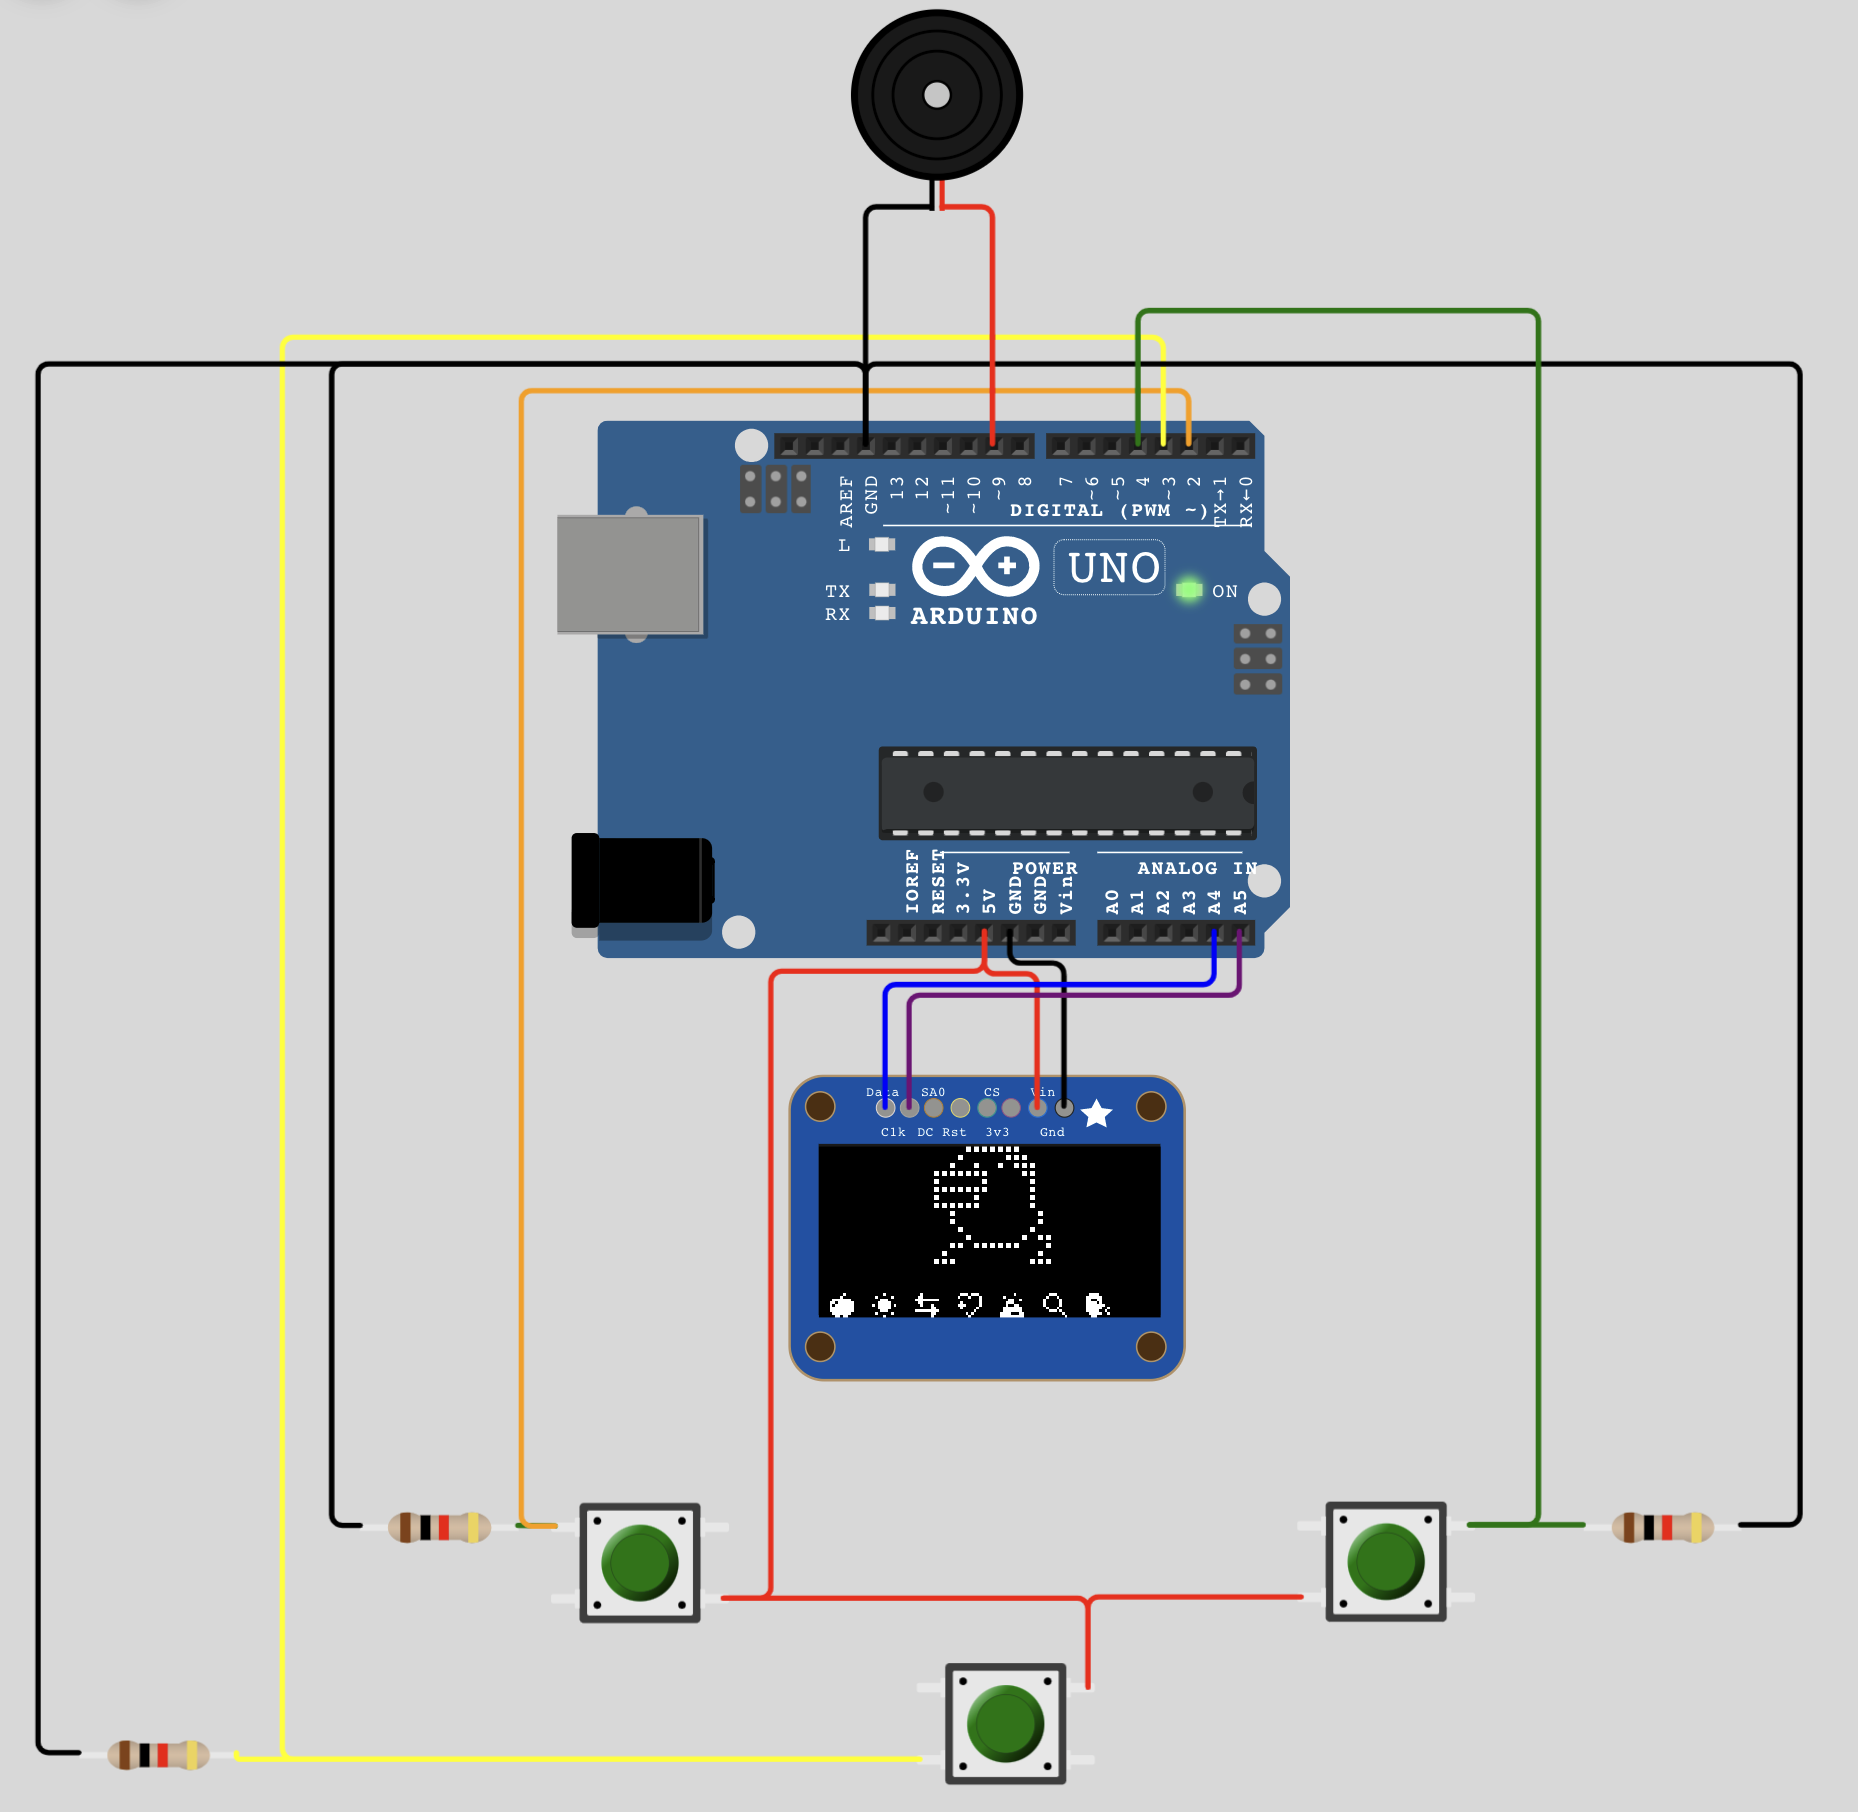
ArduinoGotchi is a real Tamagotchi P1 emulator running in Arduino UNO hardware. The emulation core is based on TamaLib with intensive optimization to make it fit into UNO's hardware that only comes with 32K Flash 2K RAM.
I did the following changes after forking original repo
- Created a platformio project, so it is easy to target multiple platforms
- Created ports for ESP8266 and ESP32, mainly because speed on 8-bit AVR is just too slow
- Added long click on "back" button - if you press it for 5 seconds, it will reset memory back to egg state
- Added inverted Speaker connection setting. Mainly because the Piezo modules that I have are active on Low. Another reason is mentioned below.
I personally assembled the ESP8266 version with Wemos D1 Mini on perf board, using built-in LED together with speaker, so when it sounds, LED is blinking as well.
Use Platformio. Run build task to build for all platforms. Next, run the Upload task for a specific platform
The PlatformIO home page can be accessed by clicking on the house icon in the bottom left toolbar. In the Quick Access window, click Open Project and navigate to the .ini file that corresponds to your desired project. Select this location to open the project.
Click on the checkmark icon in the bottom left toolbar to build the project. The first time I did this, I got an error saying I did not have a Java Development Kit installed. I installed JDK 22.01 and tried again with success.
First, make sure you have the right PlatformIO Project Environment selected. Click on the folder icon in the lower left toolbar to switch environments. I have the rev A kit, so I selected "env:tamagotchi-kit-a (esp8266-tamagotchi)". Then, click on the right-pointing arrow icon in the bottom left toolbar to upload the project.
- To activate your pet, you have to configure the clock by pressing the middle button. Otherwise, your pet will not be alive.
- The emulator will save the game status every 5 minutes. You can change that by changing the AUTO_SAVE_MINUTES setting
- The speed of the emulator is a bit slower than the actual Tamagotchi device on AVR, still, it is fun. On ESPs it runs smoothly.
- There are a few costs in the
platformio.inithat you can adjust to fit your needs:
  -D DISPLAY_I2C_ADDRESS=0x3C
  -D SCREEN_WIDTH=128
  -D SCREEN_HEIGHT=64
  -D ENABLE_TAMA_SOUND
  -D ENABLE_TAMA_SOUND_ACTIVE_LOW
  -D ENABLE_AUTO_SAVE_STATUS
  -D ENABLE_LOAD_STATE_FROM_EEPROM
ArduinoGotchi is distributed under the GPLv2 license. See the LICENSE file for more information.
You may support my work by ordering the kit on Tindie or Elecrow


