Sample project for TechLadies CI/CD with Travis & Heroku
- Install dependencies using
npm install - Run the server
npm start
Run npm test to run tests
https://docs.google.com/presentation/d/143lEMhGK92ZCnNohMO1blXDfKaJUxFQdmPHDatPugzY/edit?usp=sharing
- Go to Travis CI website and Sign up with GitHub.
- Go to Heroku.com and sign up for an account.
- Install Travis CI CLI: https://github.com/travis-ci/travis.rb#installation
- Install Heroku CLI: https://devcenter.heroku.com/articles/heroku-cli
Make sure you can successfully login, using the CLIs, with:
// for heroku
heroku login

// for travis
travis login --pro
This tutorial will walkthrough the process of setting up CI/CD for a simple Nodejs app on Heroku, using Travis CI.
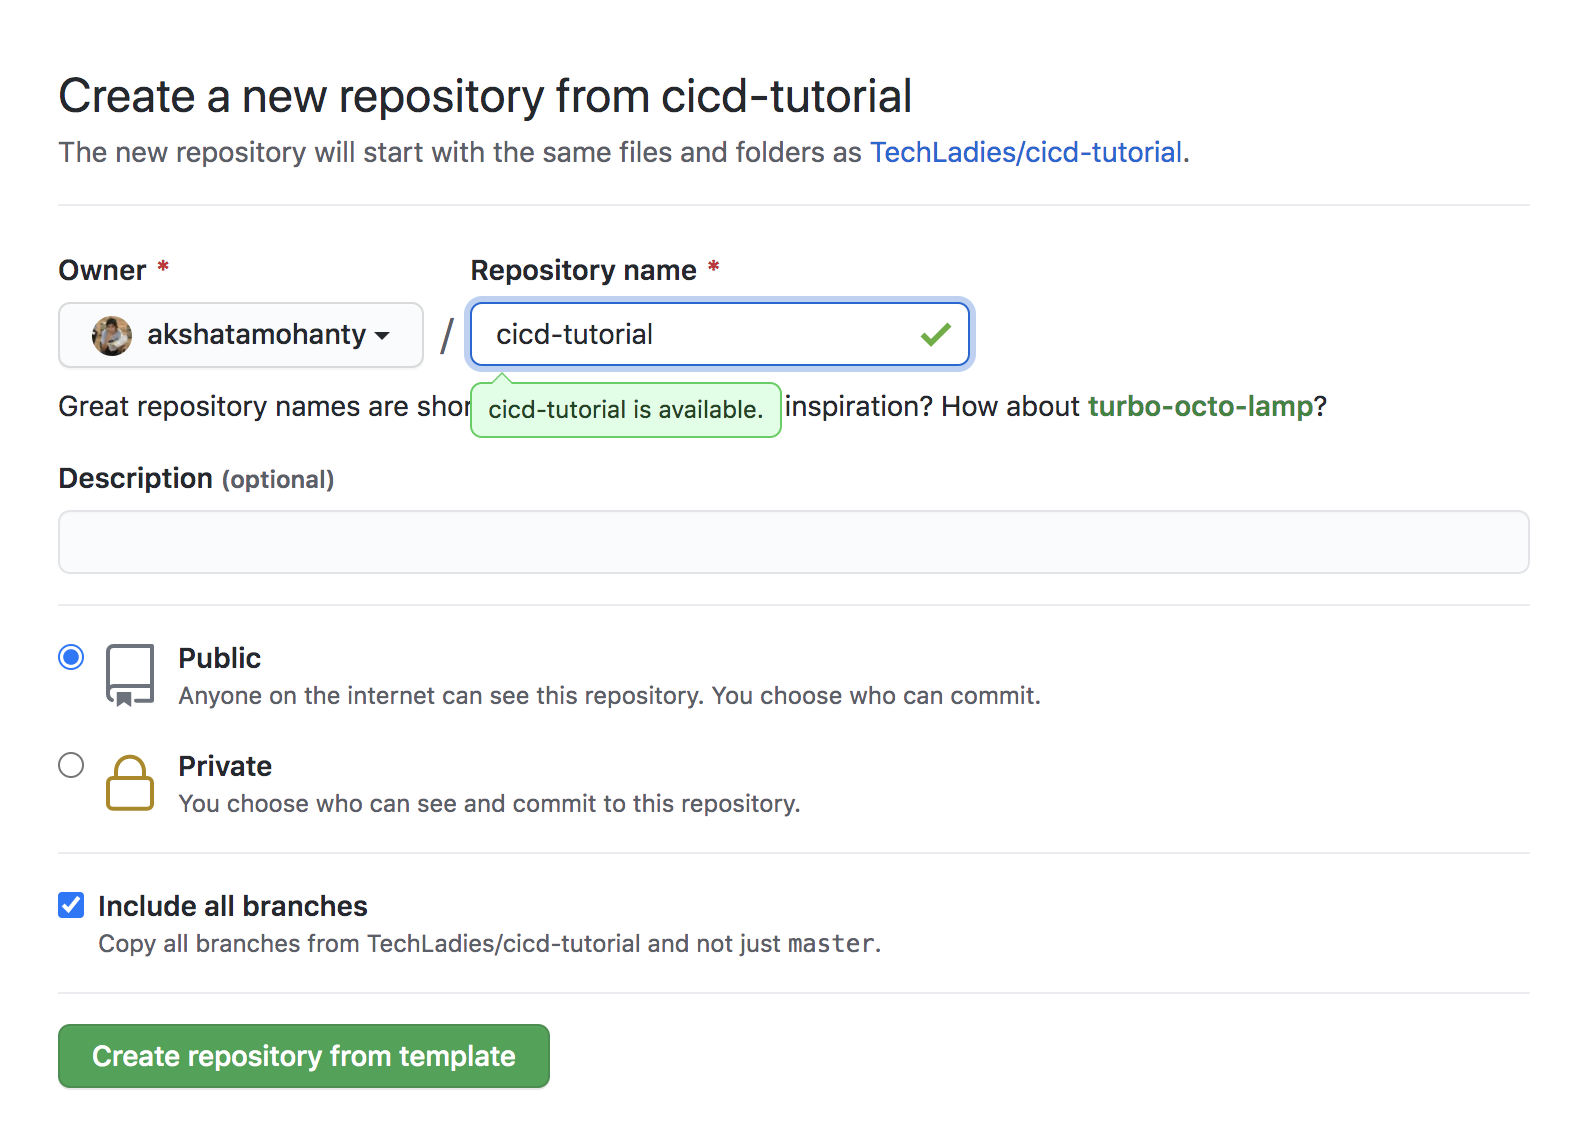
To get started, create a new repository using this template. This template contains code for a simple node server, serving a single route and a test for the same.
Continuous Integration is the process of merging and testing small code changes frequently. We will use Travis CI to run our tests for every commit, to ensure that new changes do not break our code.
Go to https://travis-ci.com/ and login with your Github account. Give Travis access to your repository.
If you already have Travis installed, you can also add Travis to the repository on from page https://github.com/settings/installations.
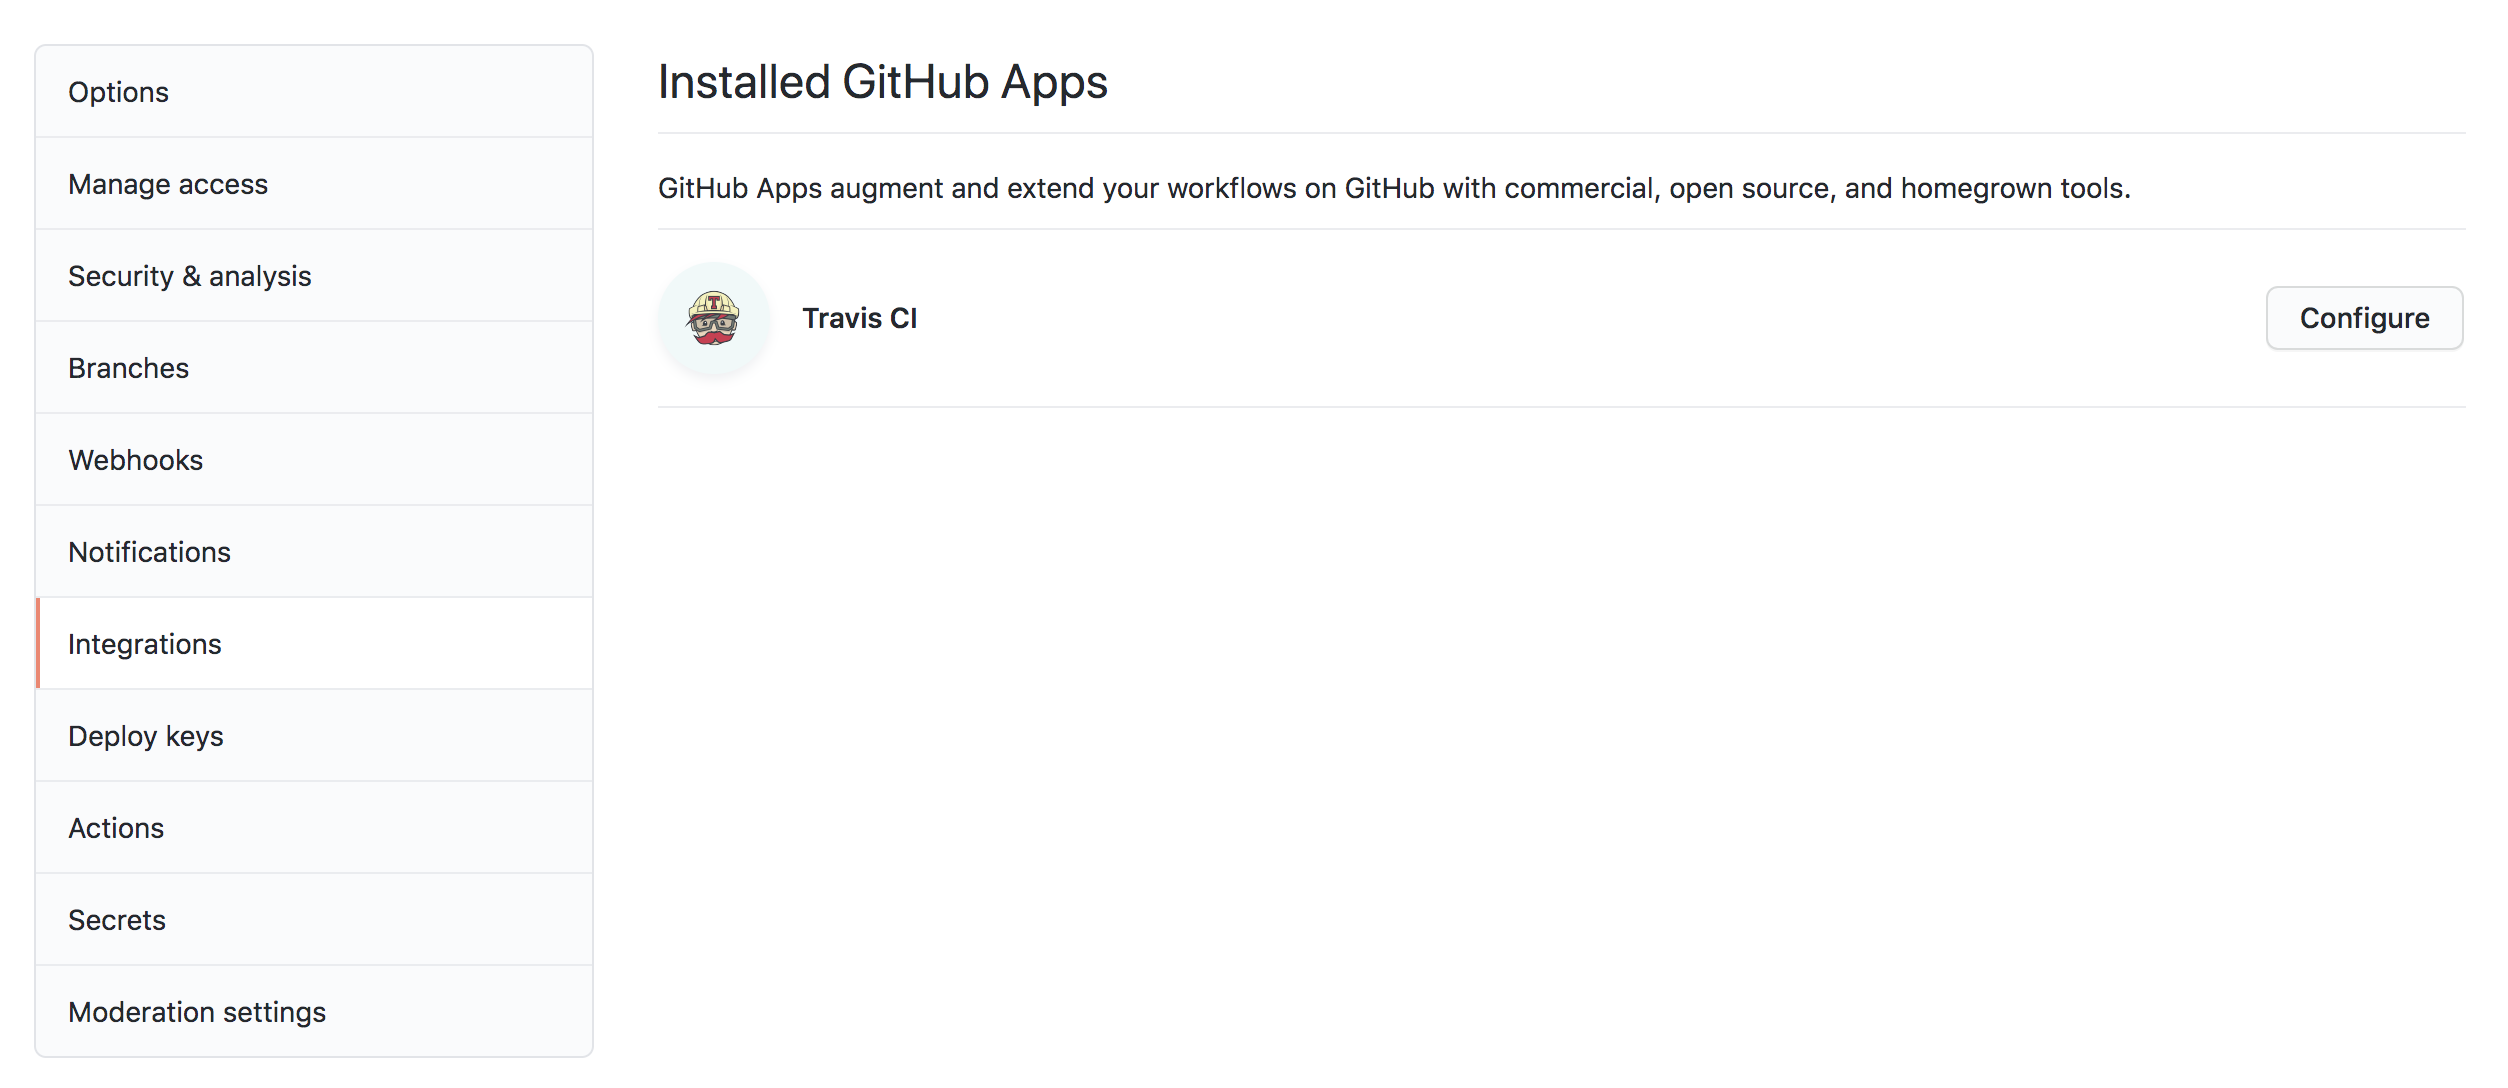
Verify that Travis is installed by checking Integrations under Settings. Travis should be listed as shown below.
To configure Travis, we need to add a .travis.yml file. This file allows you to customize your Travis builds. For eg, you can run linting, tests, trigger deploys, run post deploy scripts etc. You can learn more about the build config here.
Create a new file .travis.yml. Make note of the preceeding . infront of the filename.
Add the following contents to the .travis.yml file. This sets up the basic environment for our build.
language: node_js
node_js:
  - 10.13.0
install:
- npm installOur environment is configured in Travis. We will now run our tests as part of every build. Unit tests allow us to verify code changes and safeguard against regression errors.
Add a script block to the .travis.yml file to trigger npm test to run tests for each commit.
Your .travis.yml file should now look like this:
language: node_js
node_js:
  - 10.13.0
install:
  - npm install
script:
  - npm test
Push this to master. Notice the green tick next to your commits.
You can click on the green checkmark, to see details about the Travis build.
Let us test the above.
In a new branch, update server.js to show a different message for the GET / route.
app.get('/', (req, res) => {
  res.json('Hello amazing Techladies!')
})
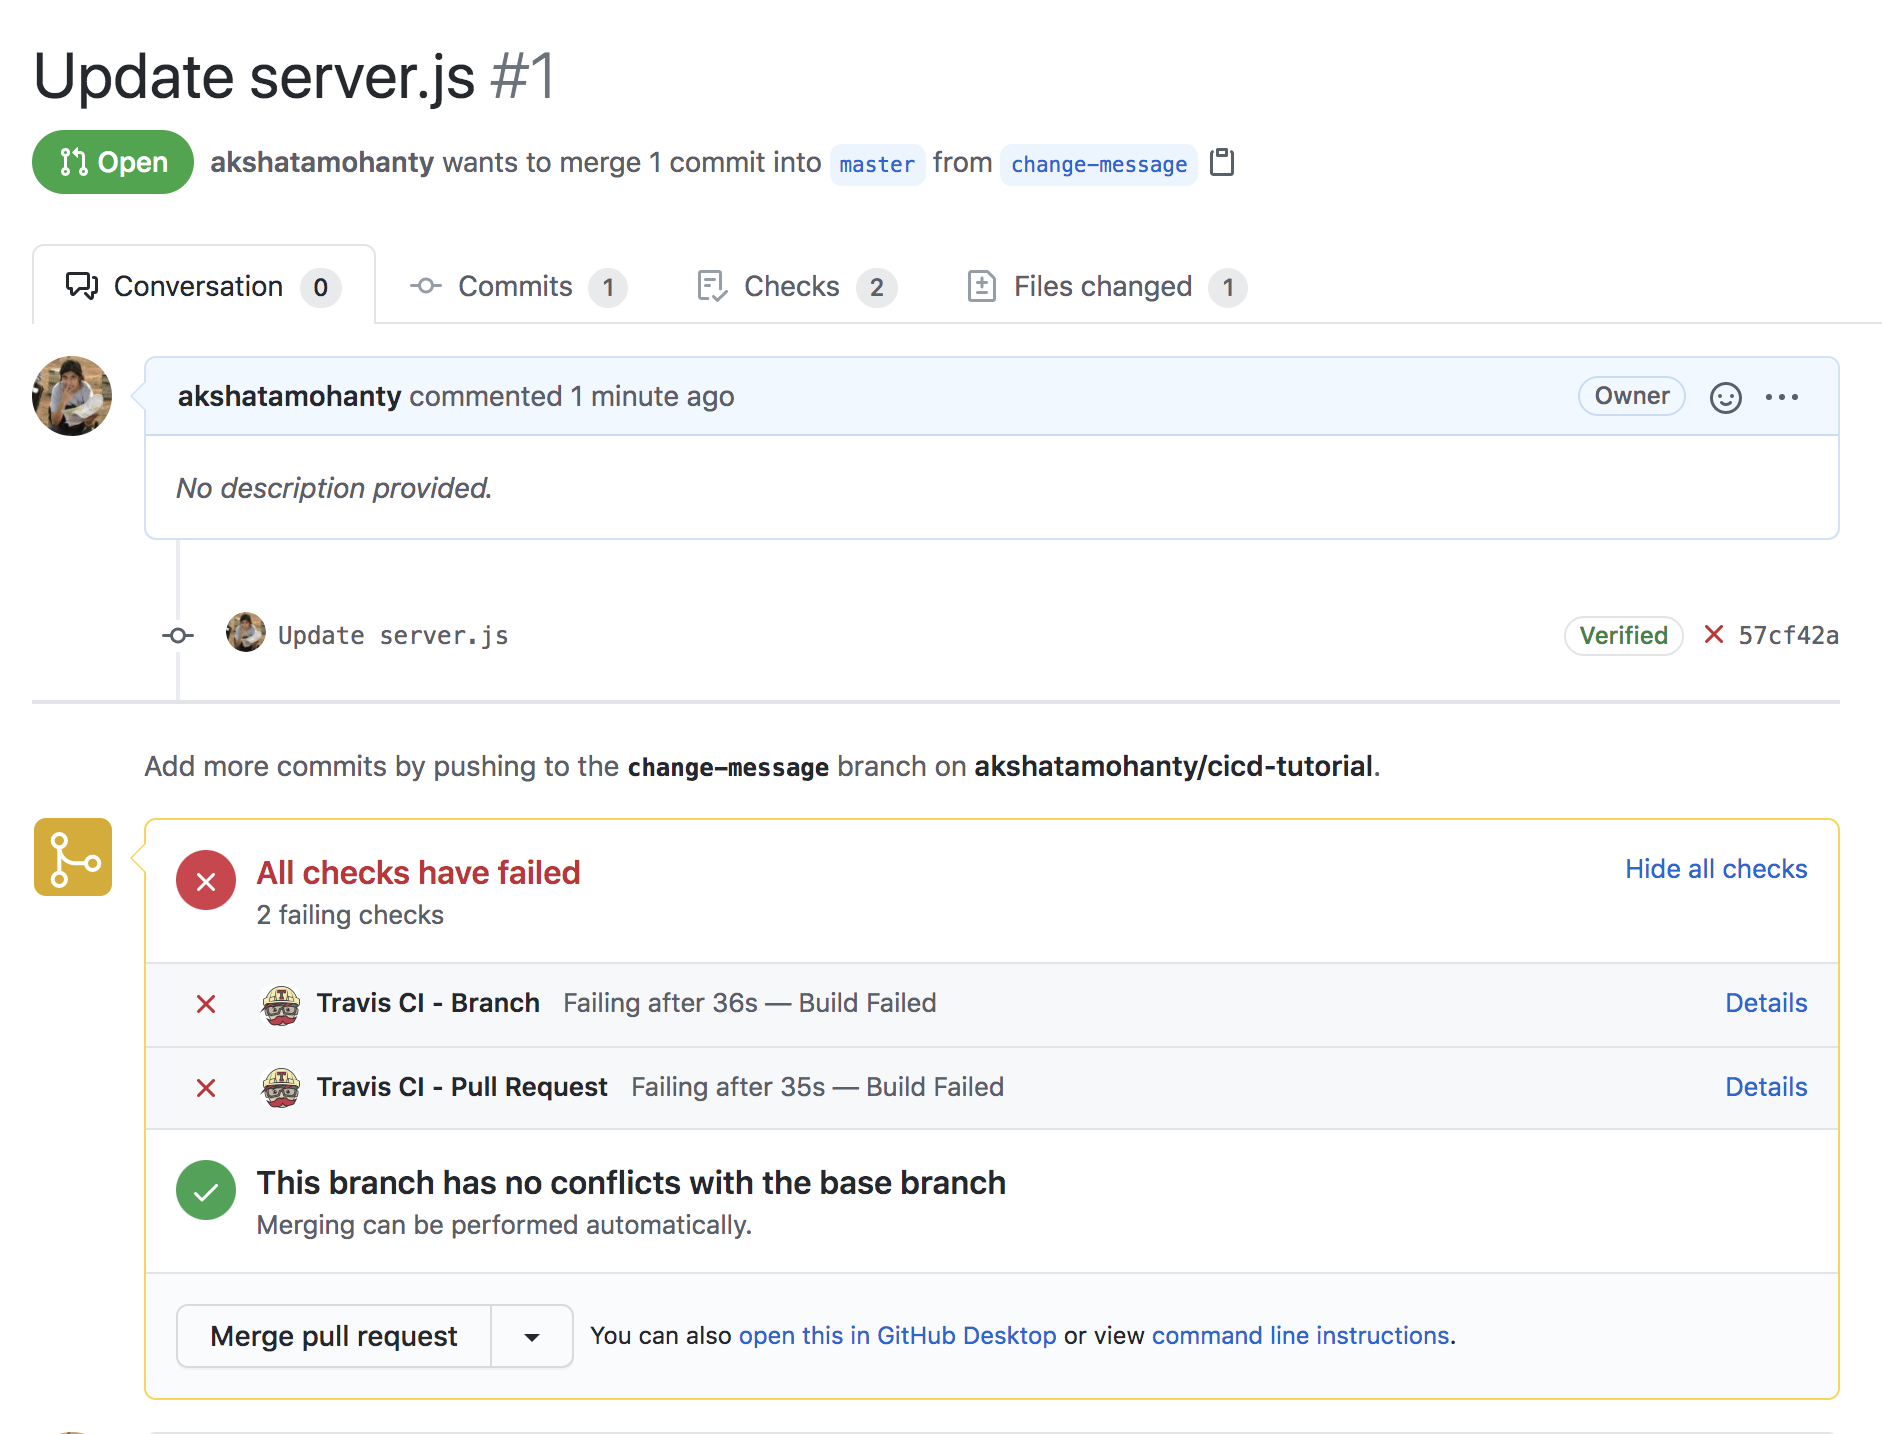
Note the red cross, indicating that the checks failed.
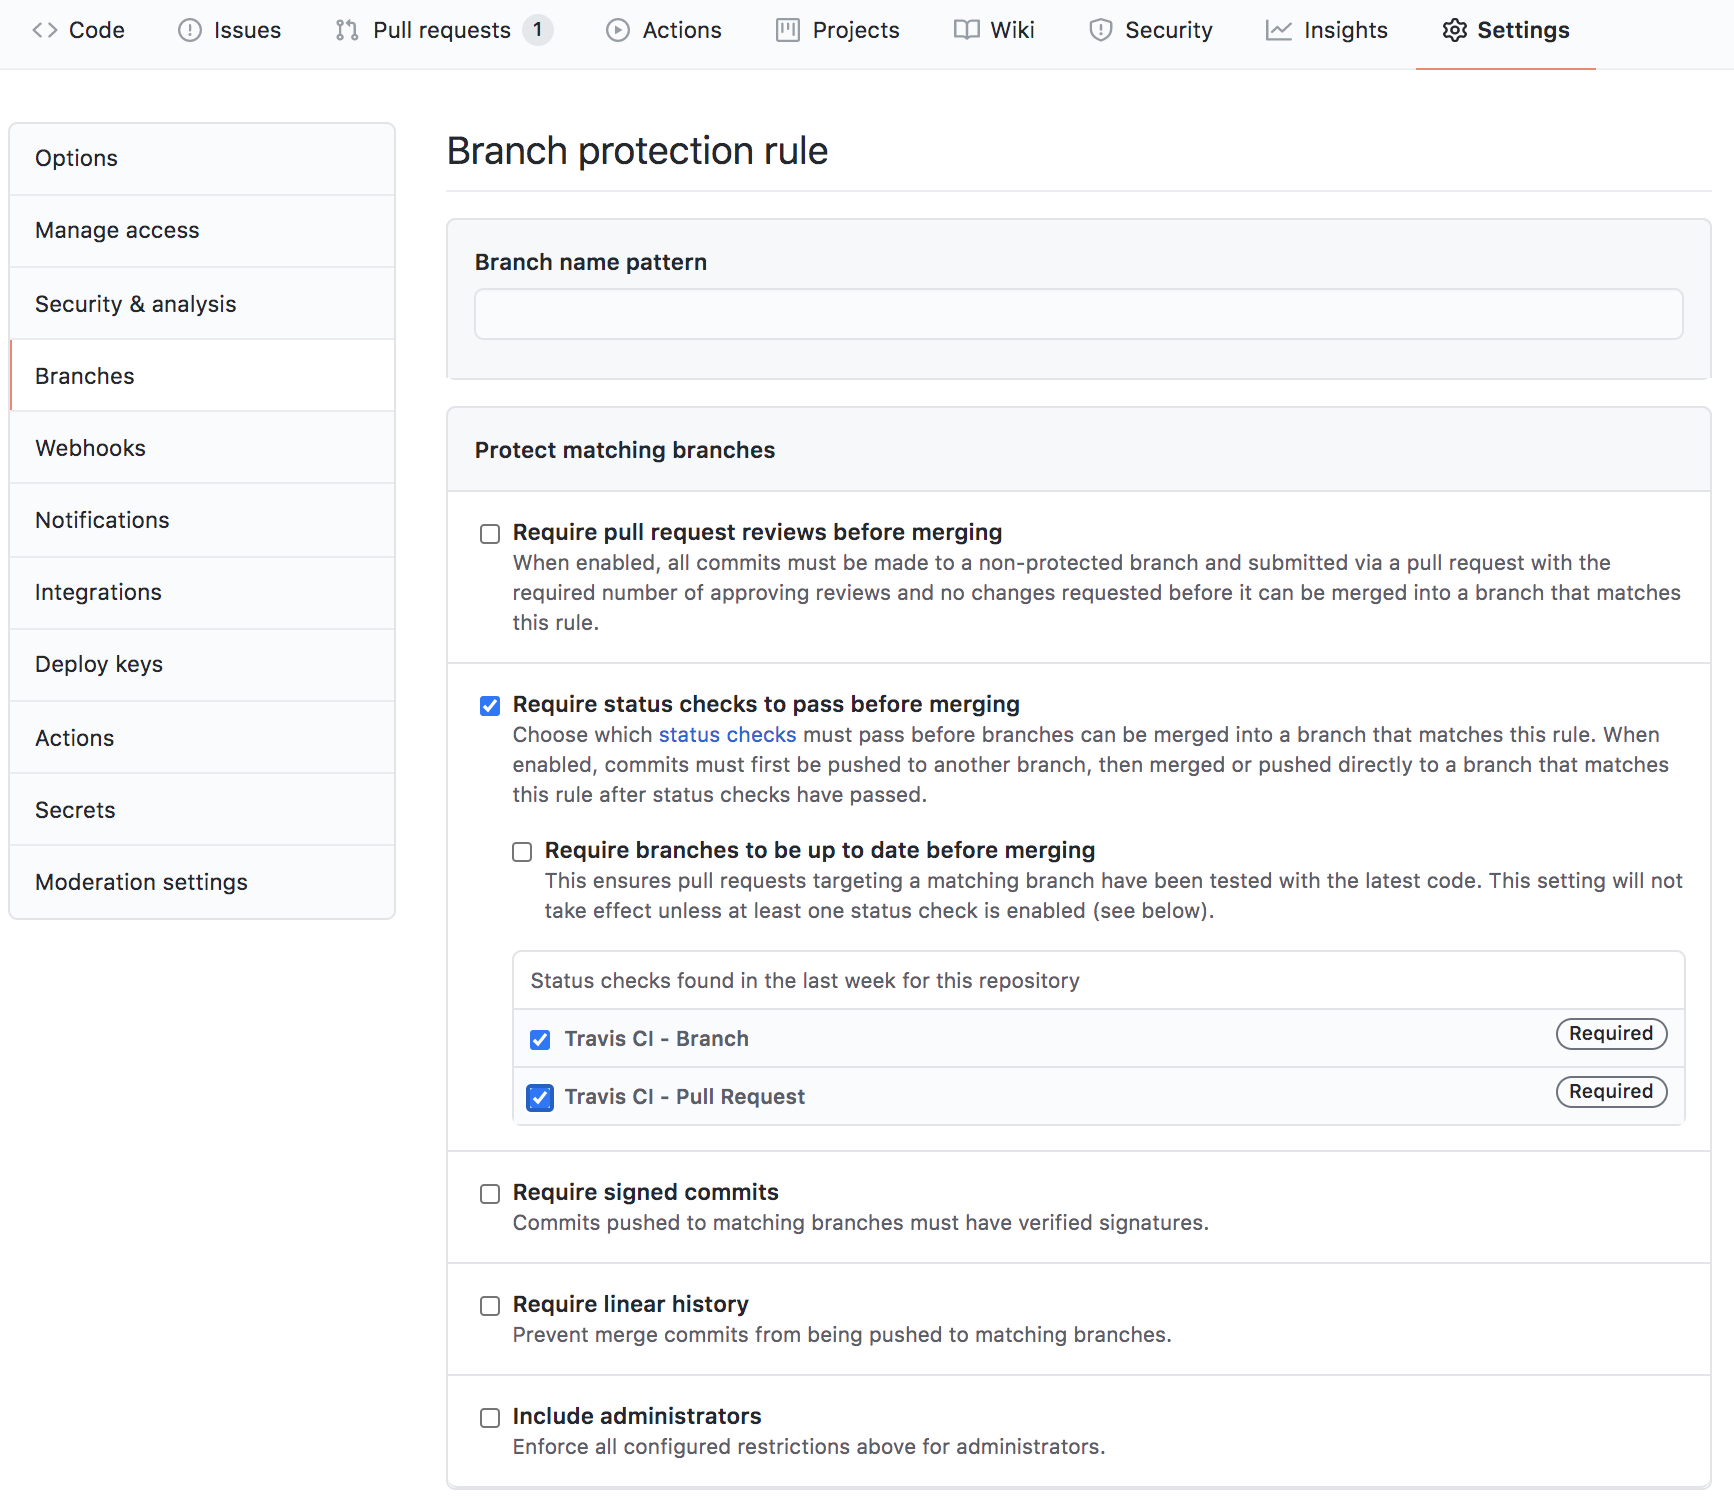
You can add branch protection as shown below, to disable merging unless the build passes.
Continuous Deployment is the process of automated deployments.
Production systems usually have multiple stages for deploying.
For our tutorial, we will have,
stagingenvironment - for pre-release versions, to conduct internal testing & verification before releasing to the live websiteproductionenvironment - openly accessible released version
Create a branch develop. Set this branch as the default branch. We will use this branch as staging branch.
Now, in your Heroku dashboard, create a new app for staging, for eg, techladies-ci-cd-2020-staging and add the branches and deploy blocks to .travis.yml as listed below,
language: node_js
node_js:
  - 10.13.0
install:
  - npm install
script:
  - npm run test
branches:
  only:
    - develop
deploy:
  provider: heroku
  api_key:
    secure: ADD_API_KEY_HERE
  app:
    develop: ADD_STAGING_APP_NAME_HERE
Make sure you replace ADD_STAGING_APP_NAME_HERE with the name of the staging app that you created on Heroku.
Replace ADD_API_KEY_HERE with your encrypted Heroku API key. Generate it with the following command:
travis encrypt $(heroku auth:token) –-pro
Push the changes to your develop branch. Travis will autodeploy your branch to the Heroku staging app.
Note: If when using the generated API key, your build fails with an "Invalid Credentials" error, replace
$(heroku auth:token)with the your actual Heroku API key from the Heroku Settings Page and use that encrypted value/
Yay! You have verified your new functionality in your develop branch in the staging environment. It is now ready to be deployed to the world!
Create a new app on Heroku to use as your production app. Then,
- add
masterunderbranches - add your production app name for
masterunderapp
Your .travis.yml should now look like,
language: node_js
node_js:
  - 10.13.0
install:
  - npm install
script:
  - npm run test
branches:
  only:
    - develop
    - master
deploy:
  provider: heroku
  api_key:
    secure: ADD_API_KEY_HERE
  app:
    develop: ADD_STAGING_APP_NAME_HERE
    master: ADD_PRODUCTION_APP_NAME_HERE
Travis can now autodeploy your master branch to your production app.
Add a new route, in server.js, in the develop branch
app.get('/:name', (req, res) => {
  res.json(`Hello ${req.params.name}!`)
})
Wait for the staging deploy to complete. Verify that this new route is only available on techladies-ci-cd-2020-staging and not deployed to our production app - techladies-ci-cd-2020-prod.


