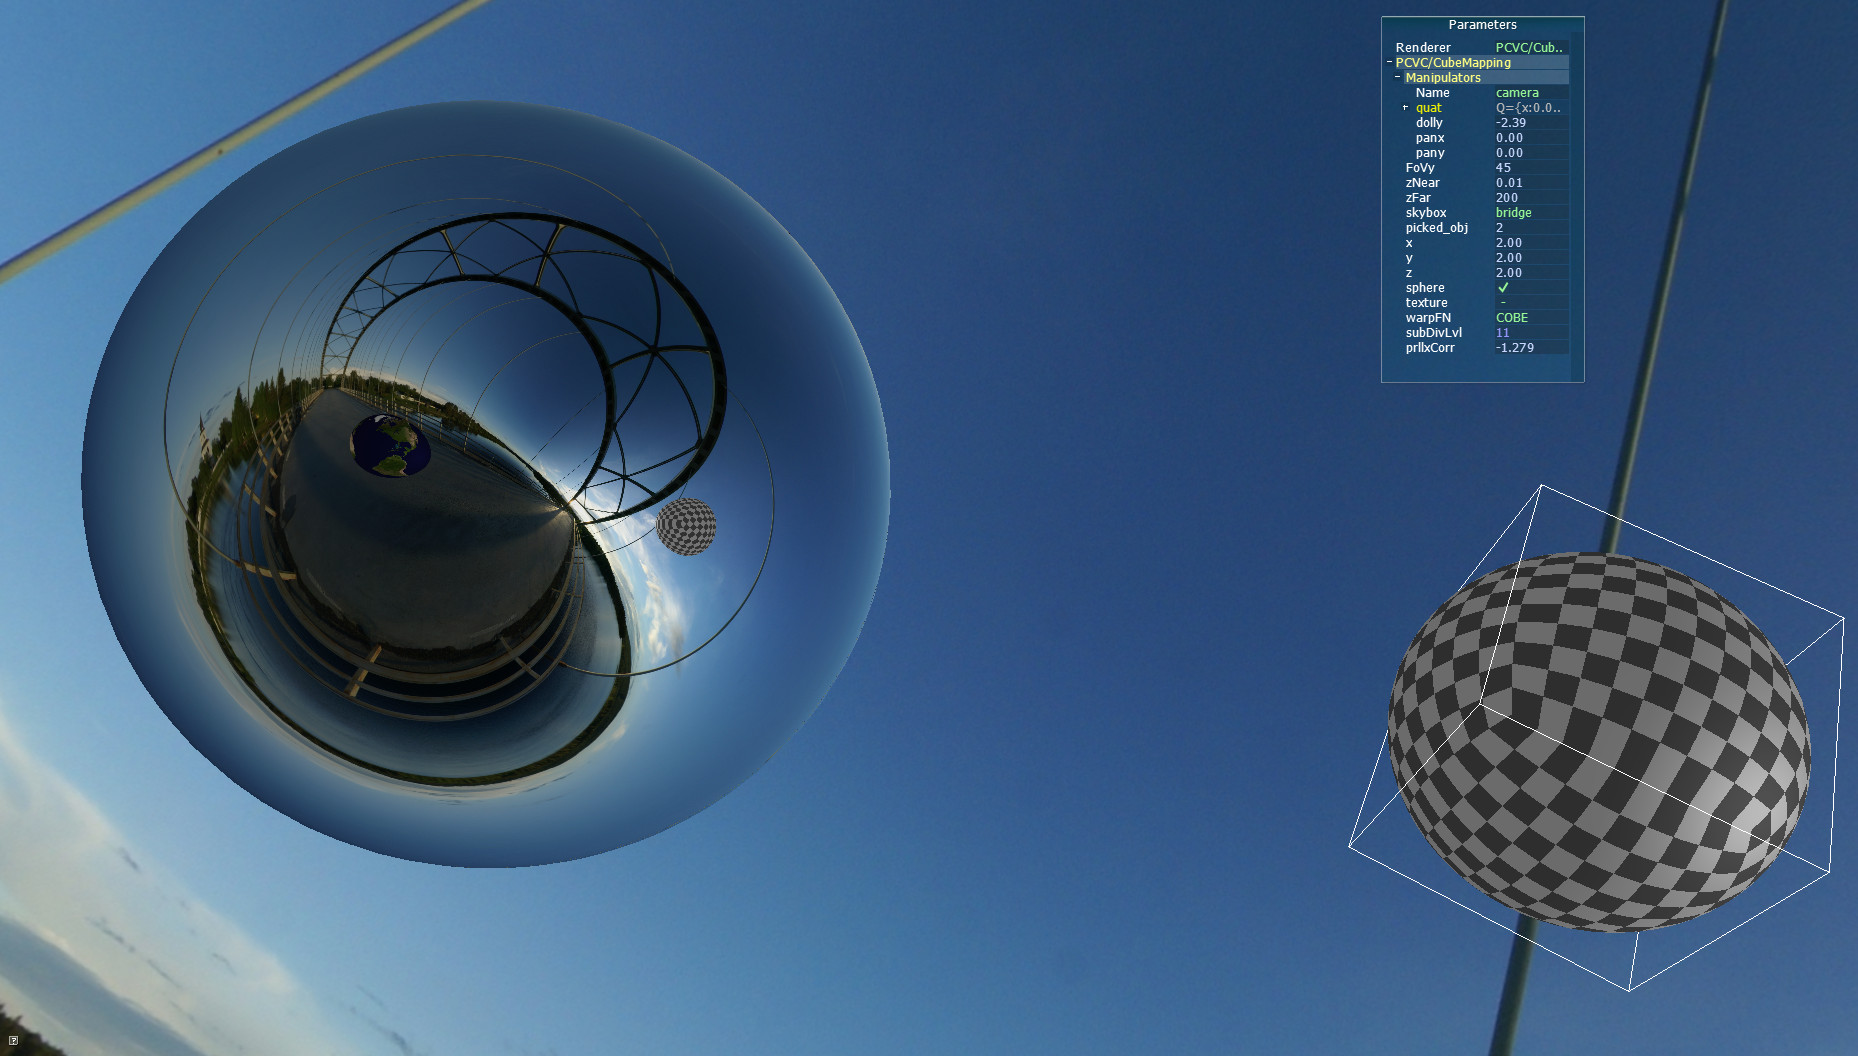
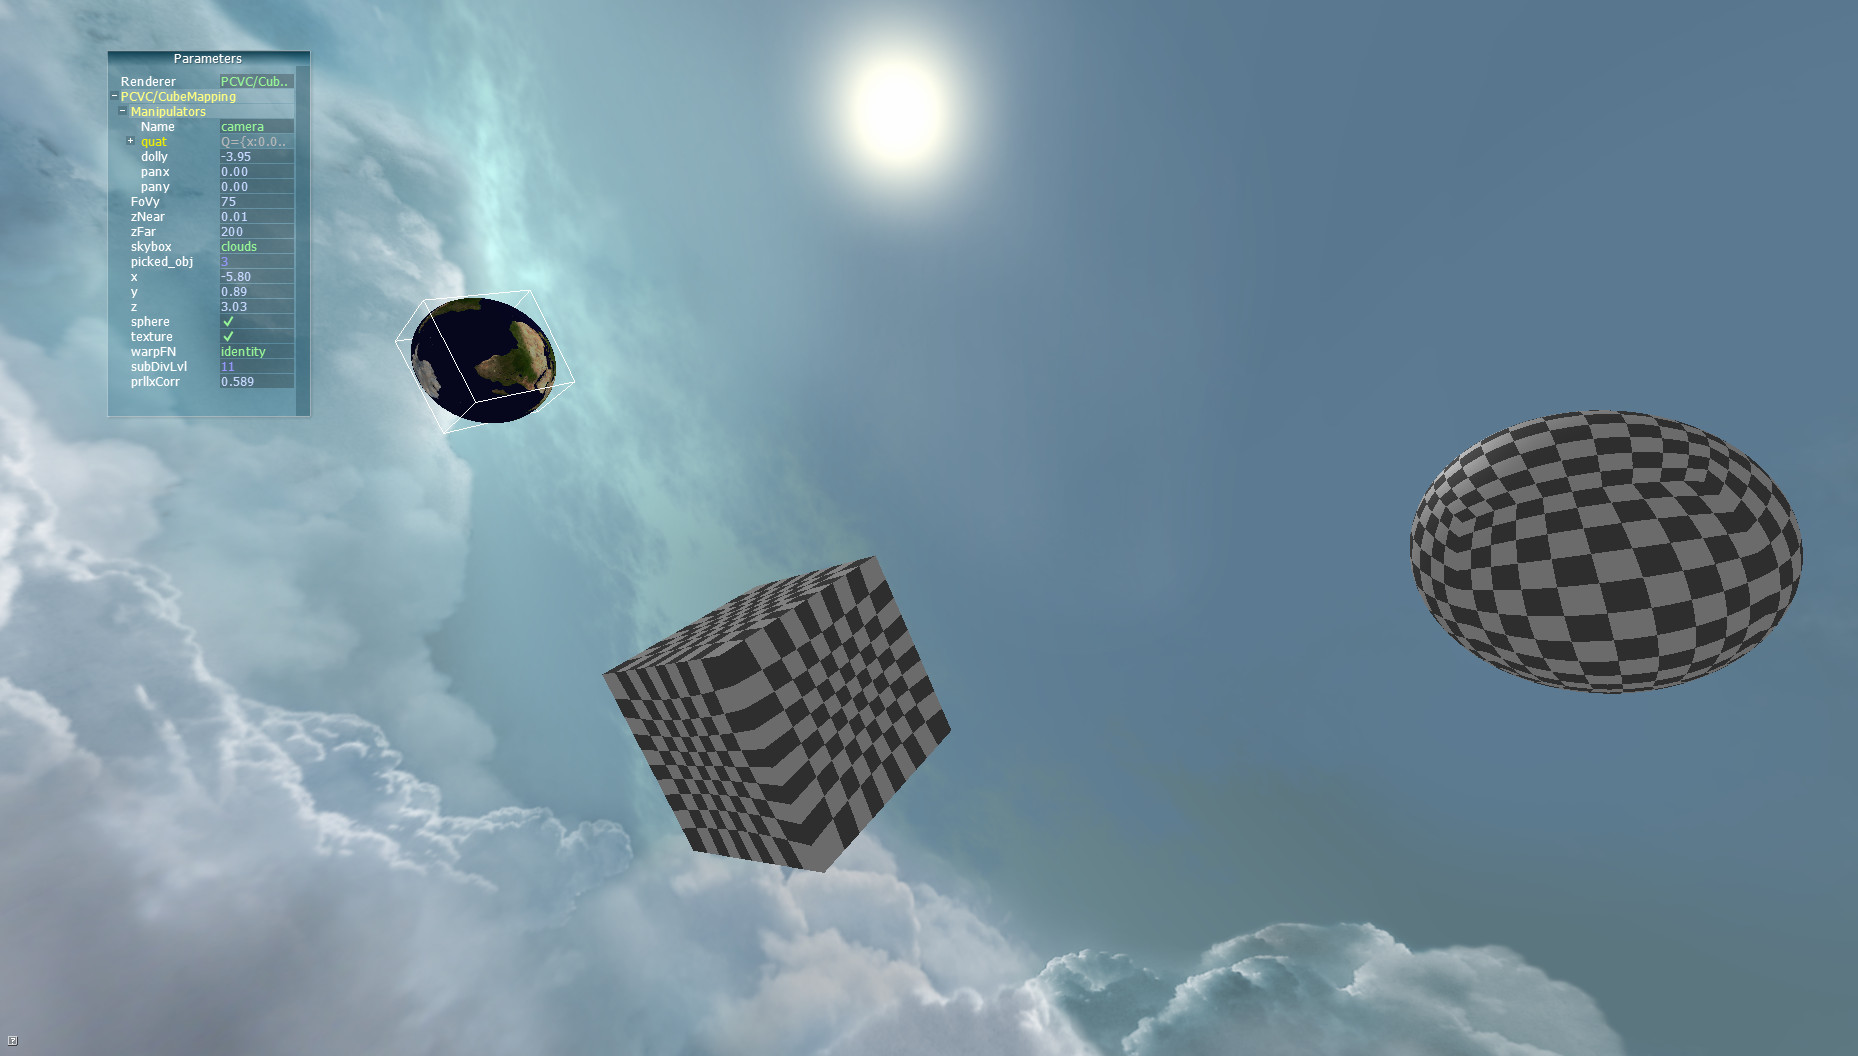
A demo of cube mapping applications in OpenGL realised as a Plugin to the OGL4Core Framework. This was developed as a self assigned task for the Practical Course Visual Computing, which is targeted at master students majoring in computer science.
OGL4Core is developed by the Institute for Visualization & Interactive Systems of the University of Stuttgart and intended to provide an environment for prototypical or educational OpenGL centric applications. This plugin revolves around the topic of cube mapping and shows an interactive scene populated by 3 movable cubes (or spheres) covered by a skybox. A cube to sphere projection approach is implemented to switch from cube to sphere which leverages the exploration of texture coordinate warping techniques for area preservation on the surface. Appart from that, one of the objects can be made reflecting, which is realized using a single pass layered rendering approach. This in turn utilizes geometry shader instancing, an array texture and cube map texture.
- In order to run it you need to download the OGL4Core framework here https://www.vis.uni-stuttgart.de/projekte/ogl4core-framework. There are versions for different Linux distributions as well as Windows, you need to download a version with sources (src) in order to compile this plugin.
- Unpack the downloaded archive to a location of your choice.
- In the root directory of the OGL4Core framework you'll find a directory named
Plugins. Within that directory, clone this repository. E.g.~/OGL4Core$ cd Plugins/and then~/OGL4Core/Plugins$ git clone https://github.com/hageldave/OGL4Core-CubeMapping.git - Building the Plugin:
- Linux
cdto the cloned repository and callmaketo build the plugin. E.g.~/OGL4Core/Plugins$ cd OGL4Core-CubeMapping/and then~/OGL4Core/Plugins/OGL4Core-CubeMapping$ make. - Linux w/ QT Creator there is a QT project file
CubeMapping.proand corresponding project settings fileCubeMapping.pro.userwhich can be used to open the project in QT Creator (e.g. for Ubuntu ) and build it from there. - Windows Unfortunately there is no easy way in Windows, but there are Visual Studio project files which can be used to open the project in Visual Studio and build and run it from there. Simply open the
CubeMapping.vcxprojfile with VS.
Since the plugin uses GS instancing your graphics hardware has to support the GL_ARB_gpu_shader5 extension which is available on hardware that is capable of OpenGL 4.0.
For Linux there is a shell script included which can be used to start OGL4Core and boot up the plugin right away (./start_ogl4core.sh -r CubeMapping).
This shell script is also executed when running from within QT Creator.
In Windows, when running from within VS OGL4Core is started and the plugin booted up as well.
In general the OGL4Core executable can be started and the plugin selected from within the application.
When your system's OpenGL implementation is Mesa (as most likely with an AMD card in Ubuntu) you need to start the OGL4Core application with a GL version override in order to setup the GL API type to be compatible with the GL version that is required by the OGL4Core and the plugin itself.
I noticed this when starting OGL4Core the first time and it reported my system to only support Open GL 3.0 while it actually supported 4.5.
The shell script already starts the application with MESA_GL_VERSION_OVERRIDE=3.3FC which is Open GL version 3.3 with forward compatibility profile.
- You can rotate the camera by dragging with the left mouse button over the image.
- You can go back and forth with the camera by dragging vertically with the right mouse button.
- Camera movement can also be done by using the controls in the Parameters control panel in the Manipulators section.
- The cameras field of view (
FoVy) as well as its near and far plane distance (zNearzFar) can be set in the control panel. - The skybox texturing can be changed in the control panel allowing for 4 different surroundings.
- The cube face geometry of the objects can be refined by increasing the sub division level value (
subDivLvl). This is useful when cube to sphere projection is active so that the sphere looks smooth. - The
prllxCorrparameter controls the parallax correction factor used for calculating the reflection. Due to the way reflection is handled in this approach it may not look natural, which is why this parameter was introduced to correct for the parallax phenomenon (especially when in cube shape). - Typing the
S-key will switch the mouse interaction from camera control to object movement. In this mode new parameters pop up in the control panel. Typing it again will switch back to camera control.- Clicking on an object using the left mouse button will select it, and show its properties in the control panel.
- Its position can be changed by either altering the parameters in the control panel or by dragging the mouse with the right mouse button (left-right, up-down) or middle mouse button (back and forth in depth).
- The cube can be made into a sphere when checking the
spherebox in the control panel. - When checking the
texturebox in the control panel, the object will be use a cubemap texture instead of the checkerboard pattern (for one of the cubes it means that it will turn reflecting and show its surroundings). - The
warpFNdrop down lets you select the warping function used for the texture coordinates (This will be best visible with the checkerboard pattern).

