Raspberry PI Zero W Camera and a simple http server with stream and some weather-data for outdoor bunnys (Edgar and Puffy):
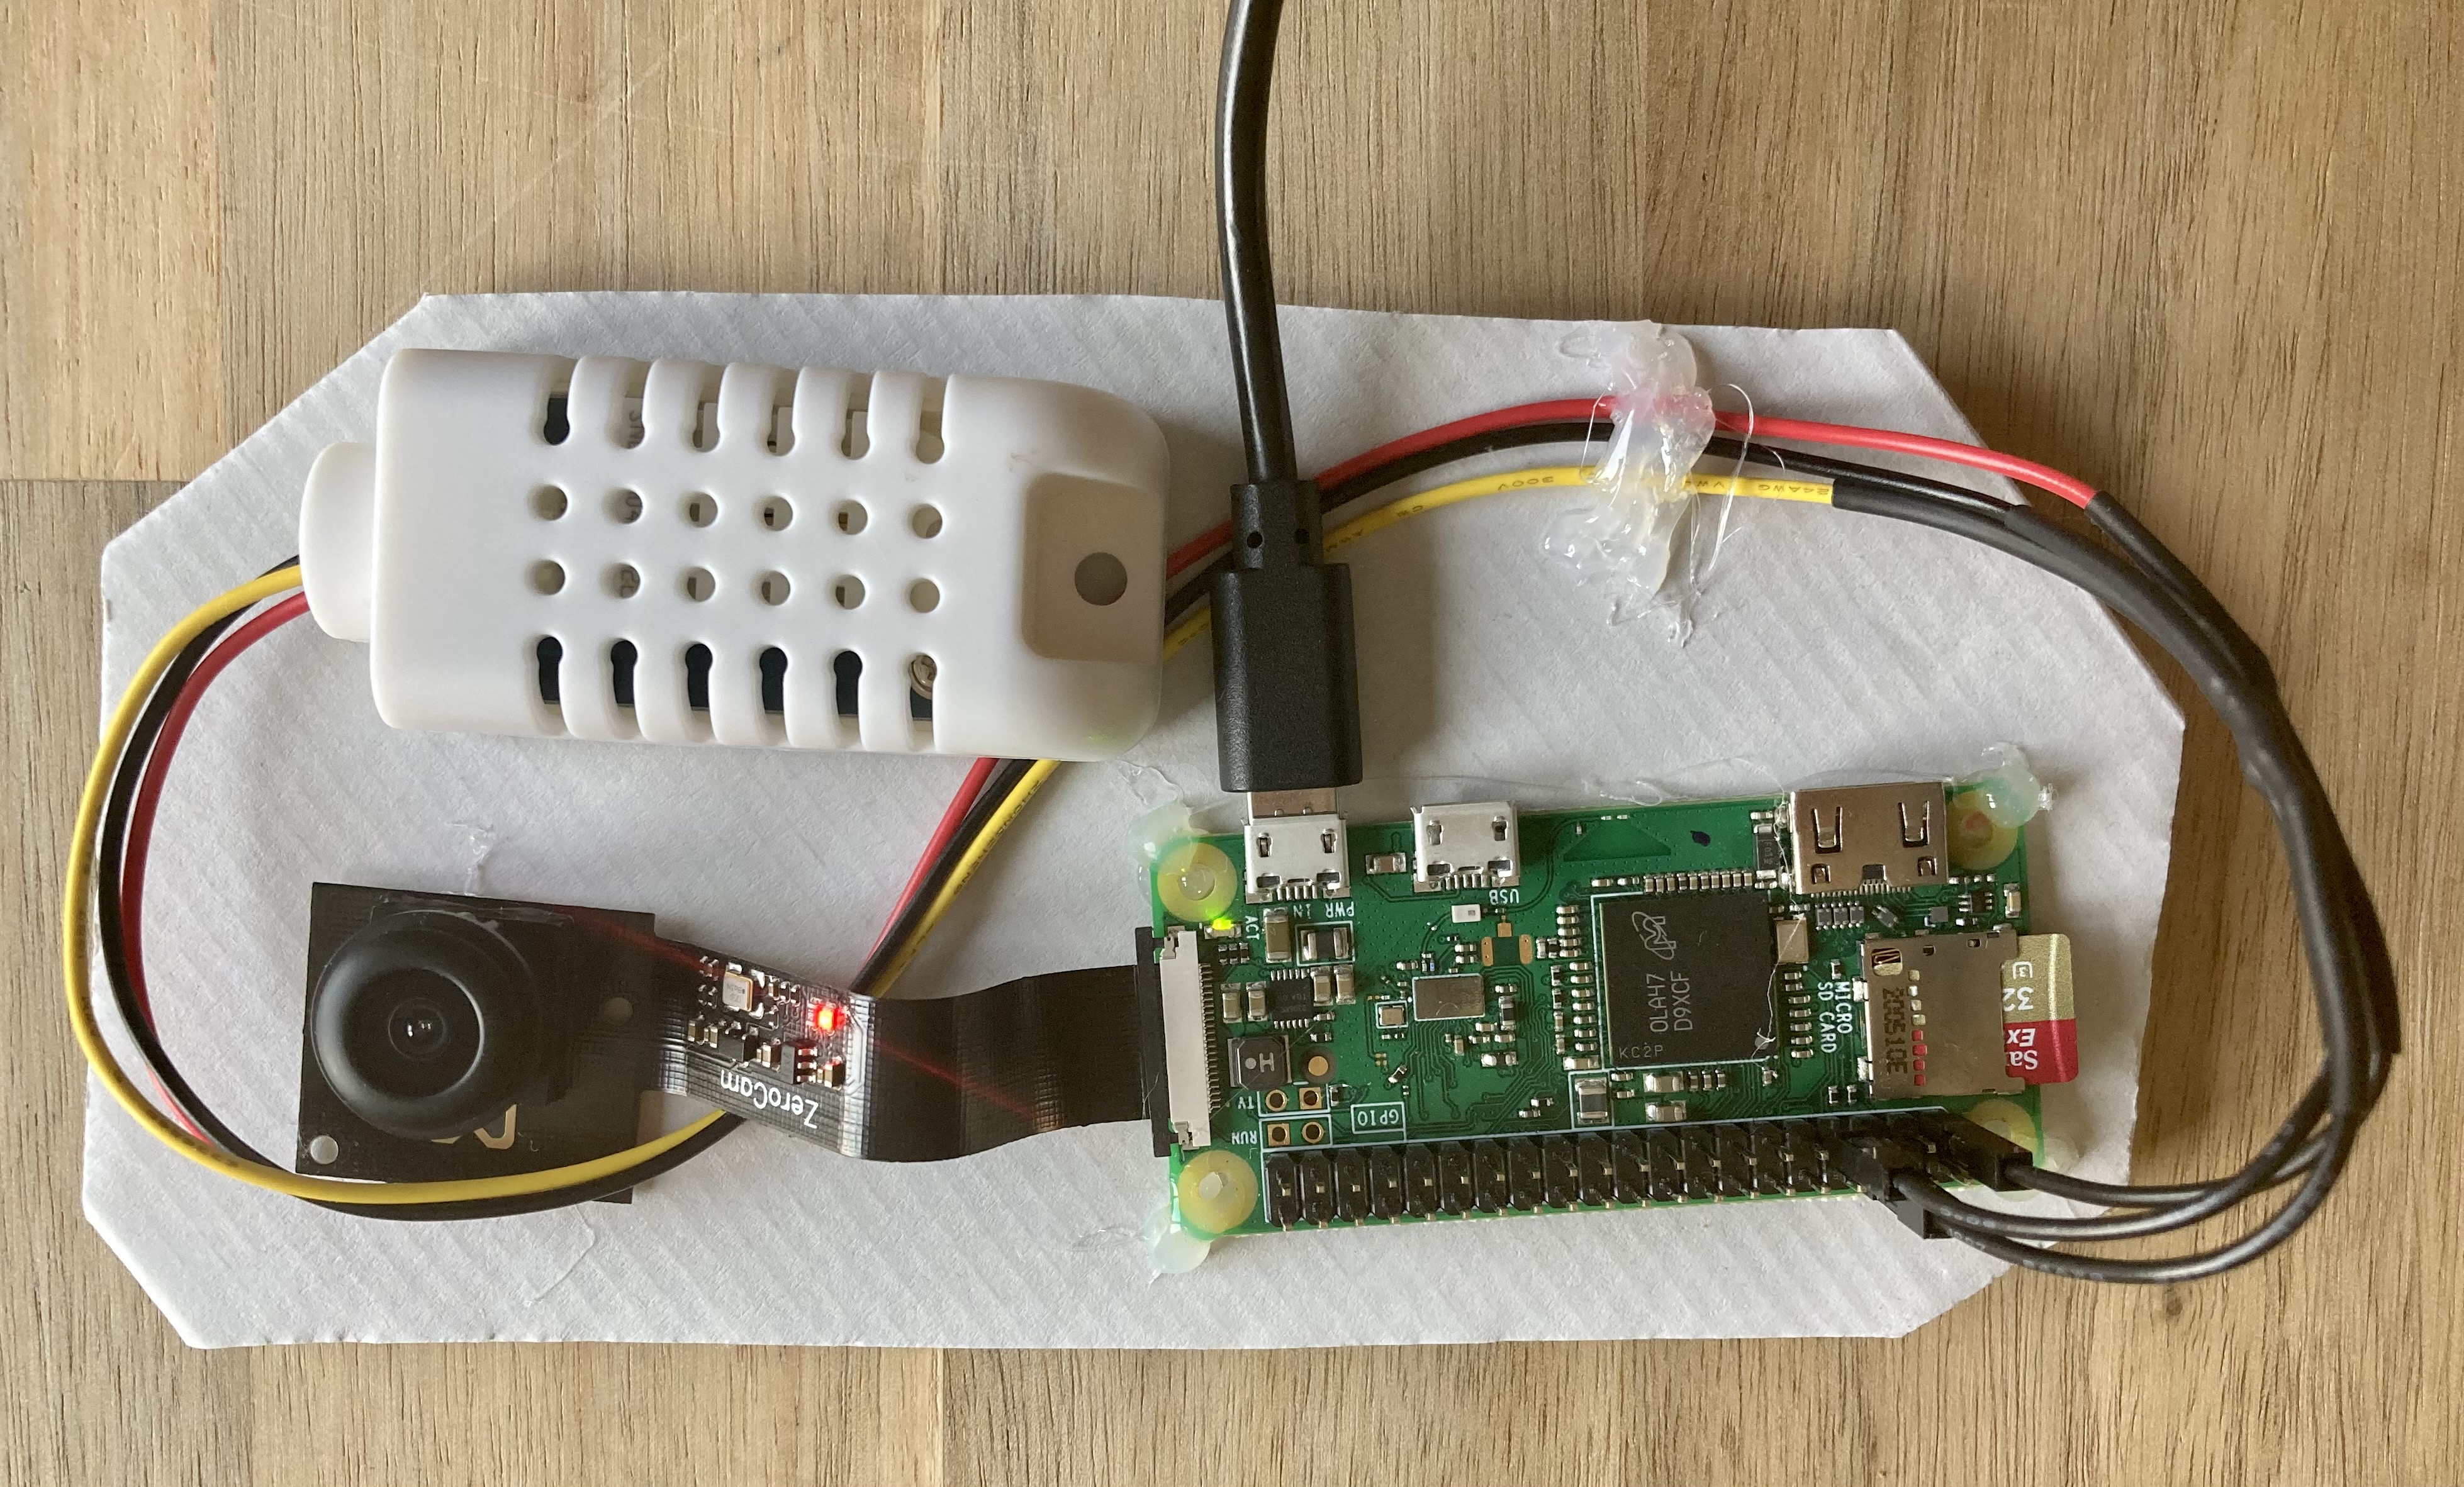
- Board: RASP PI ZERO W Raspberry Pi Zero W (Reichelt)
- Camera: RPIZ CAM 5MP 170 Raspberry Pi Zero (Reichelt)
- Sensor: AM2302 / DH / DEBO DHT 22 WIRE (Reichelt)
- And also:
- SD-Card for the raspberry
- powersupply or powerbank
- a cable with micro-usb for power to the raspberry
Connect all the parts:
- Camera to the raspberry
- Sensor to the raspberry (black = any ground pin, red = any 3,3v pin, data = pin GPIO 4), see raspberry pi zero pinout
- Build a or use a nice housing for the componets. I used a cardboard and some hotglue for development and testing:

-
Setup Raspberry PI Zero w with current raspian and login via ssh.
-
First, get updates:
sudo apt-get update sudo apt-get upgrade sudo apt-get dist-update sudo apt-get autoremove sudo apt-get autoclean -
Reboot:
sudo reboot -
Open system settings with
sudo raspi-configand change...- Enable camera
- Change password
- Set hostname
- Set timezone
- Set WLAN country
- Expand filesystem
-
Reboot:
sudo reboot -
Install tools:
sudo apt-get install fish mc git python-picamera python3-picamera python3-pip libgpiod2 sudo pip3 install --upgrade setuptools pip3 install adafruit-circuitpython-dht -
Clone git repository https://github.com/haenno/bunnycam to home folder:
cd ~
git clone git@github.com:haenno/bunnycam.git
Maybe you need to first create new ssh key with
ssh-keygen -t ed25519 -C "your_email@adress.com"and add it to your github account. -
Setup bunnycam webserver and logging als systemd deamons:
sudo cp /home/pi/bunnycam/bunnycamlog.service /etc/systemd/system sudo cp /home/pi/bunnycam/bunnycamwww.service /etc/systemd/system sudo systemctl daemon-reload sudo systemctl enable bunnycamwww sudo systemctl enable bunnycamlog -
Get crontab to grab updates...
Open crontab with
sudo crontab -eand insert 1 line:0 4 * * * date >> /var/log/bunnycamsys.log && vcgencmd measure_temp >> /var/log/bunnycamsys.log && apt-get update -yq >> /var/log/bunnycamsys.log && apt-get upgrade -yq >> /var/log/bunnycamsys.log && apt-get dist-upgrade -yq >> /var/log/bunnycamsys.logSo it will check for system update every day at 04:00.
-
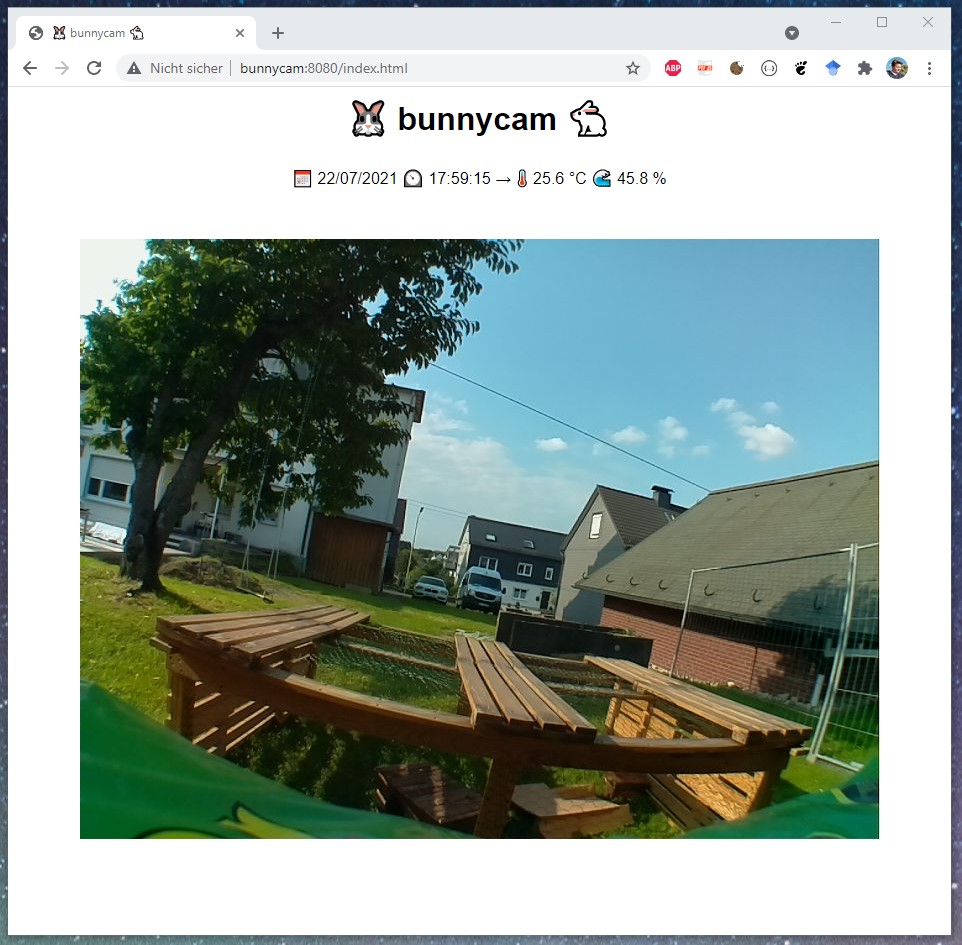
Try to open the stream: Open your browser and type
http://in the adressfield, followed by the hostname or ip of your raspberry and the port:8080. I my case the hostname was "bunnycam", so the url was:http://bunnycam:8080
- Build better caseing.
- Add WLAN antenna.
- Update pip3 with crontab.
- Self check if network / system is running. Reboot if not.
- Send logs / status via email.
- Save some of the images (for timelaps?).
- Add a led stripe and control via http.
