cf-proxy
通过 Cloudflare Workers 代理 GitHub 的请求来实现 Github 无法访问的问题,支持文件代理加速下载
Note
无法保证hub.llll.host持续可用,建议自行部署
使用方法
# 克隆仓库
- git clone https://github.com/aliuq/proxy-github.git
+ git clone https://hub.llll.host/aliuq/proxy-github.git

# 代理 raw.githubusercontent.com
- https://raw.githubusercontent.com/aliuq/proxy-github/master/README.md
+ https://raw.llll.host/aliuq/proxy-github/master/README.md

# 代理 github.githubassets.com
- https://github.githubassets.com/images/modules/site/social-cards/package-registry.png
+ https://assets.llll.host/images/modules/site/social-cards/package-registry.png

# 文件代理加速
# https://dl.llll.host/<file_path>
- https://raw.githubusercontent.com/aliuq/proxy-github/master/README.md
+ https://dl.llll.host/https://raw.githubusercontent.com/aliuq/proxy-github/master/README.md
详细代理列表如下:
| Proxy | Hostname |
|---|---|
| hub.llll.host | github.com |
| raw.llll.host | raw.githubusercontent.com |
| assets.llll.host | github.githubassets.com |
| download.llll.host | codeload.github.com |
| object.llll.host | objects.githubusercontent.com |
| media.llll.host | media.githubusercontent.com |
| gist.llll.host | gist.github.com |
| dl.llll.host | dl.llll.host/<File Path> |
cloudflare 免费版每天有
如果发现 hub.llll.host 不能访问或访问过慢,请进行私有化部署,如果只是几个人使用,完全足够
请尽量减少对仓库页面的访问,以减少 assets.llll.host 的负担,一个页面随随便便就有50+请求,尽量减少不必要的次数浪费,建议通过以下方式对单个文件进行访问或者clone
请尽量避免使用代理进入 GitHub 的时候进行登录
Github 私有仓库
Note
cf-proxy 不会保存任何数据,仅作代理转发,但由于使用次数限制,建议进行私有化部署
私有仓库操作与公开仓库使用方式一致,仅多了一步登录授权,需输入用户名和 Github Token
# clone a private repo
git clone https://github.com/<Your Name>/<Private Project>.git
# 替换如下
git clone https://hub.llll.host/<Your Name>/<Private Project>.git

# 按照提示,输入用户名和刚刚创建的 token
使用 git 缓存凭据,避免每次都需要输入用户名和 token
缓存在内存中
# 缓存 15 分钟
git config --global credential.helper cache
# 缓存 1 小时
git config --global credential.helper 'cache --timeout=3600'

# 接着执行 clone 操作,输入用户名和 token,在缓存时限内不需要再次输入
缓存在磁盘中
git config --global credential.helper store

# 接着执行 clone 操作,输入用户名和 token,此后不需要再次输入

# 查看凭据位置
cat ~/.git-credentials
开发
wrangler 要求 node 版本 >= v16.7.0
# 安装 cloudflare worker 开发工具 wrangler
npm install wrangler -g
# cloudflare 登录授权
wrangler login
# 查看登录信息
wrangler whoami

# clone
git clone https://github.com/aliuq/cf-proxy.git
# 进入项目目录
cd cf-proxy
# 安装依赖,依赖仅做类型提示
npm install
# 开发 等同于 `wrangler dev -l --ip localhost`
npm run dev
# 然后按下 `b` 打开浏览器,访问 https://localhost:8787

# 发布 等同于 `wrangler publish`
npm run deploy
部署
Warning
由于只有一个 Cloudflare 账号,所以没有使用多余账号进行测试
按照提示进行下一步操作
手动部署
git clone https://github.com/aliuq/proxy-github.git
cd proxy-github
npm install
npm install wrangler -g
使用 wrangler 进行开发和部署,先使用 wrangler login 进行 cf 登录授权,然后修改 wrangler.toml 下面的 DOMAIN 字段,指定用于代理的域名,然后运行 npm run deploy 进行发布
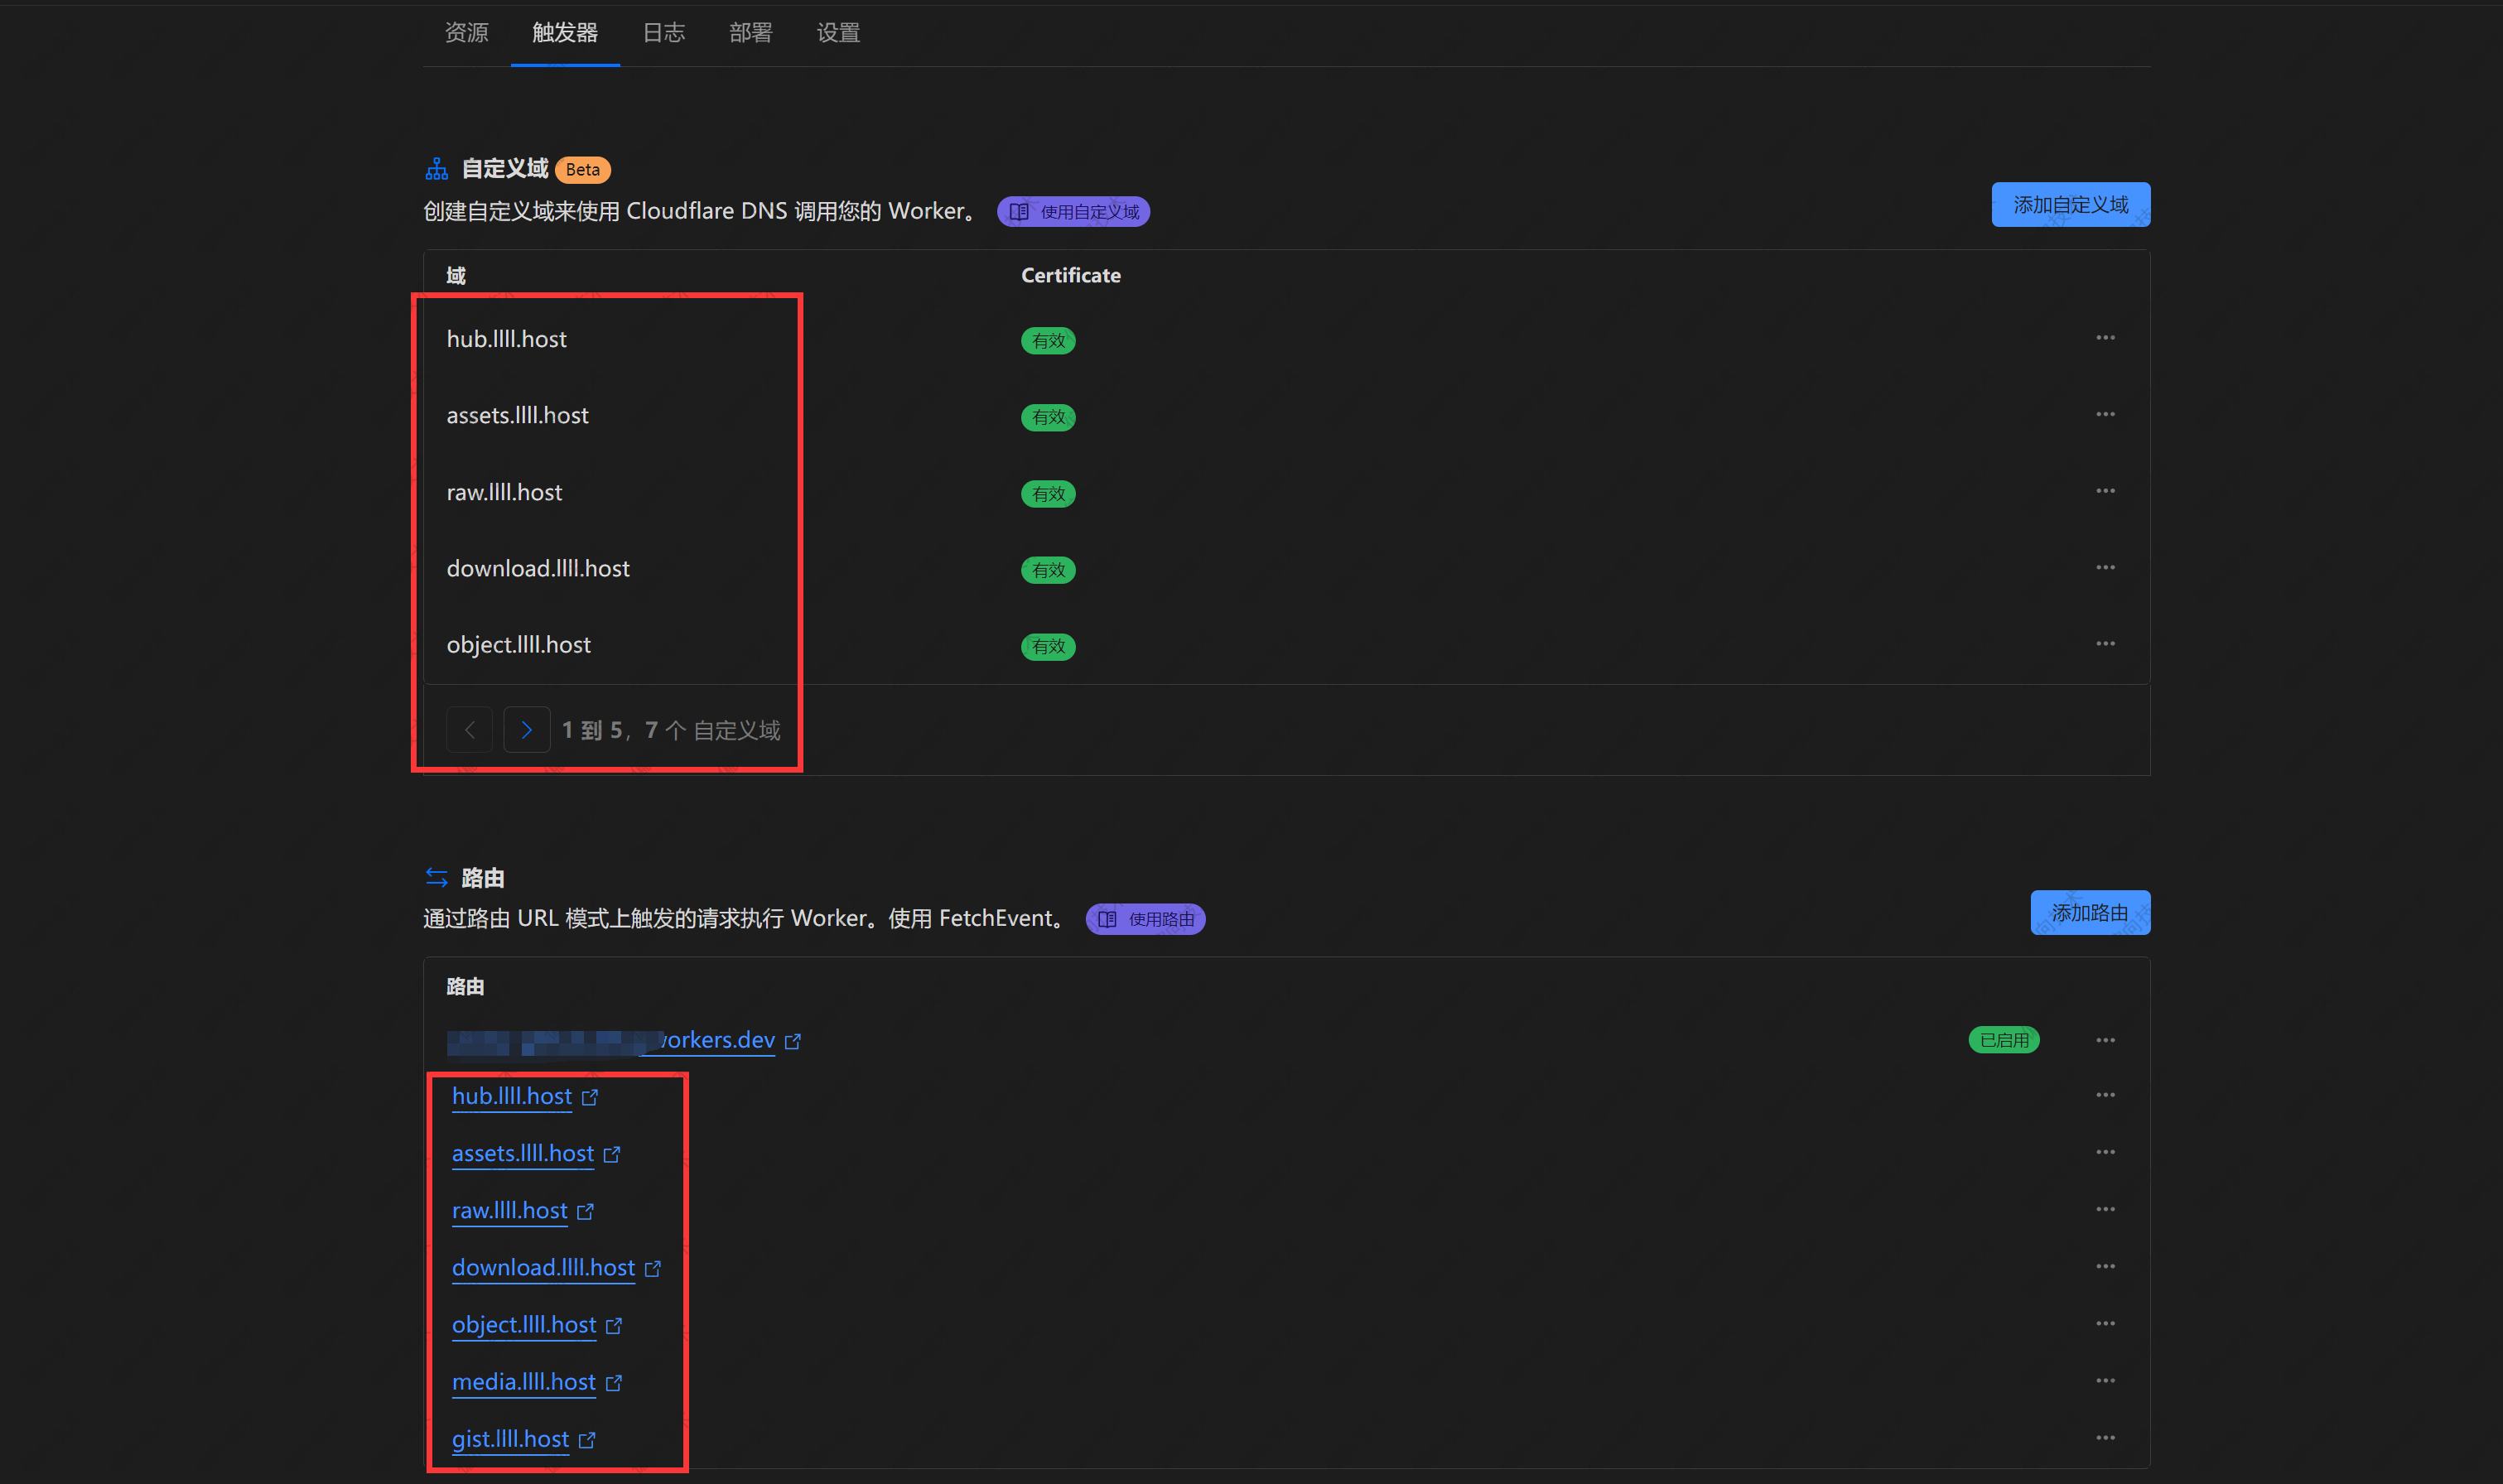
控制台操作
首先得有一个域名,并且在 cf 上添加为站点,在 Workers - proxy-github 下,选择触发器,将代理域名添加到路由和自定义域下,如果需要增加代理,同样需要添加到路由和自定义域下,DOMAIN 字段也可通过控制台 Workers - proxy-github - 设置 - 变量 - 环境变量 进行设置,