On 11 January 2021, this repository was force-pushed to remove a bad commit from 2013.
On 30 October 2020, this repository was force-pushed with a git history rewrite to remove unrelated content. See this forums post for more details.
![]()
Issues may be reported to the forums or via this repo's Github Issues.
The Fastpath plugin adds support for managed queued chat requests, such as a support team might use. For example, a web based "Live Support" interface can point a potential customer at a workgroup representing the Sales team. Members of that workgroup will receive notification that a someone is waiting and when someone from that workgroup accepts, the customer and the team member will be connected to communicate with each other.
Copy fastpath.jar into the plugins directory of your Openfire installation. The plugin will then be automatically deployed. To upgrade to a new version, copy the new fastpath.jar file over the existing file.
Configuration is performed under the Fastpath tab in the Openfire admin console. The legacy quick start guides can be found here
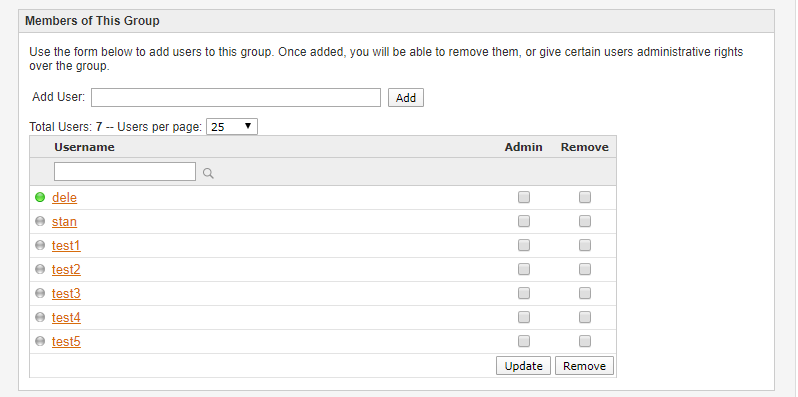
Create a group in Openfire for each website agent list. Add to each group, all users that will act as agents/experts that will handle chat requests from visitors. For example, add user another_agent to demo_agents shared group.
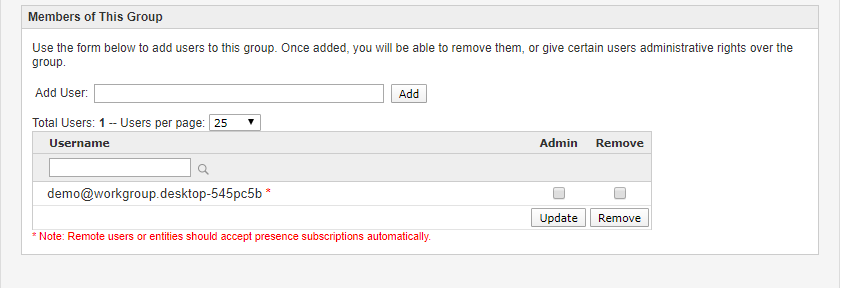
Create another group in Openfire for each website workgroup. This time add only the XMPP address of the workgroup chatbot as the single user. For example, add chatbot demo@workgroup.your_server.chat to demo_workgroup shared group.
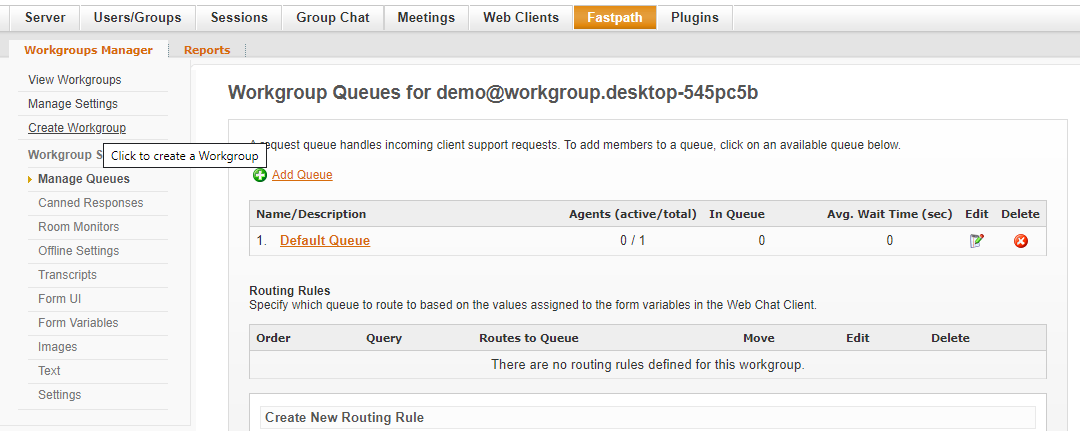
In Openfire, create a workgroup for each website preferably using the same name as the website. For example, the XMPP address of demo will be demo@workgroup.your_server.chat.
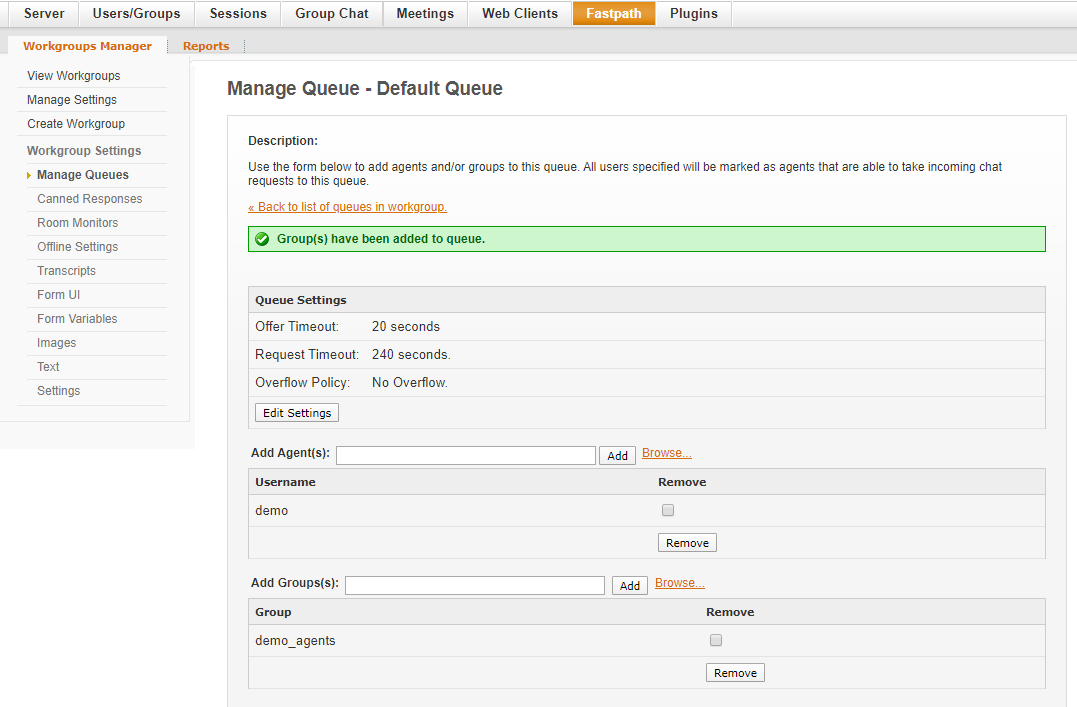
Assign the group created in step 1 to the default queue of each corresponding workgroup created in step 3.
In Openfire, go to Contact List Sharing, enable contact list group sharing with the group created in Step 2 with the group ceated in Step 1. For example, goto https://your_server.chat:9091/group-edit.jsp?group=demo_workgroup and enable sharing with group demo_agents.

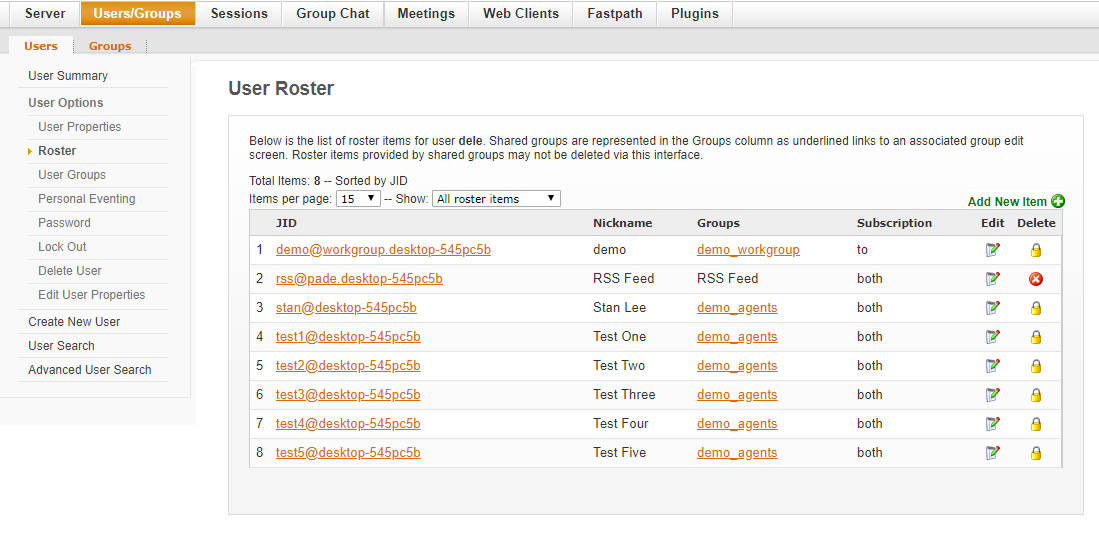
Go the User Roster of any your_server.chat user added to any of the groups and confirm that it shows all peer agents/experts as well as workgroups as contacts.
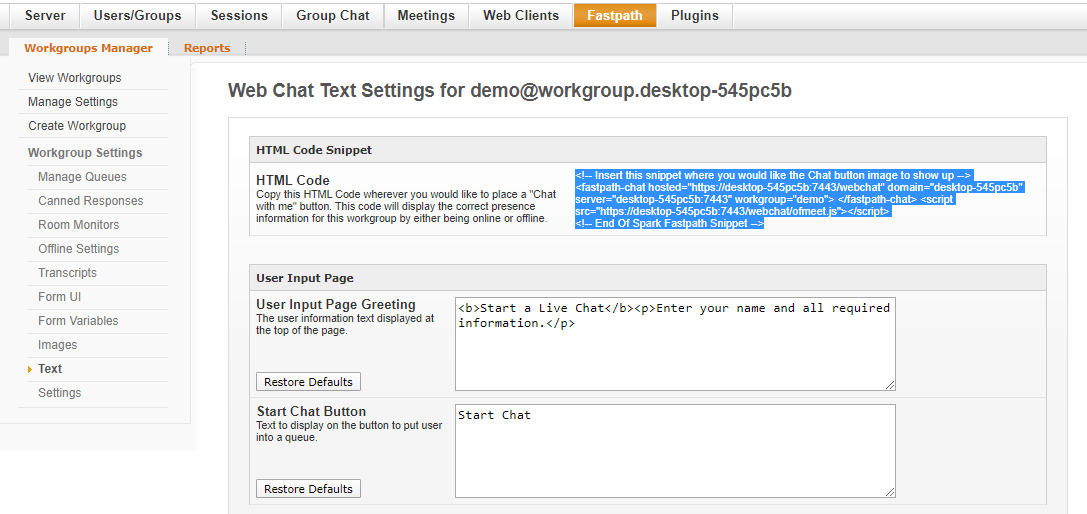
Go the Web Chat Text Settings for each workgroup and copy the generated HTML for each website and paste into every page where the chat button is required.
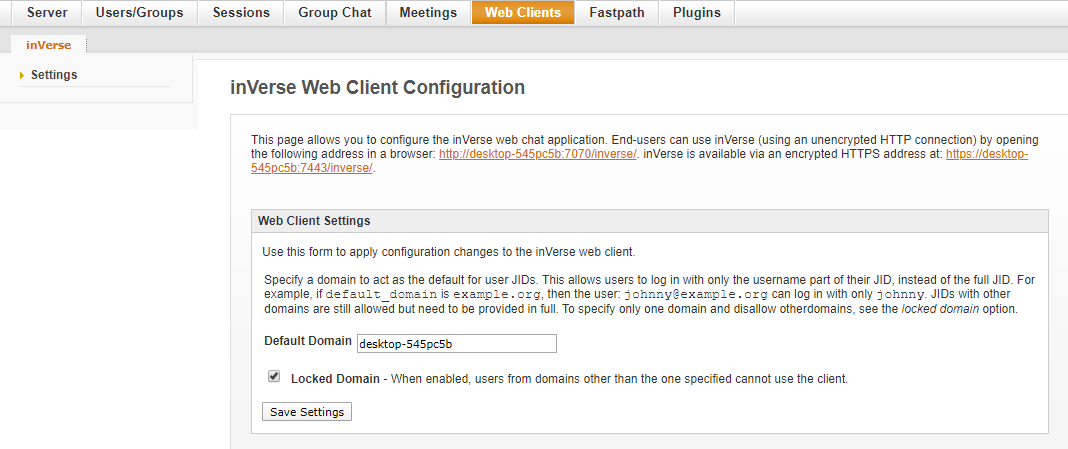
Login as an agent by using any XMPP client of choice. Try inVerse plugin for web client or Conversations for mobile client.
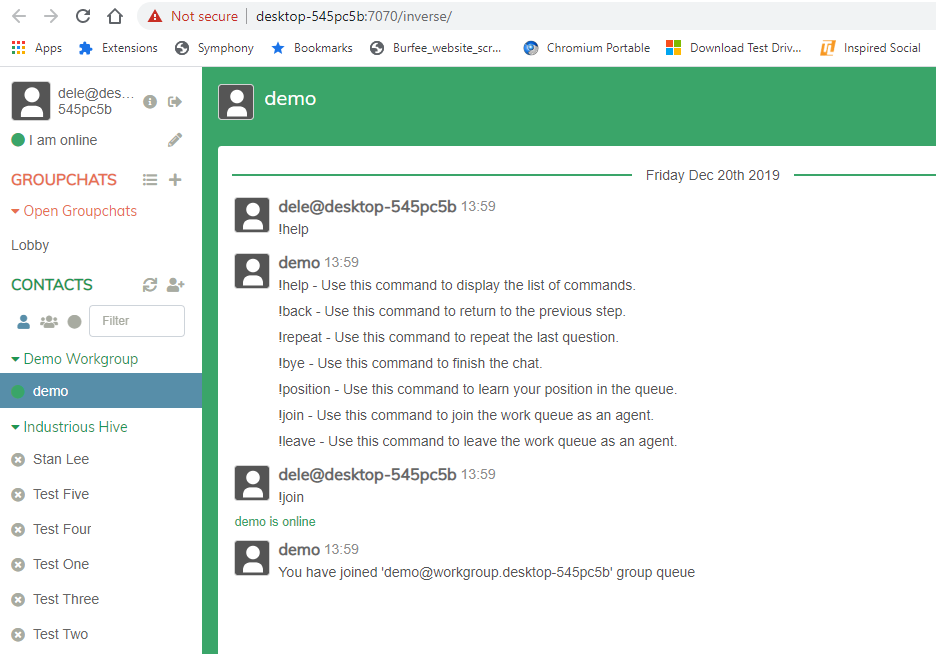
The workgroup chatbots should be visible in the contact list. Select any one like demo for example. Type in "!help" to see a list of commands and then type "!join" to join the workgroup queue.
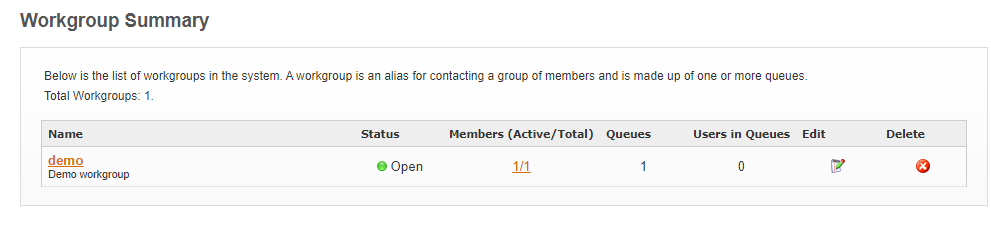
Check Openfire Workgroup Summary admin web page to confirm that the workgroup queue is open with 1 member.
Open a web page modifed in step 7 with the chat button. If there is none available try the demo test page at https://your_server.chat:7443/webchat/?wg=demo for example
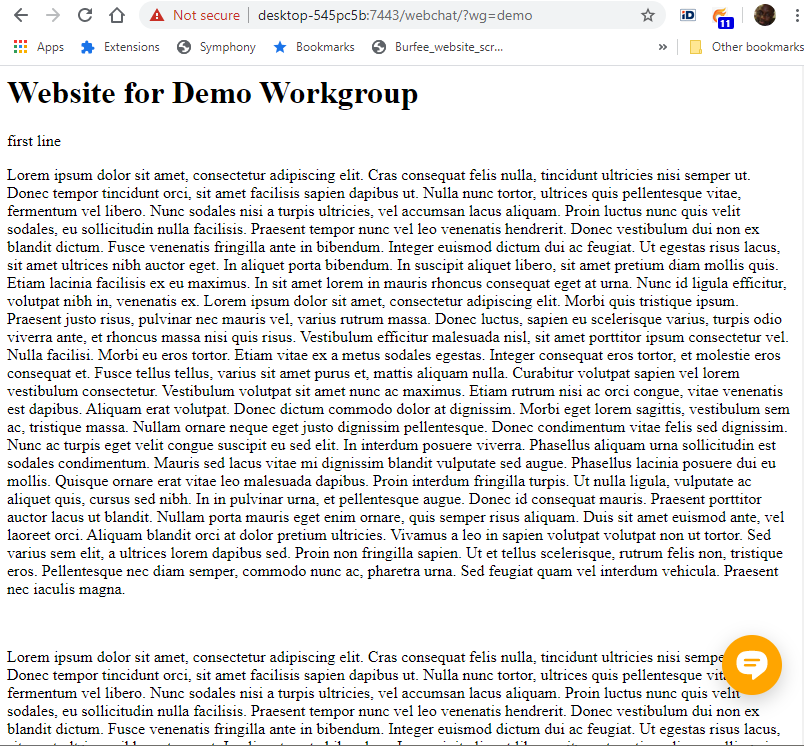
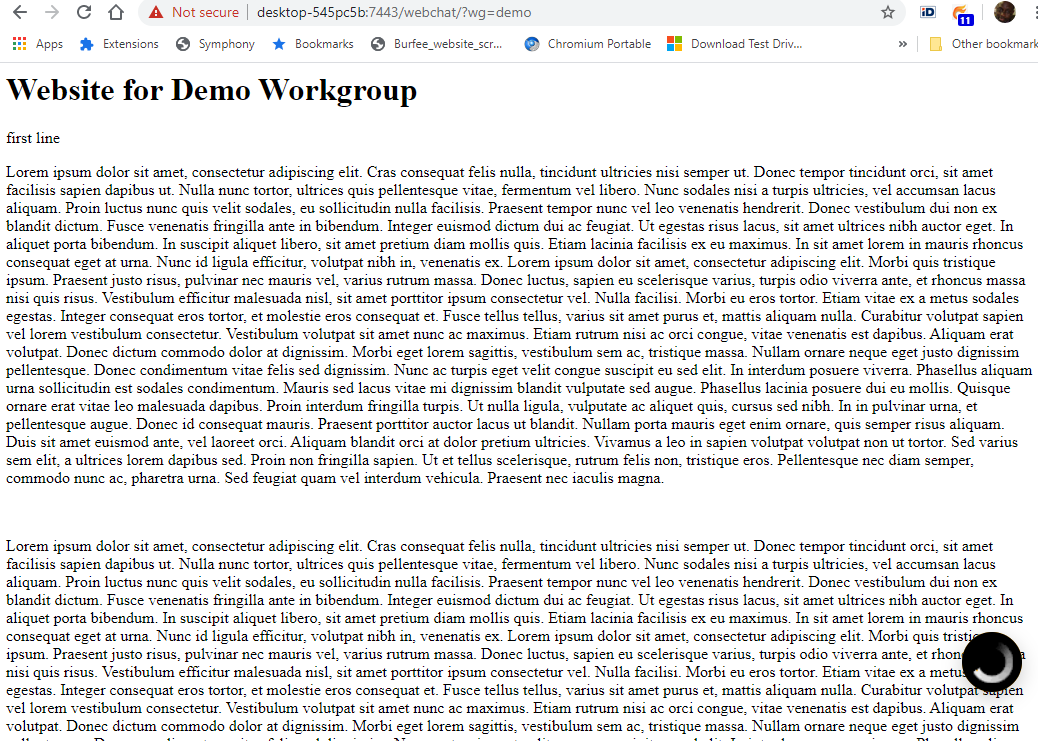
Click on the yellow chat button. It should start spinning.
The chatbot should display a chat offer to the agent user a chat. Type "yes" to accept.
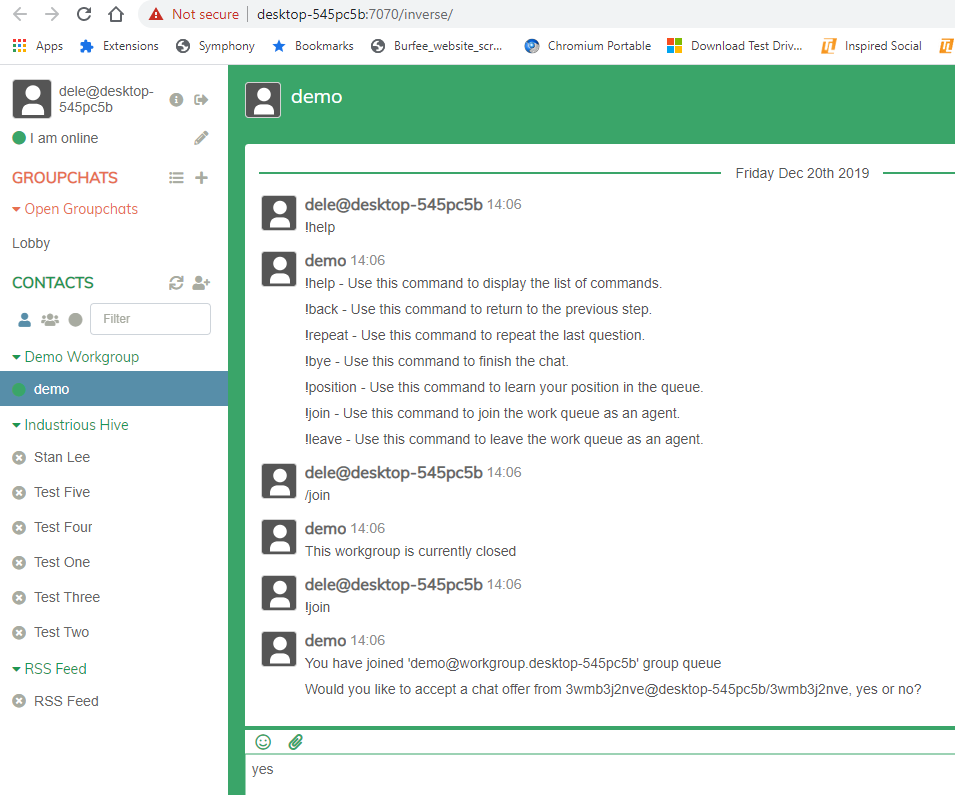
Accept the chat room invitation to start a group chat for the user agent.
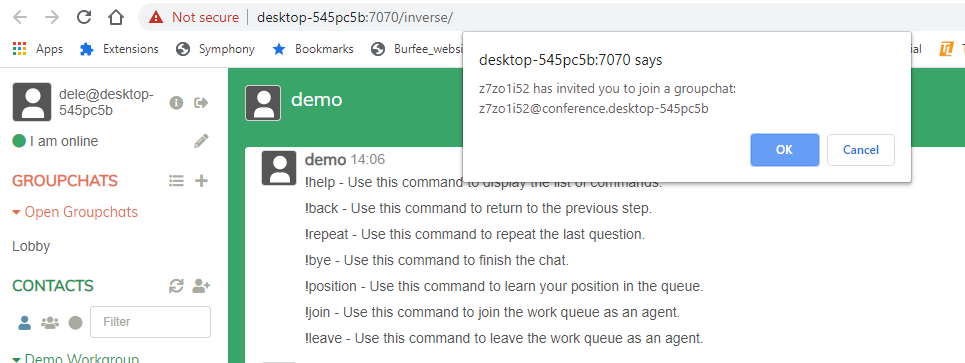
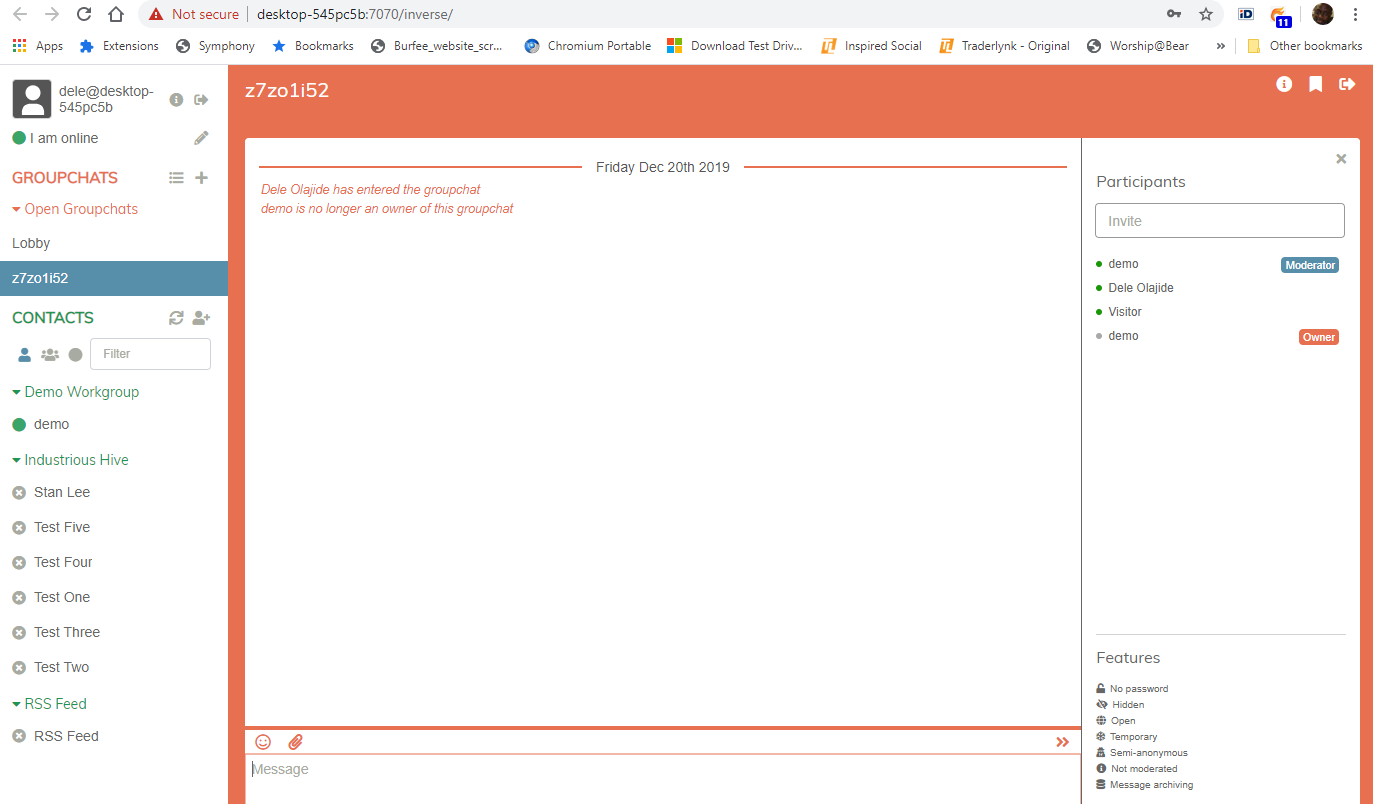
- The web site visitor will auto join.
