A tool to measure latency from keybard or mouse input to a visual response on the screen.
If an application is used in a setup where LAN or WAN segments, technologies like X11 forwarding, VNC, RDP or simply web are involved, the latency might ends up in a poor user experience. I needed a tool to measure these latencies from the human input to the visual response at the users screen.
I have setup a small circuit with an Arduino compatible micro controller to simulate a HID (human input device) event via USB and registering the change on the screen via a photo transistor. The device will meassure and display the time between these events. The micro controller is capable to deliver a resolution of 1 ms.

The circuit around the micro controller is documented here. The circuit is designed with KiCad. A PDF version is included.
The micro controller is a SparkFun Micro Pro 3.3V @ 8MHz. This controller is capable to work as a HID device (mouse or keyboard).
The photo transistor SFH300 (Note: don't use the infrared versions) is used as the sensor for the screen. The signal from the photo transistor and a reference voltage are the inputs for the used OpAmp LM393. These two inputs are also used as analog inputs, to allow the user an easy calibration of the sensor.
The buttons MODE and OK are used for the navigation of the controllers application. The RESET button does what it says.
To test the timing of the circuit, the sensor is placed over the LED and the controllers timing test is started. This confirms the resulution and the processing speed of the device.
To display the main menu, the different pages like configuration, calibration as well as the measurment and its results, a small OLED is used with 128x32px (which is 4 rows 20 characters each).

This is the sketch for the micro controller. Use the ArduinoIDE to compile and upload into the micro controller.
Here are some screenshots from the OLED of the device in use.


As a special feature, one pin of the micro controller is used to trigger a screenshot of the OLED. The display is then transfered as a Portable BitMap file over the serial connection. There is also a script in the repository to post-process these as colorized PNG files.
This directory includes different test client supporting different setups like
-
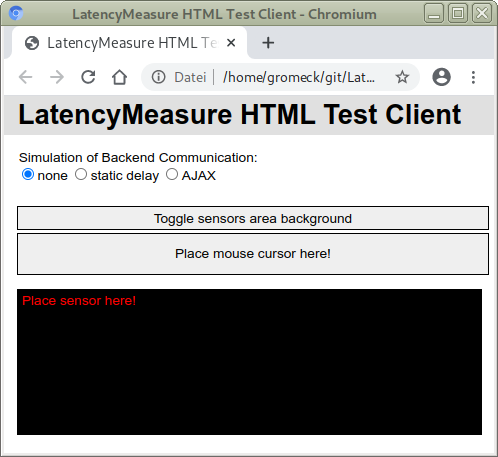
an HTML web application to be run in a web browser,
-
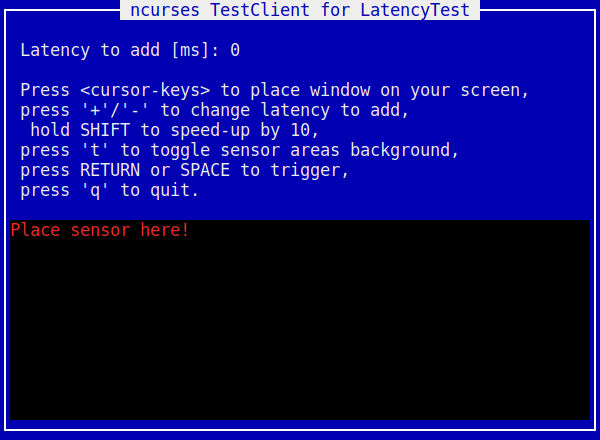
a text-based application based on NCURSES written in C, and
-
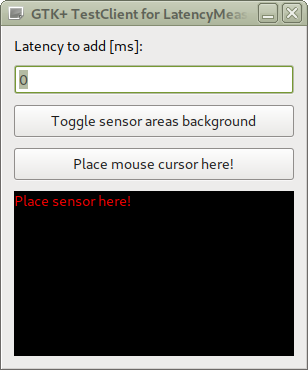
a graphical application based on GTK+-3 written in C.
-
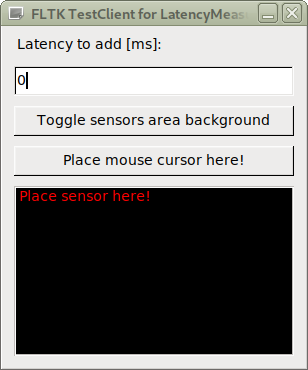
a graphical application based on FLTK written in C++.
-
a graphical application based on Qt written in C++.
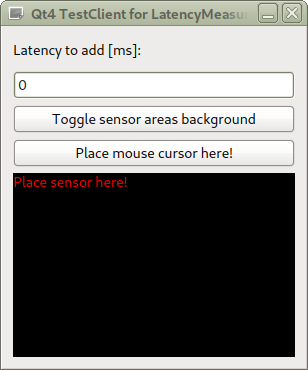


All test clients support the same functionality.
NOTE: the Test Clients in ncurses and FLTK can be build in statically, which makes it easy to use them on systems without the necessary libraries.
In this directory you will find a 3D model of an enclosure for the device, as well as a sensor mount to hang on the screen. These models are designed with OpenSCAD. Use the latest version of OpenSCAD (nightly build). To mount the PCB into the enclosure, four screws in 1.7x5.0mm are used. The lower and upper shells of the enclosure are simply snapped together -- without any screws. As the USB port of the micro controller board is a little bit sensitive to mechanical stress, an adapter for a magnetic USB connector cable is used.

This directory holds images and screenshots.


