Greenrivers Webp Plugin
The Webp Plugin is an extension for Grav CMS.
It allows You to conversion images to webp extension.
Installation
Installing the Webp plugin can be done in one of three ways:
- GPM (Grav Package Manager)
- manual method
- admin method
GPM Installation (Preferred)
To install the plugin via the GPM, through your system's terminal (also called the command line), navigate to the root of your Grav-installation, and enter:
bin/gpm install webp
This will install the Webp plugin into your /user/plugins-directory within Grav. Its files can be found under /your/site/grav/user/plugins/webp.
Manual Installation
To install the plugin manually, download the zip-version of this repository and unzip it under /your/site/grav/user/plugins.
Then rename the folder to webp. You can find these files on GitHub or via GetGrav.org.
You should now have all the plugin files under
/your/site/grav/user/plugins/webp
NOTE: This plugin is a modular component for Grav which may require other plugins to operate, please see its blueprints.yaml-file on GitHub.
Admin Plugin
If you use the Admin Plugin, you can install the plugin directly by browsing the Plugins-menu and clicking on the Add button.
Requirements
Make sure that You have installed and enabled webp support:
- install system packages: libwebp-dev, webp
- enable GD and configure PHP to enable support for webp format
- install & enable PHP Exif extension
Configuration
Before configuring this plugin, you should copy the user/plugins/webp/webp.yaml to user/config/plugins/webp.yaml and only edit that copy.
Here is the default configuration and an explanation of available options:
enabled: true
quality: 100
Note that if you use the Admin Plugin, a file with your configuration named webp.yaml will be saved in the user/config/plugins/-folder once the configuration is saved in the Admin.
Usage
Plugin config
- Quality
- Set up value on slider range
- Quality percent value is displayed below the slider
- Conversion
- Click on Convert button from plugin settings in admin menu.
- Info about number of the converted images appears next to the Convert button.
- Clear all
- Click on Clear all button from plugin settings in admin menu.
- Info about number of the removed webp images appears next to the Clear all button.
Console commands
- Convert to webp format
- image by given path
php bin/plugin webp convert --path=<path_to_image> [--quality=<quality>] [--overwrite]- all images
php bin/plugin webp convert --all [--quality=<quality>]- Clear
- webp image by given path
php bin/plugin webp clear --path=<path_to_image>- all webp images
php bin/plugin webp clear --allNotes
Plugin supports following extensions:
- jpg
- jpeg
- png
Better quality causes bigger image size.
After conversion You must clear cache.
To display converted image use webp filter in twig templates.
Examples:
Raw image url.
<img alt="webp image" src="{{ '/user/images/my-image.jpg'|webp }}">Source from variable.
<img alt="webp image" src="{{ url(logo)|webp }}">Issues:
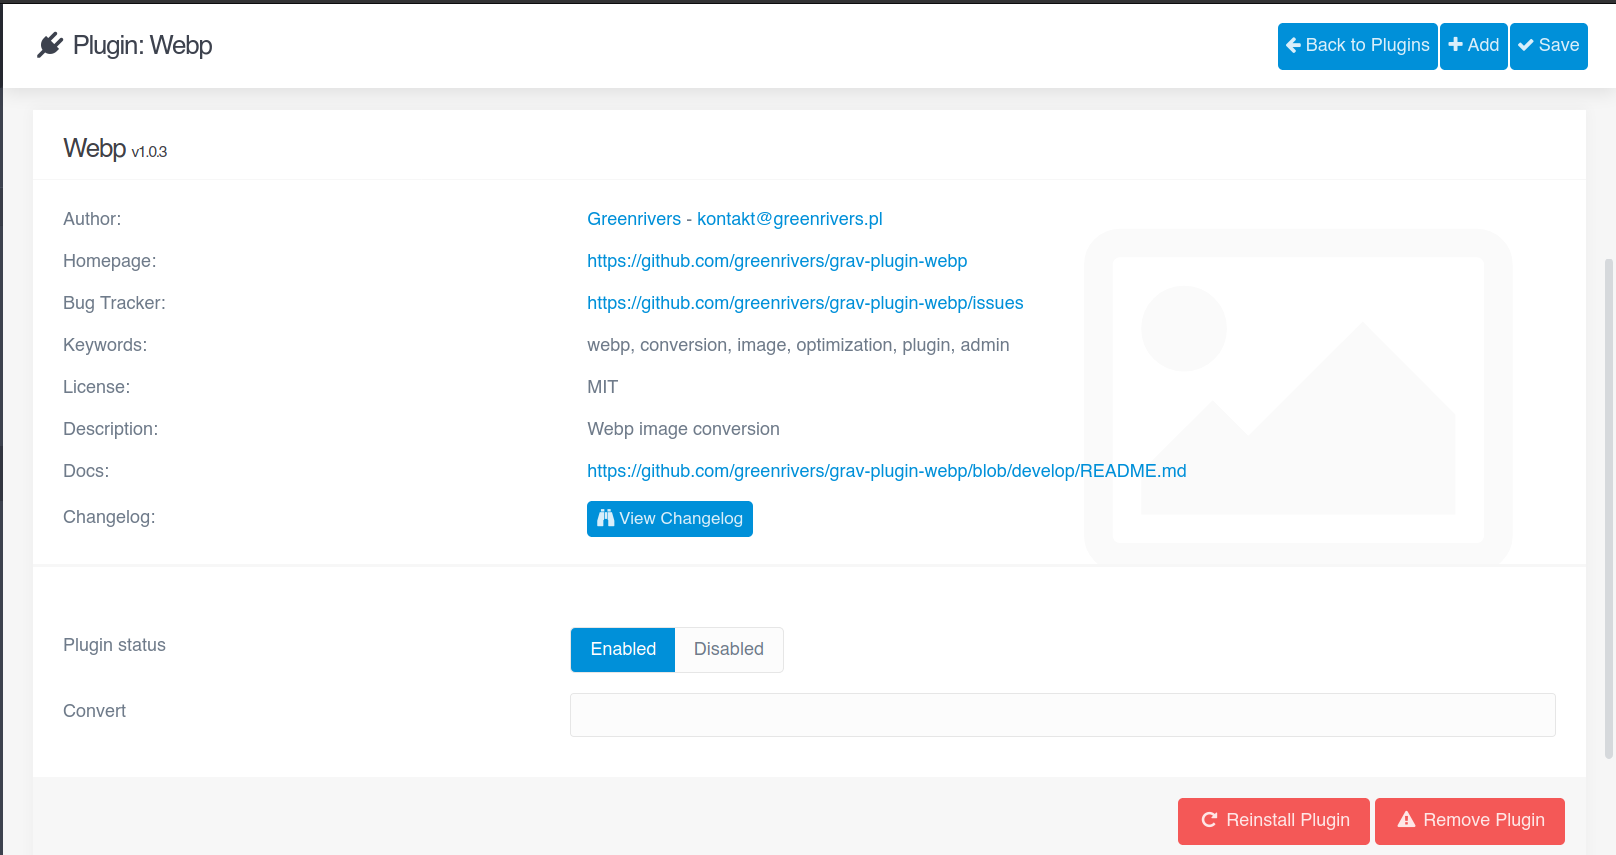
Sometimes after plugin activation You can see text field instead of button & progressbar.
To resolve it, save config again with Enabled status.
Testing
Run unit tests from root plugin path (user/plugins/webp):
php vendor/bin/codecept run unit
Credits
https://www.php.net/manual/en/image.installation.php
https://developers.google.com/speed/webp
ToDo
- Create Clear all option
- Create image quality option
- Add console commands
- Add unit tests


