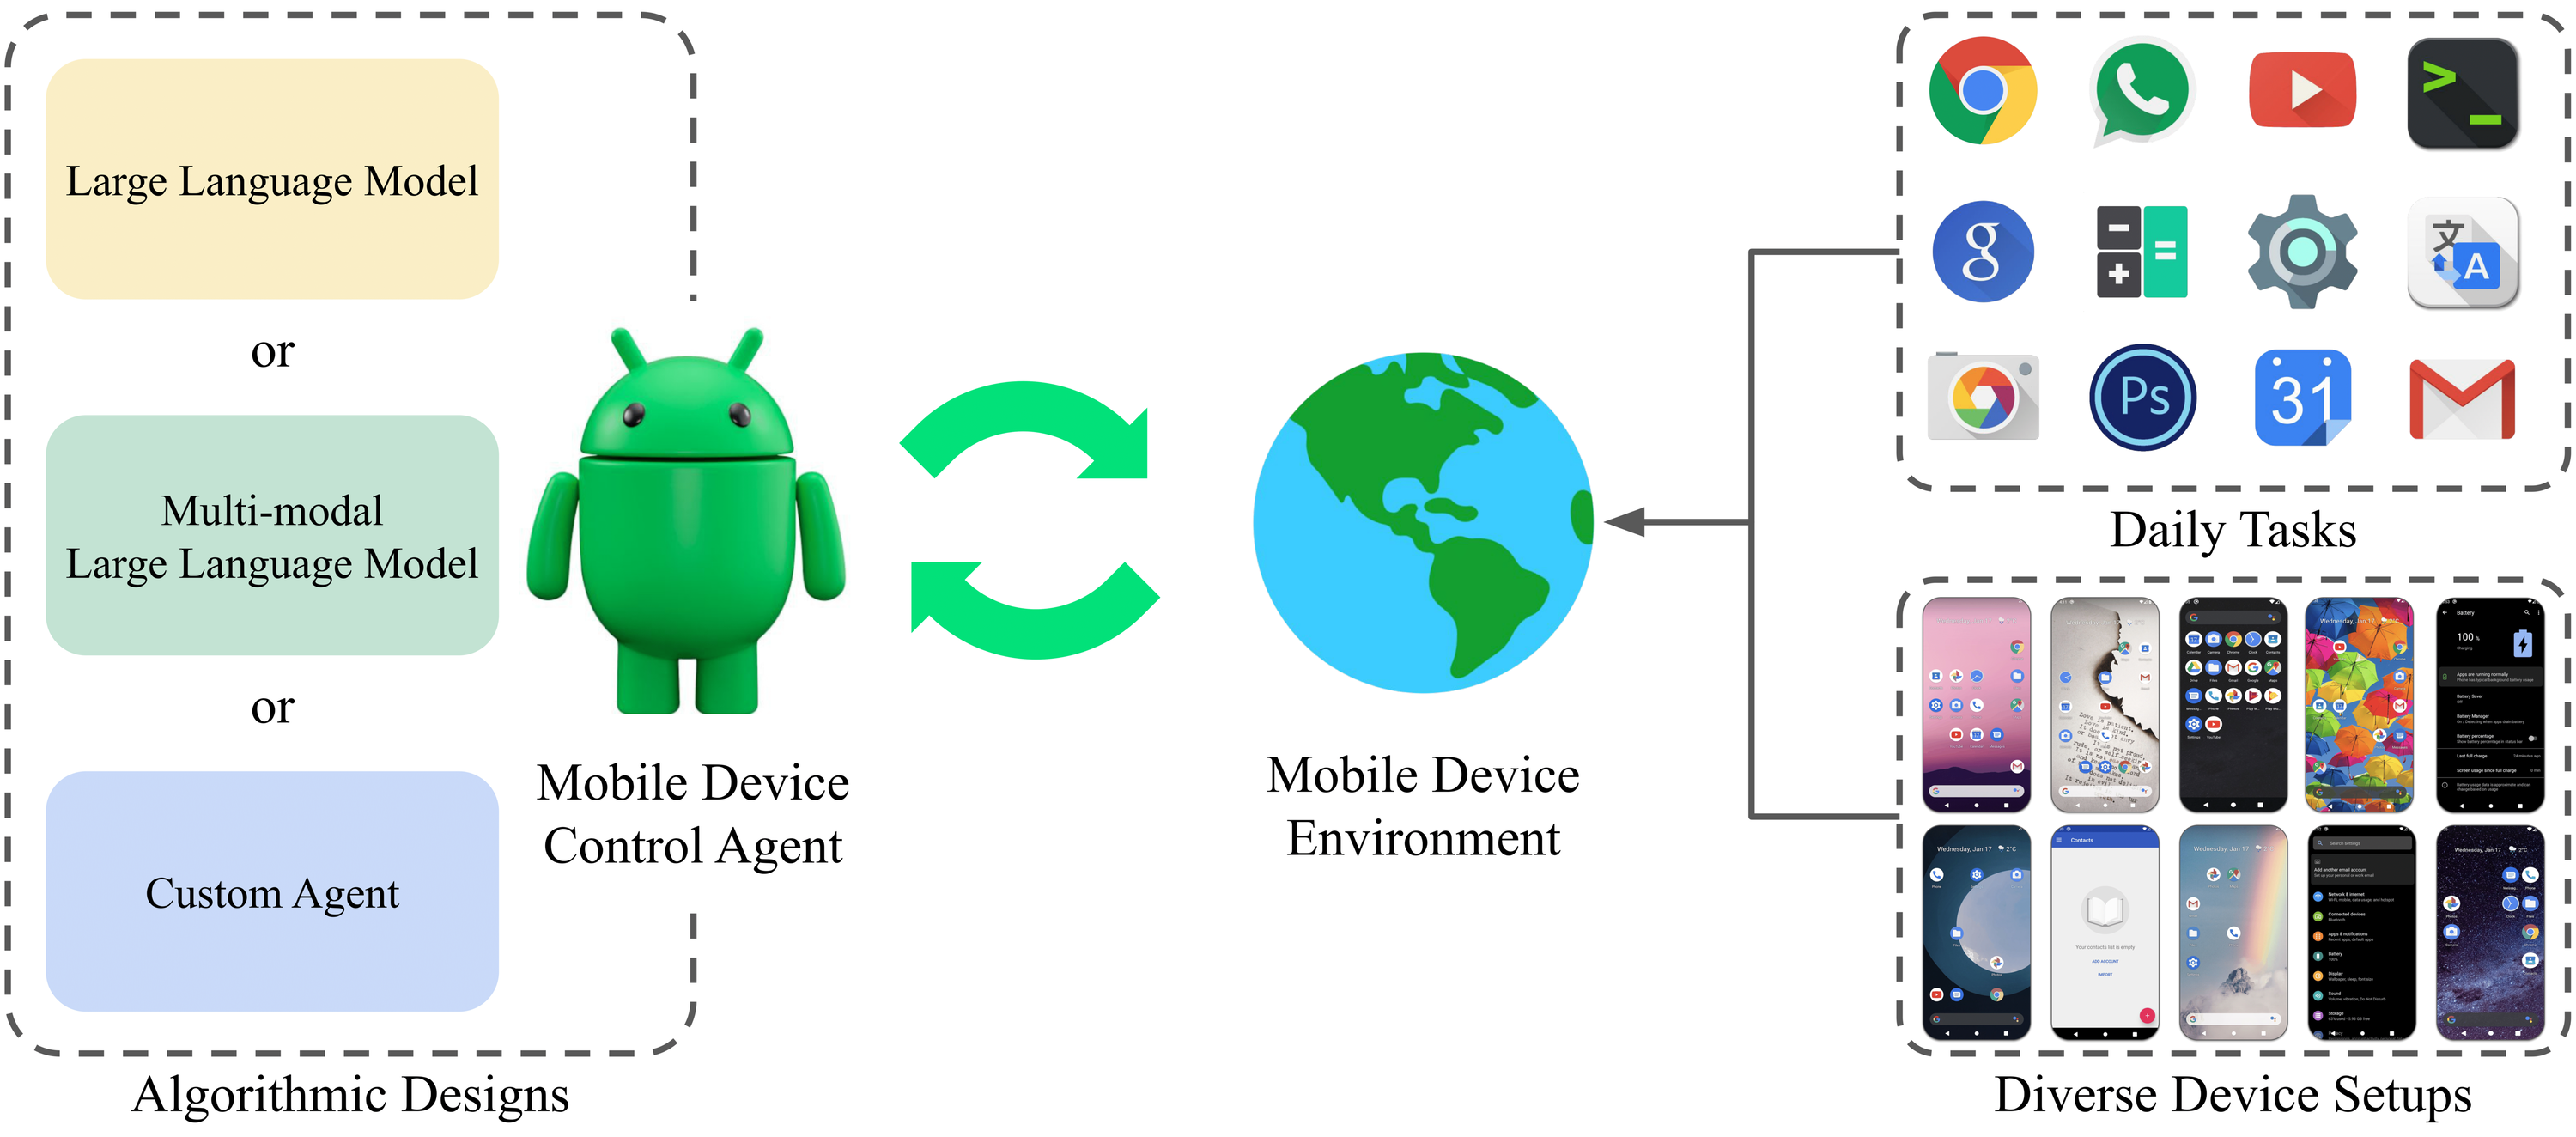
B-MoCA can serve as a testbed for mobile device control agents across diverse configurations
Setting B-MoCA requires installing several tools.
These tools include Python libraries, Android Studio (with Android Debug Bridge), and Appium.
Each B-MoCA environment corresponds to an image of an Android virtual device.
The following guidelines describe installing B-MoCA environments for reproducing our experiments.
To create custom environments, we note that the users can easily modify files in asset/environments/config and asset/environments/resource.
Note This guideline is confirmed for the x86-64 architecture.
conda create -n bmoca python=3.10

echo "export BMOCA_HOME=/path/to/current/directory" >> ~/.bashrc
source ~/.bashrc
conda activate bmoca
mkdir lib
cd lib

# install android_env
git clone https://github.com/gimme1dollar/android_env # forked version of android_env
cd android_env
pip install -e .
cd ..

# install auto_ui
git clone https://github.com/gimme1dollar/auto_ui
cd auto_ui
pip install -r requirements.txt
# download Auto-UI-Base.zip from https://huggingface.co/cooelf/Auto-UI/tree/main/ and unzip the file into "asset/agent/Auto-UI-Base"
cd ..

cd $BMOCA_HOME

# others
pip install -r requirements.txt
pip install -e . # install bmoca
# Install Open SDK
sudo apt update
sudo apt-get install adb
sudo add-apt-repository ppa:linuxuprising/java

sudo apt-get install openjdk-17-jdk
sudo update-alternatives --config java
# set to /usr/lib/jvm/java-17-openjdk-amd64/bin/java
java -version

# Install SDK manager
# you can find this file at https://developer.android.com/studio/index.html#downloads
sudo wget --no-check-certificate https://dl.google.com/android/repository/commandlinetools-linux-10406996_latest.zip

export ANDROID_SDK_ROOT=$HOME/.local/share/android/sdk
mkdir -p $ANDROID_SDK_ROOT/cmdline-tools

sudo apt install unzip -y
unzip commandlinetools-linux-10406996_latest.zip -d $ANDROID_SDK_ROOT/cmdline-tools
mv $ANDROID_SDK_ROOT/cmdline-tools/cmdline-tools $ANDROID_SDK_ROOT/cmdline-tools/latest
echo "export PATH=$PATH:$ANDROID_SDK_ROOT/cmdline-tools/latest/bin:$ANDROID_SDK_ROOT/cmdline-tools/tools/bin" >> ~/.bashrc
source ~/.bashrc

# Check sdkmanager version
sdkmanager --version
echo "DOWNLOAD ANDROID SDK DONE!"

# Configure sdkmanager
sdkmanager --licenses
sdkmanager --update --verbose

# Install Android Image version 29
sdkmanager "emulator"
sdkmanager "platform-tools"
sdkmanager "platforms;android-29"
sdkmanager "system-images;android-29;google_apis;x86_64"

# Check emulator version
echo "export PATH=$PATH:~/.local/share/android/sdk/emulator" >> ~/.bashrc
source ~/.bashrc
emulator -version
B-MoCA is based on the Android operating system. Installing Android Studio is required to run each device environment in B-MoCA, as our APIs interact with Android emulators.
# Install NVM
wget -O install_nvm.sh https://raw.githubusercontent.com/nvm-sh/nvm/v0.35.2/install.sh
bash install_nvm.sh
rm -rf install_nvm.sh

nvm install v18.12.1

# Version check
node -v # v18.12.1
npm -v # 8.19.2

# Install appium
npm install -g appium # ver. 2.5.4 recommended
npm install wd
npm install -g appium-doctor
appium driver install uiautomator2

# Set environment variable and check appium driver
echo “export JAVA_HOME=/usr/lib/jvm/java-17-openjdk-amd64” >> ~/.bashrc
echo “export export ANDROID_SDK_ROOT=$HOME/.local/share/android/sdk” >> ~/.bashrc
source ~/.bashrc

appium driver list --installed # uiautomator2
appium -v # 2.x.x
The task success detector uses a combination of tools, including Appium. Installing Appium is required to evaluate several tasks effectively, ensuring automated interactions and UI element verifications.
B-MoCA extends tasks with third-party apps, requiring the installation of those apps.
The third-party applications can be installed either via the app store in the emulator (manually) or using Android Debug Bridge (ADB) commands with downloaded APKs.
We provide an automated process for installing the third-party apps (refer to apk_install in asset/environments/set_up.py) with downloaded APKs.
Downloading and installing additional APK files for the third-party applications are required, to reproduce environments in our experiments.
For dowmloading the APK files we use, we refer to APKMirror (link), a popular third-party app store.
Please download the APK files with the specific versions described in asset/environments/resource/apk_versions.txt.
Then, place the downloaded APK files in a new directory named asset/environments/resource/apks before installing B-MoCA environments.
Make sure that the name of APK files does not include any parentheses (i.e., '(' or ')') for error-free installation.
Note
Several tasks we create require a login process (e.g., Instagram, Google Calendar, etc.).
We also provide an automated process for logging in (refer to login_app in asset/environments/set_up.py).
For logging in, fill in asset/environments/config/account_info.json with account information.
When logging in, using the personal account might cause a leak of privacy information.
Hence, we recommend creating dummy accounts and have commented out the login process in asset/environments/set_up.py.
We note that this logging-in process is not mandatory for reproducing our environments and experiments.
Each randomized environment in B-MoCA is defined as a snapshot of an AVD.
The script install.sh installs AVDs and saves snapshots by manipulating the icon size/location, wallpaper, and theme.
mkdir logs
bash install.sh
Note This installation for the set of environments takes approximately an hour
After the installation, the screenshot of each environment is stored in logs/environment.
Each name of emulator (i.e., virtual device) is "{device_name}_{train/test}_{id}".
Each name of environment (i.e., snapshot) is "(mode)_env_{snapshot_id}" (mode: either train or test)
During the experiments, our API (i.e., b_moca/environment/environment.py) loads one of the snapshots randomly for training or evaluation.
Users can also configure own environments by modifying files in asset/environments
python experiments/demonstration/human_demo_text_action.py
python experiments/agent/gemini/evaluate.py --num_few_shot 0 # zero-shot
python experiments/agent/gpt4o/evaluate.py --num_few_shot 0 # zero-shot
python experiments/demonstration/human_demo_text_action.py
python experiments/agent/gemini/evaluate.py --multi_modal --num_few_shot 0 #zero-shot
python experiments/agent/gpt4o/evaluate.py --multi_modal --num_few_shot 0 # zero-shot
Note Make sure to download Auto-UI-Base.zip from https://huggingface.co/cooelf/Auto-UI/tree/main/ and unzip the file into "asset/agent/Auto-UI-Base" before using custom agents. The custom agents utilize the pretrained Auto-UI model as text encoders.
python experiments/demonstration/human_demo_dual_gesture.py
python experiments/agent/bc/train.py
python experiments/agent/bc/evaluate.py --model_path="path_to_checkpoint"
Some codes are referred from the related work below:
