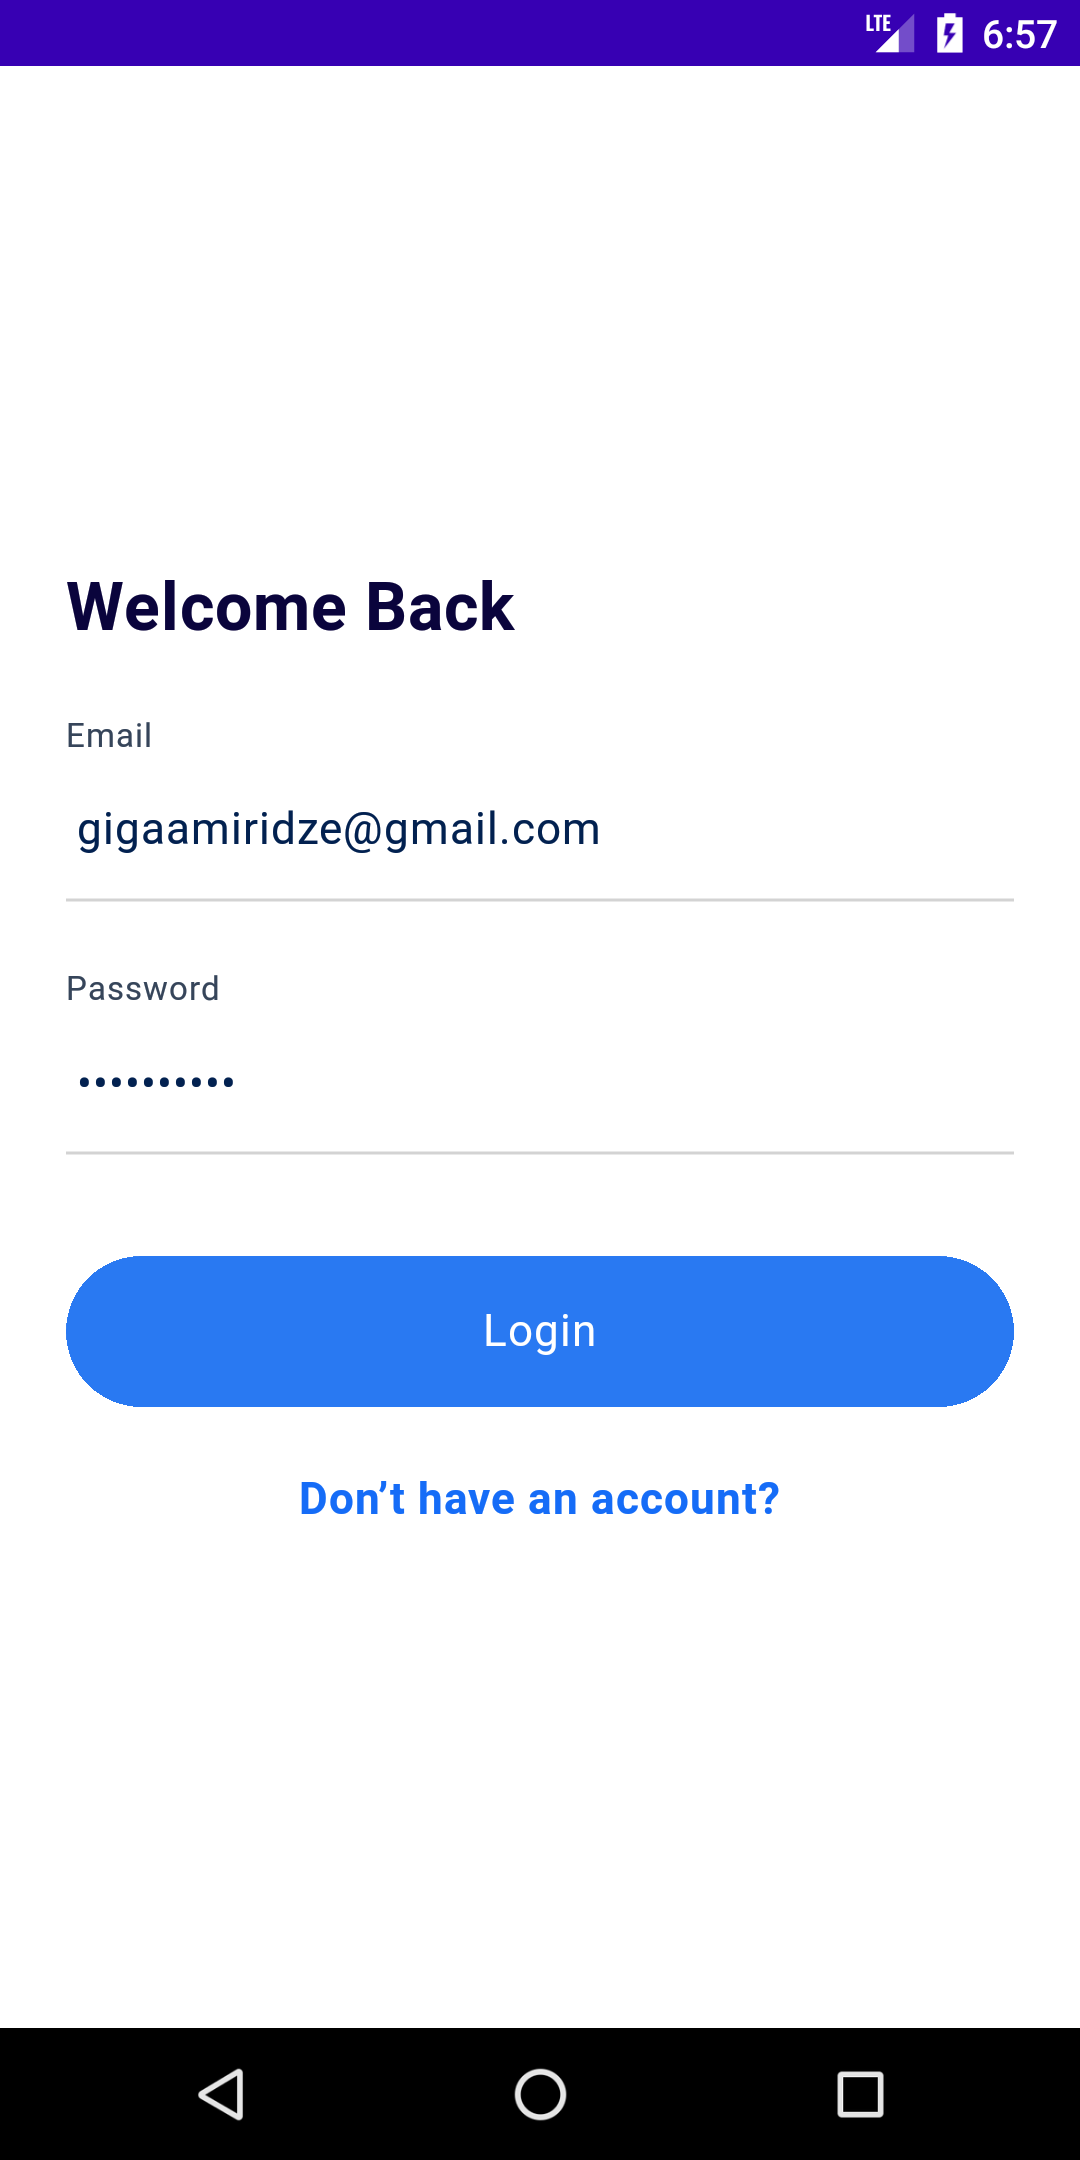
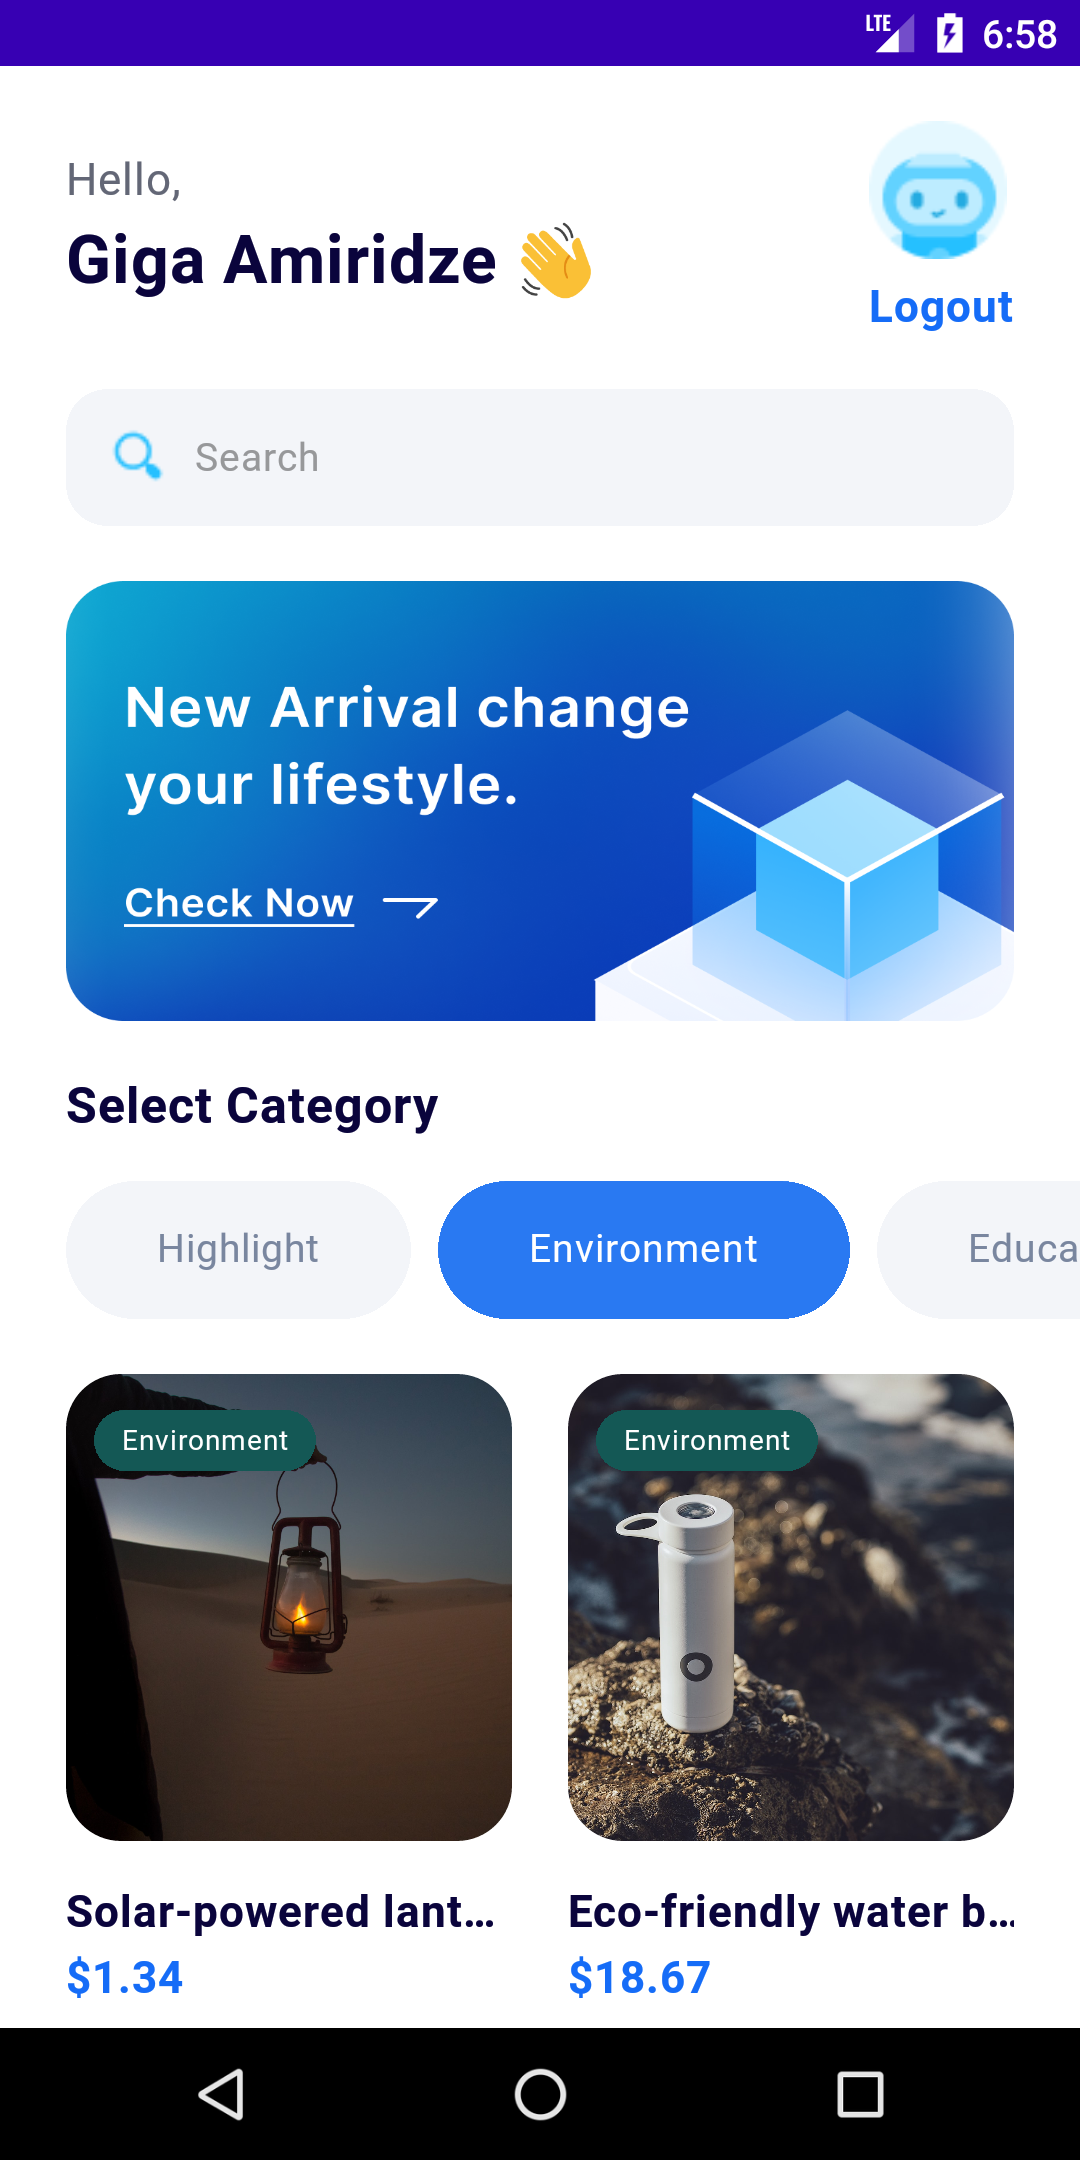
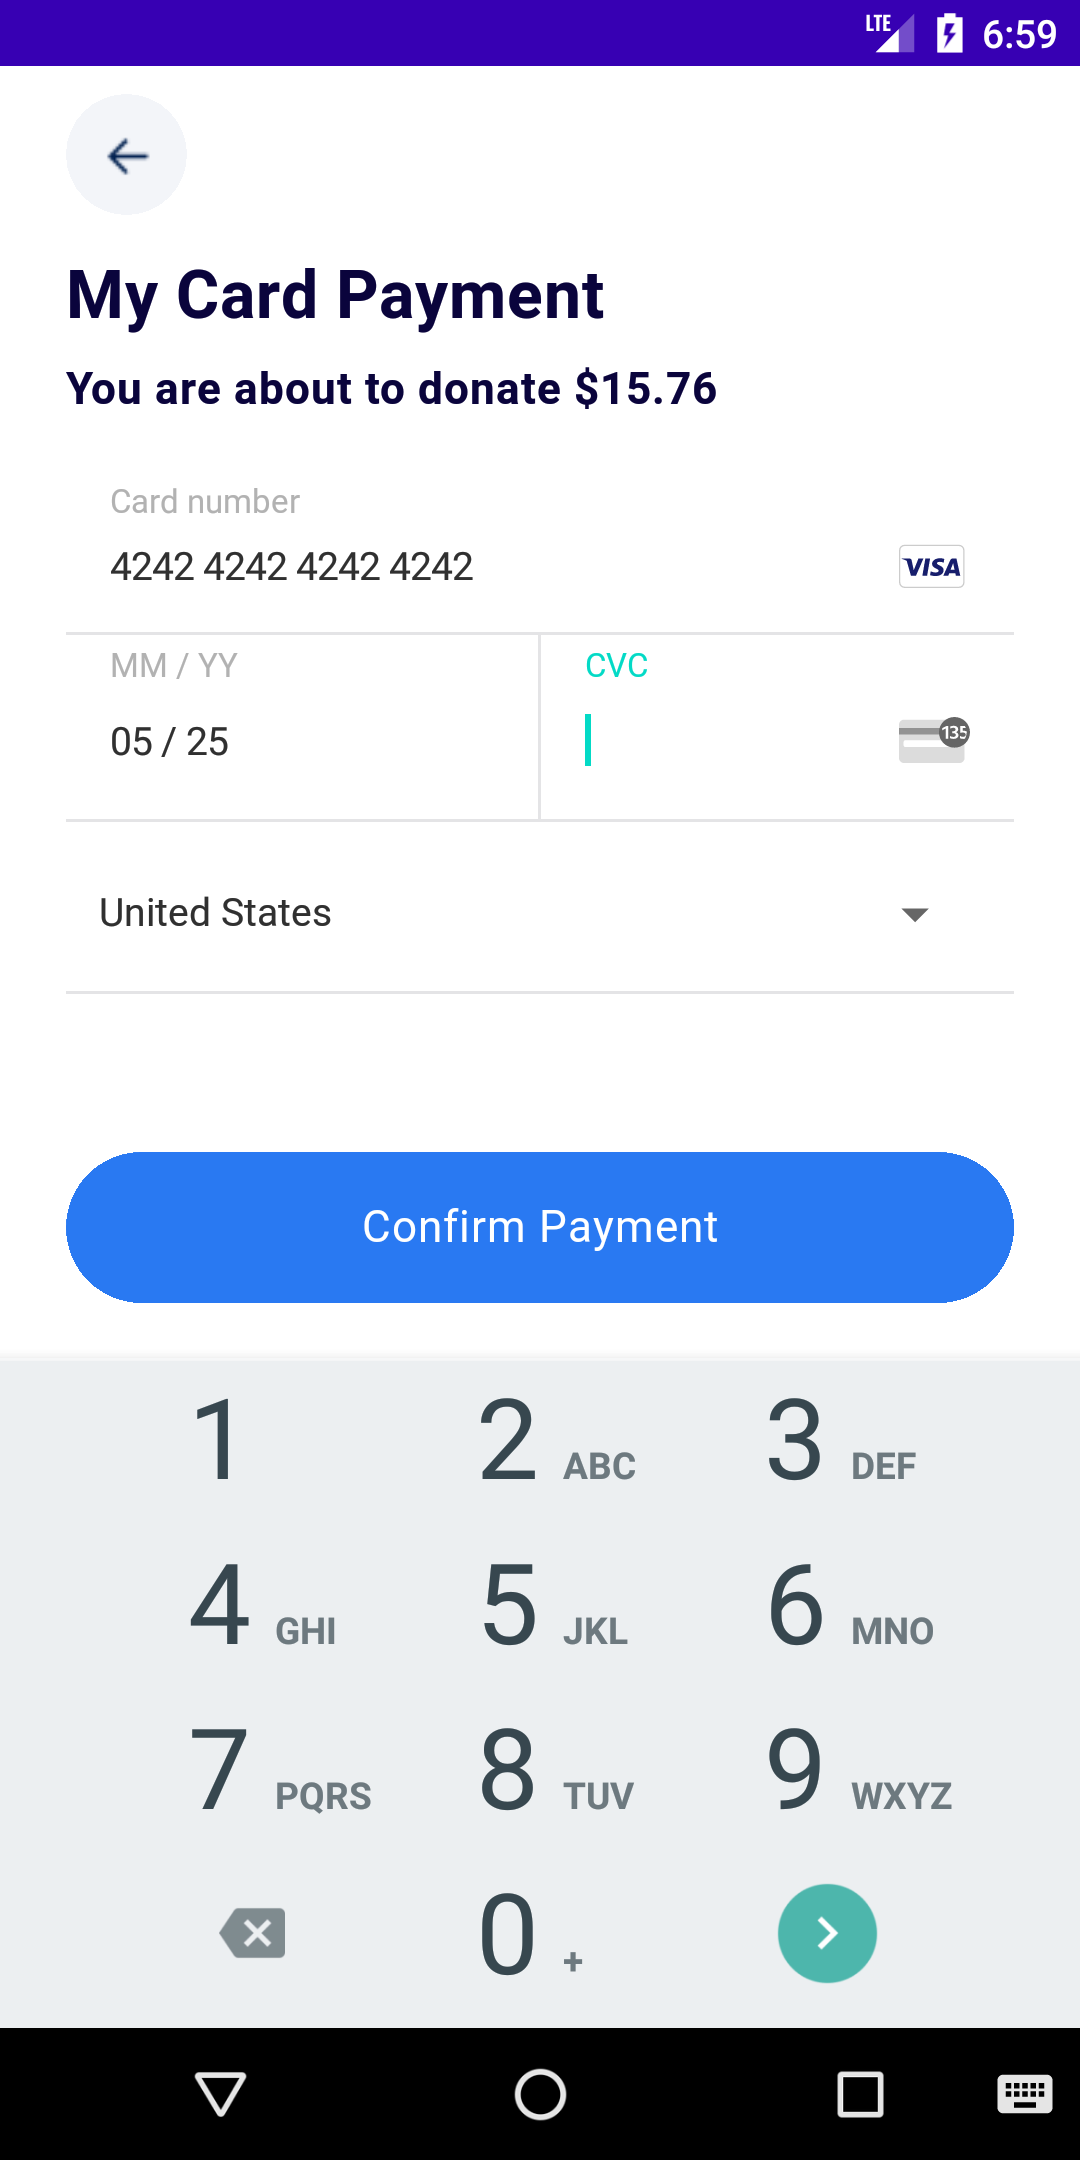
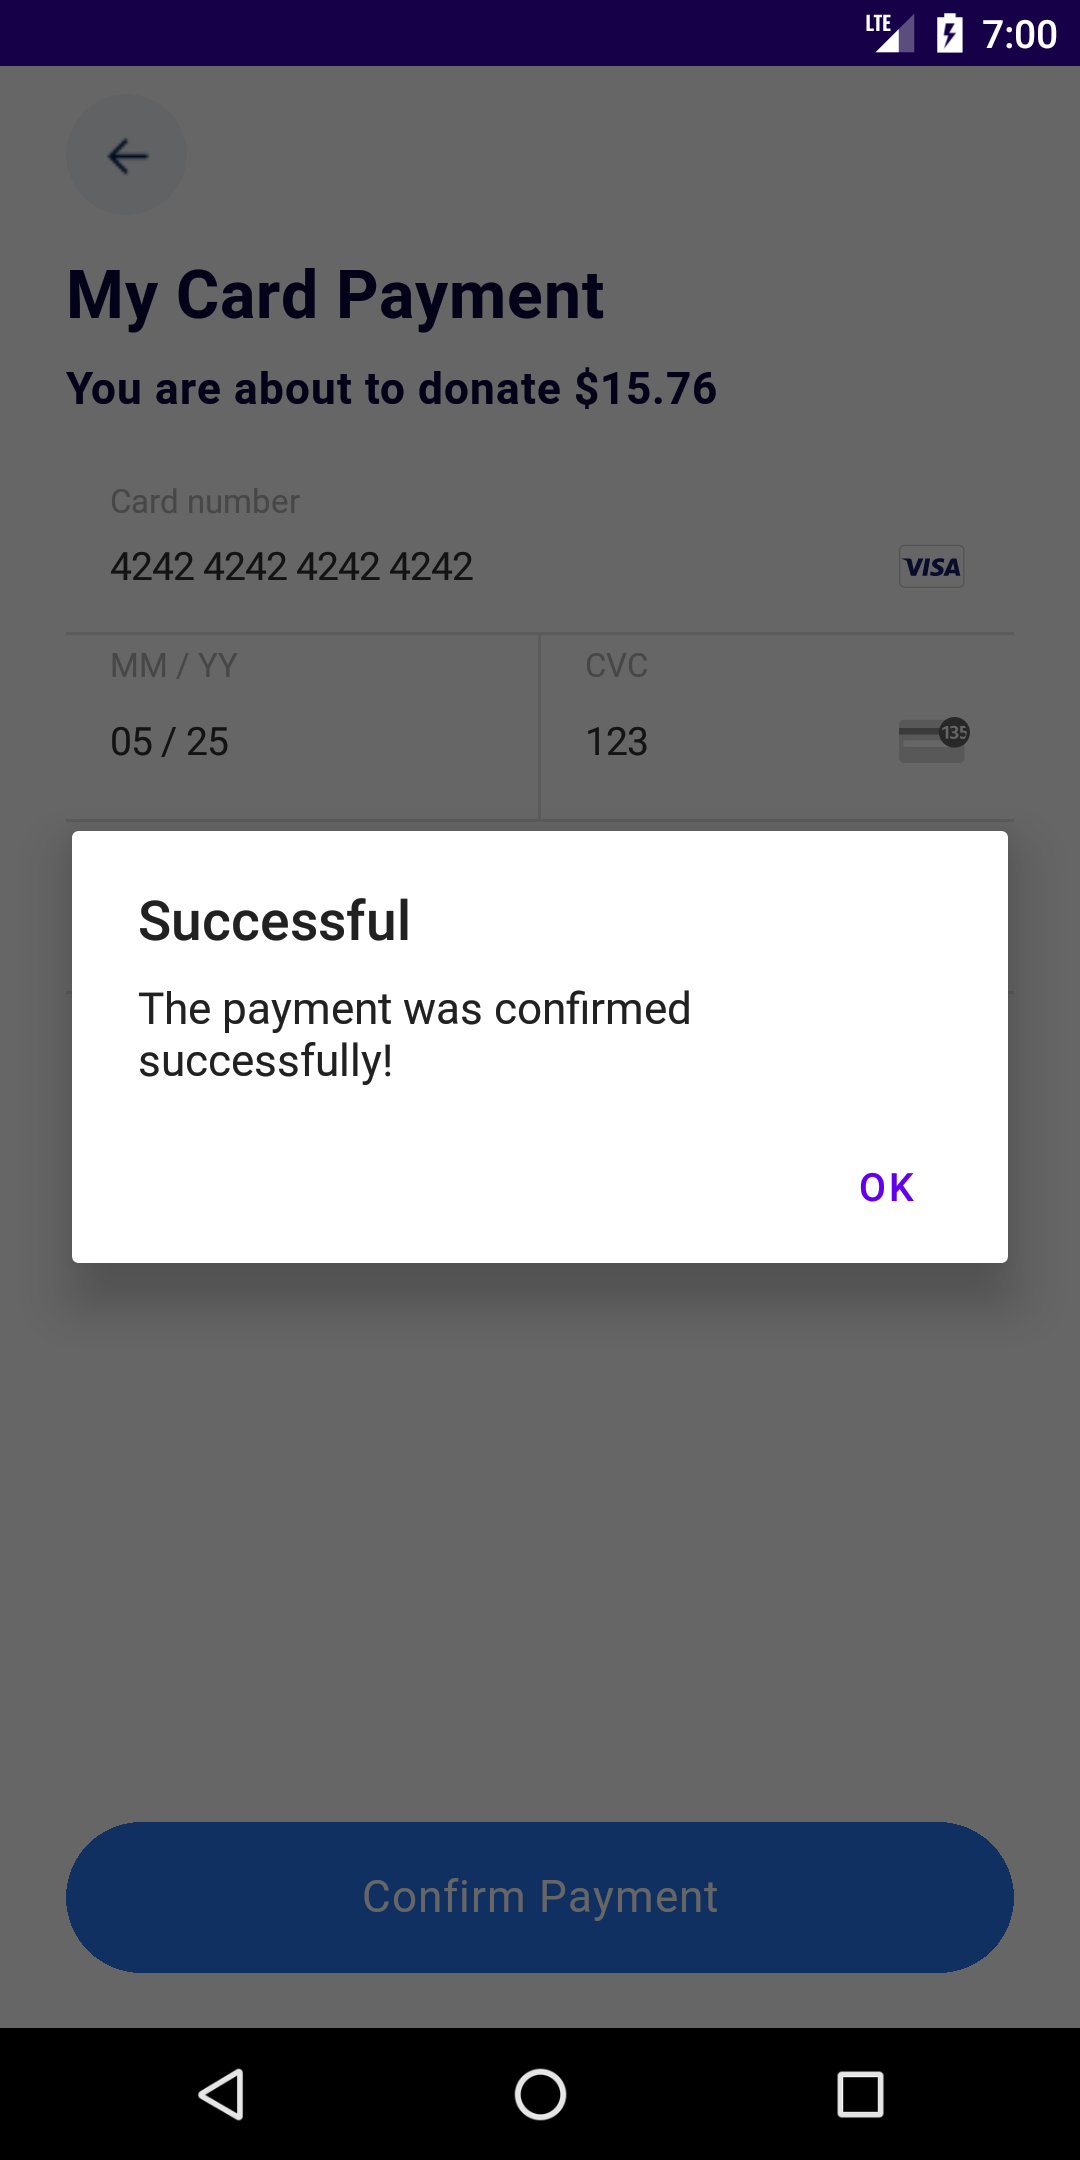
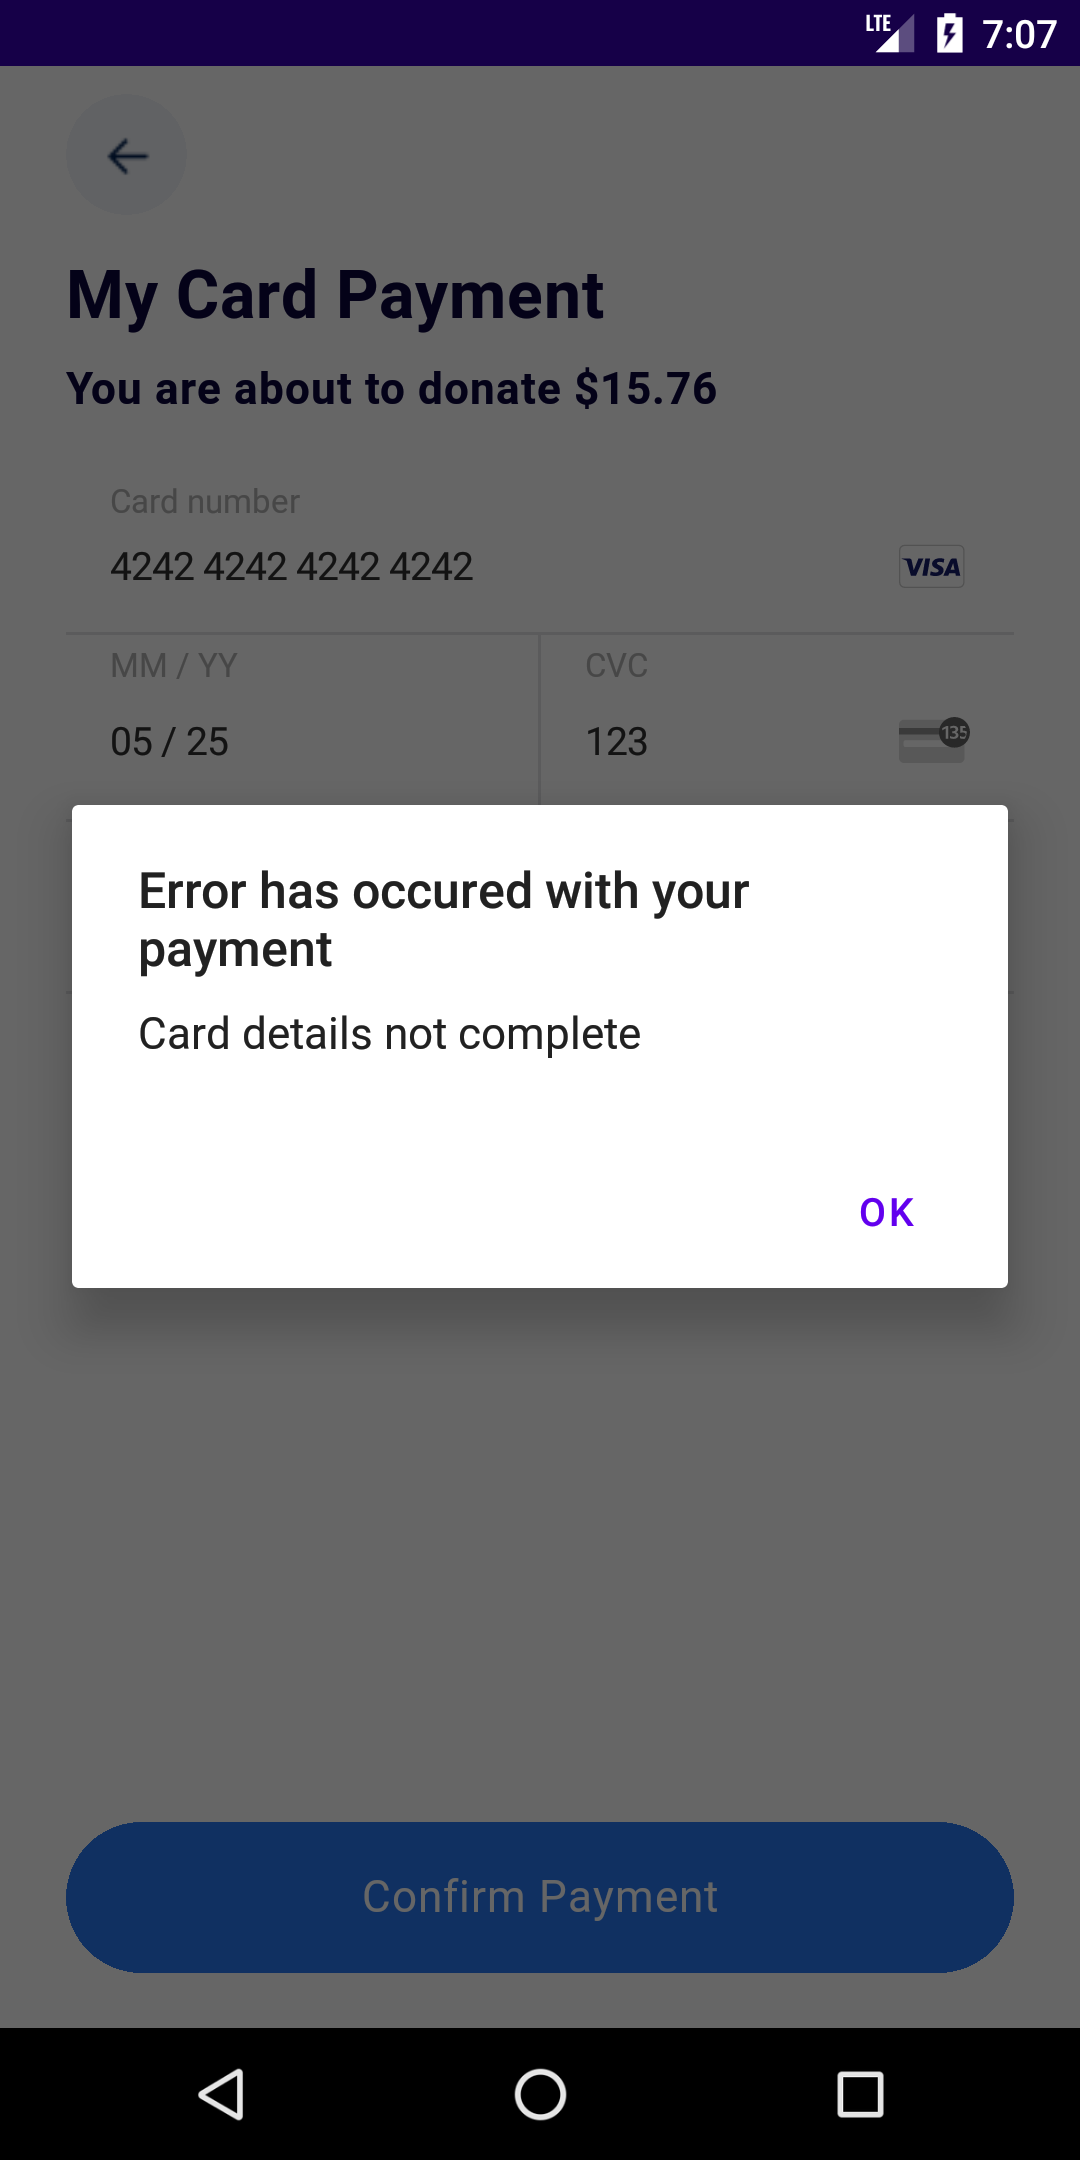
📱 Through the donation application, the user can log in, register, view the donation items, view their detailed information and, if desired, enter their own card details for donation and confirm payment.
The secure donation payment system is integrated with server-side code that is developed using Node.js, TypeScript, Express.js, and Stripe. Server-side code uploaded to Firebase Functions for efficient processing.
🔗 Server-side source code: Here
🌟 Key Features:
✅ User Authentication: Seamlessly register and log in using Firebase Authentication.
✅ Secure Payments: Implemented a secure payment system using Node.js, TypeScript, Express.js, and Stripe.
✅ Firebase Functions: Uploaded server-side code to Firebase Functions for efficient processing.
✅ User-friendly Interface: Built with React Native to ensure a smooth and intuitive user experience.
✅ Donation Items: Browse various donation items with detailed information.
This is a React Native project, bootstrapped using @react-native-community/cli.
Note: Make sure you have completed the React Native - Environment Setup instructions till "Creating a new application" step, before proceeding.
First, you will need to start Metro, the JavaScript bundler that ships with React Native.
To start Metro, run the following command from the root of your React Native project:
# using npm
npm start

# OR using Yarn
yarn startLet Metro Bundler run in its own terminal. Open a new terminal from the root of your React Native project. Run the following command to start your Android or iOS app:
# using npm
npm run android

# OR using Yarn
yarn android# using npm
npm run ios
# OR using Yarn
yarn iosInside the src/constants folder create Stripe.ts file with this content:
export enum Stripe {
  PUBLISHABLE_KEY = 'your_stripe_publishable_key',
}
If everything is set up correctly, you should see your new app running in your Android Emulator or iOS Simulator shortly provided you have set up your emulator/simulator correctly.
This is one way to run your app — you can also run it directly from within Android Studio and Xcode respectively.

