This project handles data from start to finish using Docker, Apache Airflow, Kafka, Spark, Cassandra, and PostgreSQL. These tools work together to take in, handle, and keep data.

- Apache Airflow: An open-source platform used to programmatically author, schedule, and monitor workflows. Supports Python for workflow authoring.
- Apache Kafka: An open-source distributed streaming platform for fault tolerance, high throughput, and a publish-subscribe messaging system.
- Apache Spark: An open-source, powerful processing engine capable of handling intensive big data workloads. Its ability to perform batch processing, stream processing, and machine learning makes it an excellent tool for all data processing needs.
- Apache Cassandra: An open-source NoSQL database, excellent for handling large amounts of write-heavy data. Its distributed design offers high availability without compromising fault tolerance, crucial for systems requiring uninterrupted operation.
- PostgreSQL: An open-source relational database, in this case, focused on saving Airflow metadata.
- Docker: An open-source containerization tool allowing isolated, consistent, and accessible deployment. Containers ensure consistency across multiple development, testing, and production environments, reducing the “it works on my machine” problem.
- Apache Zookeeper: An open-source centralized service for maintaining configuration information, naming, and providing distributed synchronization. Essential for managing clustered services like Kafka.
Docker Compose is a tool for defining and running multi-container Docker applications. For this project, It will orchestrate the containers for Apache Airflow, Kafka, Spark, Cassandra, PostgreSQL, and any other required services.
- Docker and Docker Compose installed on your system.
-
Clone the Project Repository (if not already done):
- Use Git to clone the project repository to your local machine.
- Navigate to the root directory of the project.
-
Configure Docker Compose:
- Ensure you have the
docker-compose.ymlfile in your project directory. This file defines the configuration for each service (Airflow, Kafka, Spark, etc.).
- Ensure you have the
-
Building and Starting Containers:
-
Open a Terminal/Command Prompt.
-
Navigate to your project directory.
-
Run the following command to build and start the containers as defined in your Docker Compose file:
docker-compose up --build
-
This command builds the images for your services (if not already built) and starts the containers.
-
-
Verify the Services:
- Once the containers run, you can verify that each service functions correctly.
- You can access the web interfaces of services, like Apache Airflow, through your web browser.
-
Stopping the Services:
-
To stop and remove the containers, use the following command in the same directory:
docker-compose down
-
This command stops all the running containers and removes them and their networks.
-
- Description: Raw data, such as user data, is ingested into the system using Kafka.
- Reference: Random User Data API.
- Tools Used: Airflow and Spark.
- Process: Airflow schedules Spark jobs to process the raw data. This includes data aggregation, filtration, and transformation according to specific business requirements.
- Database Used: Cassandra (a NoSQL database).
- Functionality: Ensures efficient handling and retrieval of large-scale data sets.
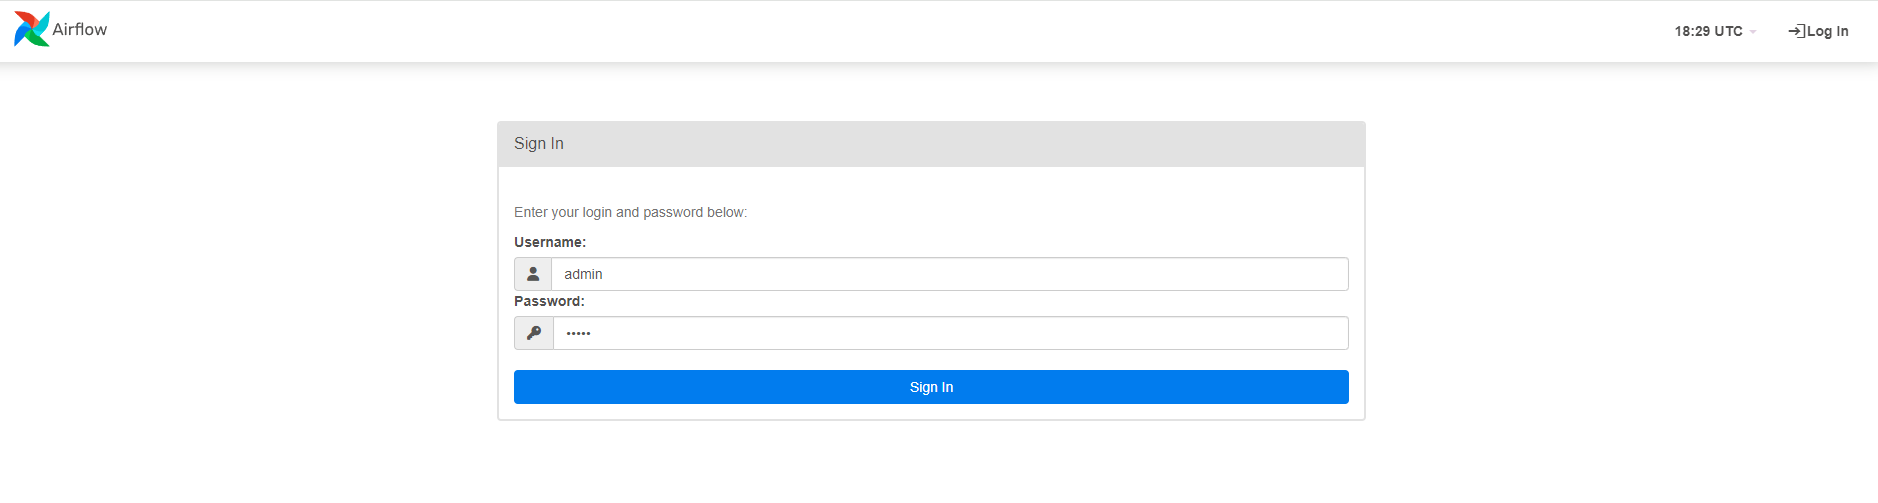
After starting the containers, you can initiate Airflow by navigating to http://localhost:8080/.

- Login Credentials: Username
adminand passwordadmin. - Airflow Login Page:
- Dashboard Overview: After logging in, you will see the main page displaying two DAGs:
user_automationandsparking_flow.- Activating
user_automationDAG: Toggle the start button foruser_automationand click on it to view DAG details.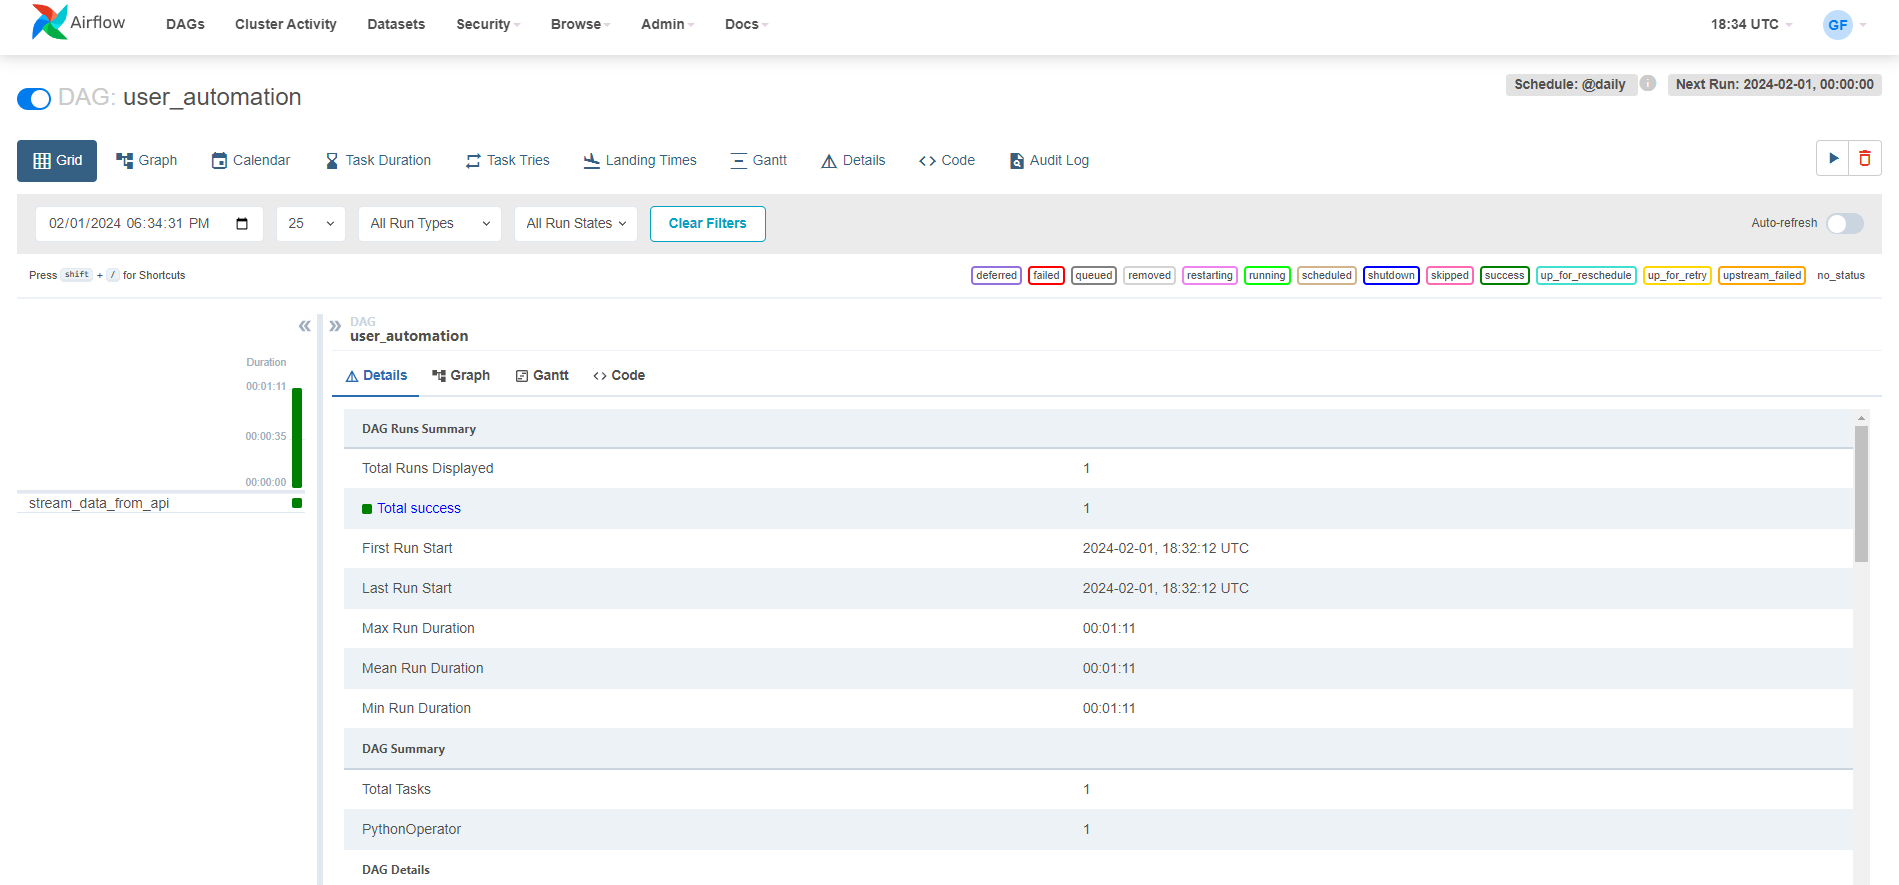
- Activating


To start the sparking_flow DAG, a Spark Connection is required.
-
Navigation: Go to Admin -> Connections in the Airflow UI.
-
Adding Spark Connection:
- Connection ID:
spark-conn - Connection Type:
Spark - Host:
spark://spark-master - Port:
7077 - Deploy Mode:
client - Spark Binary:
spark-submit
Configure as shown and click the
Savebutton.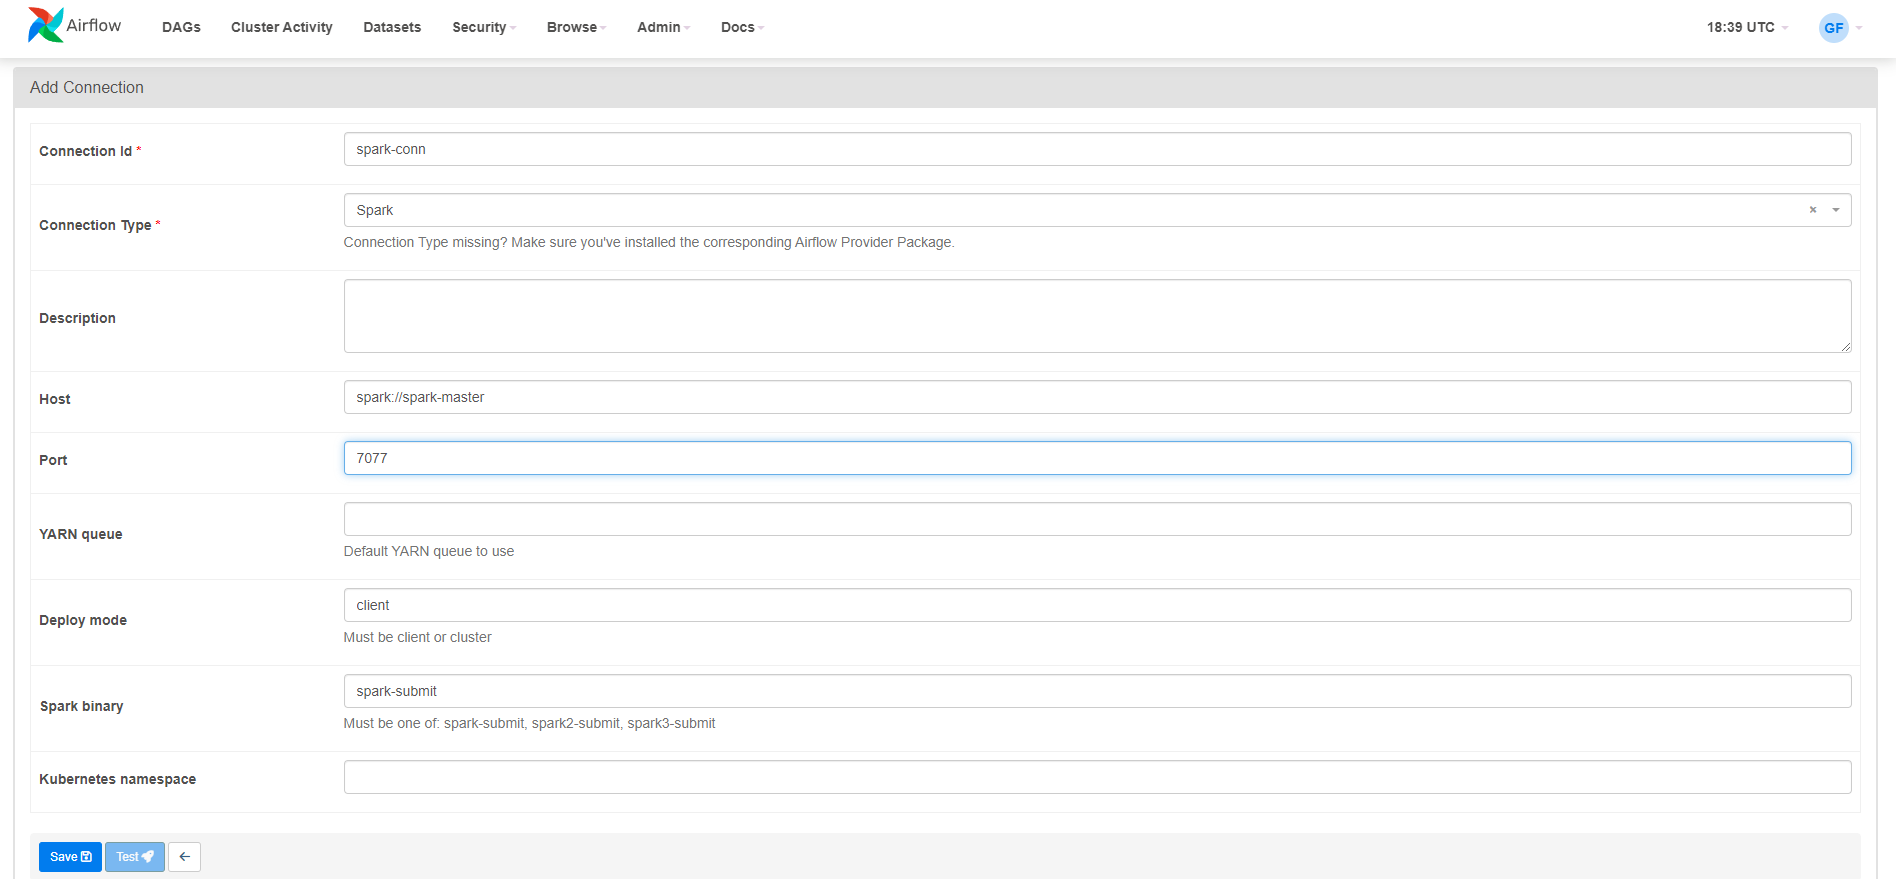
After saving, the
spark-connconnection should appear in the list. - Connection ID:

Navigate back to the main page and start the sparking_flow DAG by toggling its button.

- Tasks:
start: Prints "Jobs started" (PythonOperator).python_job: Submits a Python Spark job (SparkSubmitOperator).java_job: Submits a Java Spark job (SparkSubmitOperator).end: Prints "Jobs completed successfully" (PythonOperator).
- Execution: The start task triggers the Spark jobs in parallel, followed by the end task upon their completion.
-
Python Job Log: Click on the
python_jobtask, then logs to view the job result.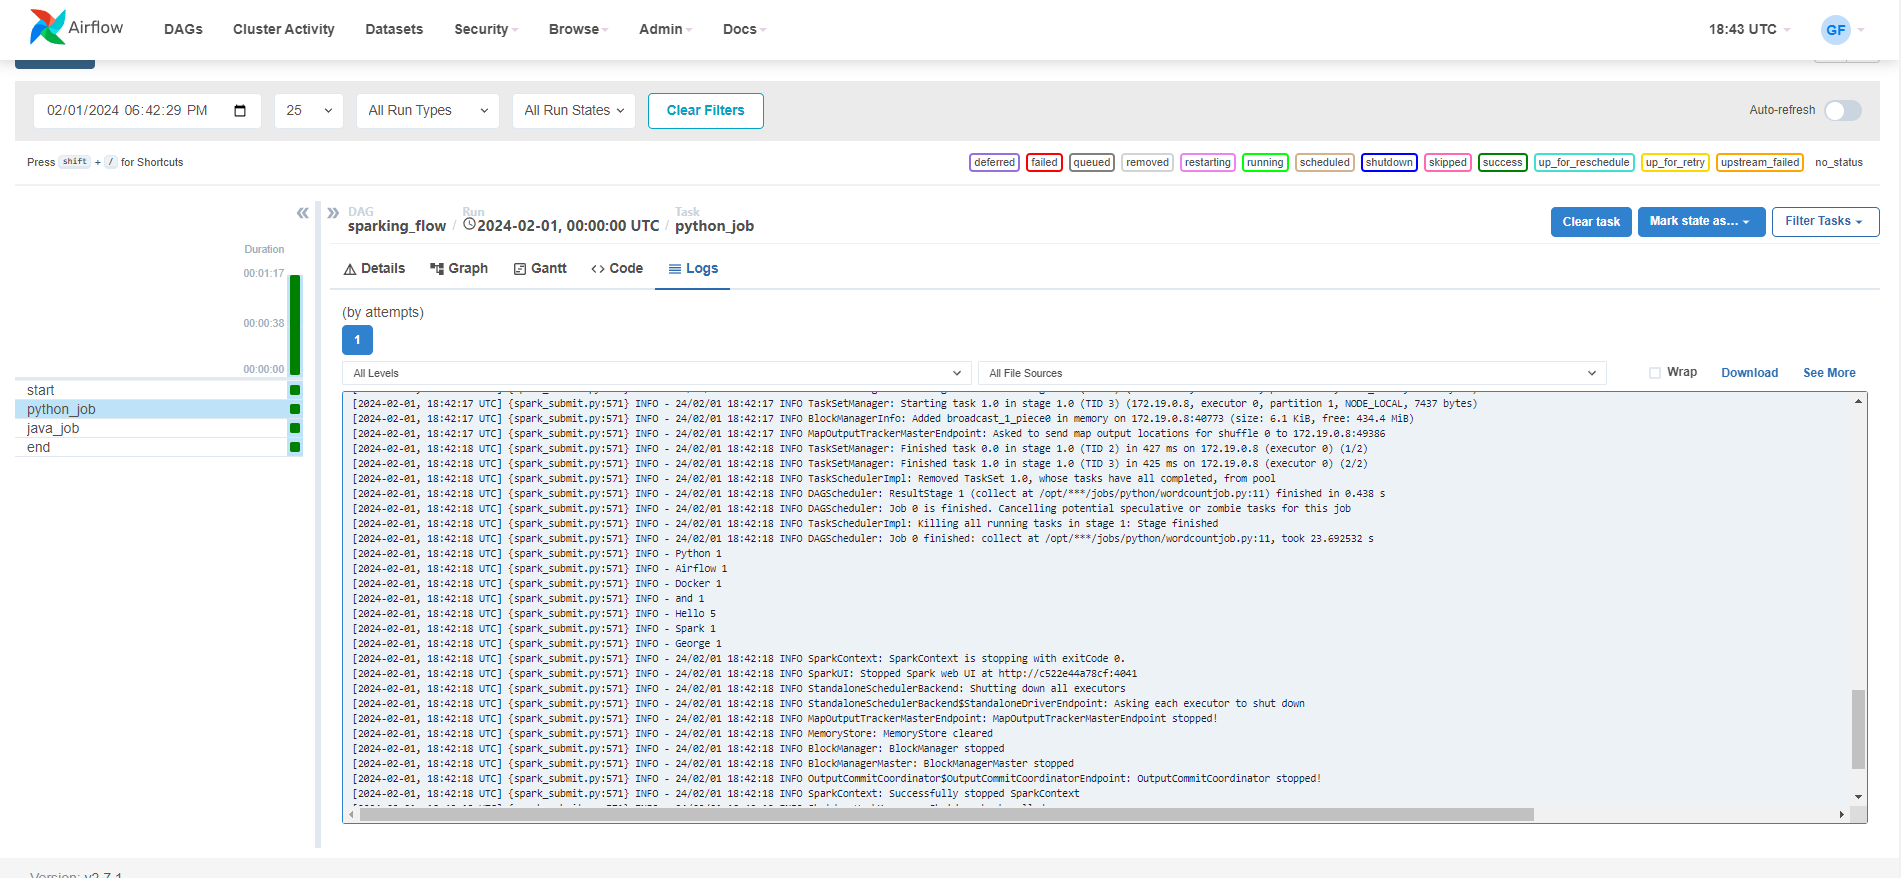
-
Java Job Log: Click on the
java_jobtask, then logs to view the job result.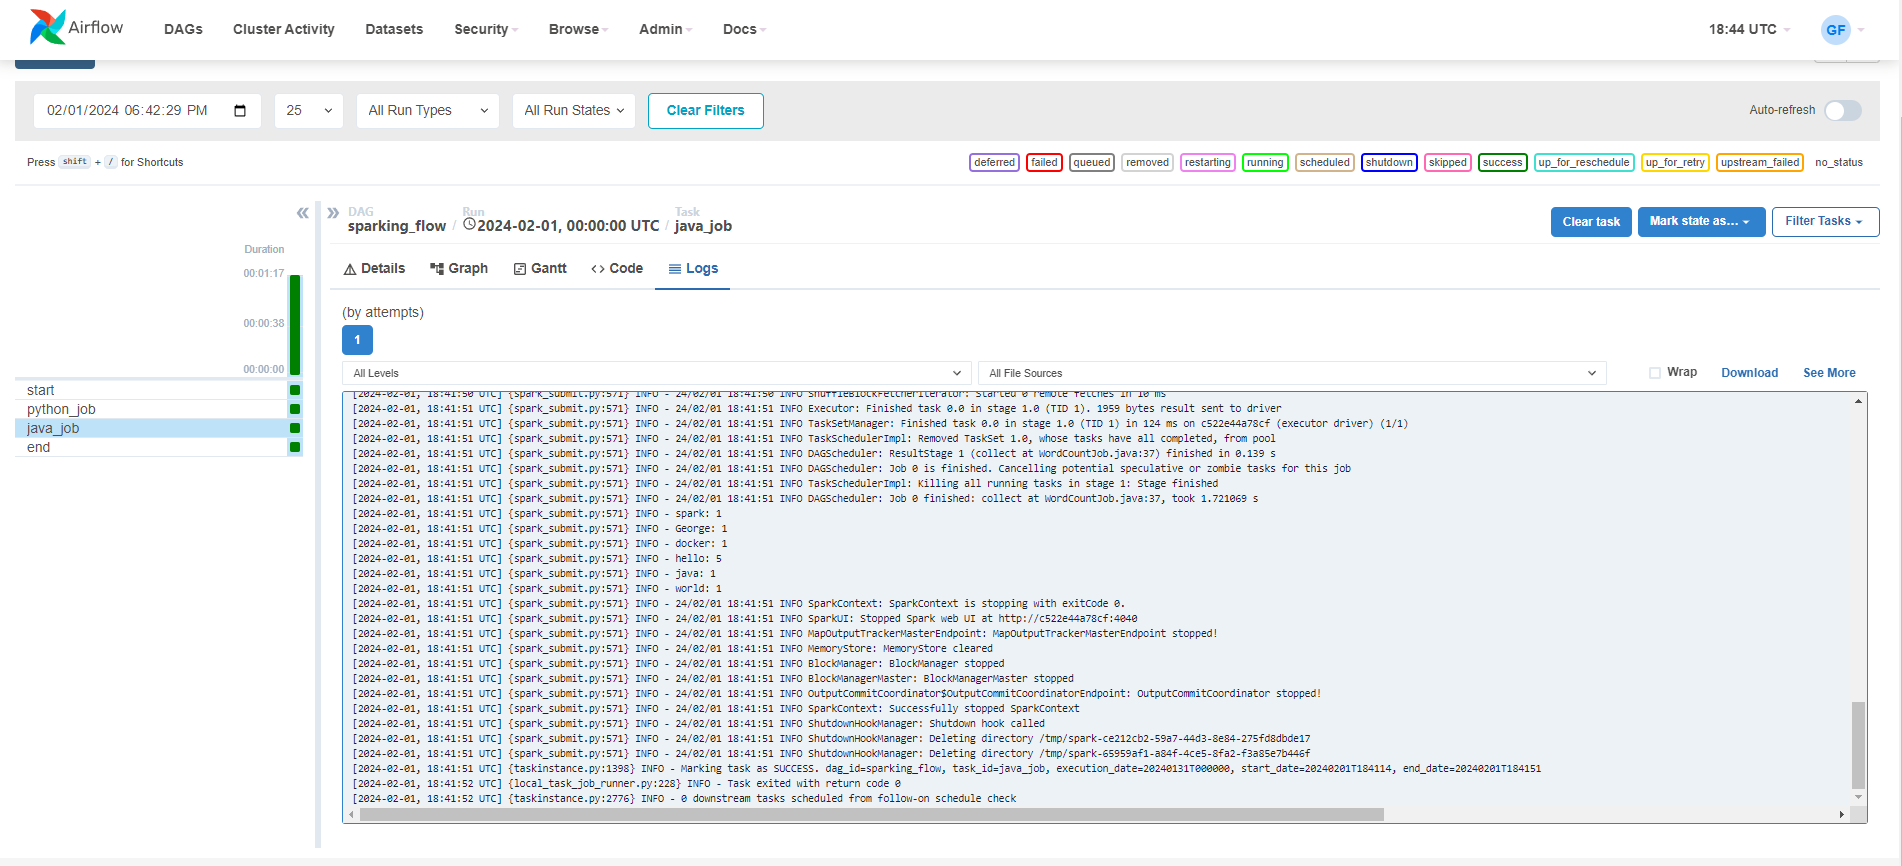


After using Airflow, you can access Kafka Confluent Control Center by navigating to http://localhost:9021/.

- Click on
controlcenter.clusterto access the Cluster Overview.
-
In the Cluster Overview, select
topics. Here, you should find theuser_createdtopic. If it is not visible, ensure theuser_automationDAG is started in Airflow.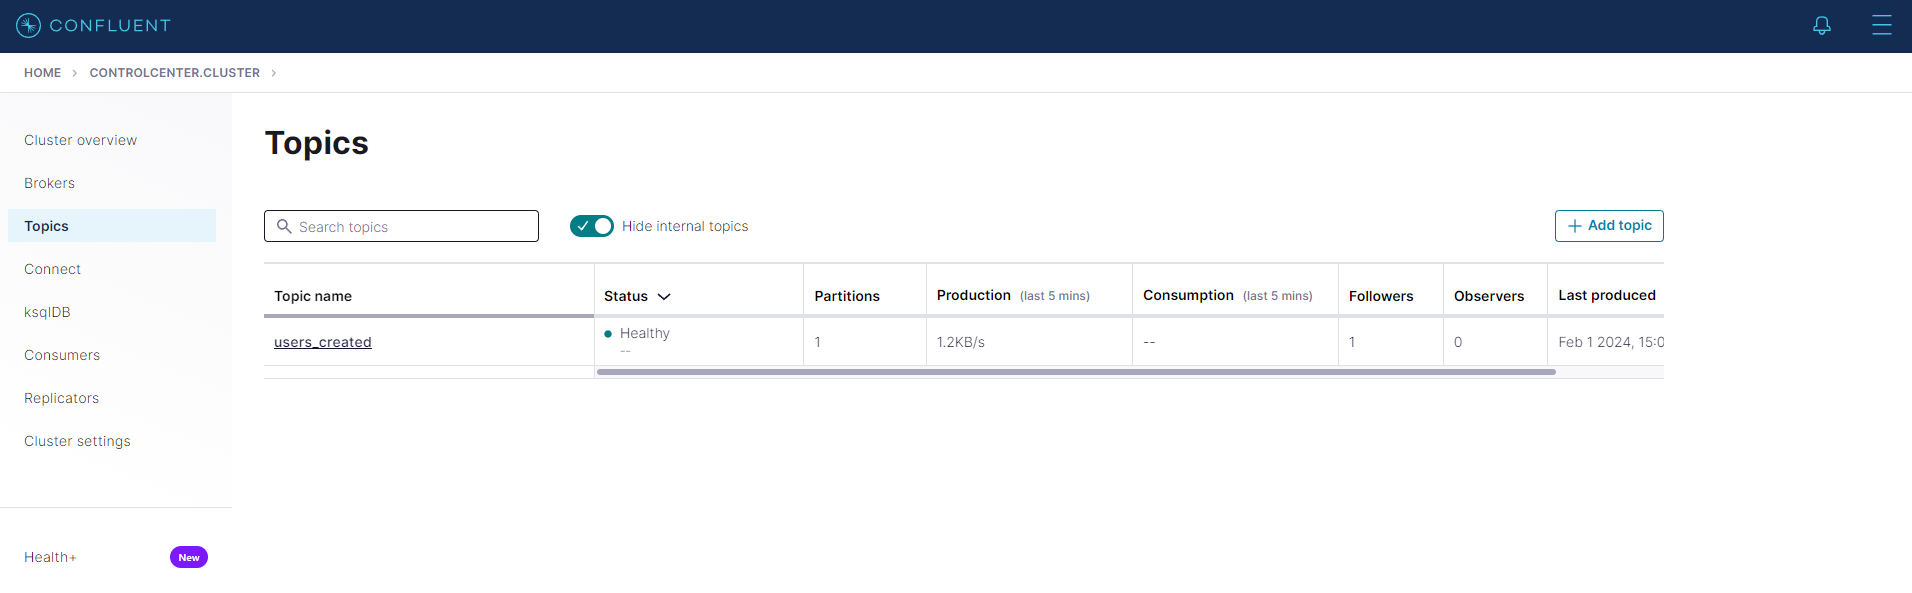
-
Clicking on
user_createdwill display the topic messages.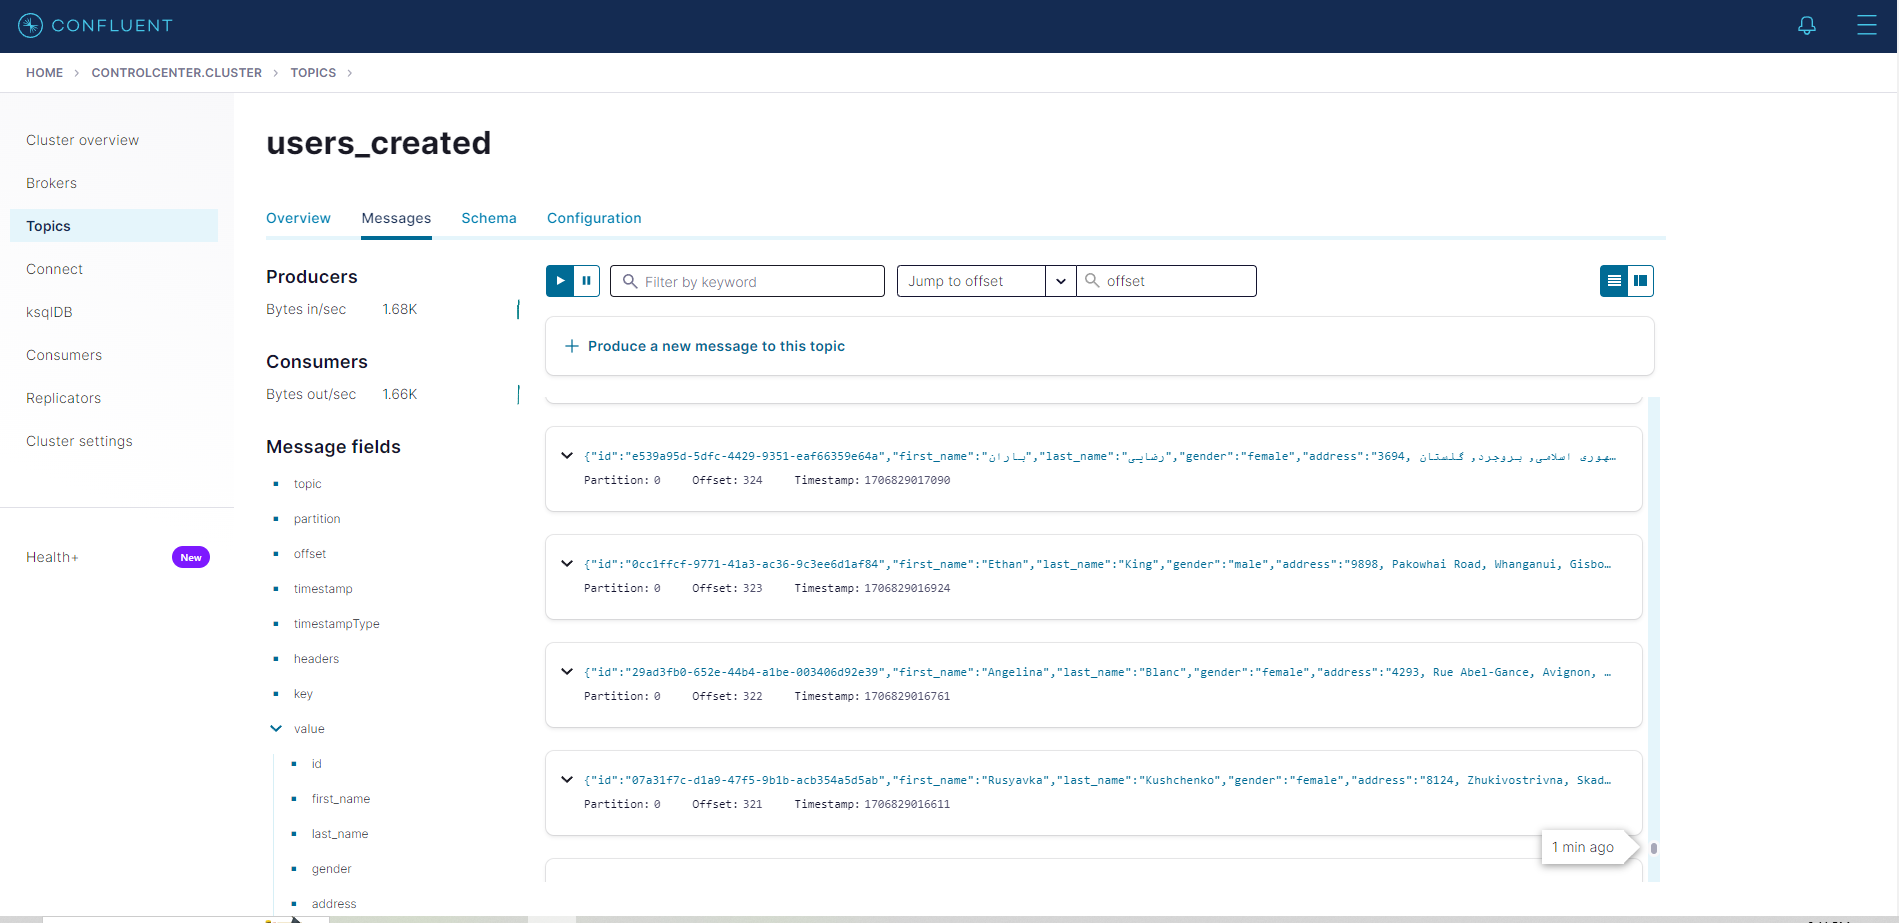


- To view the Spark UI, navigate to http://localhost:9090/. Here you will see two workers and a completed application job
PythonWordCountsubmitted by airflow.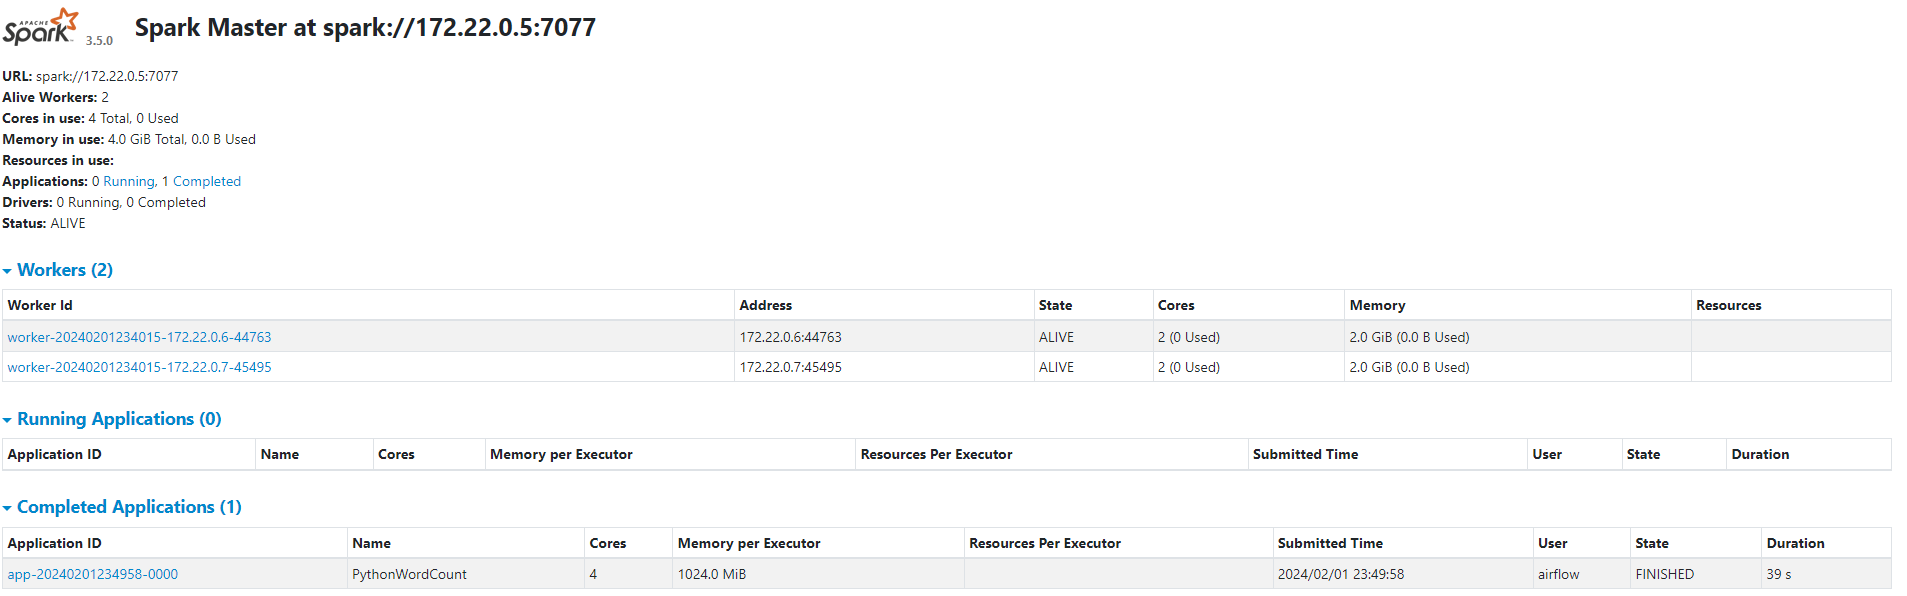
- Note: The
PythonWordCountjob is visible only if thesparking_flowDAG has been run.

- To add more workers to Spark, uncomment the specified code in the
docker-composefile.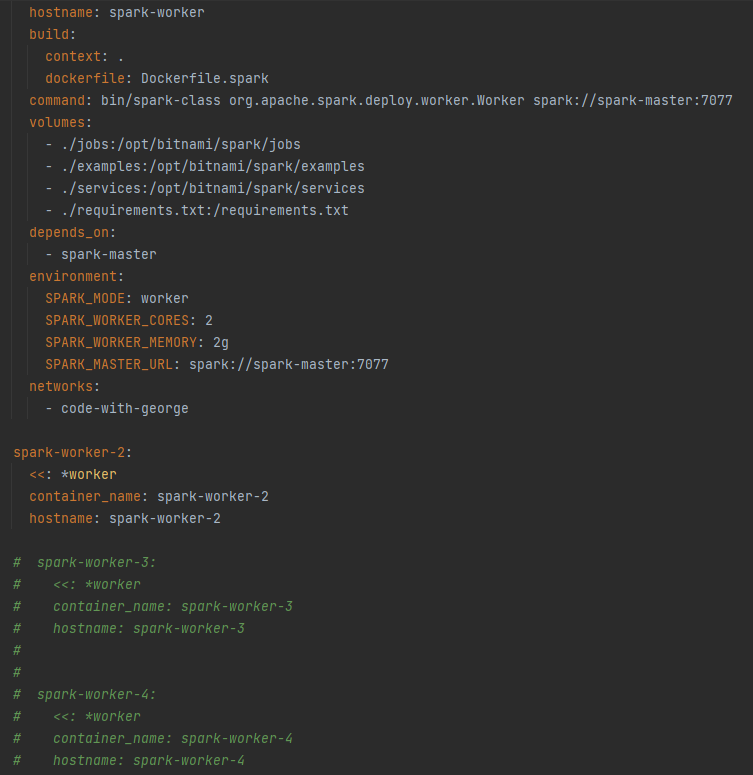

- To start the Spark Streamer Service, use the
Docker Desktop Exec of the
Spark Mastercontainer. - Navigate to the service folder and run the following command:
spark-submit --packages org.apache.spark:spark-sql-kafka-0-10_2.12:3.1.1,com.datastax.spark:spark-cassandra-connector_2.12:3.0.0 spark_stream.py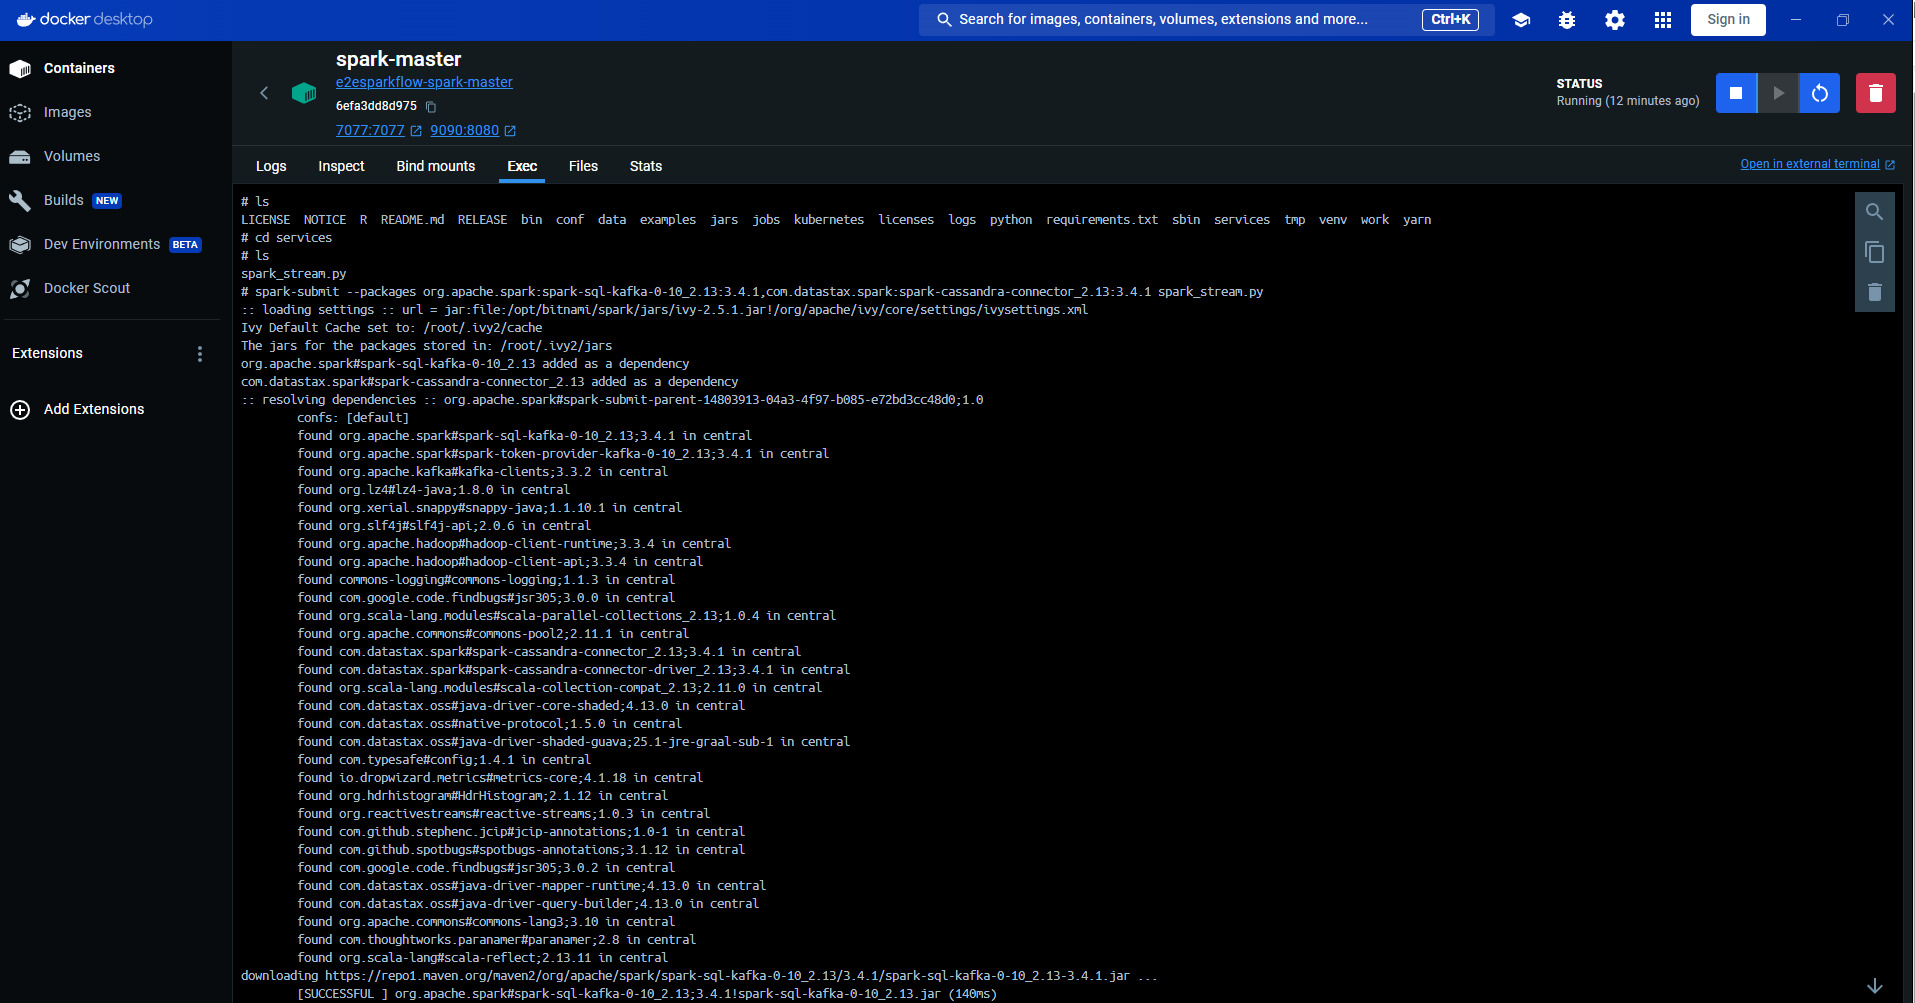
- Important: Ensure there is data from 'User Created' in Kafka; otherwise, the streamer will wait for new data.

- To access data stored in Cassandra, execute the following command in the terminal:
docker exec -it cassandra cqlsh -u cassandra -p cassandra localhost 9042 SELECT * FROM user_data.users; - The command provides access to the Cassandra database where you can execute queries such as
SELECT * FROM user_data.users;to view the user data.
