
Create a homepage using Gatsby and Kontent.ai. This starter demonstrates how to use Kontent.ai to build a homepage and can be customized to match your own visual branding.
Note: This version of the Kontent.ai homepage starter is written in JavaScript. If you want to use Kontent.ai but TypeScript is more your style, there is also a TypeScript version maintained on GitHub.
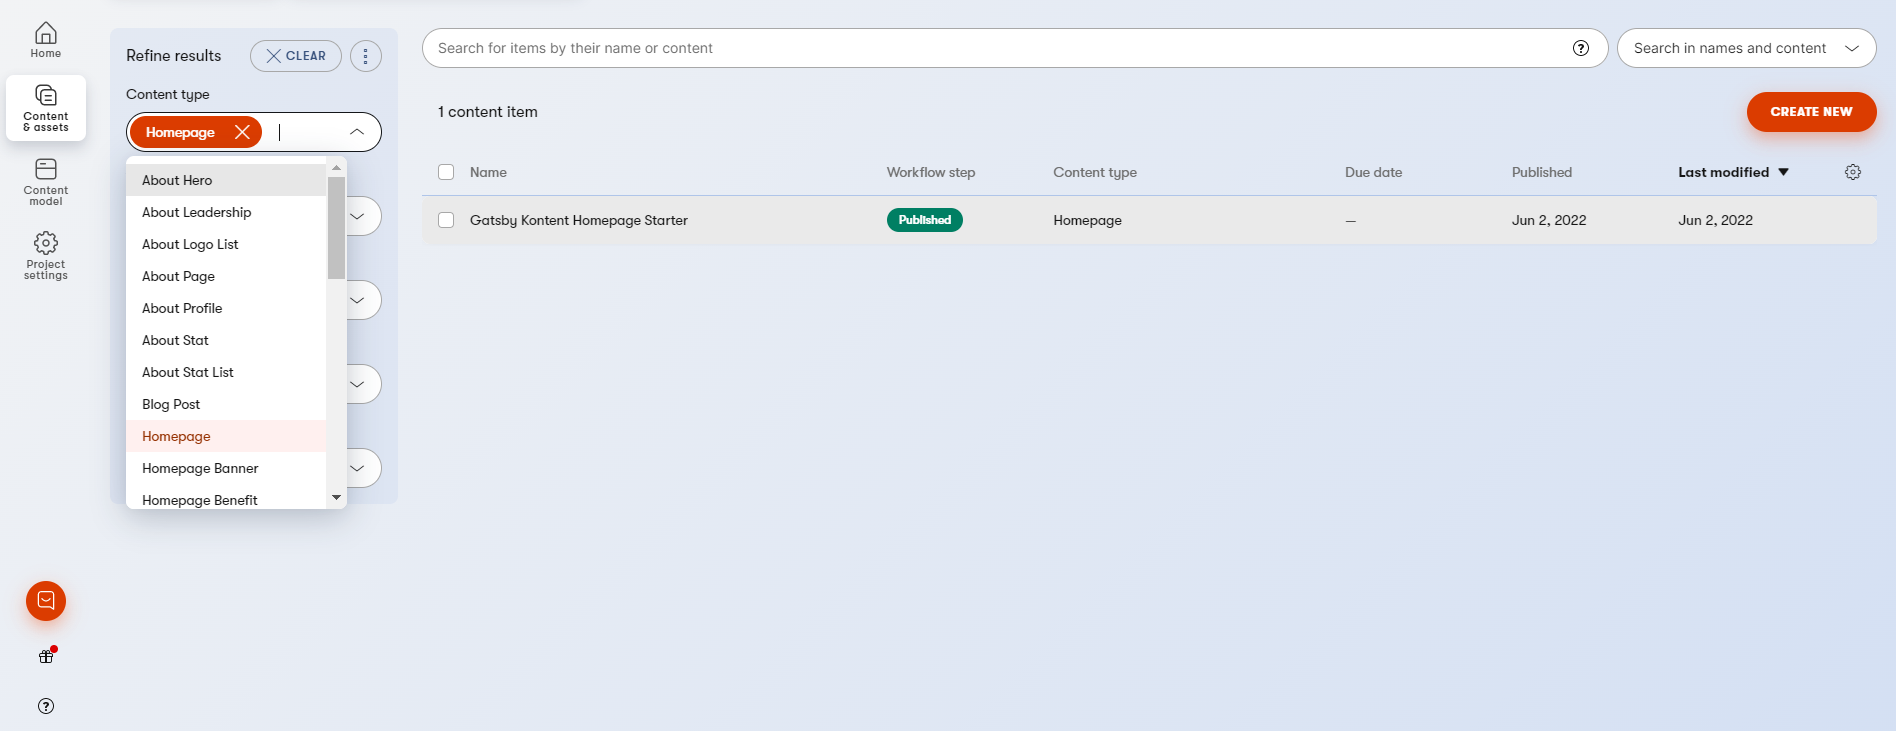
To use this starter, you will need a new or existing Kontent.ai project and then you will be asked for your project id.
-
Create a Gatsby site
Use the Gatsby CLI to get started locally:
npx gatsby new my-homepage https://github.com/gatsbyjs/gatsby-starter-kontent-ai-homepage
-
Create an empty Kontent.ai project
-
Run the Kontent.ai setup script.
If you've decided to use a non-empty project, keep in mind that there might occur errors during import. Therefore it is better to use an empty project. The script provides you with an option to clear your project before importing.
From your site's root directory, run:
cd my-homepage
yarn setup
This will run a script to populate your Kontent.ai project with demo content.
-
Start developing
In your site directory, start the development server:
yarn start
Your site should now be running at http://localhost:8000
-
Open the source code and start editing
Once your content is available in Kontent.ai, deploy your site to Gatsby Cloud:
- Push your local site to a new repo in either GitHub, GitLab, or Bitbucket
- Log into your Gatsby Cloud Dashboard and click on Add a site
- Use the Import from a Git repository option to find your site
- Add the environment variables from your
.env.productionfile to Gatsby Cloud during setup - Click Build site and your site should start building
For a more detailed walkthrough, see the tutorial on how to build your site with Gatsby Cloud.
Alternatively, you can deploy this starter directly to Gatsby Cloud.
Note that you will need to set up your content in Kontent.ai manually.

To use Gatsby Cloud Preview with this site, follow the instructions in the Connecting to Kontent.ai.
├── README.md
├── gatsby-config.js
├── gatsby-node.js
├── src
│   ├── components
│   ├── pages
│   ├── colors.css.ts
│   ├── styles.css.ts
│   └── theme.css.ts
└── .env.EXAMPLEgatsby-config.js: Gatsby config file that includes plugins required for this starter.gatsby-node.js: Gatsby Node config file that creates an abstract data model for the homepage content.src/: The source directory for the starter, including pages, components, and Vanilla Extract files for styling.
To update the colors used in this starter, edit the src/colors.css.ts file.
// src/colors.css.ts
export const colors = {
  background: "#41d9c5",
  text: "#231f20",
  primary: "#231f20",
  muted: "#2aceb9",
  active: "#001d3d",
  black: "#000",
}
If you'd like to add additional colors, add additional keys to this object.
This file is imported into src/theme.css.ts and creates CSS custom properties, that can be imported and used in other .css.ts files.
The UI components file src/components/ui.js imports styles from src/components/ui.css.ts. You can see how the theme and color values are being used in this file.
![]()
Replace the src/components/brand-logo.js component with your own brand logo.
If you have an SVG version, it can be rendered inline as a React component, following the example in this file. Note that SVG attributes will need to be camel cased for JSX.
Using an inline SVG for the logo allows it to pick up the colors used in CSS, which is how the logo colors are inverted for the mobile menu.
If you prefer to use an image, use the StaticImage component from gatsby-plugin-image in place of the SVG in this file.

To further customize the look and feel of the homepage, edit the UI components in src/components/ui.js and styles in src/components/ui.css.ts.
To customize any of the sections of the homepage, edit the relevant component in src/components.
Most of the styles for these components are handled with shared UI components in src/components/ui.js.
To create a new type of section in your homepage, you'll want to create a new section component, using the existing components as an example. For this example, we'll create a new "Banner" component.
-
First, update your content type in Kontent.ai project
-
In
Content modelsection create a new content type and name it "Homepage Banner."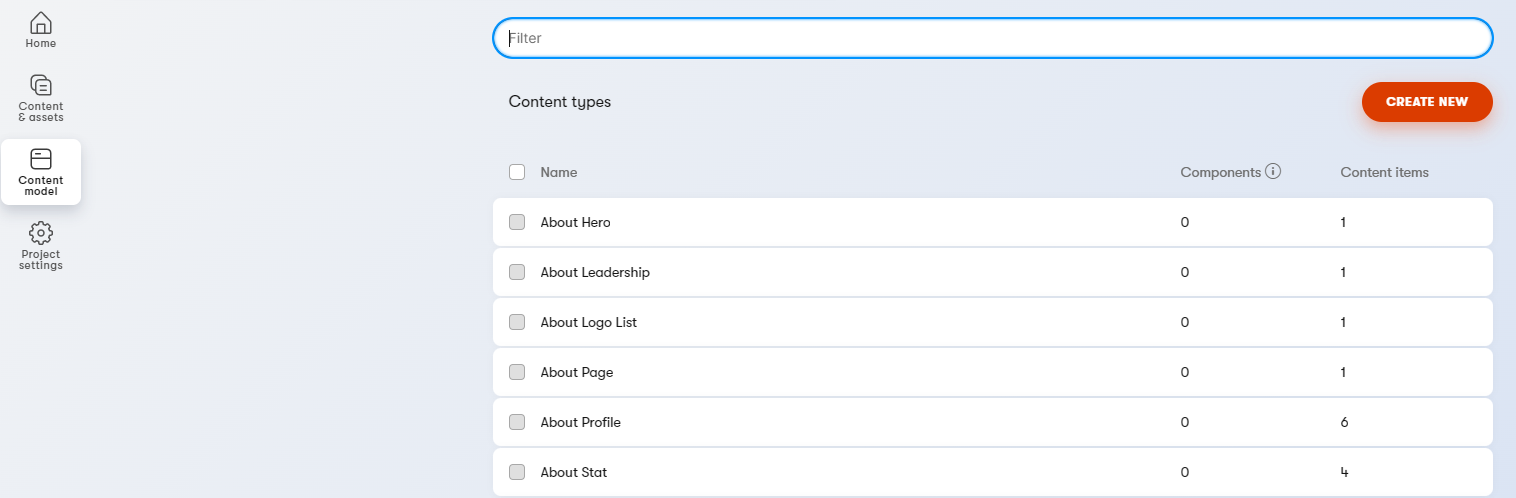
-
Add two fields to your freshly created content type:
HeadingandText– these can be Text types.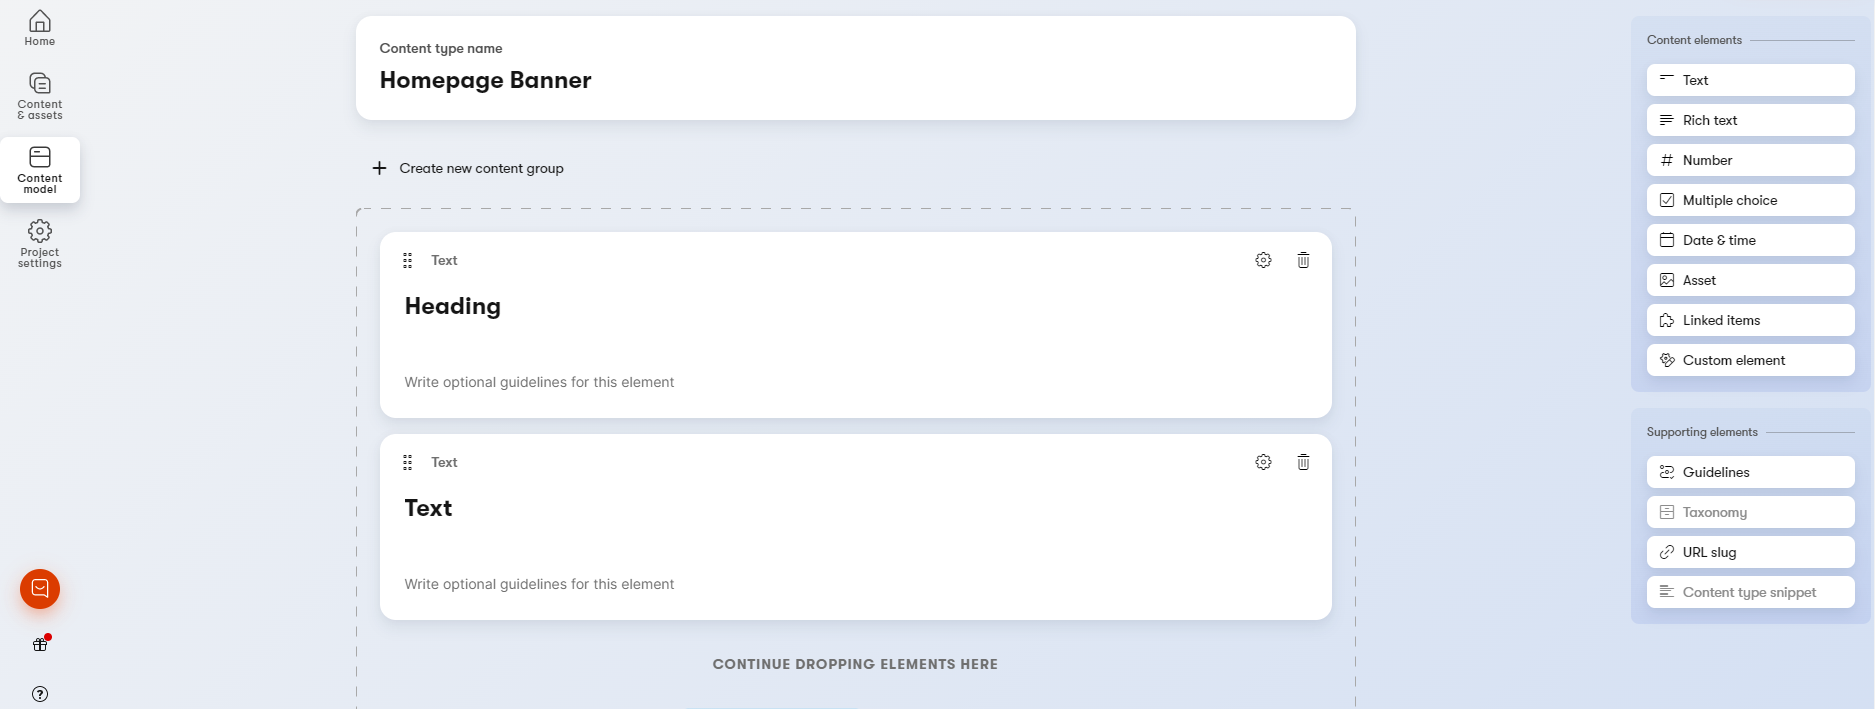
-
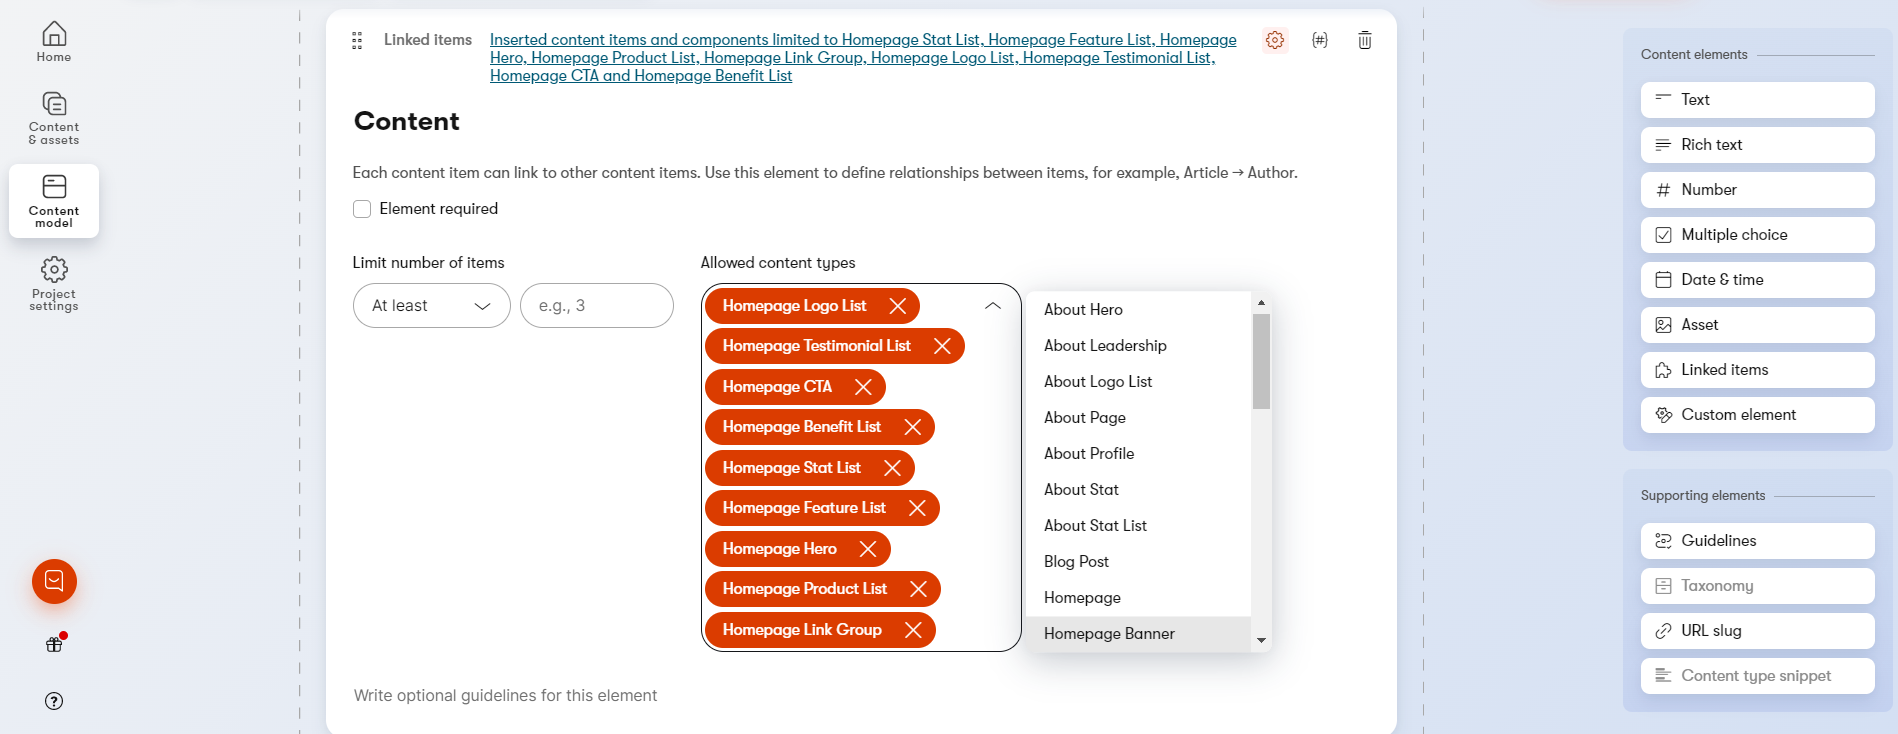
Find the content type for Homepage in Kontent.ai and adjust the settings for the Content element. Click on settings icon to show configuration for the given element. Under Allowed content types, ensure that the Homepage Banner type is checked to make it available as a content type on the Homepage.
-
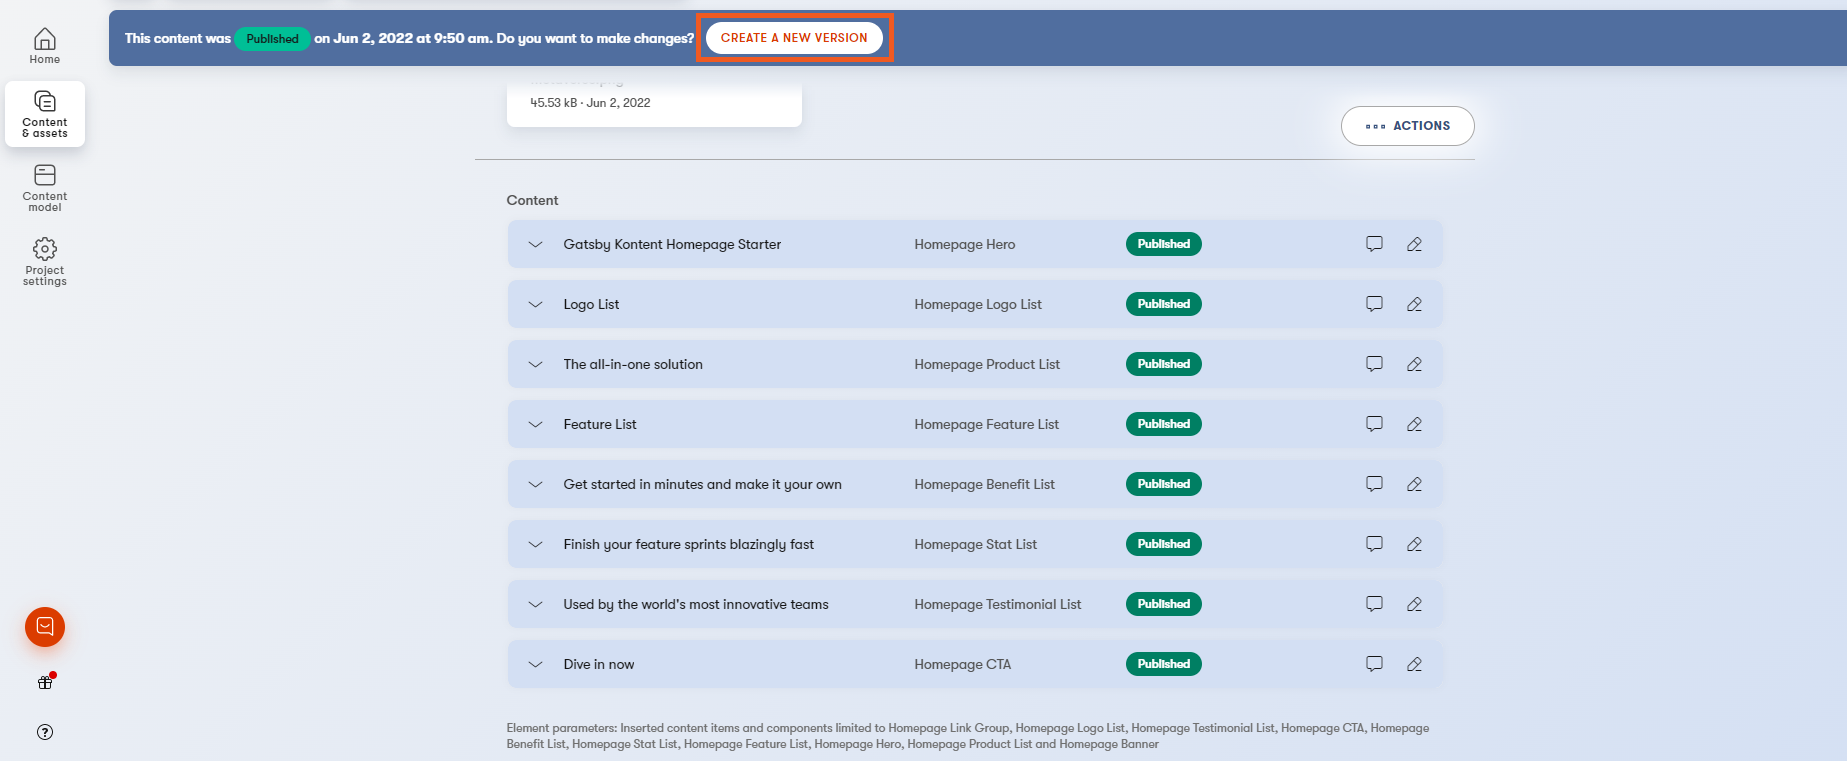
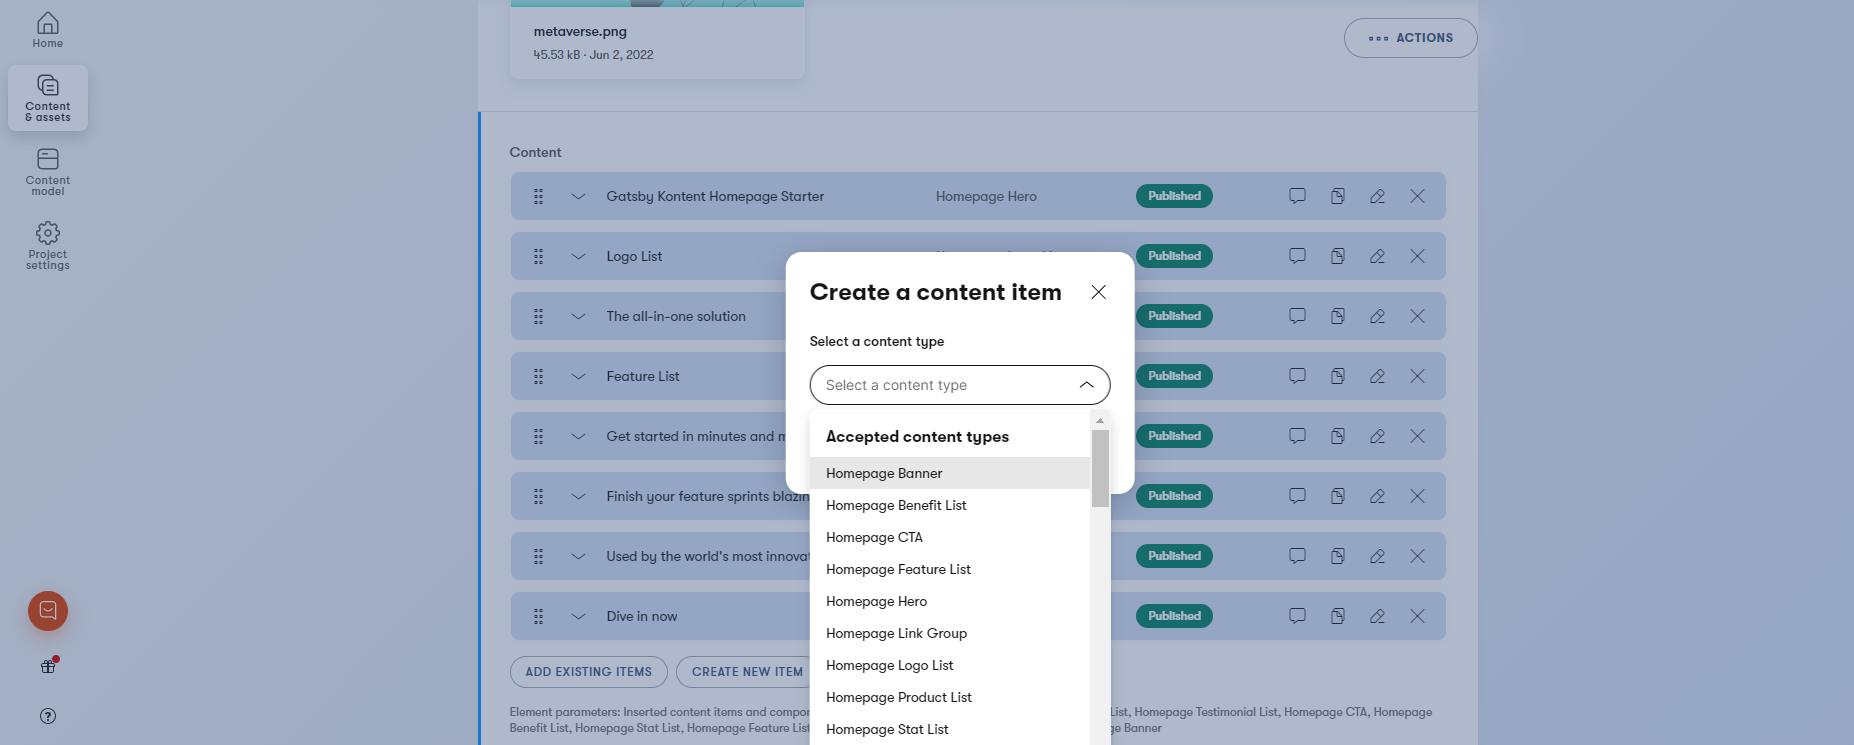
Navigate to the Content & assets tab to edit the Homepage, start a new version of your item and add create a new item with new Homepage Banner content type.
-
-
Update
gatsby-node.jsEdit your site's
gatsby-node.jsfile, adding an interface forHomepageBannerand a type that matches your content type in Kontent.ai. This allows the homepage to query the abstractHomepageBannertype.// in gatsby-node.js exports.createSchemaCustomization = async ({ actions }) => { // ... actions.createTypes(` interface HomepageBanner implements Node & HomepageBlock { id: ID! blocktype: String heading: String text: String } `) // ... actions.createTypes(` type kontent_item_homepage_banner implements Node & HomepageBanner & HomepageBlock @dontInfer { id: ID! blocktype: String @blocktype heading: String @proxy(from: "elements.heading.value") text: String @proxy(from: "elements.text.value") } `) // ... }
-
Next, create the Banner component:
// src/components/banner.js
import * as React from "react"
import { graphql } from "gatsby"
import { Section, Container, Heading, Text } from "./ui"

export default function Banner(props) {
  return (
    <Section>
      <Container>
        <Heading>{props.heading}</Heading>
        <Text>{props.text}</Text>
      </Container>
    </Section>
  )
}

export const query = graphql`
  fragment HomepageBannerContent on HomepageBanner {
    id
    heading
    text
  }
`
-
Export the component from
src/components/sections.js// src/components/sections.js export { default as HomepageHero } from "./hero" export { default as HomepageFeature } from "./feature" export { default as HomepageFeatureList } from "./feature-list" export { default as HomepageLogoList } from "./logo-list" export { default as HomepageBenefitList } from "./benefit-list" export { default as HomepageTestimonialList } from "./testimonial-list" export { default as HomepageStatList } from "./stat-list" export { default as HomepageCta } from "./cta" export { default as HomepageProductList } from "./product-list" // add export for new component export { default as HomepageBanner } from "./banner"
-
Add the GraphQL query fragment to the query in
src/pages/index.js// in src/pages/index.js export const query = graphql` { homepage { id title description image { id url } blocks: content { id blocktype ...HomepageHeroContent ...HomepageFeatureContent ...HomepageFeatureListContent ...HomepageCtaContent ...HomepageLogoListContent ...HomepageTestimonialListContent ...HomepageBenefitListContent ...HomepageStatListContent ...HomepageProductListContent # New component fragment ...HomepageBannerContent } } } `


If you've made changes to the gatsby-node.js file or changes to the Kontent.ai data model, clear the Gatsby cache before running the develop server:
yarn clean && yarn startLooking for more guidance? Full documentation for Gatsby lives on the website. Here are some places to start:
- For most developers, we recommend starting with our in-depth tutorial for creating a site with Gatsby. It starts with zero assumptions about your level of ability and walks through every step of the process.
- To dive straight into code samples, head to our documentation.
Build, Deploy, and Host On The Only Cloud Built For Gatsby
Gatsby Cloud is an end-to-end cloud platform specifically built for the Gatsby framework that combines a modern developer experience with an optimized, global edge network.