This is an exercise based on a Cloudera Machine Learning lab. CML is the CDSW version on the cloud as a service.
CDSW installed with your [CDH|HDP|CDP-DC] Cluster
This is the port of the Refractor prototype which is part of the Interpretability report from Cloudera Fast Forward Labs.
Start a Python 3 Session with at least 8GB of memory and run the utils/setup.py code. This will create the minimum setup to use existing, pretrained models.
- Open
1_data_ingest.pyin a workbench: python3, 1 CPU, 2 GB. - Run the file.
- Open a jupyter notebook at open the
2_data_exploration.ipynbfile
A model has been pre-trained and placed in the models directory. If you want to retrain the model run the 3_train_models.py code to train a new model. The model artifact will be saved in the models directory named after the datestamp, dataset and algorithm (ie. 20200304T151133_telco_linear). The default settings will create a linear regression model against the IBM telco dataset.
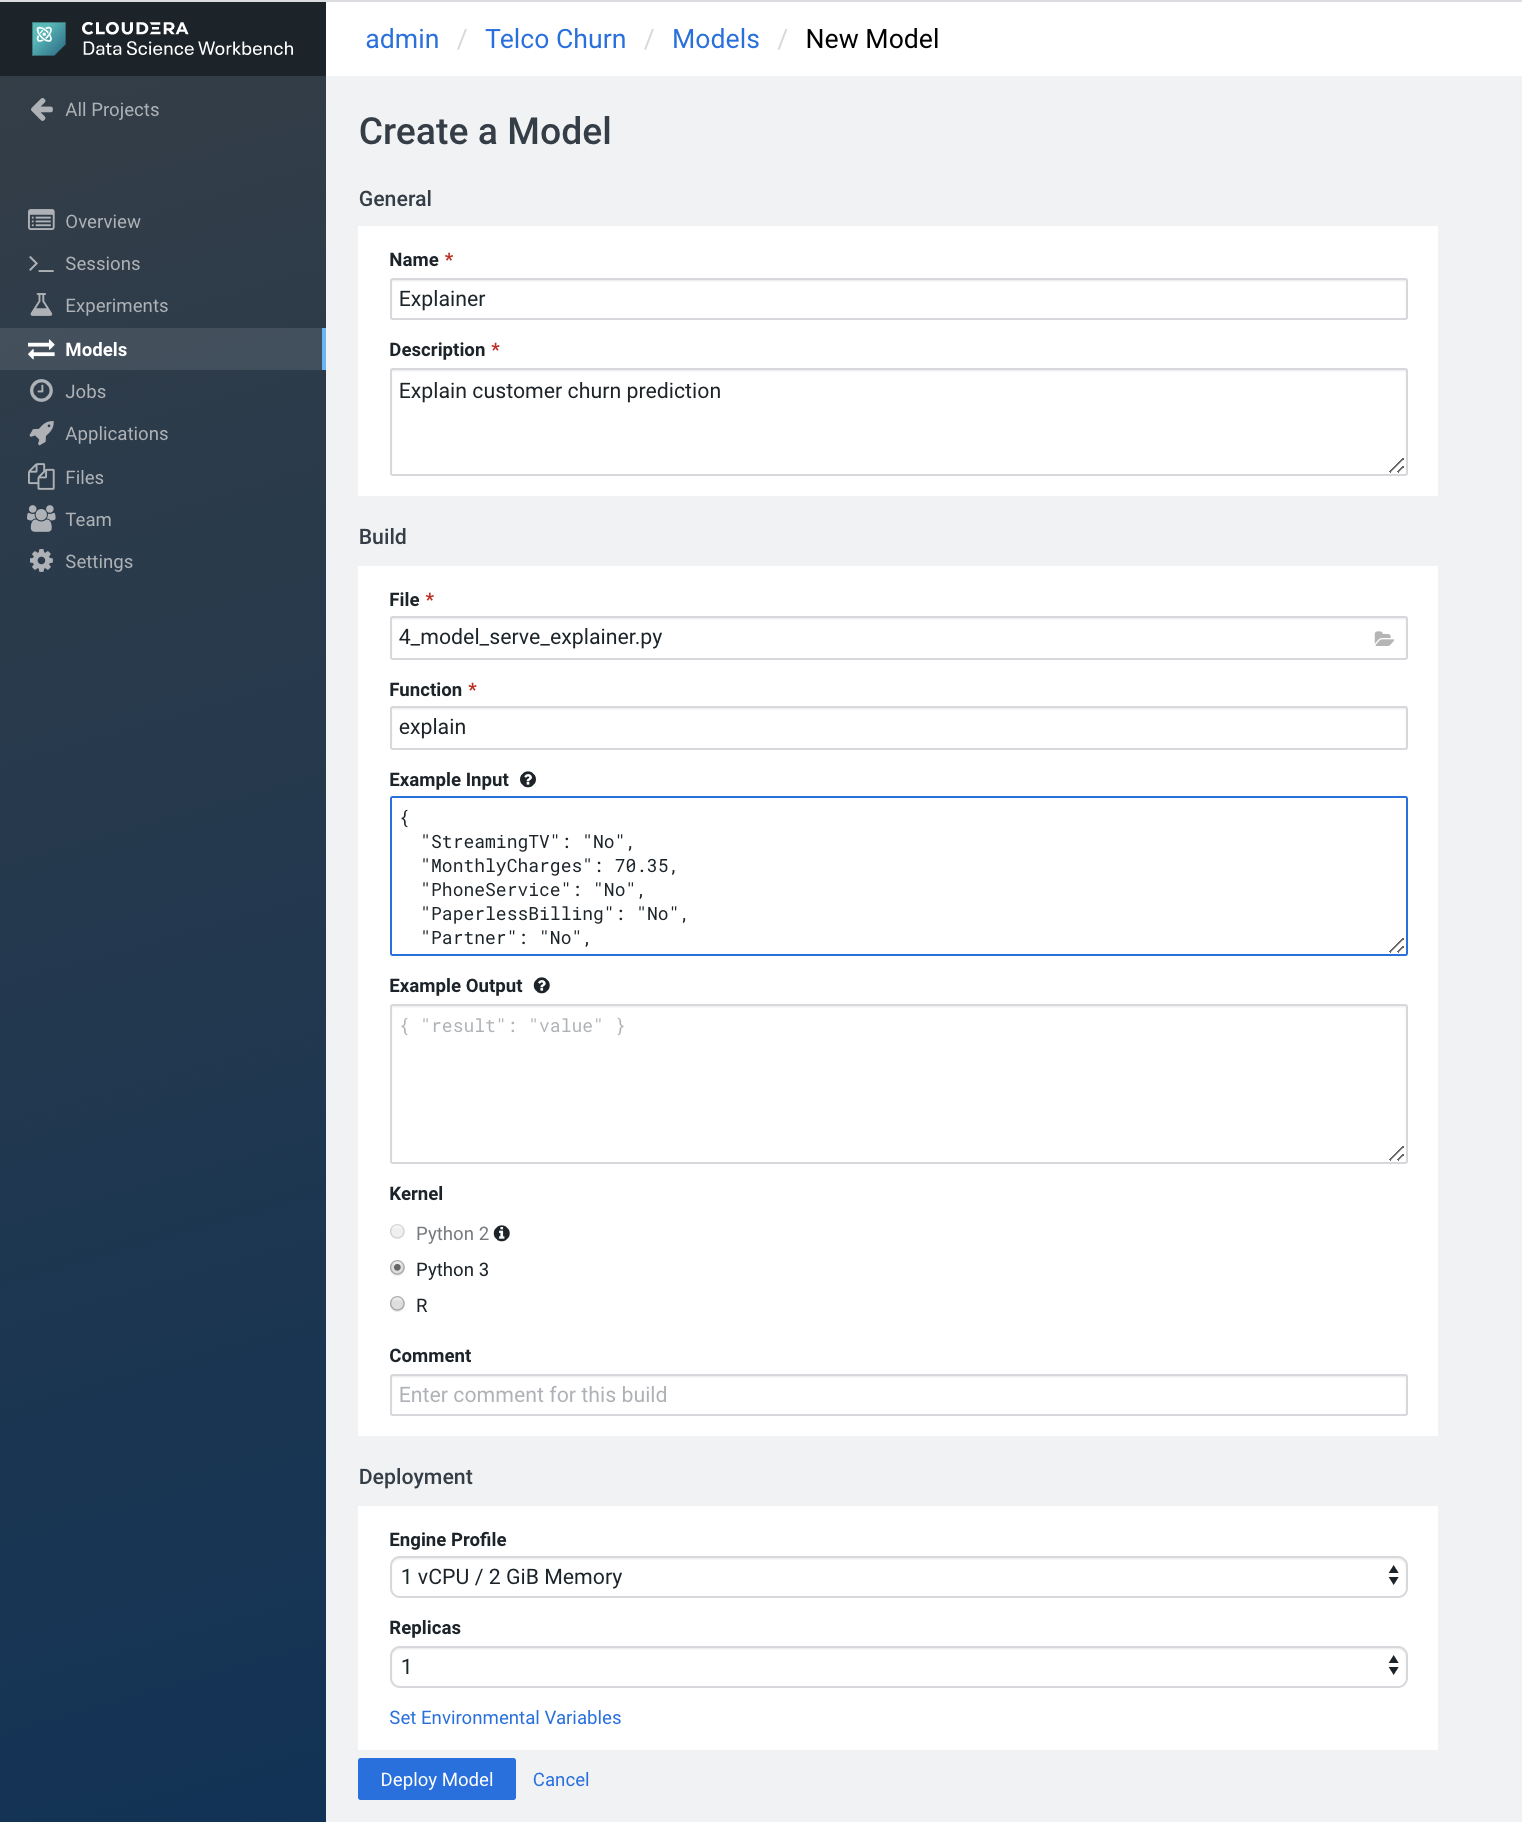
Go to the Models section and create a new Explainer model with the following:
- Name: Explainer
- Description: Explain customer churn prediction
- File: 4_model_serve_explainer.py
- Function: explain
- Input:
{"StreamingTV":"No","MonthlyCharges":70.35,"PhoneService":"No","PaperlessBilling":"No","Partner":"No","OnlineBackup":"No","gender":"Female","Contract":"Month-to-month","TotalCharges":1397.475,"StreamingMovies":"No","DeviceProtection":"No","PaymentMethod":"Bank transfer (automatic)","tenure":29,"Dependents":"No","OnlineSecurity":"No","MultipleLines":"No","InternetService":"DSL","SeniorCitizen":"No","TechSupport":"No"} - Kernel: Python 3
If you created your own model (see above)
- Click on "Set Environment Variables" and add:
- Name: CHURN_MODEL_NAME
- Value: 20200304T151133_telco_linear your model name from above Click "Add" and "Deploy Model"
In the deployed Explainer model -> Settings note (copy) the "Access Key" (ie. mukd9sit7tacnfq2phhn3whc4unq1f38)
From the Project level click on "Open Workbench" (note you don't actually have to Launch a session) in order to edit a file. Select the flask/single_view.html file and paste the Access Key in at line 19. Save and go back to the Project.
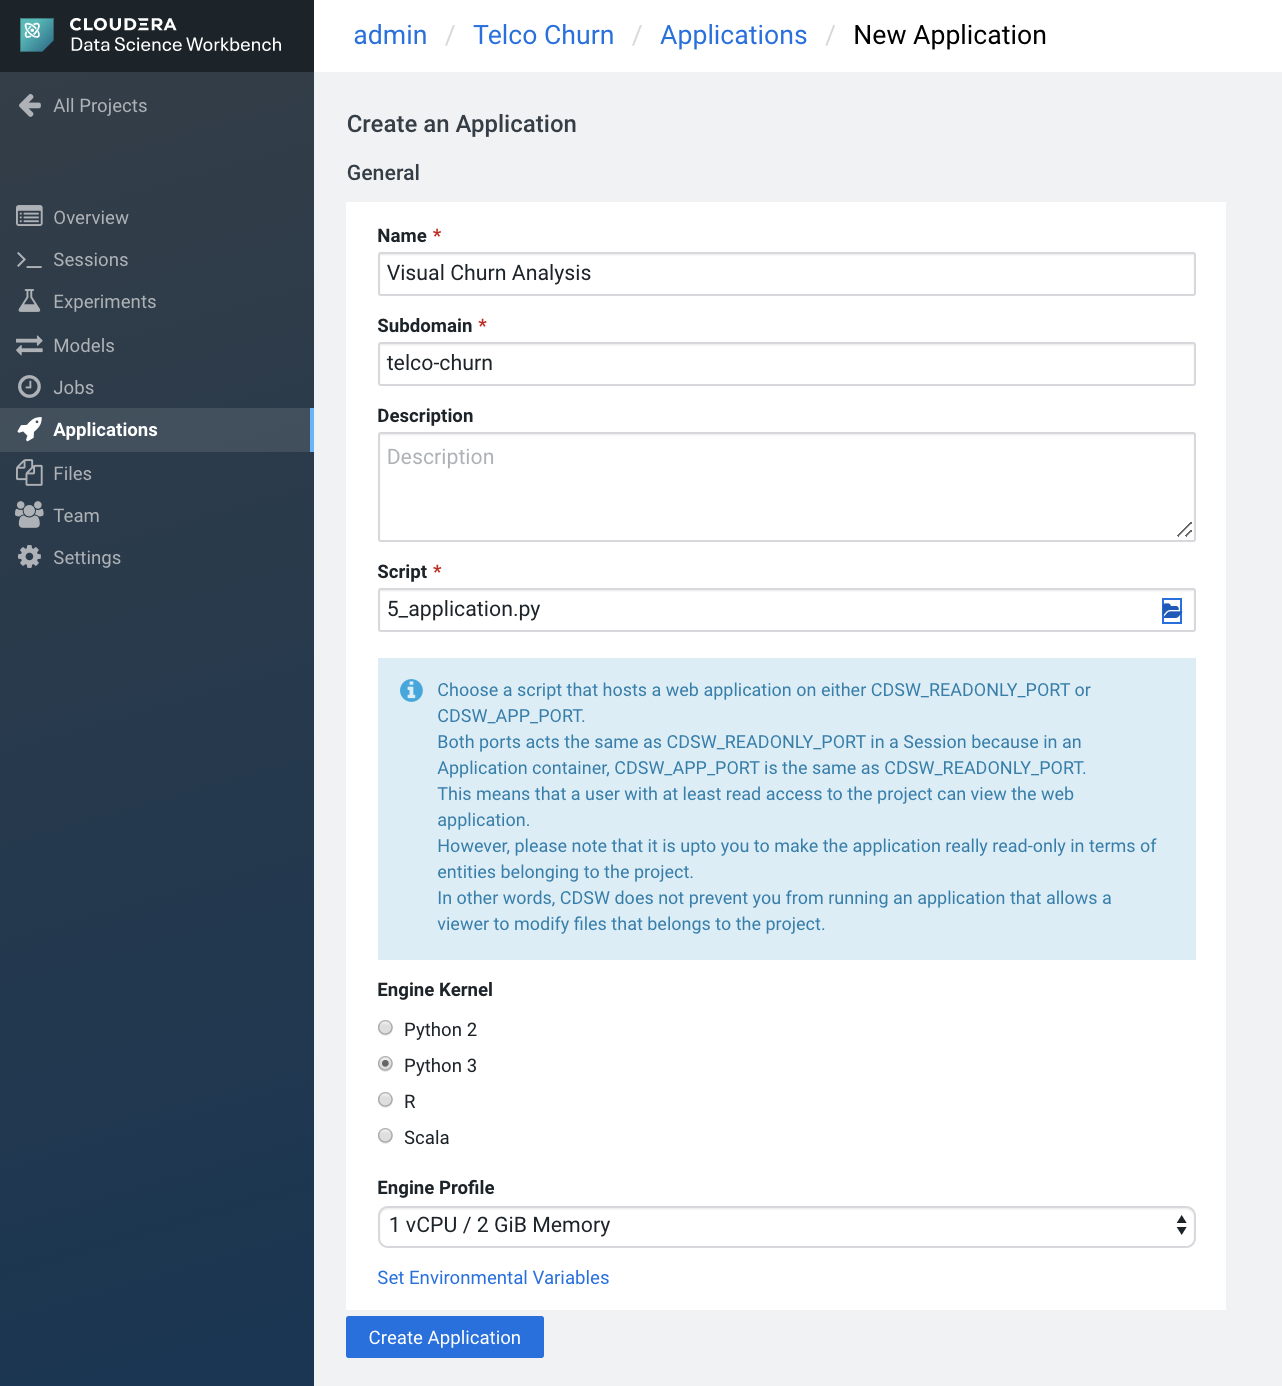
Go to the Applications section and select "New Application" with the following:
- Name: Visual Churn Analysis
- Subdomain: telco-churn
- Script: 5_application.py
- Kernel: Python 3
- Engine Profile: 1vCPU / 2 GiB Memory
If you created your own model (see above)
- Add Environment Variables:
- Name: CHURN_MODEL_NAME
- Value: 20200304T151133_telco_linear your model name from above Click "Add" and "Deploy Model"
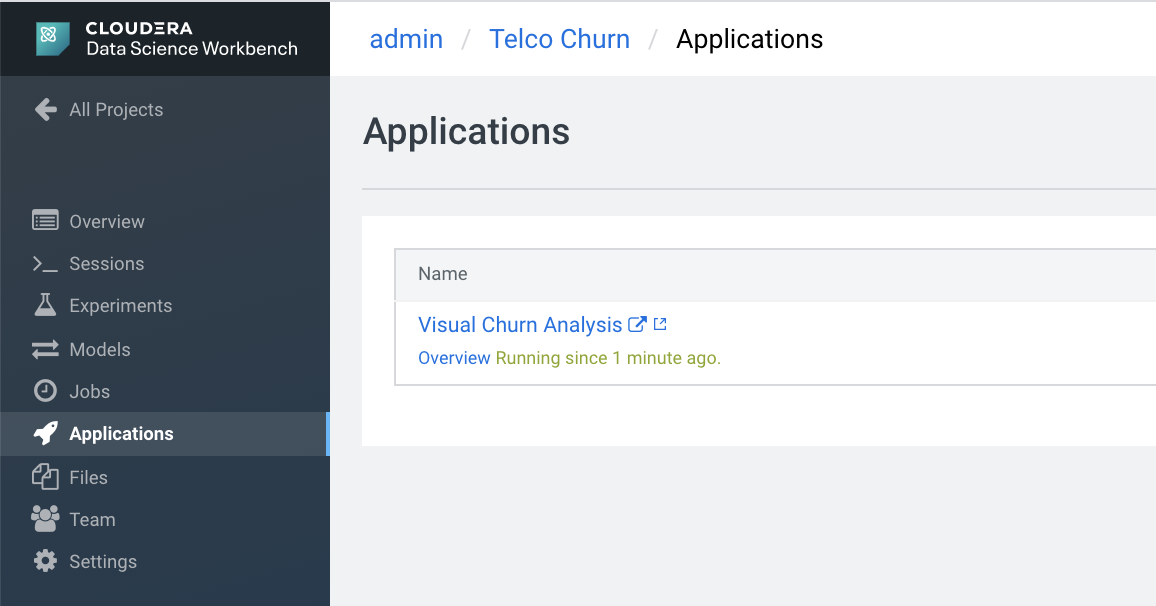
After the Application deploys, click on the blue-arrow next to the name. The initial view is a table of rows selected at random from the dataset. This shows a global view of which features are most important for the predictor model.
Clicking on any single row will show a "local" interpretabilty of a particular instance. Here you can see how adjusting any one of the features will change the instance's churn prediction.
Index(['customerID', 'gender', 'SeniorCitizen', 'Partner', 'Dependents',
       'tenure', 'PhoneService', 'MultipleLines', 'InternetService',
       'OnlineSecurity', 'OnlineBackup', 'DeviceProtection', 'TechSupport',
       'StreamingTV', 'StreamingMovies', 'Contract', 'PaperlessBilling',
       'PaymentMethod', 'MonthlyCharges', 'TotalCharges', 'Churn'],
      dtype='object')
First, you need to create it in the local linux system. Pick up a node with HDFS services on. After you sucessfully created, you need to add to the HDFS filesystem with the hdfs superuser and add a home directory to the new user. That's all. Below an example script.
useradd admin
echo -e "admin\nadmin" | passwd admin
sudo -u hdfs hadoop fs -mkdir /user/admin
sudo -u hdfs hadoop fs -chown admin:hadoop /user/admin


