pix2texture
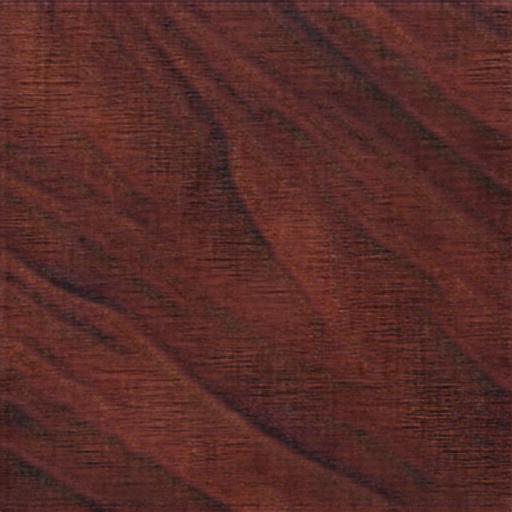
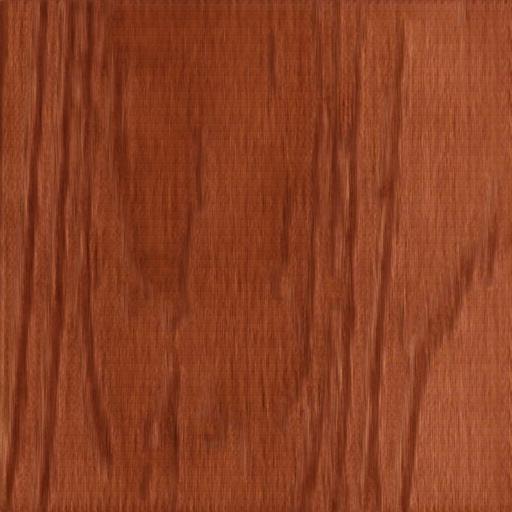
The project pix2texture is a tool to generate realistic textures using as input plain pictures with black lines. This algorithm is based on the project Pix2Pix.
Examples
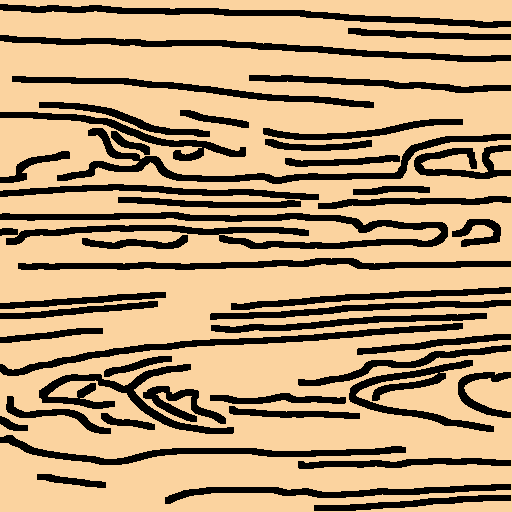
- Texture generation from plain drawings
| Input | Output |
|---|---|
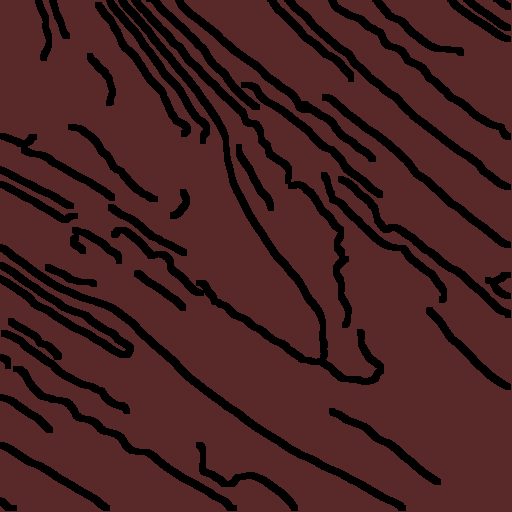
| 
|
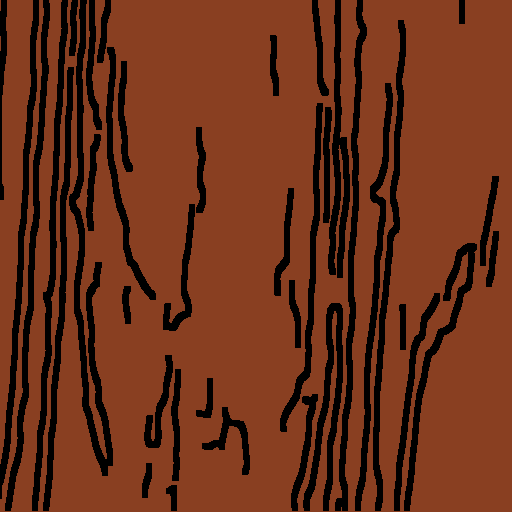
| 
|
| 
|
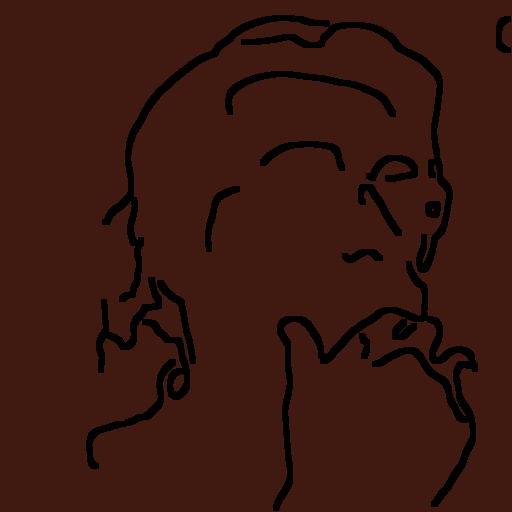
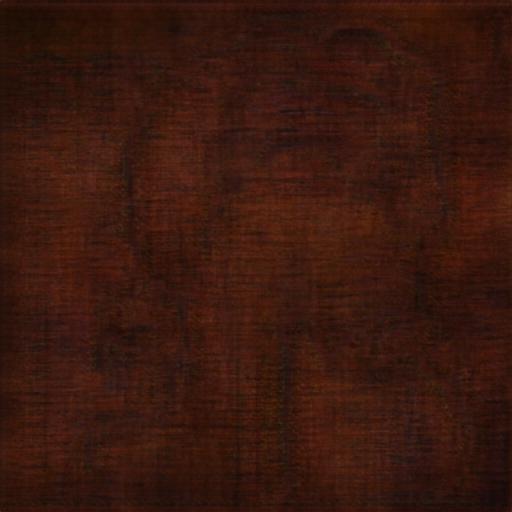
- Photos contour in textures
| Original | Input | Output |
|---|---|---|

| 
| 
|
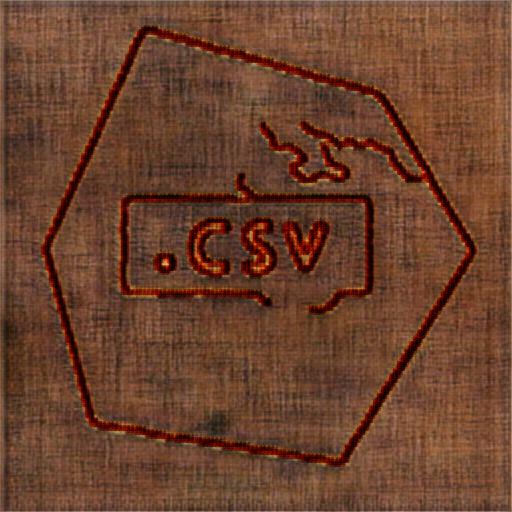
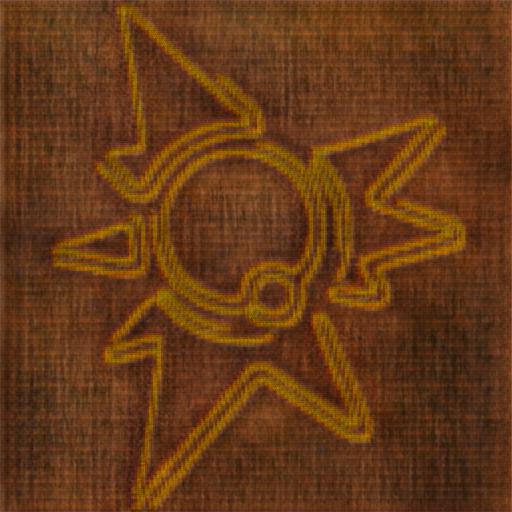
- Other cool random stuff
| Original | Input | Output |
|---|---|---|
| 
| 
|

| 
| 
|
Requirements
- Linux
- Docker (>=19.03 required for GPU acceleration)
- Nvidia drivers >=430 (required only for GPU acceleration)
Getting Started
Dataset
Download the dataset from here and place the "data" folder somewhere in your computer.
Installation
Just run the following command replacing the data directory with yours
sudo docker run -it --runtime=nvidia -v /my/data/path:/tf/notebooks/data -p 8888:8888 --name pix2texture frantracer/pix2textureCopy the provided URL into your browser to launch jupyter notebooks.
In case you do not have GPU acceleration enabled for docker, check the appendix for further information about how to install it, or just run the following command:
sudo docker run -it -v /my/data/path:/tf/notebooks/data -p 8888:8888 --name pix2texture frantracer/pix2textureIf you close the container or it stops, run the following command to restart it:
sudo docker start -i pix2texturePreprocessing
The preprocessor generates several images from a given one, looking for the main edges and putting then over a plain background with the mean color of the image.
To launch the preprocessor you have to access the container, so launch:
sudo docker exec -it pix2texture /bin/bashThen you can run the preprocessor to generate a training set from a set of images. Place the images you want to convert in the "data/original/mydataset/myclass" directory and run the following command:
python3 preprocessor.py --input-path ./notebooks/data/original --output-path ./notebooks/data/training/input --subdirs mydatasetIMPORTANT : Do not forget the "myclass" subdirectory, it is not used yet but it will be used for the cGAN
There are plenty of options to change the size, color and line thickness of the output images, so check the help for further information.
python3 preprocessor.py --helpTraining
By default there will be a model loaded in the docker container.
But in case you want to train with your dataset, you can execute all the cells within the jupyter "main.ipynb" file.
Or, in the bash you launched earlier, write:
python3 main.py --training-input ./notebooks/data/training/input/mydataset --training-output ./notebooks/data/training/output/mydataset --checkpoints-path ./notebooks/checkpoints/ --skip-evaluationOnce the training is over it will generate a checkpoint that will be used in future trainings or evaluations, so do not forget to remove everything if you want a clean start.
IMPORTANT : Do not forget the suffixes "-image.png" (for target images) and "-edges.png" (for input images) of the image files
Evaluating
In the notebook by default the evaluation step will be launched after the training is finished.
You can do the same as the training and launch only the evaluation step in the bash:
python3 main.py --evaluation-input ./notebooks/data/evaluation/input/other --evaluation-output ./notebooks/data/evaluation/output/other --checkpoints-path ./notebooks/checkpoints/ --skip-trainingEvery file in the input directory will be evaluated and the prediction placed in the output directory.
Development
For development purposes it is recommended to download the repository
git clone frantracer/pix2texture
cd pix2texture
and run the application sharing the source code with the container:
sudo docker run -it -u $(id -u):$(id -g) --runtime=nvidia -v $(pwd):/tf -p 8888:8888 frantracer/pix2texture:latestTo publish the docker image run:
sudo docker build . -t frantracer/pix2texture:latest --no-cache
sudo docker push frantracer/pix2texture:latest
Another useful command to generate python scripts from the notebook is:
jupyter nbconvert --to script notebooks/main.ipynb --TagRemovePreprocessor.remove_cell_tags='{"info_cell"}' --no-prompt --output-dir .Additional information
Check the video to know more about the project and what problems were solved during the development (only available in Spanish).
The cGAN is still under development but there is another dataset prepared for it, you can download it from here.
Future work
- Generate a cGAN to be able to train different textures, like clouds, water, stone or earth.
- Implement pix2pixHD to generate bigger textures
References
- Pix2Pix Paper
- Face aging with cGAN Paper
- Dot CSV GAN implementaiton video
- cGAN implementation Article
Appendix
Enable GPU accelation whithin docker
Uninstall older versions of docker if any:
sudo apt-get remove docker docker-engine docker.io containerd runcInstall latest version of docker
sudo apt update
sudo apt install \
    apt-transport-https \
    ca-certificates \
    curl \
    gnupg-agent \
    software-properties-common

curl -fsSL https://download.docker.com/linux/ubuntu/gpg | sudo apt-key add
sudo add-apt-repository \
   "deb [arch=amd64] https://download.docker.com/linux/ubuntu \
   $(lsb_release -cs) \
   stable"
sudo apt update
sudo apt install docker-ce docker-ce-cli containerd.io

distribution=$(. /etc/os-release;echo $ID$VERSION_ID)
curl -s -L https://nvidia.github.io/nvidia-docker/gpgkey | sudo apt-key add -
curl -s -L https://nvidia.github.io/nvidia-docker/$distribution/nvidia-docker.list | sudo tee /etc/apt/sources.list.d/nvidia-docker.list
Install nvidia-docker and restart docker
sudo apt update && sudo apt-get install -y nvidia-container-toolkit
sudo apt install nvidia-docker2
sudo systemctl restart docker