JellyJamPreserve is a Raspberry Pi project that uses jack_capture to record audio on the toggle of a switch. It continuously records audio into a 5 minute circular buffer, and when the switch is turned on the buffer is dumped to a file and it starts recording audio to the file until the switch is turned off. This way you can preserve any cool improvisations by recording sounds from the past!
In other words, if you turn the switch on at 1:05 pm and turn it off at 1:30 pm you will have an audio file with a recording from 1:00 pm to 1:30 pm. If you come up with an amazing riff while playing your guitar just turn on the switch and keep playing.
- A Raspberry Pi. Any Raspberry Pi should work. I use a Pi 1 Model B because I had a few of them unused at home.
- An SD card. The files are recorded as WAV, and take approximately 20 MB per minute. I use a 32 GB SD card.
- A USB sound card. We need a way to capture sound. Any cheap USB soundcard should work, just make sure it has a stereo input. I use this one.
- A WiFi card. This will allow you to get the files with the recordings from the Pi. Remember that some models of the Pi already have WiFi (the 3 and the Zero W, as of this writing).
- A switch, to start/stop recording.
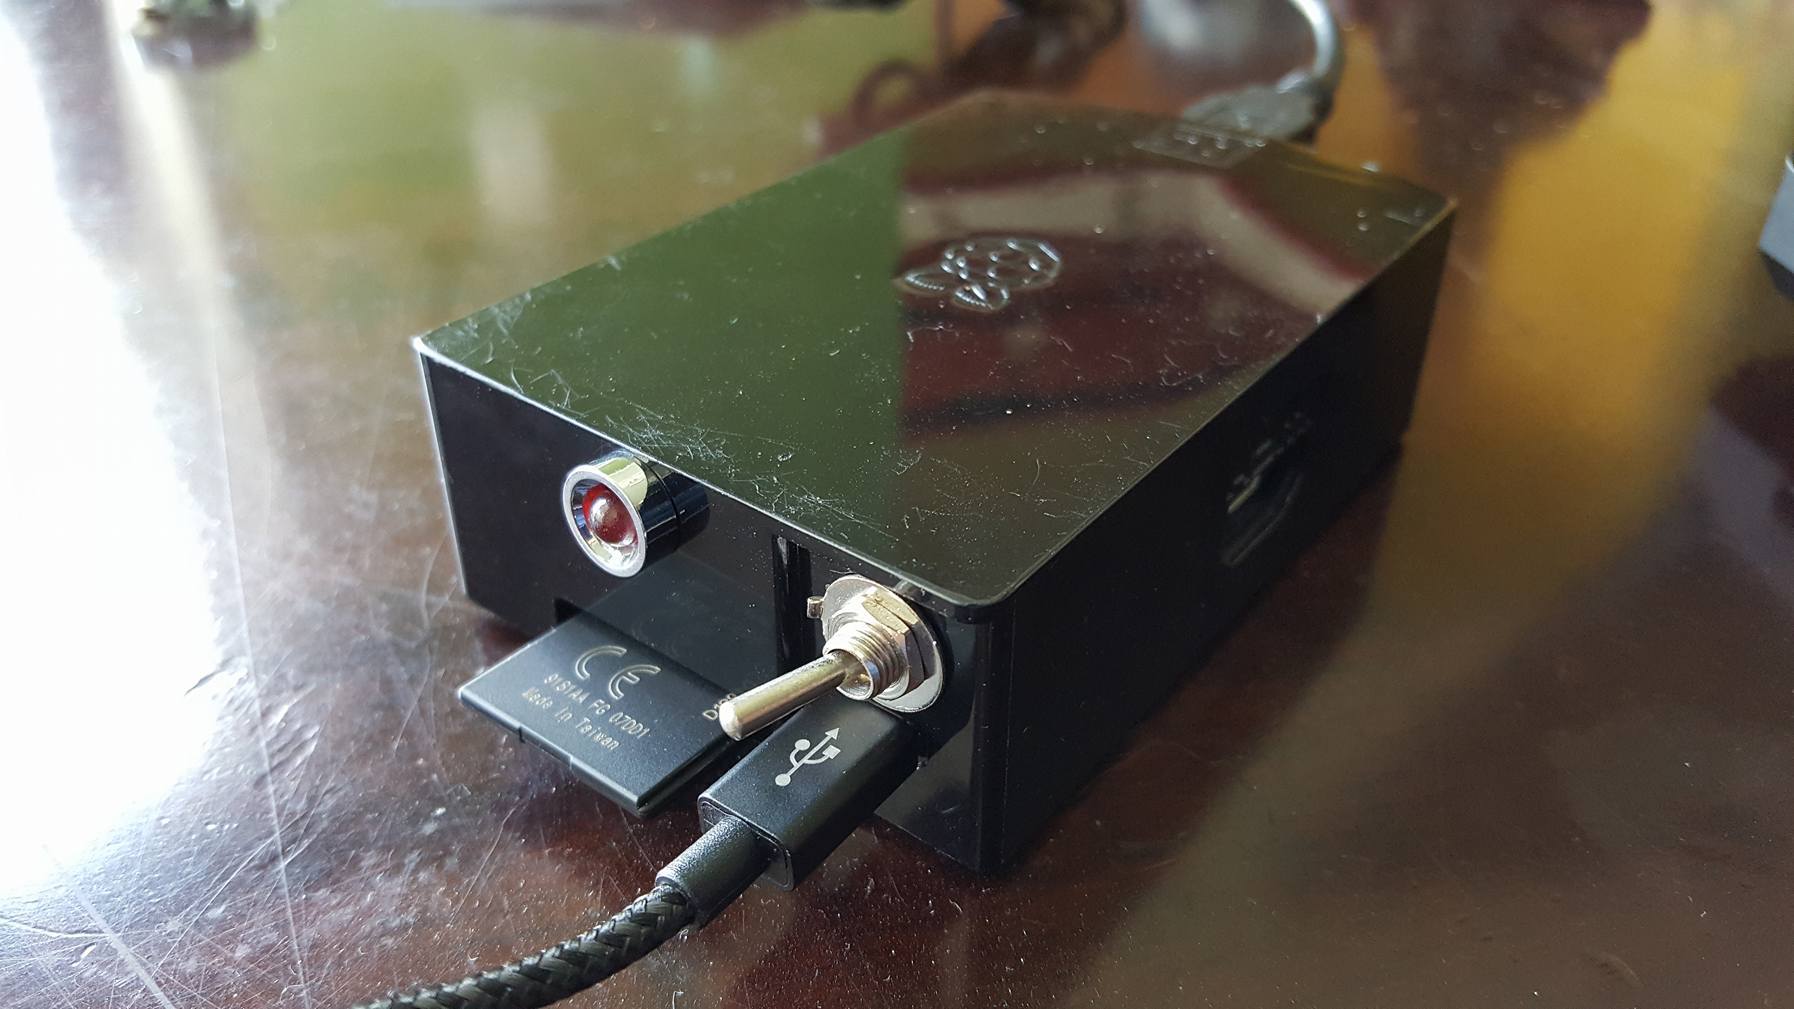
- An LED, to indicate when the JellyJamPreserve is recording. Because LEDs are cool.
Install Raspbian and make sure you can log into the Raspberry Pi. The instructions below are for Raspbian Jessie.
$ sudo raspi-config
-> 7 Advanced Options [enter]
-> A1 Expand Filesystem [enter]
Create the file /etc/modprobe.d/alsa-base.conf and add:
# This sets the index value of the cards but doesn't reorder.
options snd_usb_audio index=0
options snd_bcm2835 index=1

# Does the reordering.
options snd slots=snd_usb_audio,snd_bcm2835
You can verify the order using the aplay command. After a reboot the USB card should appear as card 0:
$ aplay -l
**** List of PLAYBACK Hardware Devices ****
card 0: Device [C-Media USB Audio Device], device 0: USB Audio [USB Audio]
  Subdevices: 1/1
  Subdevice #0: subdevice #0
...
We need to compile jackd2 from scratch without d-bus support:
$ sudo apt-get update
$ sudo apt-get install git build-essential alsa-base libasound2-dev libsamplerate0-dev libsndfile1-dev libreadline-dev
$ git clone git://github.com/jackaudio/jack2 --depth 1
$ cd jack2
$ ./waf configure --alsa
$ ./waf build
$ sudo ./waf install
$ sudo ldconfig
$ cd ..
$ rm -rf jack2
Edit the file /etc/security/limits.conf and add at the bottom:
@audio - memlock 256000
@audio - rtprio 75
Log out and log in again.
$ sudo apt-get install liblo-dev libmp3lame-dev tmux
$ git clone https://github.com/kmatheussen/jack_capture.git
$ cd jack_capture
$ LDFLAGS=-latomic make
$ sudo make install
$ cd ..
$ rm -rf jack_capture
$ sudo apt-get install rpi-update
$ sudo rpi-update
$ sudo apt-get install python3 python3-pip
$ sudo pip3 install python-osc
$ sudo pip3 install RPi.GPIO
$ git clone https://github.com/robertodealmeida/jellyjampreserve.git
And to have it start at boot:
$ crontab -e
By adding this line:
@reboot /home/pi/jellyjampreserve/start.sh >> /home/pi/jellyjampreserve.log 2>&1
The script will start the Jack daemon, jack_capture, and a Python script that listens for events from the switch and starts/stops jack_capture.
- The LED is connected to GPIO 3 (pin 5) and to ground with a 47R resistor.
- GPIO 2 (pin 3) has a 10K pull-up resistor, and is connected to the ground through the switch.
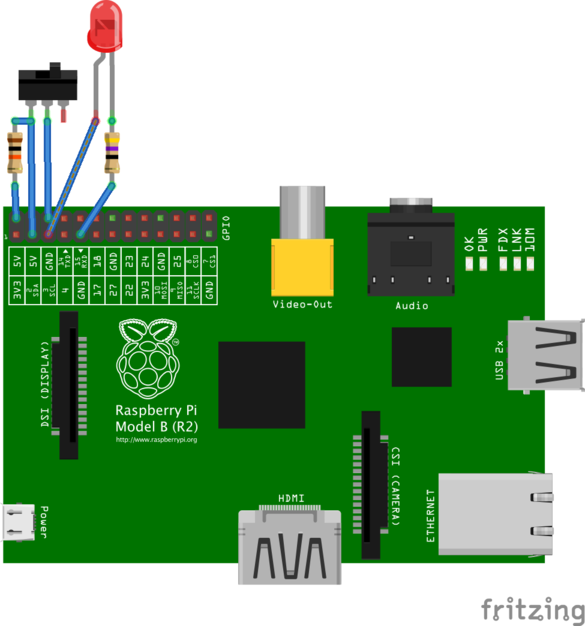
Here's how I did it, slightly different from the Fritzing diagram:
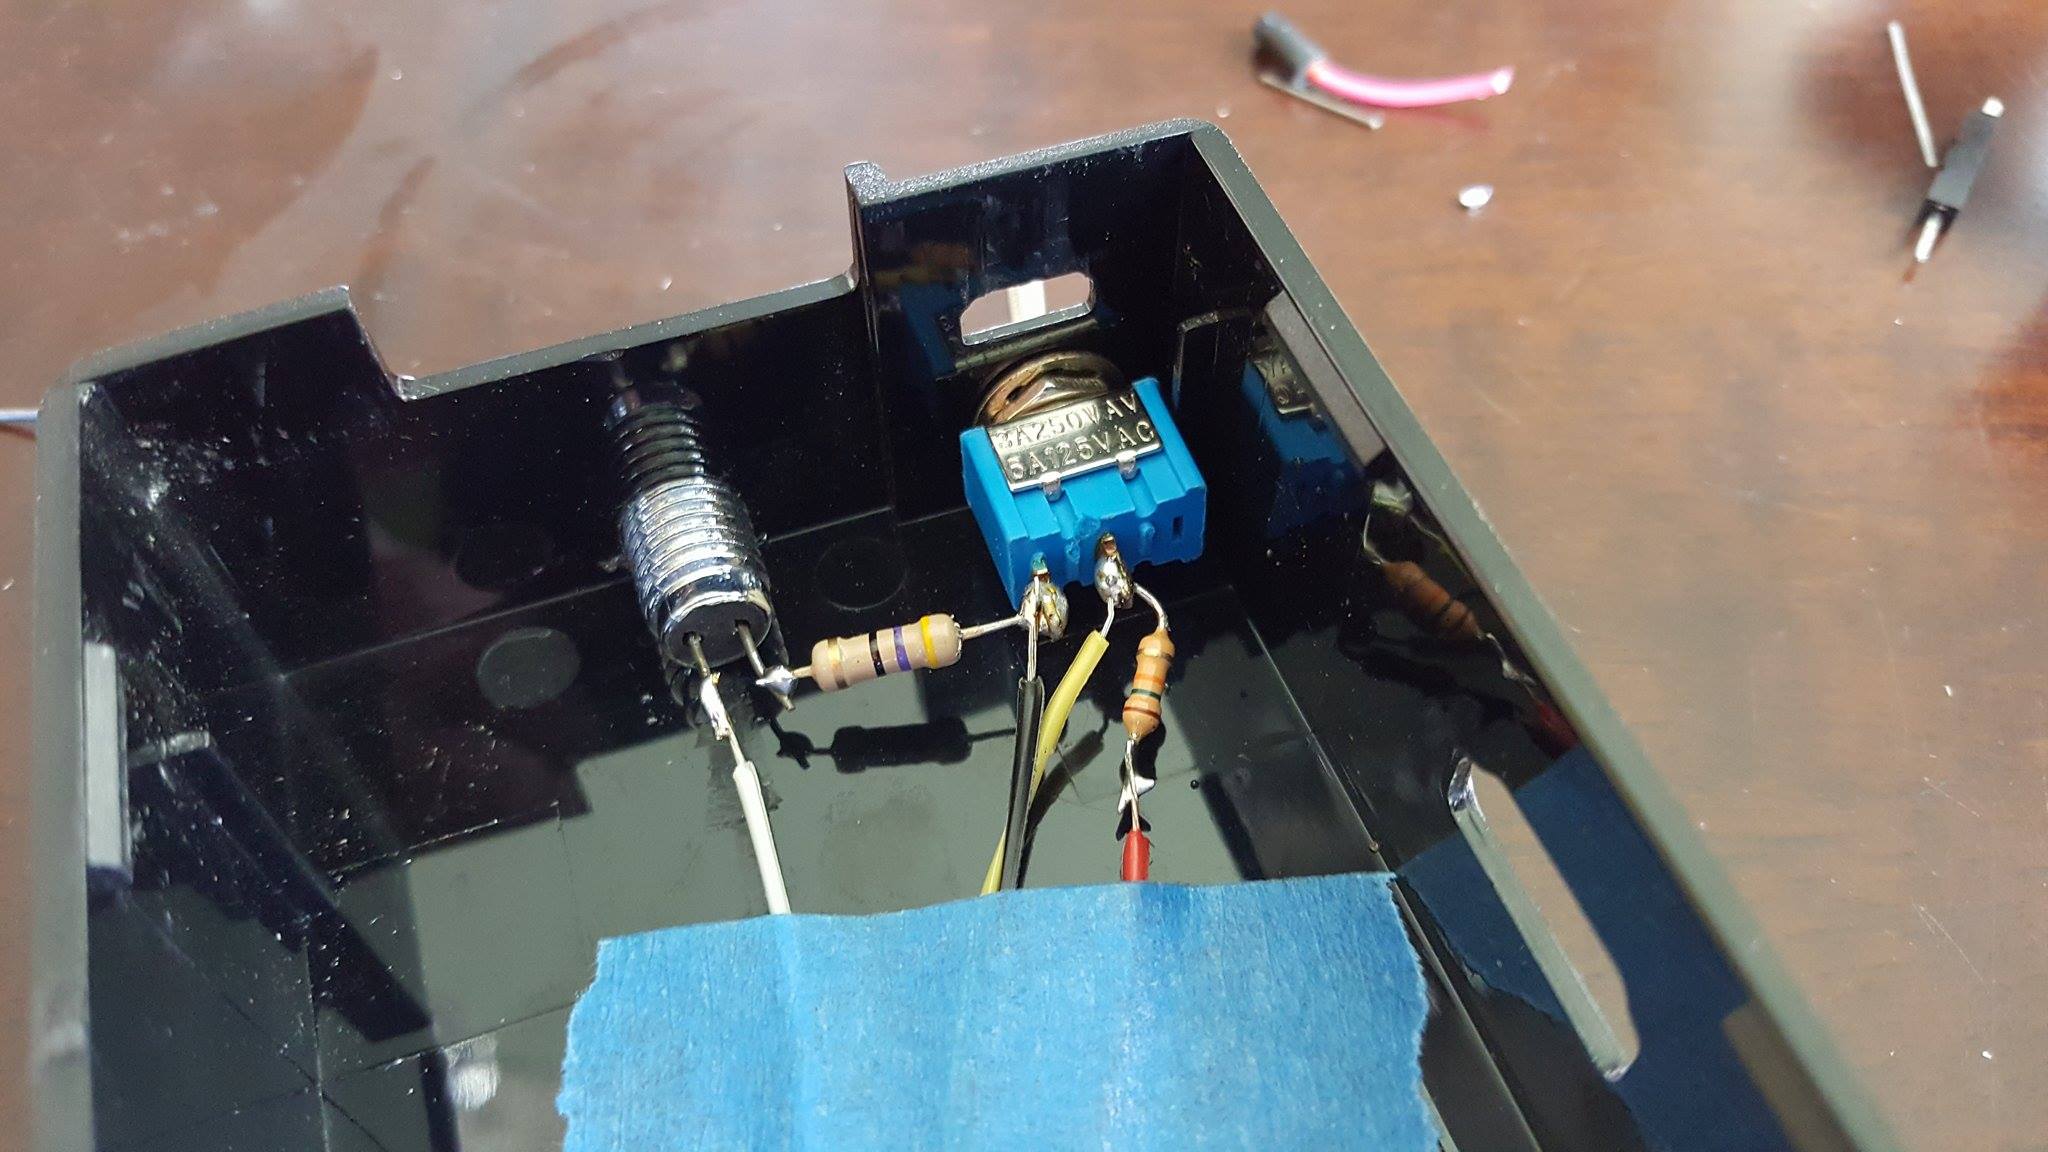
- White wire: LED anode to GPIO 3 (pin 5)
- Black wire: switch to ground (pin 6)
- Yellow wire: switch to GPIO 2 (pin 3)
- Red wire: 10K resistor to 5V (pin 4)
There are many ways to get the recordings from the Pi. You can have Dropbox or Syncthing running in the Pi to automatically synchronize the files with another machine. I prefer to just use scp in Linux (in Windows you can use WinSCP).