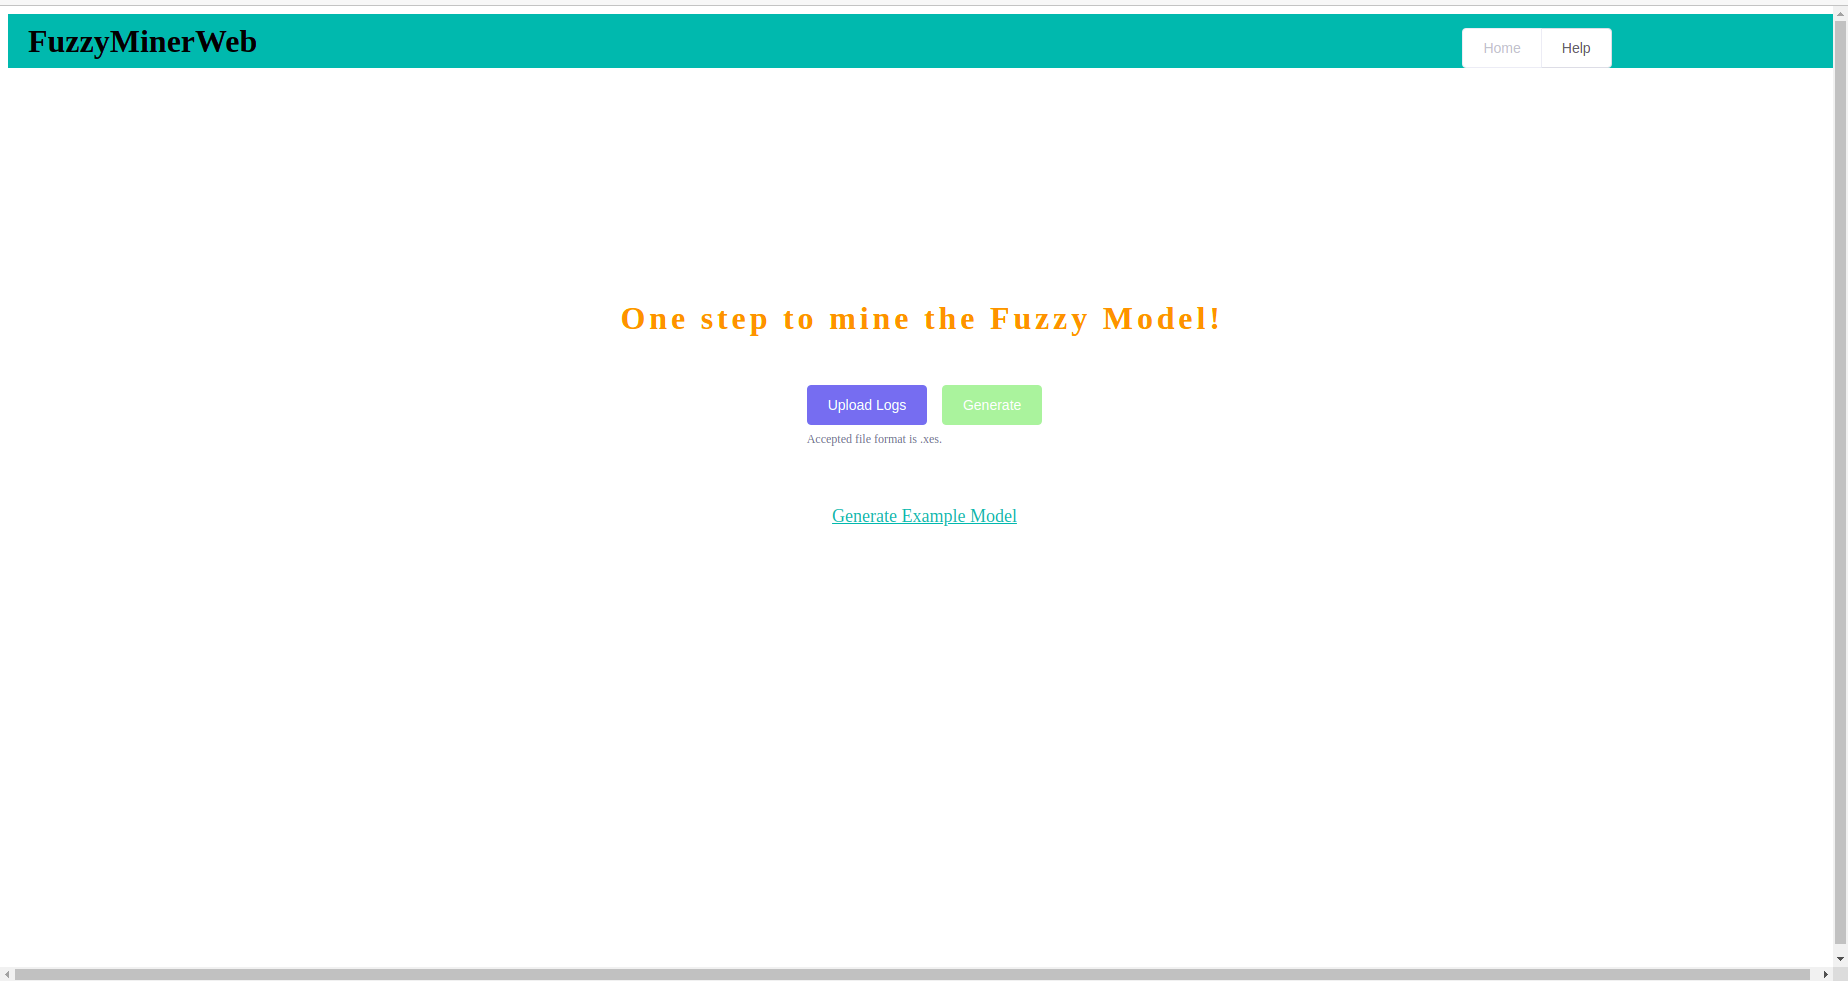
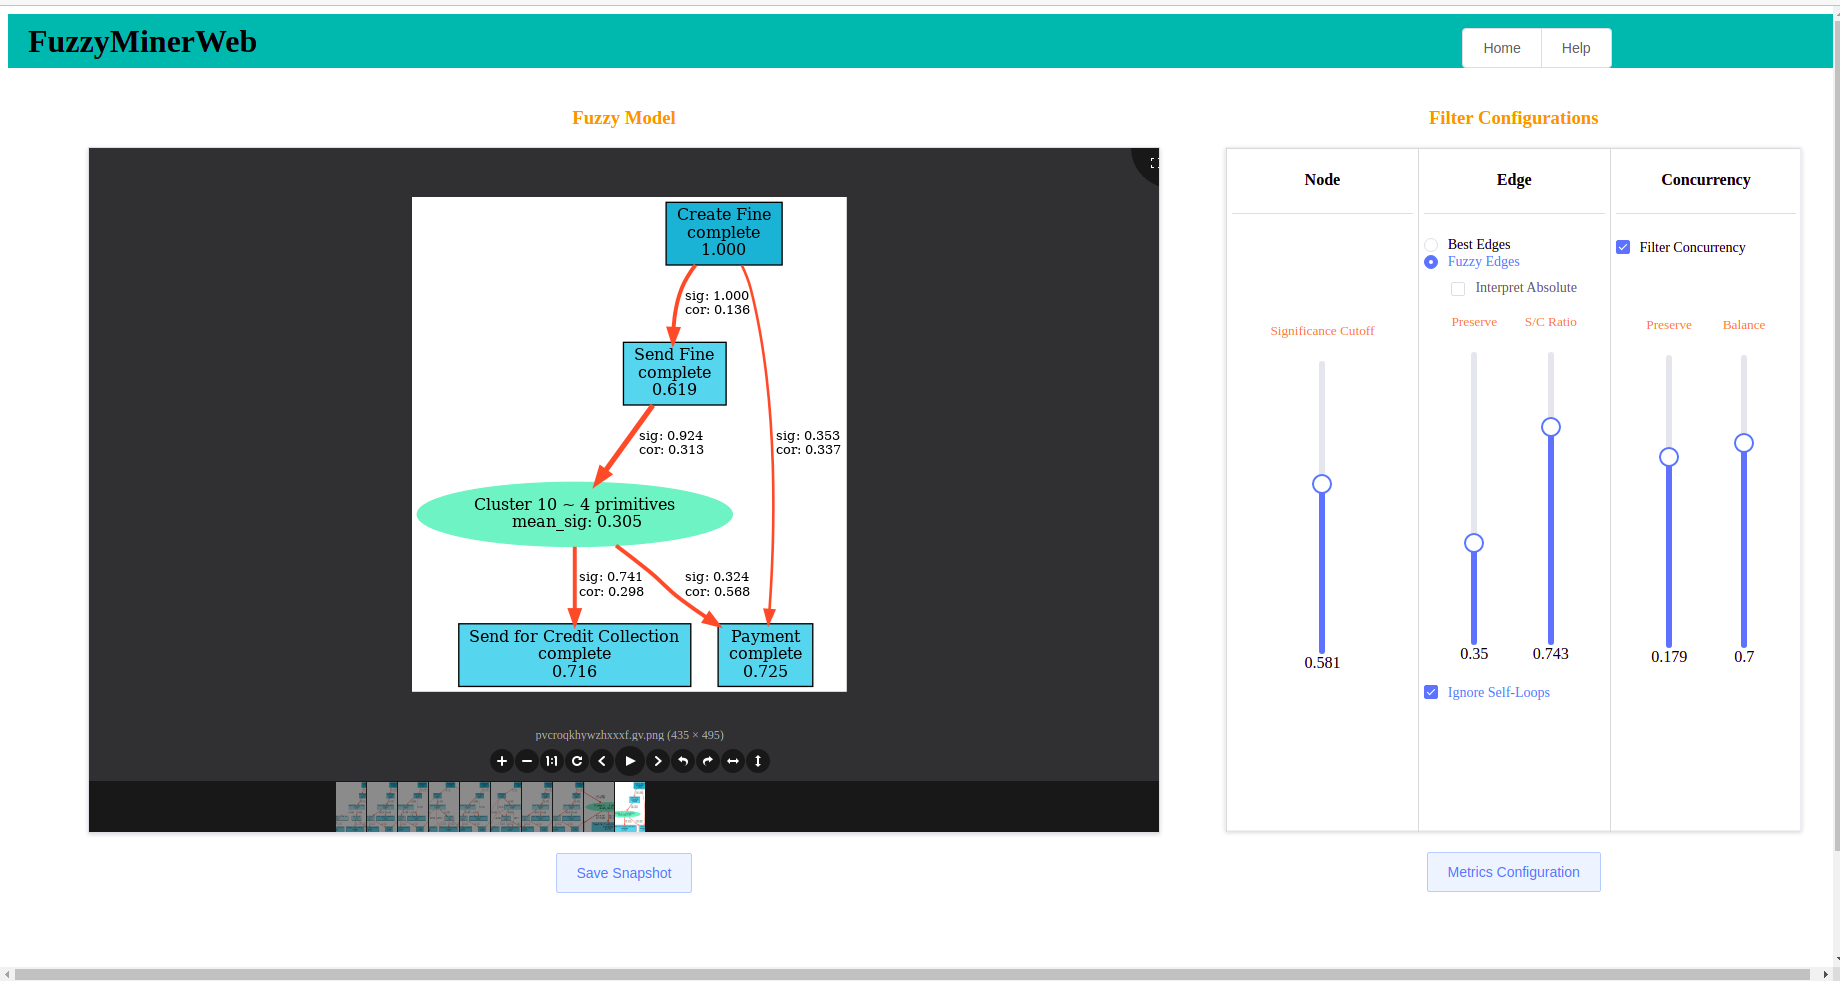
- Easy to use: our package makes it easy for generating process models for unstructured data
- User friendly UI: clean and simple UI
- Fast: Can handle large log files. Well in case of too large, you need to wait a bit!
Built with
Tested with
(Back to top)
Note: First change the branch to docker branch, if you want to checkout the project the docker way.
Only requirements is to install Docker on your system from here Docker.
- For first time you need the below command. It will take around 10-15 mins to build the image and start the container.
docker-compose up
- If there was some error and you need to run the command again, then use the below one. As it will proceed from the last successful point.
docker-compose up --build
- Now the server inside the container is configured to run on your IP address. So if you have wired network connection then find the value of eth0 or if you are connected via WiFi then find the value of wlo1. These could be different for your system, the goal is to find the IP address. Use the below command, this is one way of knowing IP address on Linux/MacOS. For Windows you need to check network setting of your connection.
ifconfig
- Once you have that IP address, type it in the browser and you should see the home page of the application.
- If you already ran the application successfully once and you want to just use it, then use the below two commands to start and stop the container.
docker-compose start
docker-compose stop
- Install Python from here.
Four Python 3.6 installers are available for download - two each for the 32-bit and 64-bit versions of the interpreter. The web installer is a small initial download, and it will automatically download the required components as necessary.
After starting the installer, one of two options may be selected:
If you select “Install Now”:
- You will not need to be an administrator (unless a system update for the C Runtime Library is required or you install the Python Launcher for Windows for all users)
- Python will be installed into your user directory
- The Python Launcher for Windows will be installed according to the option at the bottom of the first page
- The standard library, test suite, launcher and pip will be installed
- If selected, the install directory will be added to your
PATH - Shortcuts will only be visible for the current user
Selecting “Customize installation” will allow you to select the features to install, the installation location and other options or post-install actions. To install debugging symbols or binaries, you will need to use this option. - To perform an all-users installation, you should select “Customize installation”. In this case:
- You may be required to provide administrative credentials or approval
- Python will be installed into the Program Files directory
- The Python Launcher for Windows will be installed into the Windows directory
- Optional features may be selected during installation
- The standard library can be pre-compiled to bytecode
- If selected, the install directory will be added to the system PATH
- Shortcuts are available for all users
-
Install Node.js from here.
The node package manager (npm) will also be installed with NodeJS and is required for project. -
Install virtualenv
pip install virtualenv
- Install homebrew
ruby -e "$(curl -fsSL https://raw.github.com/mxcl/homebrew/go)"
- Install python
brew install python
- Install pip
curl -O http://python-distribute.org/distribute_setup.py
python distribute_setup.py
curl -O https://raw.github.com/pypa/pip/master/contrib/get-pip.py
python get-pip.py
- Install virtualenv
pip install virtualenv
- Install nodejs and npm
brew update
brew install node
- Python3 comes preinstalled in Ubuntu 18.04 and 20.04 so no need to separately do anything, however you may need to update it, for that follow below commands:
sudo apt update
sudo apt -y upgrade
- To install virtualenv pacakge do the following:
sudo apt-get install python3-venv
- Install nodejs related packages.
sudo apt-get install nodejs
sudo apt-get install npm
(If there are errors install this first sudo apt-get install nodejs-dev node-gyp libssl1.0-dev and then retry installing npm.)
- Clone the repository:
git clone URL
- Create a virtual environment inside this package. For windows use the below command:
virtualenv mypython
In case of MacOS/Linux use the following command to create virtual environment:
python3 -m venv mypython
- Activate the virtual environment
mypthon\Scripts\activate
source mypython/bin/activate
- Assuming you have virtual environment inside the project, activate it and install necessary softwares by running following command.
pip install -r requirements.txt
Note: (For Windows only) There can be some errors while installing Levenstein library, either you can change the code to calculate Edit Distance otherwise you need to install or upgrade Microsoft C++ Build Tools. To do that please head over to here.
- Go to
/miner-webfolder and run the following
npm install
npm run build
- Change
FuzzyMiner/FuzzyMiner/settings.py.exampletosettings.py - Run the script
secret.py
python3 secret.py
- Copy the displayed key in previous step and paste it in as value for
SECRET_KEYvariable in thesettings.pyfile - Run the following command after navigating to
FuzzyMiner/FuzzyMiner
python3 manage.py runserver
Please refer to the Help page of the web application when you run it.
Built with ❤ by:
- PADS Chair of RWTH Aachen University
- This project is based on Business Process Management: 5th International Conference, BPM 2007, Brisbane, Australia, September 24-28, 2007. Proceedings
The Fuzzy Miner Web Application is released under the under terms of the Apache License V2.0.


