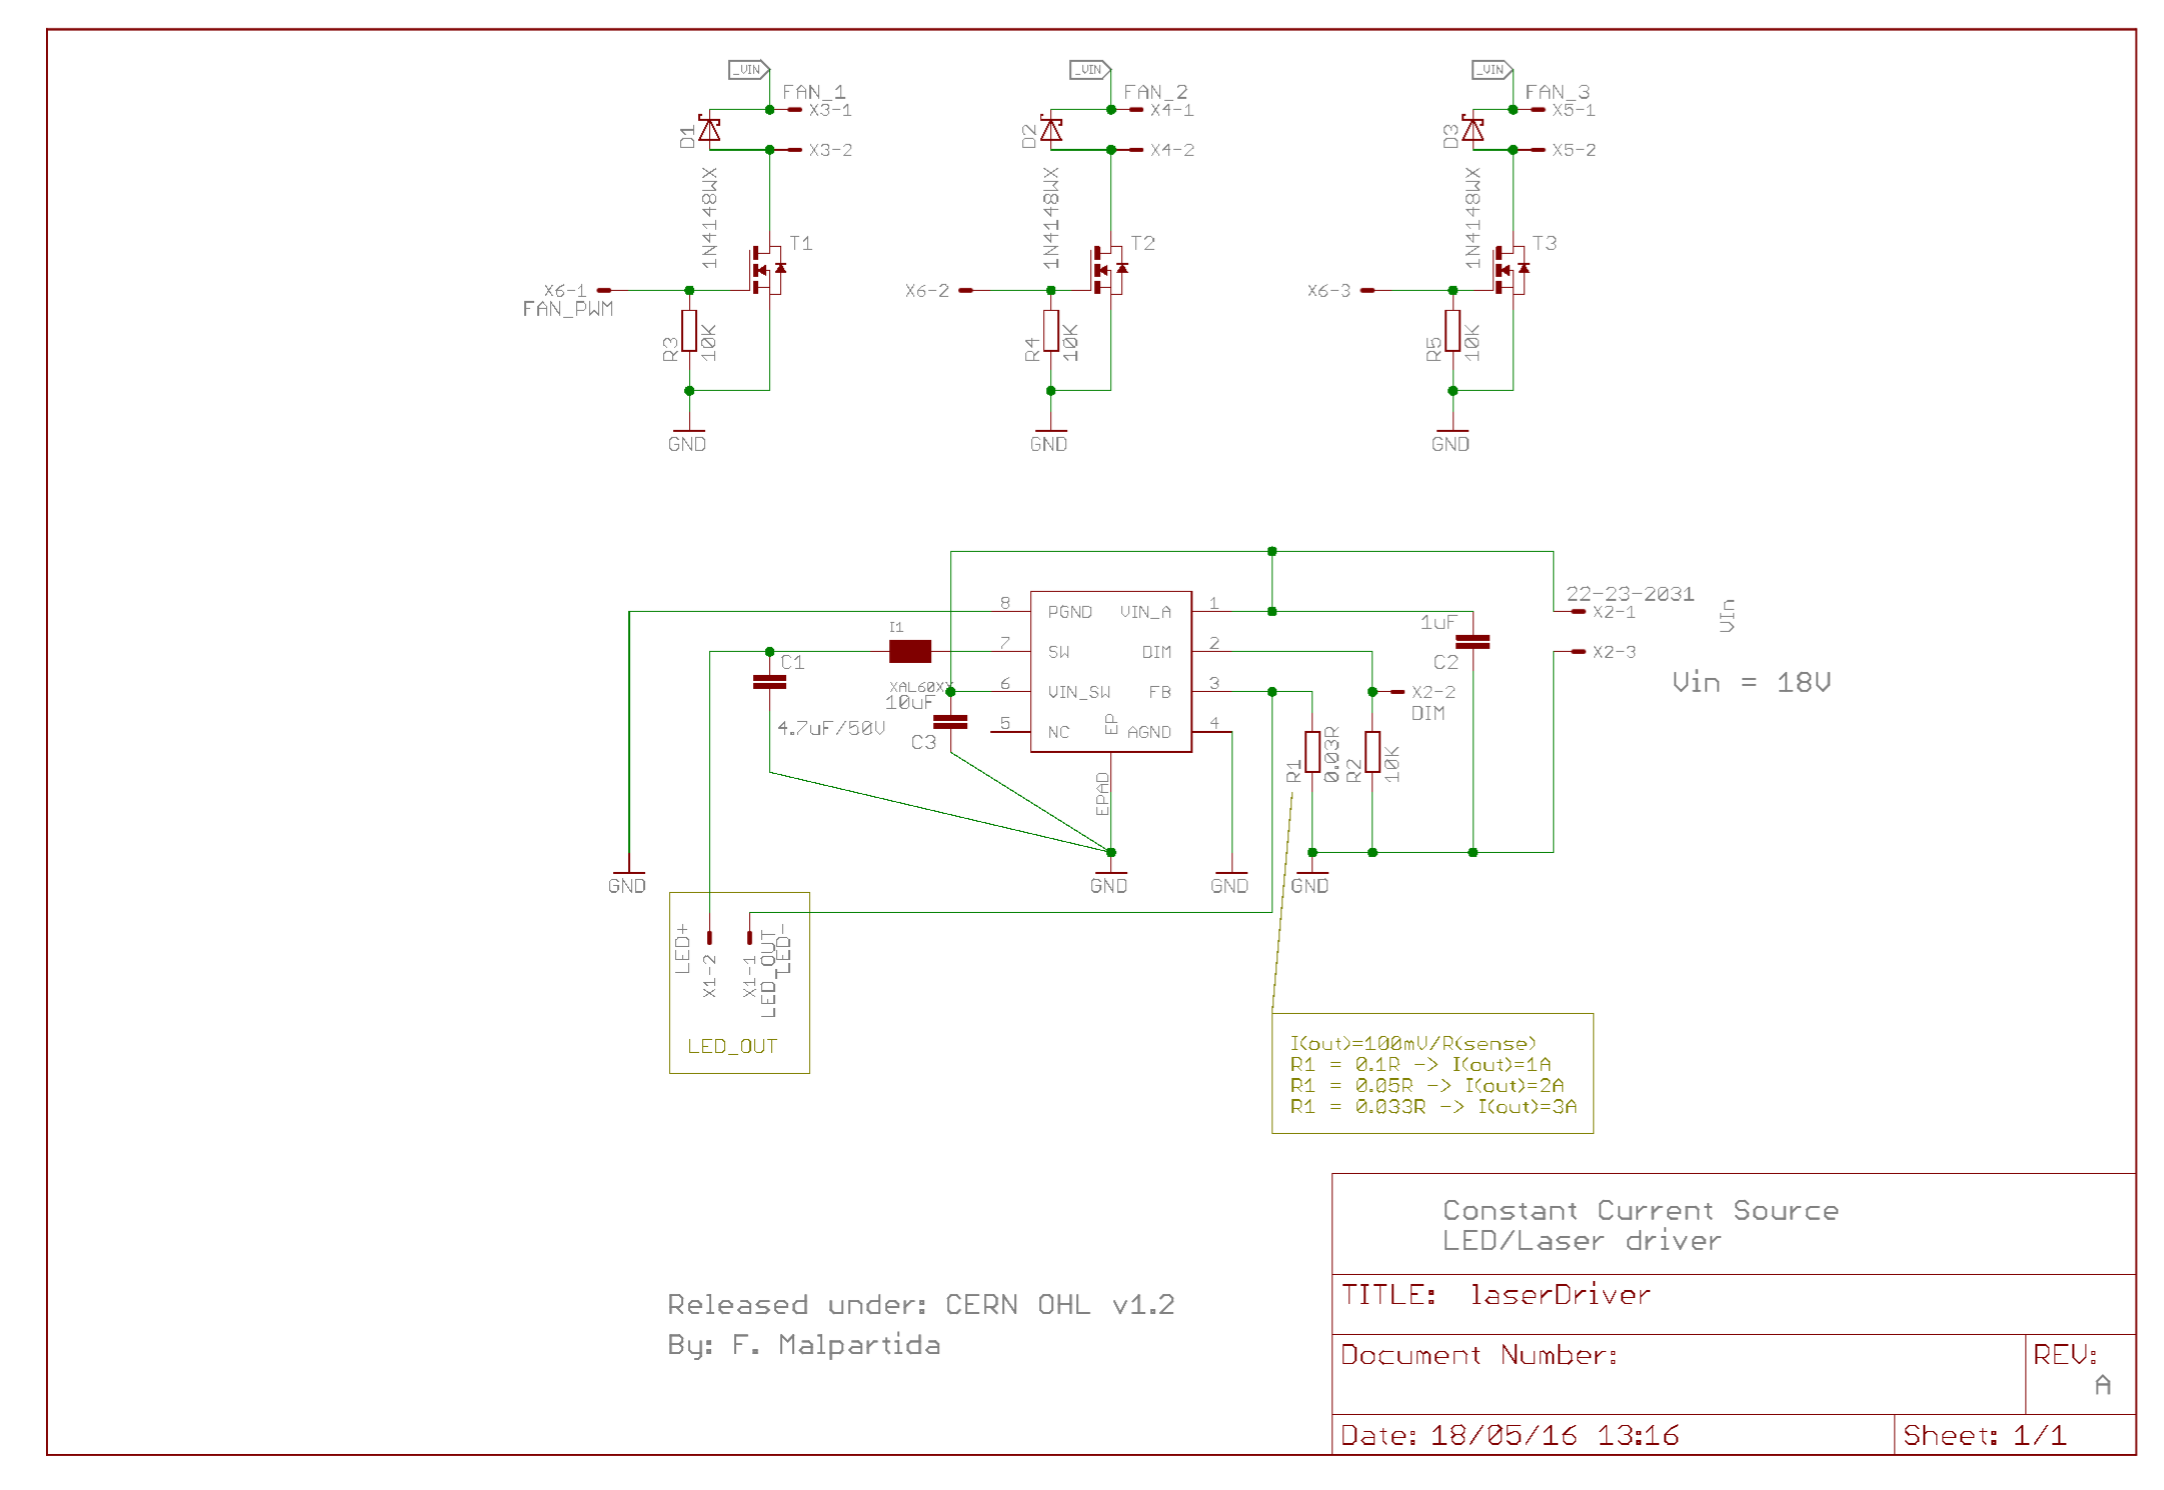
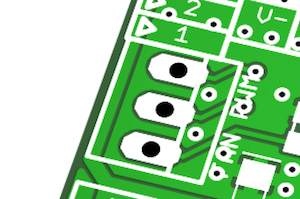
Small compact, constant current source for driving LEDs and lasers up to 4A with PWM capabilities and integrated support to drive 3 loads such as fans.
V(in) range: 4V..18V, observe input caps ratings
Max. main load current: 3.3A observe inductor ratings
Max. aux load currents: 500mA depends on transistor selection
Dim. threshold voltage: 1.2V
Duty cycle range: 0%..100%
Soft start duration: 1.2ms
Dim. frequency range: 400Hz..4KHz
Board dimensions: 32mm x 32mm
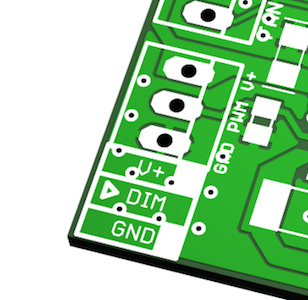
Supply and main load dimming: 1 x 3 pin, 2.54mm connector
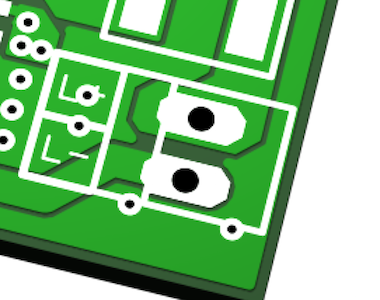
Main load connector: 1 x 2 pin, 2.54mm connector
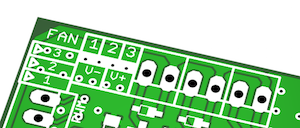
Aux. load dimm. connector: 1 x 3 pin, 2.54mm connector
Aux. load connector: 3 x 2 pin, 2.54mm connector
PCB fabrication: Pattern class 6, drills clase C. Any cheap PCB manufacturer should be more than capable of making your boards. Do not shrink track widths.
Observe connector current ratings for your application.
Performance: Measure performance 83% @ 12V, 1A load. Tested with a 3W LED.
Connect power supply to the supply and main load dimming connector observing the polarity (V+, DIM, V-) within the board's tolerance and ensure that your supply is capable of sourcing the current required by your load.
Connect the load (LED or laser driver) observing the polarity of your device.
If you use auxiliary loads connect them to the auxiliary load connectors and observe their polarity. The board has built in freewheel diodes, you should be good to go with any type of load provided you don't exceed switching ratings.
Each auxiliary load channel is controlled with a control signal from the aux load connector. By default loads are inactive. A voltage level of 5V (depending on your FET selection) will activate each channel.
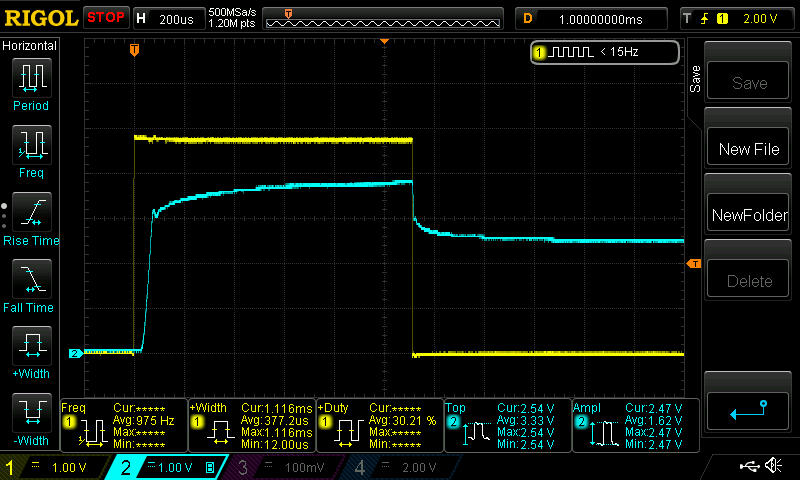
The board is configured to do a soft start. Apply a 1.2ms (minimum) pulse to the dimm pin before starting the PWM operation.
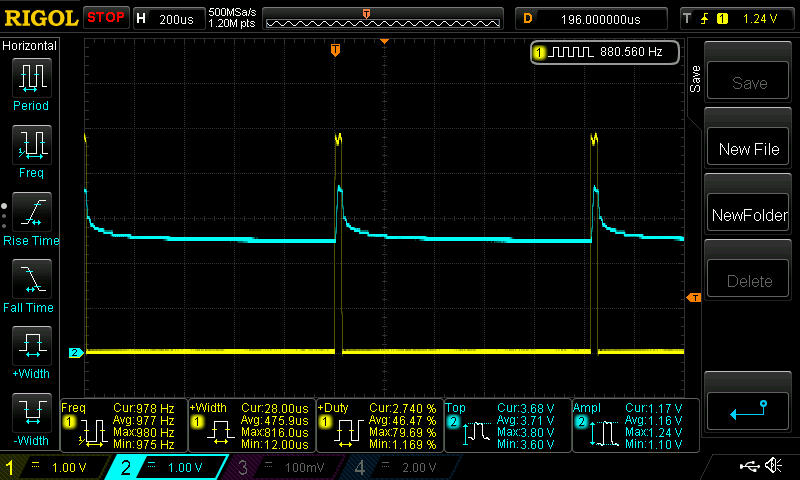
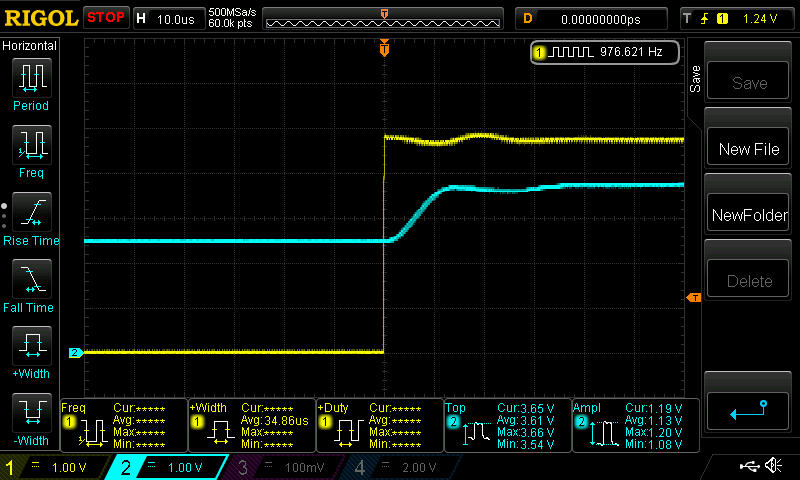
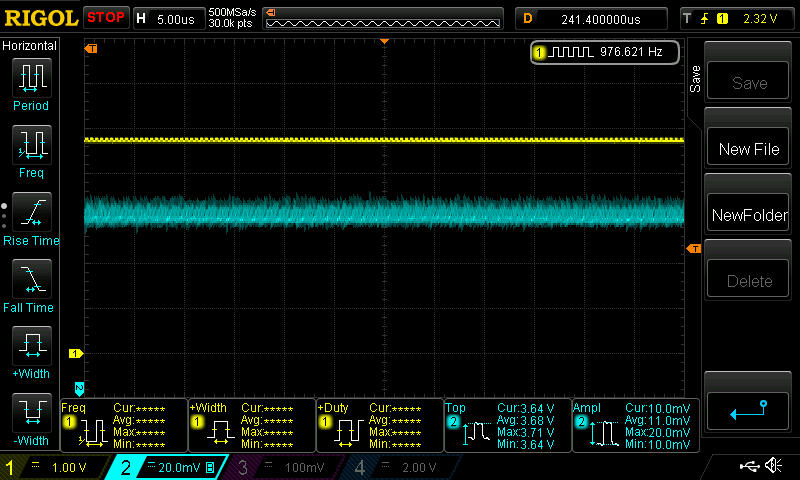
A couple of waveform capture showing the performance of the driver. Measurement setup:
- Supply voltage: 5V
- Load current: 1A
To start the driver it needs a 1.1ms pulse on the dimming pin.
976Hz PWM duty cycle captures.
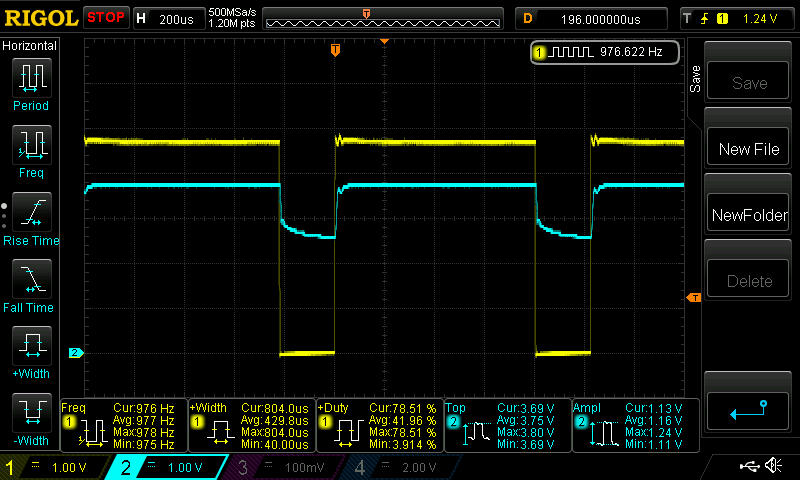
Raising edge, measuring directly the LED voltage on switch on. 10us, raising edge with very little
overshoot and ringing. Very decent current control and regulation.
Ripple and noise is around 20mV, I think that about half of it comes from my measurement setup. 20MHz
bandwidth limit.
The board has only been tested to switch a 3W LED driven at 1A. It should be more than capable of reaching it's full specifications provided that you don't exceed the current ratings of the components you mount.
The board is released under the CERN OHL v1.2 but if you like it and use it you can buy me some beer. If you use it and/or do any derivative work from it, be nice and give attribution to the source.

