Gatsby Starter: Ecommerce and Flotiq
We are retiring this starter, please use https://github.com/flotiq/flotiq-gatsby-shop-1 and https://github.com/flotiq/flotiq-gatsby-shop-2
This is a Gatsby starter project for ecommerce using Snipcart. It's configured to pull products data from Flotiq and can be easily deployed to your cloud hosting - Heroku, Netlify, Gatsby Cloud, etc.
Live Demo: https://flotiq-starter-products.herokuapp.com
Screenshot

Quick start
-
Start the project from template using Flotiq CLI
npm install -g flotiq-cli
flotiq start [flotiqApiKey] [projectName] https://github.com/flotiq/gatsby-starter-products.git
flotiqApKey- Read and write API key to your Flotiq accountprojectName- project name or project path (if you wish to start or import data from the current directory - use.)
-
You can also start the project from template using Gatsby CLI
gatsby new gatsby-starter-products https://github.com/flotiq/gatsby-starter-products.git
-
Setup "Products" Content Type in Flotiq
Create your Flotiq.com account.
Next, create the Product Content Type:

Note: You can also create Product using Flotiq REST API:
curl 'https://api.flotiq.com/api/v1/internal/contenttype' -H 'X-AUTH-TOKEN: 1f69f8289d7cbd54a44d1d910ec31234' -H 'Content-Type: application/json;chars--data-binary ' -X POST --data-binary '{"name":"product","label":"Product","schemaDefinition":{"type":"object","allOf":[{"$ref":"#/components/schemas/AbstractContentTypeSchemaDefinition"},{"type":"object","properties":{"name":{"type":"string","minLength":1},"slug":{"type":"string","minLength":1},"price":{"type":"number","minLength":1},"description":{"type":"string"},"productImage":{"type":"array","items":{"$ref":"#/components/schemas/DataSource"},"minItems":0},"productGallery":{"type":"array","items":{"$ref":"#/components/schemas/DataSource"},"minItems":0}}}],"required":["name","slug","price"],"additionalProperties":false},"metaDefinition":{"propertiesConfig":{"name":{"label":"Name","inputType":"text","unique":true,"isTitlePart":true},"slug":{"label":"Slug","inputType":"text","unique":true},"price":{"label":"Price","inputType":"number","unique":false},"description":{"label":"Description","inputType":"richtext","unique":false},"productImage":{"label":"Product image","inputType":"datasource","unique":false,"validation":{"relationContenttype":"_media"}},"productGallery":{"label":"Product gallery","inputType":"datasource","unique":false,"validation":{"relationMultiple":true,"relationContenttype":"_media"}}},"order":["name","slug","price","description","productImage","productGallery"]}}'- Configure application
The last step is to configure our application to know from where it has to fetch the data. You can also setup your Snipcart API_KEY to enable store functionality.
You need to create a file called .env inside the root of the directory, with the following structure:
GATSBY_FLOTIQ_API_KEY=YOUR FLOTIQ API KEY
SNIPCART_API_KEY=YOUR SNIPCART PUBLIC API KEY
-
Start developing.
Navigate into your new site’s directory and start it up.
cd gatsby-starter-products
npm install
gatsby develop
This step is optional and is not necessary if you used flotiq-cli to start the project.
If you wish to import example products to your account, before running
gatsby develop, install flotiq-cli, and run in project directory:flotiq import [flotiqApiKey] .It will add 10 images and 4 products to your Flotiq account.
Note: You need to put your Read and write API key as the
flotiqApiKeyfor import to work. You don't need theProductcontent type in your account. If you already have products with idsproduct-1,product-2,product-3, andproduct-4they will be overwritten. -
Open the source code and start editing!
Your site is now running at
http://localhost:8000!Note: You'll also see a second link:
http://localhost:8000/___graphql. This is a tool you can use to experiment with querying your data. Learn more about using this tool in the Gatsby tutorial.Open a project directory in your code editor of choice and edit
src/pages/index.js. Save your changes and the browser will update in real time! -
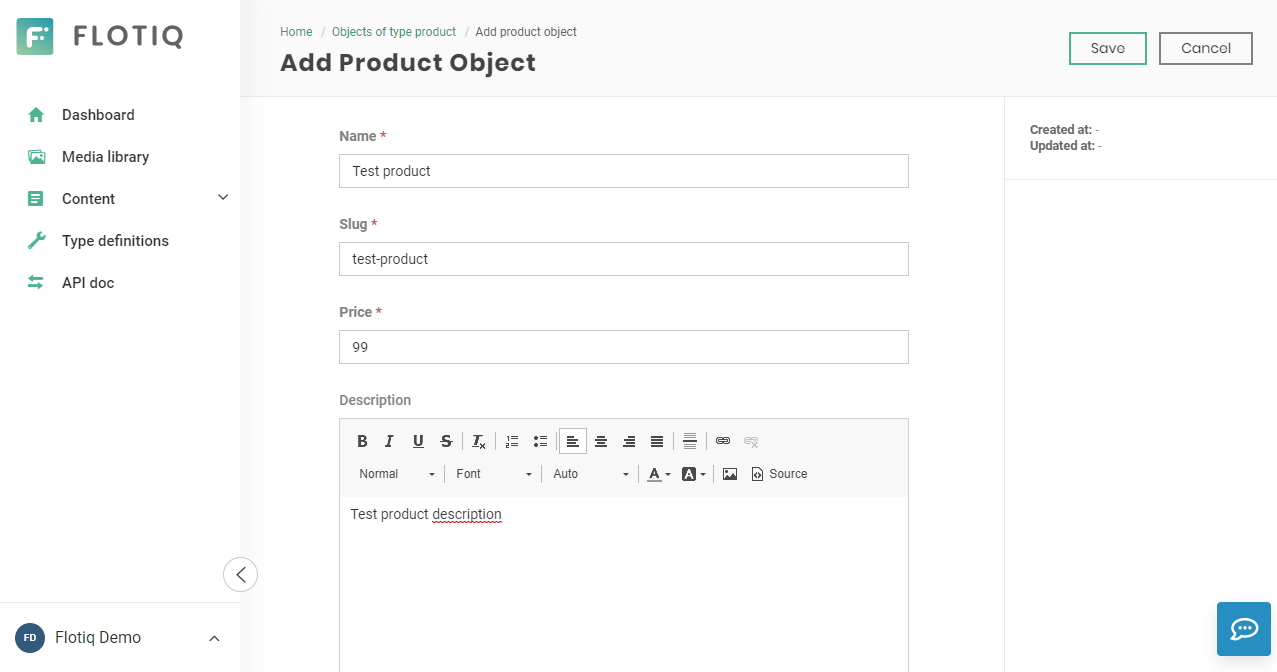
Manage your products using Flotiq editor
You can easily manage your products using Flotiq editor

Deploy
You can deploy this project to Heroku in 3 minutes:

Or to Netlify:

Collaborating
If you wish to talk with us about this project, feel free to hop on our 
If you found a bug, please report it in issues.