The goal of this project is to use ProxySQL to load balance requests from a Spring Boot application to MySQL Replication Master-Slave Cluster.

-
MySQLis the most popular Open Source SQL database management system, supported byOracle. In this project, we set a MySQL Replication Master-Slave Cluster that contains threeMySQLinstances: one master and two slaves. In the replication process, the data is copied automatically from master to the slaves. -
ProxySQLis an open-source, high-performanceMySQLproxy server. It seats between application and database servers by accepting incoming traffic fromMySQLclients and forwards it to backendMySQLservers. In this project, we set twohostgroups:writer=10andreader=20. Those hostgroups say to which database servers write or read requests should go. TheMySQLmaster belongs to thewriterhostgroup. On the other hand, the slaves belong toreaderone. -
Spring BootWeb Java application that exposes a REST API for managing customers. Instead of connecting directly toMySQL, as usual, the application will be connected toProxySQL.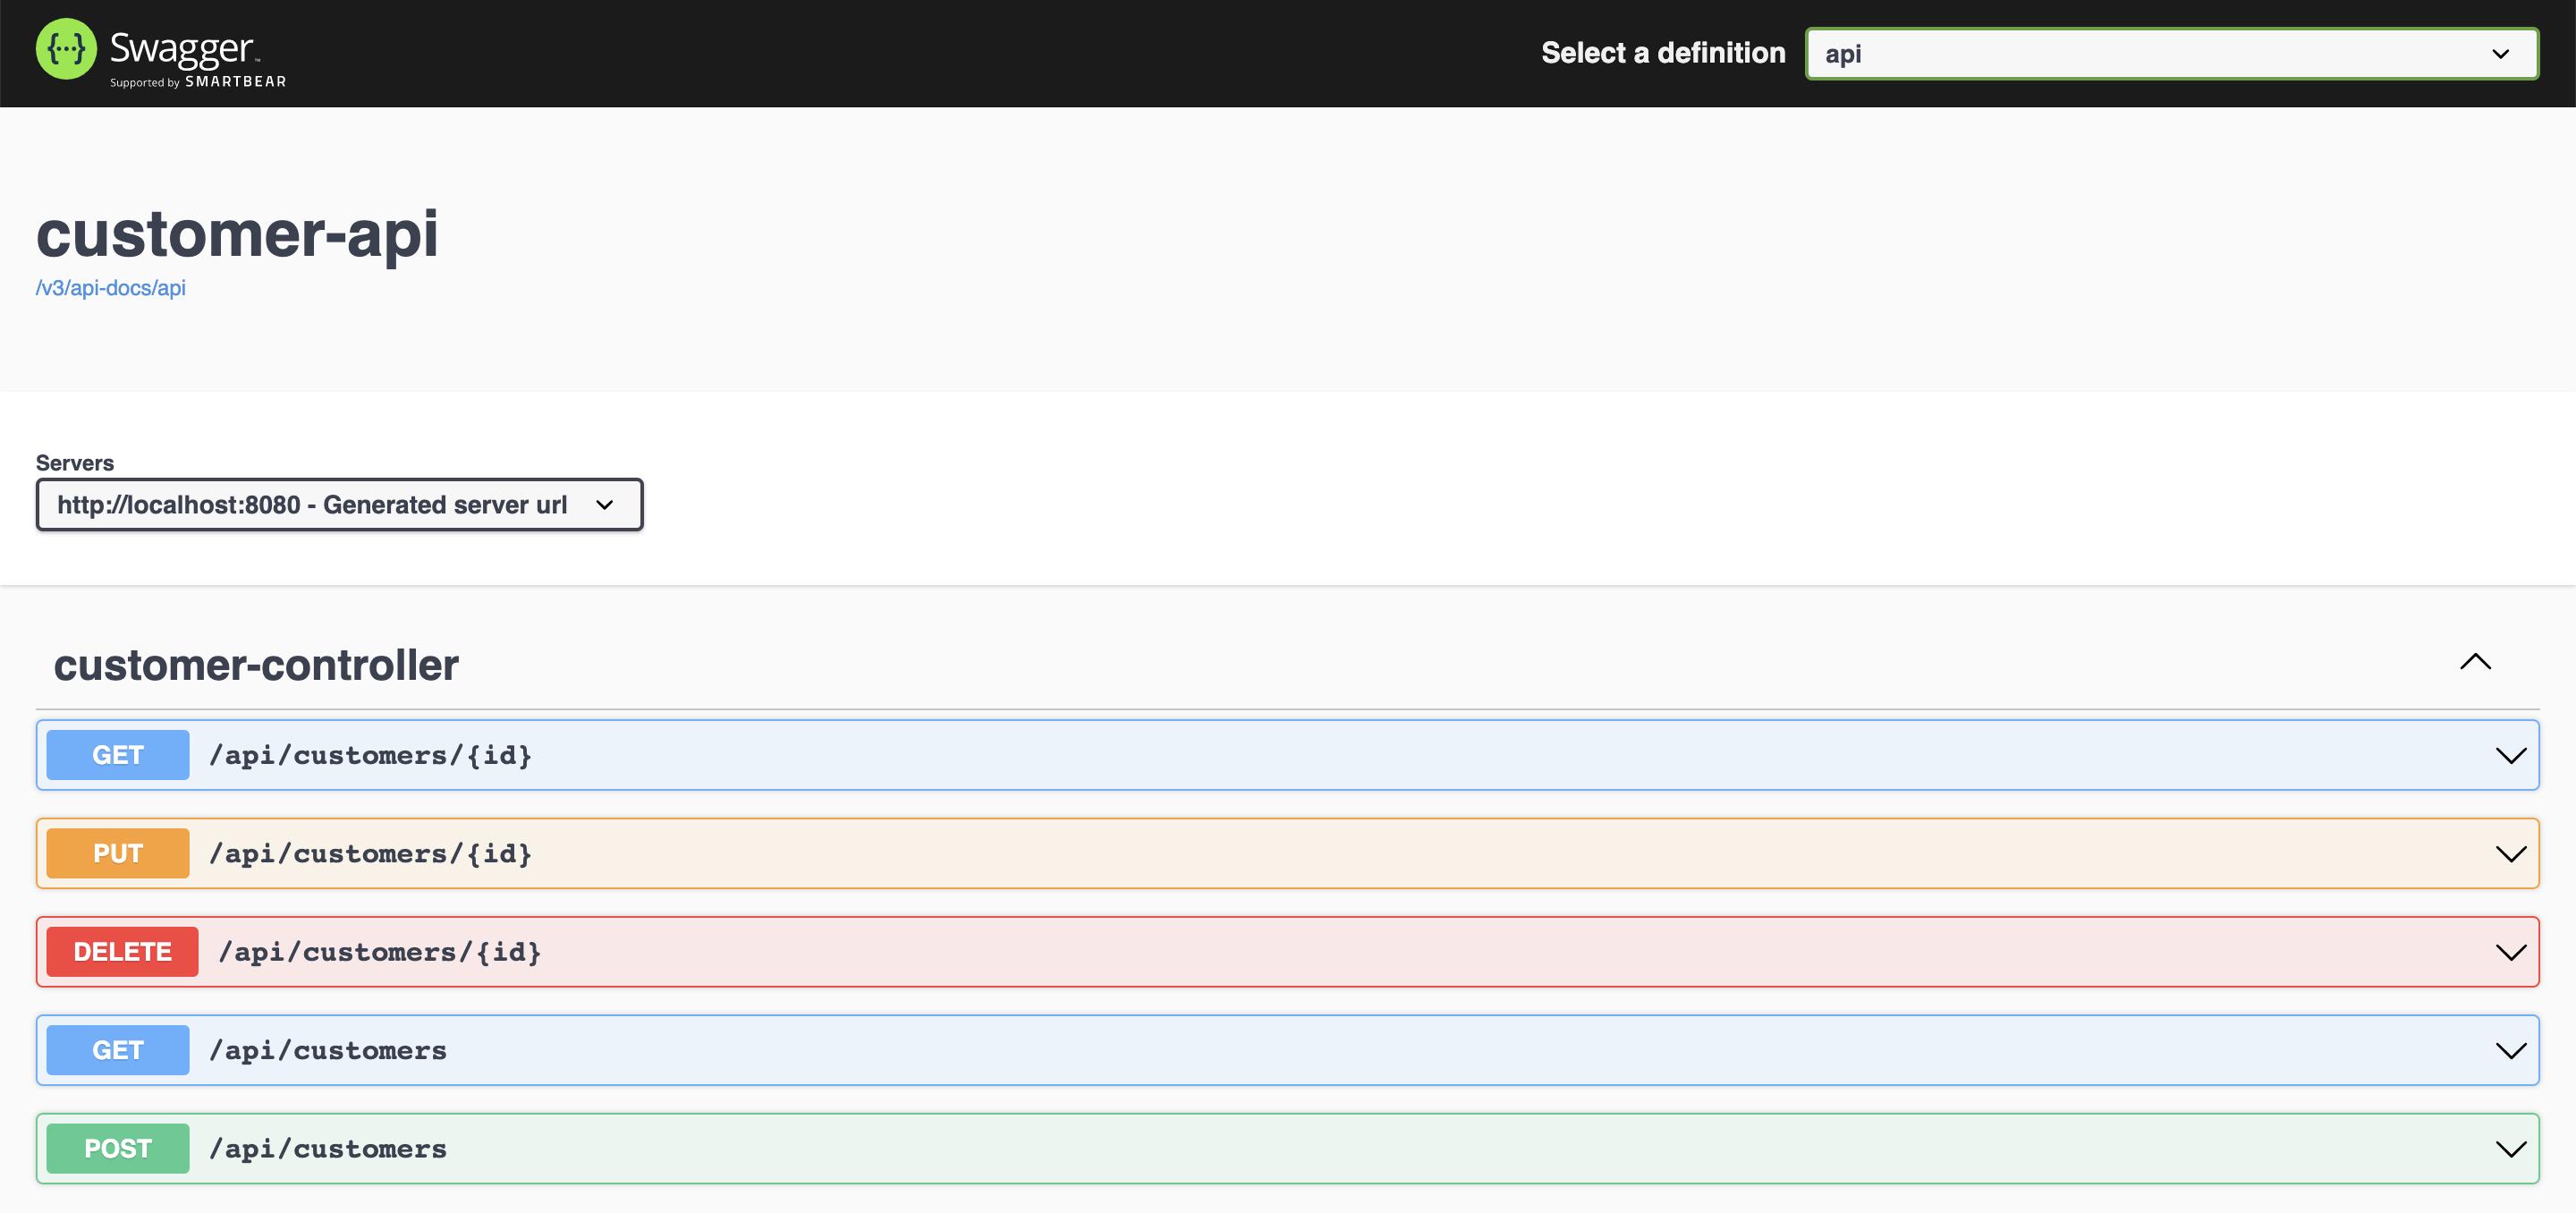

-
Open a terminal and, inside
springboot-proxysql-mysqlroot folder, run the following script./init-environment.sh -
Wait until the environment is up and running
-
In a terminal, make sure you are inside
springboot-proxysql-mysqlroot folder -
To check the replication status run
./check-replication-status.shYou should see something like
mysql-master
------------
mysql: [Warning] Using a password on the command line interface can be insecure.
File    Position        Binlog_Do_DB    Binlog_Ignore_DB        Executed_Gtid_Set
mysql-bin.000003        945                     38f50e33-7fc4-11e9-a810-0242ac1b0003:1-9

mysql-slave-1
-------------
mysql: [Warning] Using a password on the command line interface can be insecure.
*************************** 1. row ***************************
               Slave_IO_State: Waiting for master to send event
                  Master_Host: mysql-master
                  Master_User: repl
                  Master_Port: 3306
                Connect_Retry: 60
              Master_Log_File: mysql-bin.000003
          Read_Master_Log_Pos: 945
               Relay_Log_File: 5c42804f49ab-relay-bin.000003
                Relay_Log_Pos: 1158
        Relay_Master_Log_File: mysql-bin.000003
             Slave_IO_Running: Yes
            Slave_SQL_Running: Yes
                            ...

mysql-slave-2
-------------
mysql: [Warning] Using a password on the command line interface can be insecure.
*************************** 1. row ***************************
               Slave_IO_State: Waiting for master to send event
                  Master_Host: mysql-master
                  Master_User: repl
                  Master_Port: 3306
                Connect_Retry: 60
              Master_Log_File: mysql-bin.000003
          Read_Master_Log_Pos: 945
               Relay_Log_File: d08e85c4beb8-relay-bin.000003
                Relay_Log_Pos: 1158
        Relay_Master_Log_File: mysql-bin.000003
             Slave_IO_Running: Yes
            Slave_SQL_Running: Yes
                            ...
-
In a terminal and inside
springboot-proxysql-mysqlroot folder, run the script below to connect toProxySQLcommand line terminal./proxysql-admin.sh -
In
ProxySQL Admin>terminal run the following command to see theMySQLserversSELECT * FROM mysql_servers; -
The following select shows the global variables
SELECT * FROM global_variables; -
In order to exit
ProxySQLcommand line terminal, typeexit
-
Open a new terminal and navigate to
springboot-proxysql-mysqlroot folder -
Run the following Maven command to start
customer-api./mvnw clean spring-boot:run --projects customer-api -
The application Swagger website is http://localhost:8080/swagger-ui.html
-
Open three terminals: one for
mysql-master, one formysql-slave-1and another formysql-slave-2 -
In
mysql-masterterminal, connect toMySQL Monitorby runningdocker exec -it mysql-master mysql -u root -psecret --database=customerdb -
Do the same for
mysql-slave-1...docker exec -it mysql-slave-1 mysql -u root -psecret --database=customerdb -
... and
mysql-slave-2docker exec -it mysql-slave-2 mysql -u root -psecret --database=customerdb -
Inside each one of the
MySQL Monitor'sterminal, run the following commands to enableMySQLlogsSET GLOBAL general_log = 'ON'; SET global log_output = 'table'; -
Open a new terminal. In it, we will just run
curlcommands. -
In the
curlterminal, let's create a customer.curl -i -X POST http://localhost:8080/api/customers \ -H 'Content-Type: application/json' \ -d '{"firstName": "Ivan", "lastName": "Franchin"}' -
Go to
mysql-masterterminal and run the followingSELECTcommandSELECT event_time, command_type, SUBSTRING(argument,1,250) argument FROM mysql.general_log WHERE command_type = 'Query' AND (argument LIKE 'insert into customers %' OR argument LIKE 'select customer0_.id %' OR argument LIKE 'update customers %' OR argument LIKE 'delete from customers %');It should return
+----------------------------+--------------+-------------------------------------------------------------------------------------------------------------------------------------------------+
| event_time                 | command_type | argument                                                                                                                                        |
+----------------------------+--------------+-------------------------------------------------------------------------------------------------------------------------------------------------+
| 2020-06-30 08:02:59.981686 | Query        | insert into customers (created_at, first_name, last_name, updated_at) values ('2020-06-30 08:02:59', 'Ivan', 'Franchin', '2020-06-30 08:02:59') |
+----------------------------+--------------+-------------------------------------------------------------------------------------------------------------------------------------------------+
Note: If you run the same
SELECTin the slave's terminal, you will see that just themysql-masterprocessed theinsertcommand. Btw, it's inmysql-masterwhere all inserts, updates and deletes are executed. -
Now, let's call to the
GETendpoint to retrievecustomer 1. For it, go tocurlterminal and runcurl -i http://localhost:8080/api/customers/1 -
If you run, in one of the slave's terminal, the
SELECTcommand belowSELECT event_time, command_type, SUBSTRING(argument,1,250) argument FROM mysql.general_log WHERE command_type = 'Query' AND (argument LIKE 'insert into customers %' OR argument LIKE 'select customer0_.id %' OR argument LIKE 'update customers %' OR argument LIKE 'delete from customers %');It should return
+----------------------------+--------------+-----------------------------------------------------------------------------------------------------------------------------------------------------------------------------------------------------------------------------------------------------+
| event_time                 | command_type | argument                                                                                                                                                                                                                                            |
+----------------------------+--------------+-----------------------------------------------------------------------------------------------------------------------------------------------------------------------------------------------------------------------------------------------------+
| 2020-06-30 08:04:10.422544 | Query        | select customer0_.id as id1_0_0_, customer0_.created_at as created_2_0_0_, customer0_.first_name as first_na3_0_0_, customer0_.last_name as last_nam4_0_0_, customer0_.updated_at as updated_5_0_0_ from customers customer0_ where customer0_.id=1 |
+----------------------------+--------------+-----------------------------------------------------------------------------------------------------------------------------------------------------------------------------------------------------------------------------------------------------+
Note: Just one slave should process it.
-
Next, let's
UPDATEthecustomer 1. For it, go to thecurlterminal and runcurl -i -X PUT http://localhost:8080/api/customers/1 \ -H 'Content-Type: application/json' \ -d '{"firstName": "Ivan2", "lastName": "Franchin2"}' -
Running the following
SELECTinside themysql-masterterminalSELECT event_time, command_type, SUBSTRING(argument,1,250) argument FROM mysql.general_log WHERE command_type = 'Query' AND (argument LIKE 'insert into customers %' OR argument LIKE 'select customer0_.id %' OR argument LIKE 'update customers %' OR argument LIKE 'delete from customers %');It should return
+----------------------------+--------------+-------------------------------------------------------------------------------------------------------------------------------------------------+
| event_time                 | command_type | argument                                                                                                                                        |
+----------------------------+--------------+-------------------------------------------------------------------------------------------------------------------------------------------------+
| 2020-06-30 08:02:59.981686 | Query        | insert into customers (created_at, first_name, last_name, updated_at) values ('2020-06-30 08:02:59', 'Ivan', 'Franchin', '2020-06-30 08:02:59') |
| 2020-06-30 08:05:04.873448 | Query        | update customers set created_at='2020-06-30 08:02:59', first_name='Ivan2', last_name='Franchin2', updated_at='2020-06-30 08:05:04' where id=1   |
+----------------------------+--------------+-------------------------------------------------------------------------------------------------------------------------------------------------+
Note: During an update, Hibernate/JPA does a select before performing the record update. So, you should see another select in one of the slaves
-
Finally, let's
DELETEthecustomer 1. For it, go to thecurlterminal and runcurl -i -X DELETE http://localhost:8080/api/customers/1 -
Running the following
SELECTinside themysql-masterterminalSELECT event_time, command_type, SUBSTRING(argument,1,250) argument FROM mysql.general_log WHERE command_type = 'Query' AND (argument LIKE 'insert into customers %' OR argument LIKE 'select customer0_.id %' OR argument LIKE 'update customers %' OR argument LIKE 'delete from customers %');It should return
+----------------------------+--------------+-------------------------------------------------------------------------------------------------------------------------------------------------+
| event_time                 | command_type | argument                                                                                                                                        |
+----------------------------+--------------+-------------------------------------------------------------------------------------------------------------------------------------------------+
| 2020-06-30 08:02:59.981686 | Query        | insert into customers (created_at, first_name, last_name, updated_at) values ('2020-06-30 08:02:59', 'Ivan', 'Franchin', '2020-06-30 08:02:59') |
| 2020-06-30 08:05:04.873448 | Query        | update customers set created_at='2020-06-30 08:02:59', first_name='Ivan2', last_name='Franchin2', updated_at='2020-06-30 08:05:04' where id=1   |
| 2020-06-30 08:05:39.310617 | Query        | delete from customers where id=1                                                                                                                |
+----------------------------+--------------+-------------------------------------------------------------------------------------------------------------------------------------------------+
Note: As it happens with an update, during a deletion, Hibernate/JPA does a select before performing the deletion of the record. So, you should see another select in one of the slaves
- To stop
customer-apiapplication, go to the terminal where it's running and pressCtrl+C. - In order to get out of
MySQL Monitorstypeexit. - To stop and remove
MySQLs andProxySQLcontainers, network and volumes, make sure you are insidespringboot-proxysql-mysqlroot folder and run the following script./shutdown-environment.sh