Welcome guardian. The road out will be treacherous, but remember, fortune favors the brave.
ng-questplay is a lightweight CLI-based application that helps you manage your quests as you venture out into the wilderness to complete quests and fulfill your duty as a Node Guardian.
We highly recommend that you set up Questplay by following our tutorial. But here are the brief steps anyways.
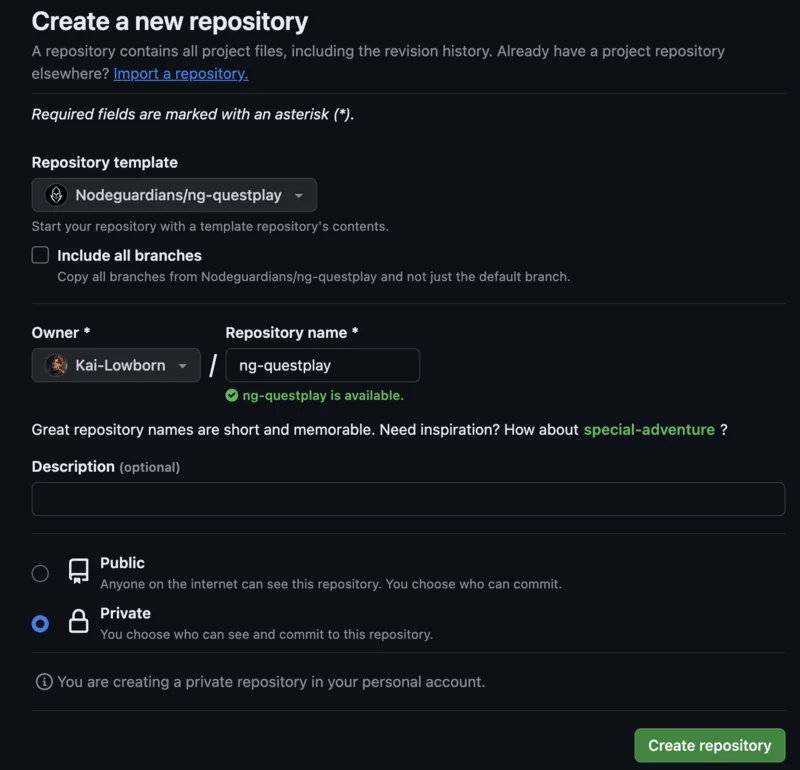
- From this repository's file list, select Use this template > Create a new repository.
- Name your repository
ng-questplayand mark it as private. Once done, select Create repository.
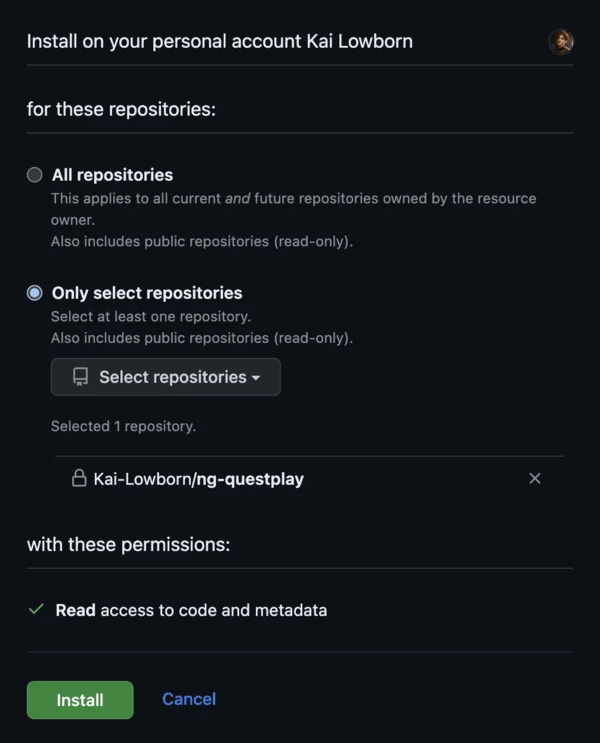
- Next, visit and install our Github application. When prompted where to install, select your profile, then only selected repositories > ng-questplay
-
Download your newly created repository onto your local machine.
git clone https://github.com/{GITHUB_USERNAME}/ng-questplay.git💡 Replace
{GITHUB_USERNAME}with your Github username! -
Next, run the following command to install the required dependencies.
cd ng-questplay
npm run start-adventure
Run the following command to find and download a specific quest into your repo.
quest find
Alternatively, you can immediately specify the quest name (hyphenated, no spaces).
quest find using-signatures
To run a local test in a quest, first make sure you are in the quest folder. Then:
# Run local tests in Part 1
quest test 1
# Run all local tests
quest test
If you have Foundry installed, our quests also support local Foundry tests. To configure your preferred framework to Foundry:
quest set-framework foundry
After which, running quest test will trigger Foundry tests to run instead. The native command forge test also triggers Foundry tests, albeit in a less readable format. However, using forge gives you access to Foundry's many features (e.g., -vvv flag).
To submit a quest for verification, first make sure you are in the quest folder. Commit all your changes into your local repository. Then run:
quest submit
This command pushes your code to your remote repository in Github for verification.
Certain quests require you to run a cross-chain bridge from Avalanche Fuji to Ethereum Goerli. These quests will provide you a way to obtain a 32-byte bridge hash. Then, run the following command.
💡 Replace
{BRIDGE_HASH}with your 32-byte bridge hash!
If the bridge hash is valid, you will be given a signature required to process any cross-chain transaction.
To update the CLI, run:
quest update


